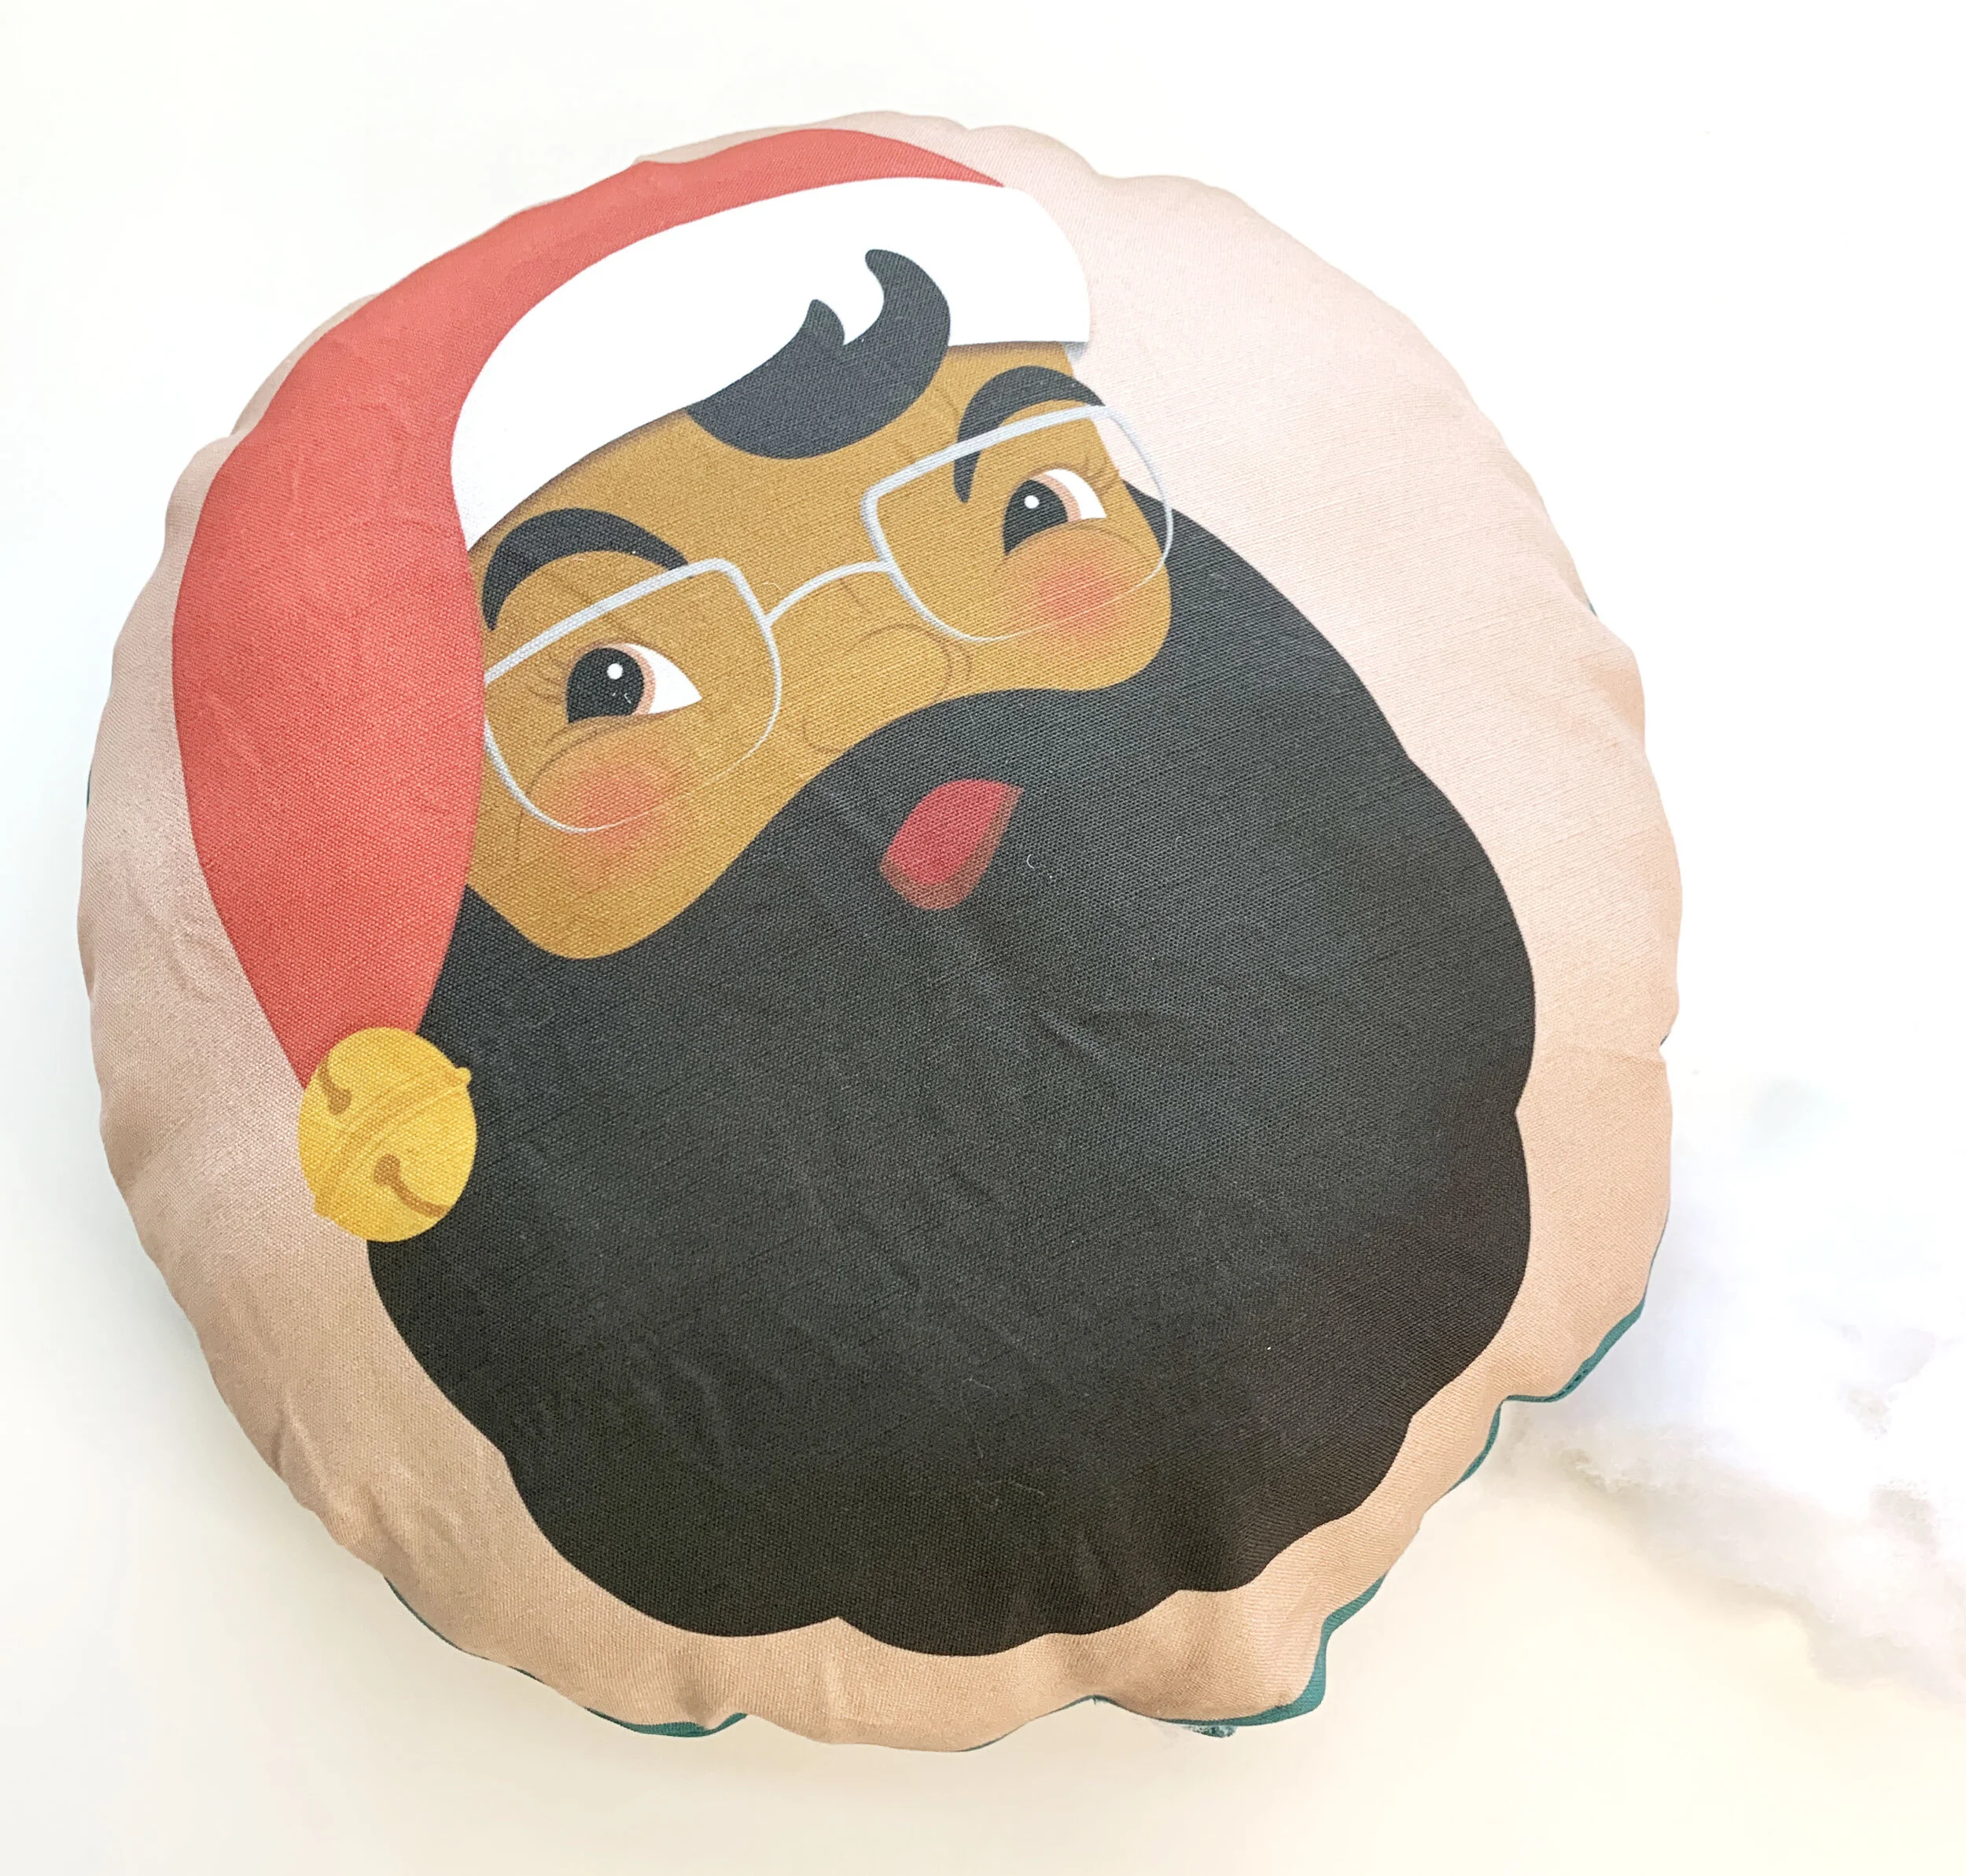
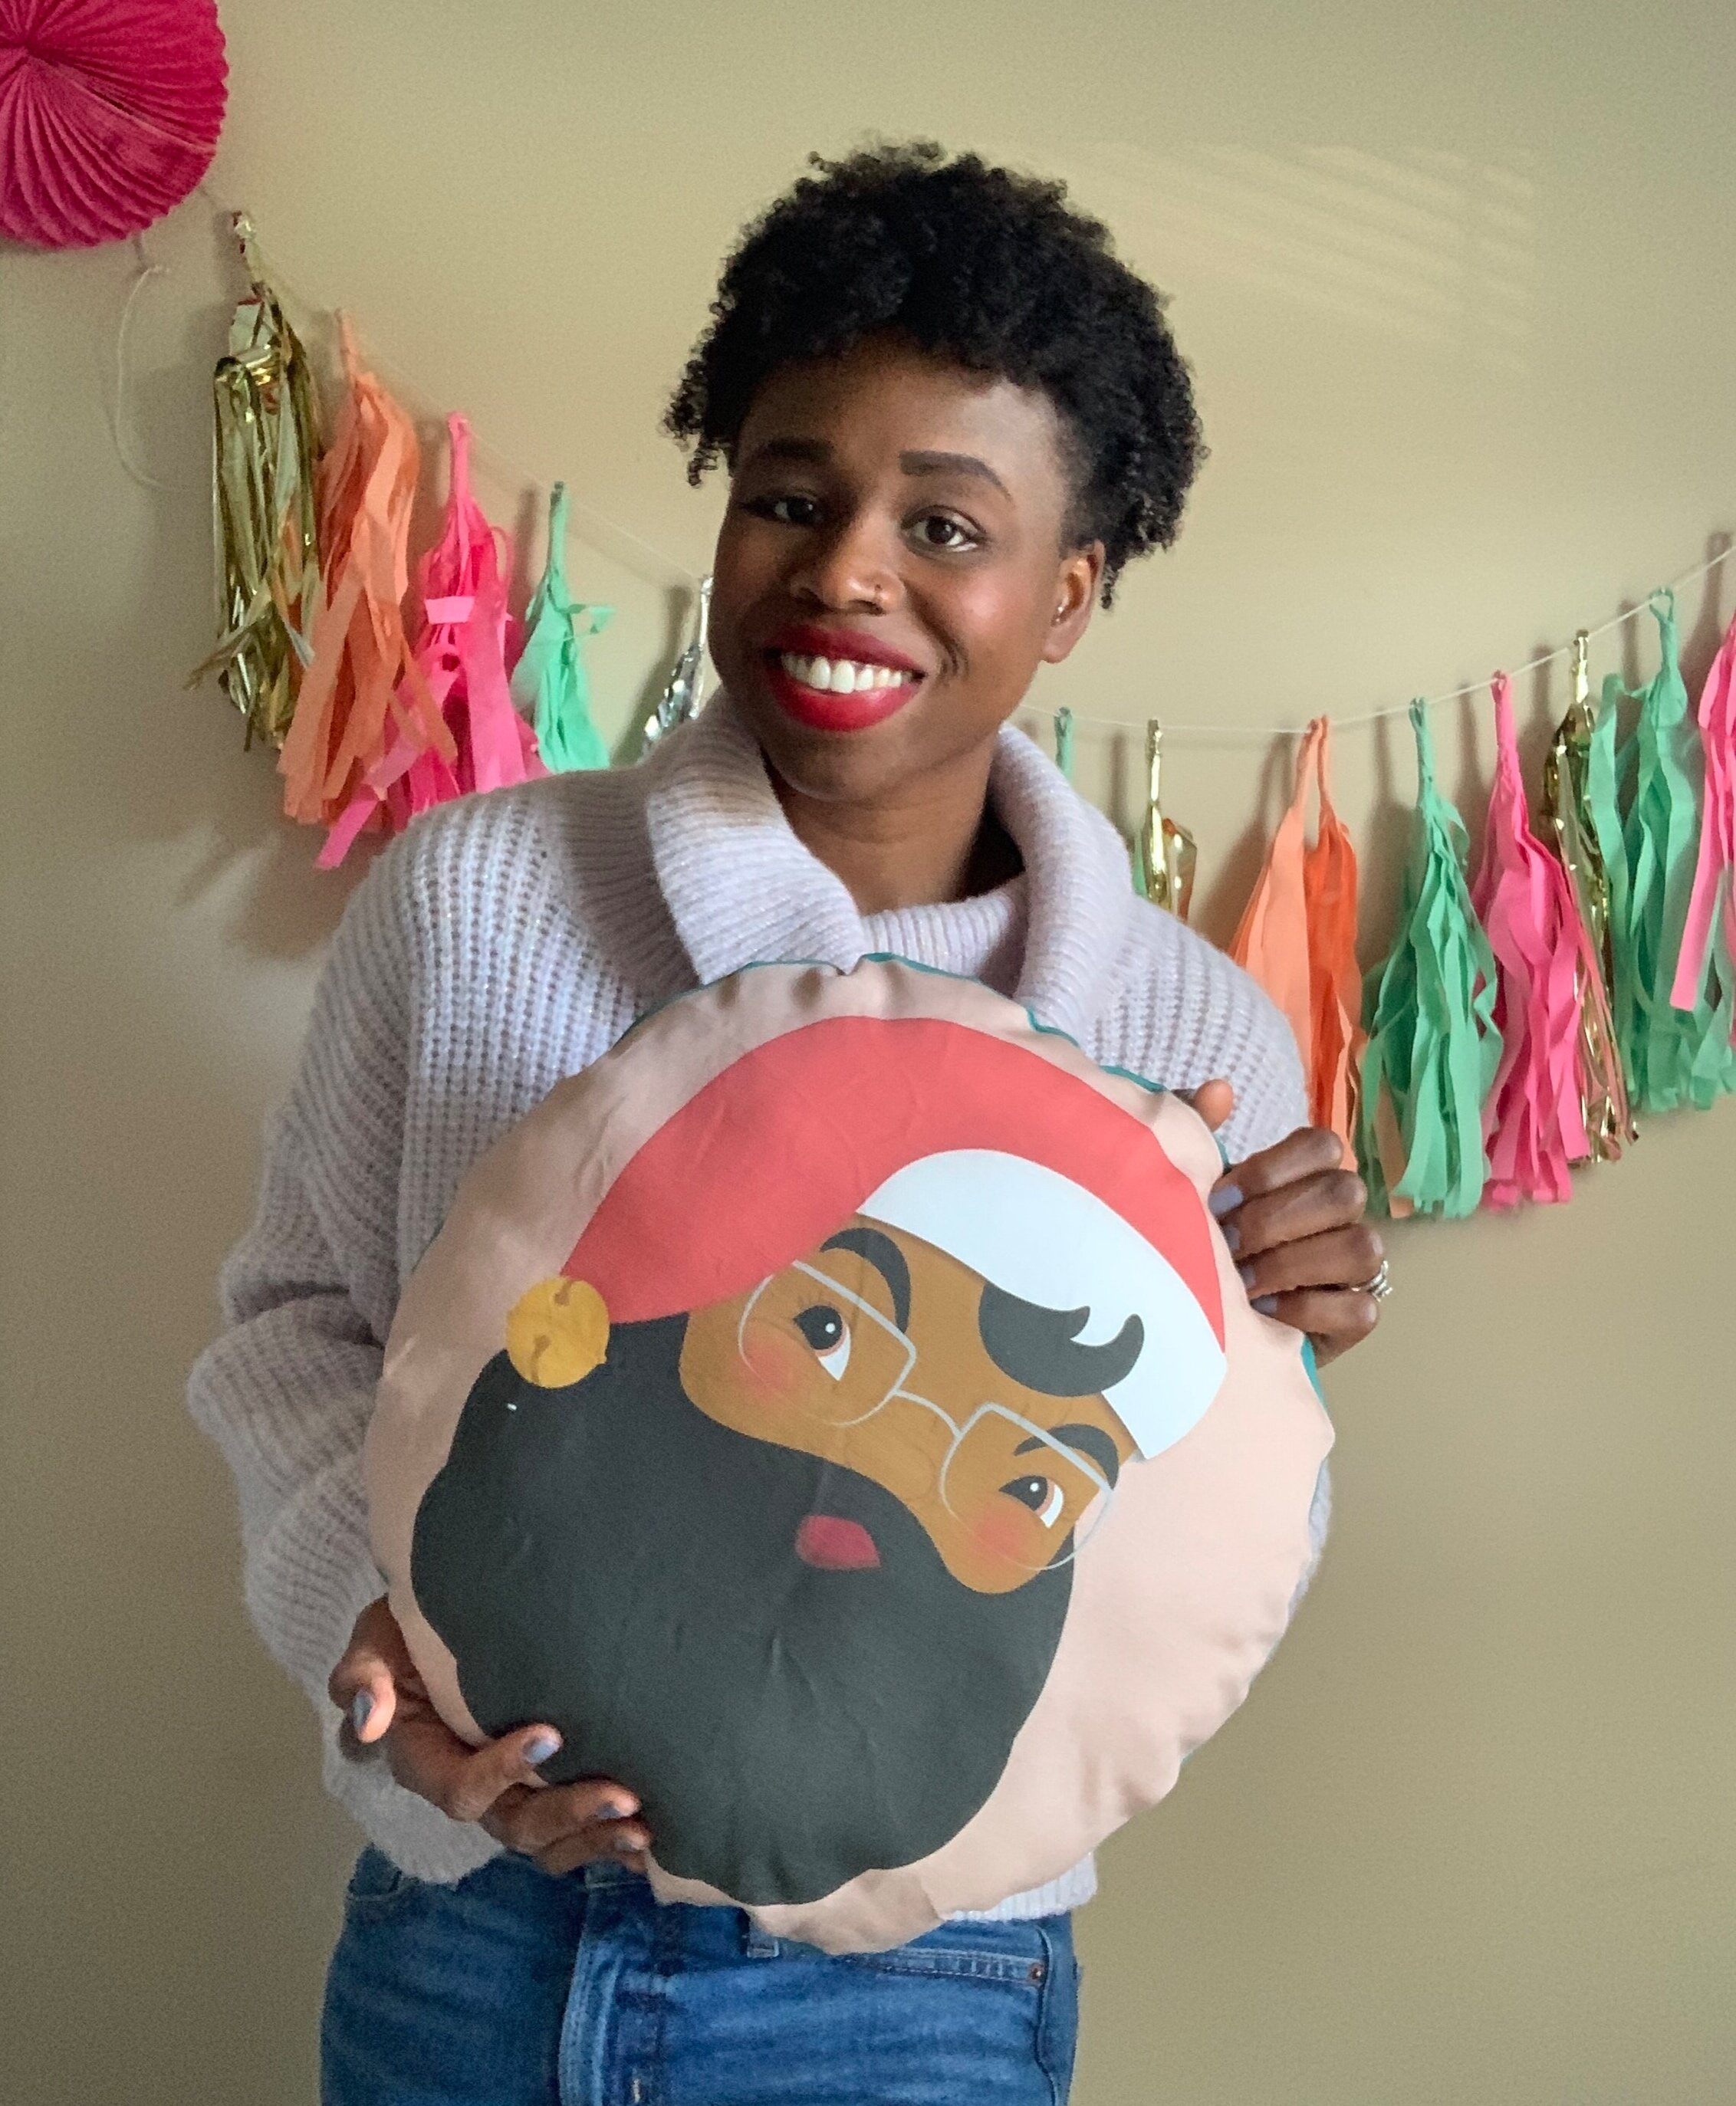
Printed Santa Pillow
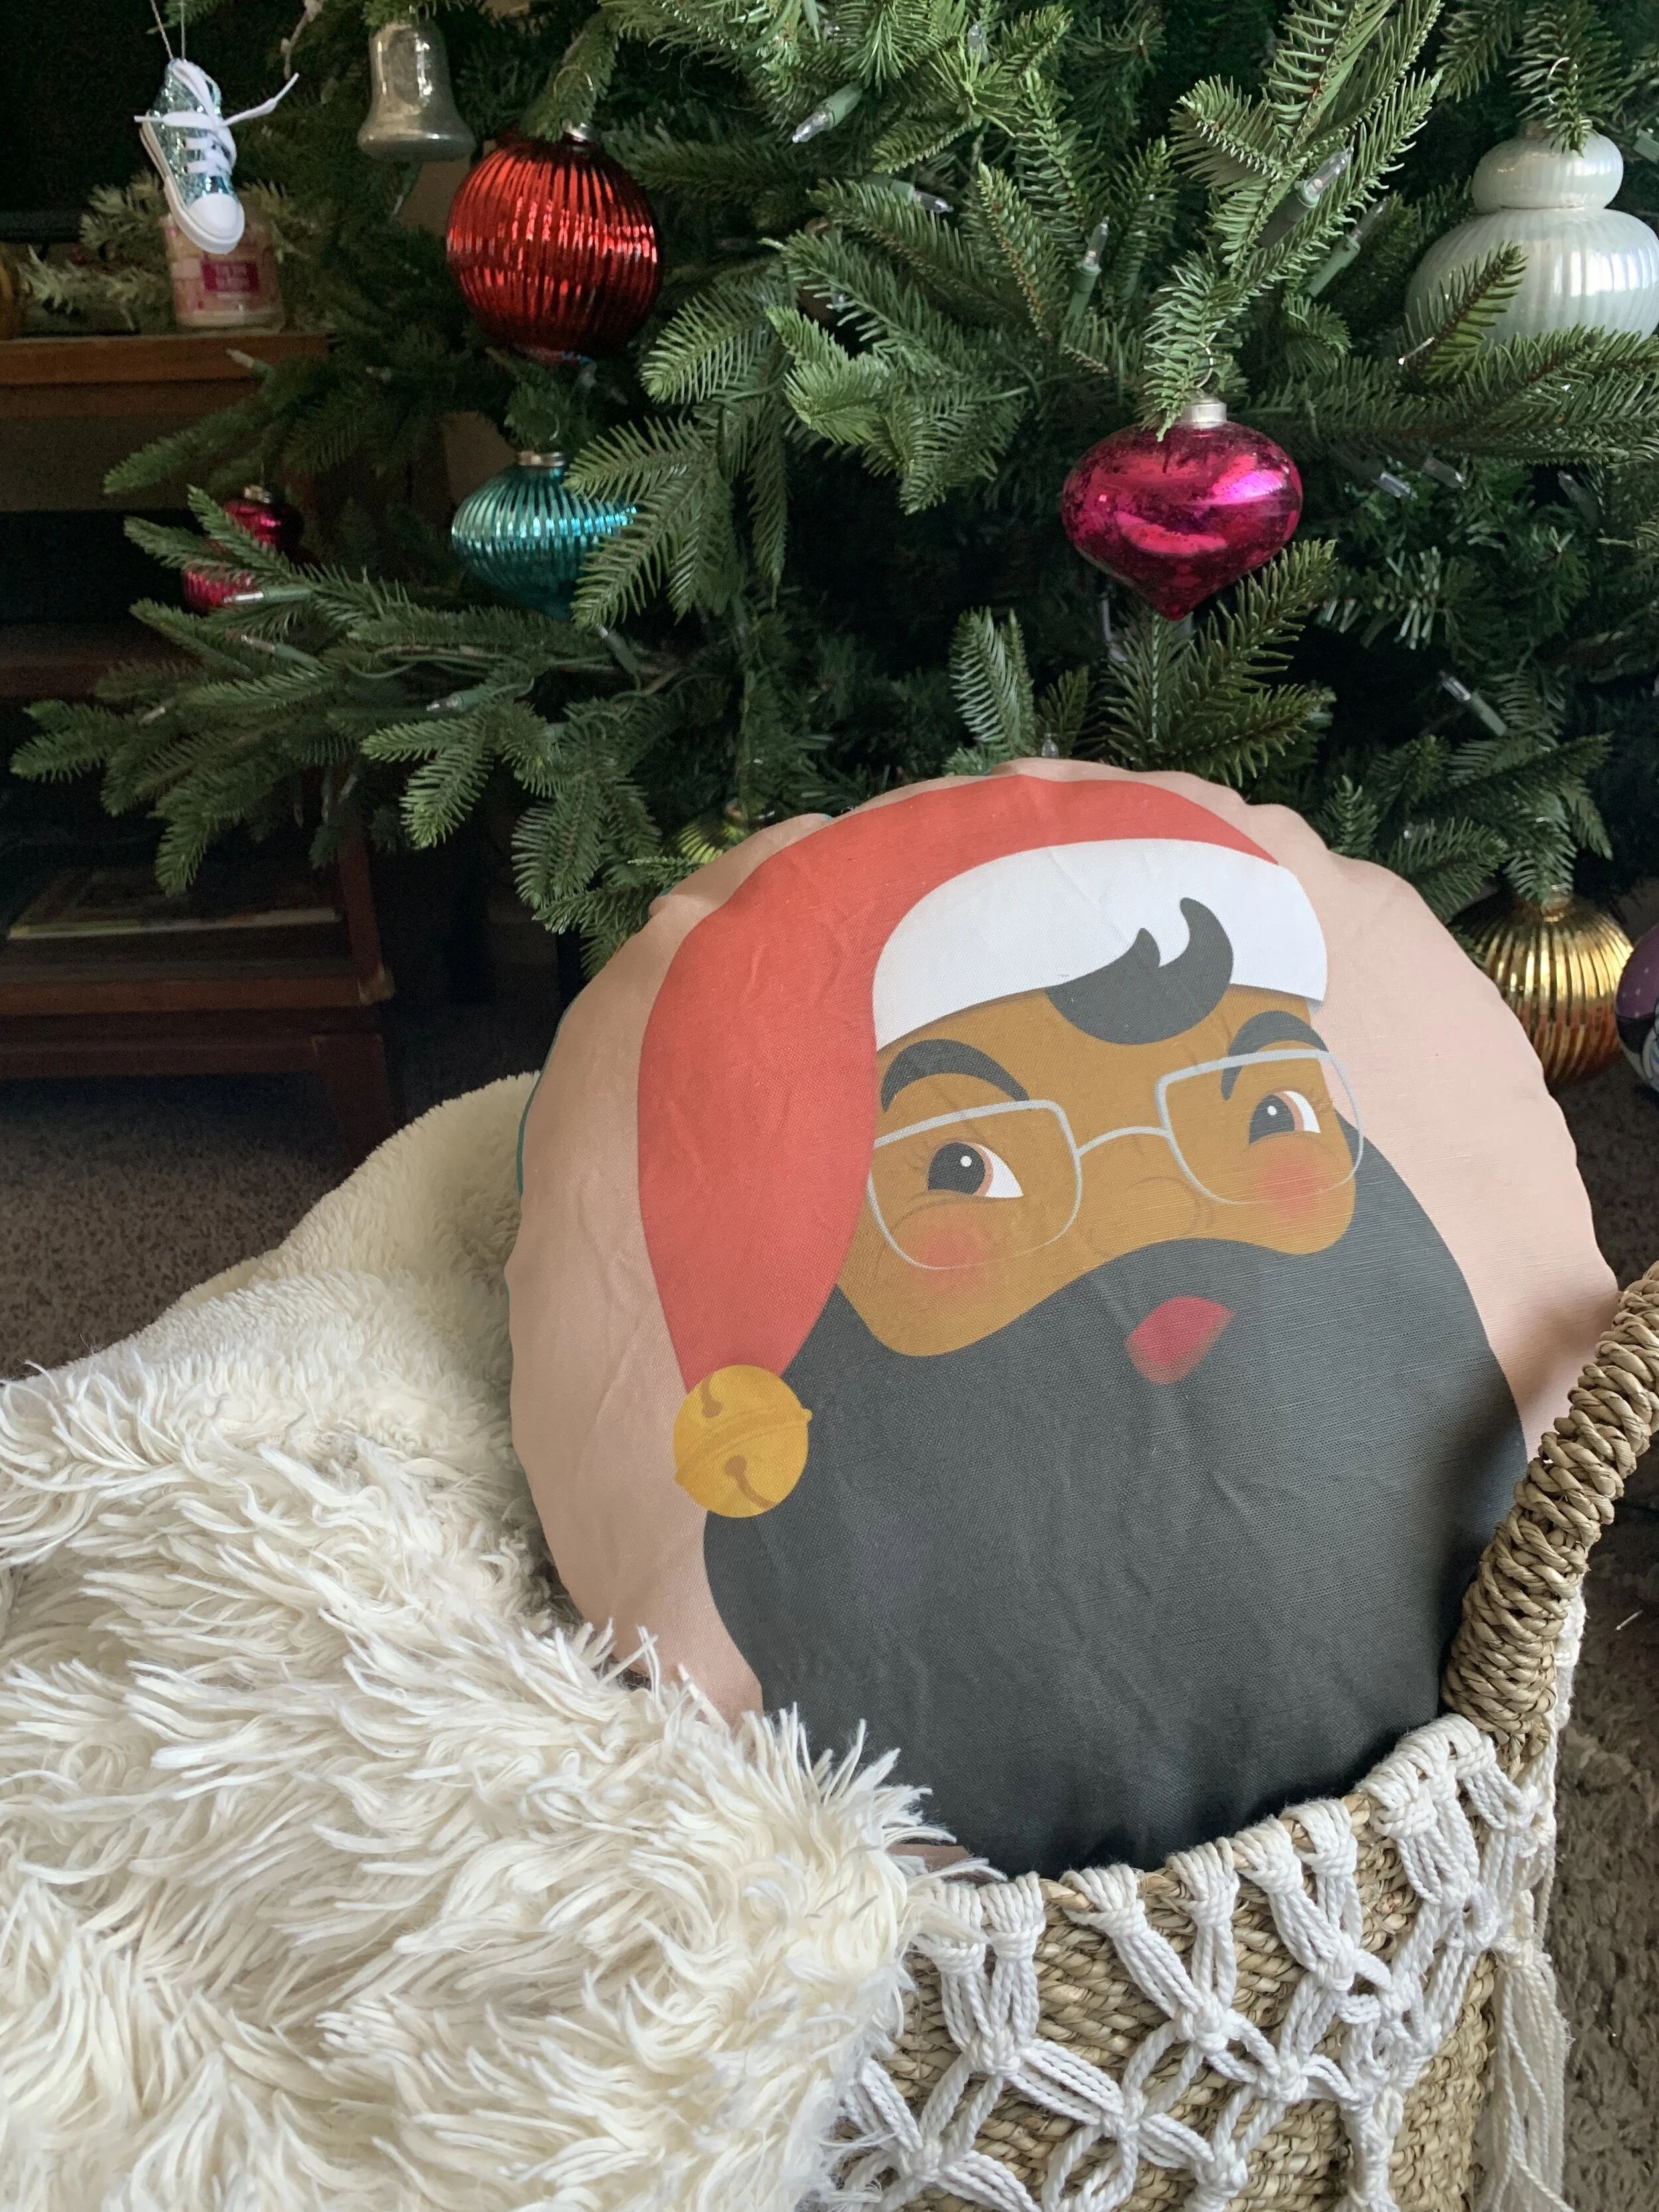
This is the first year I decided to buy some seasonal specific pillows. Typically, I’m all for a textured solid pillow, like fur. But this year, I really wanted a vintage inspired, class Santa pillow. When I couldn’t find one that fit what was in my head, I decided to design one.
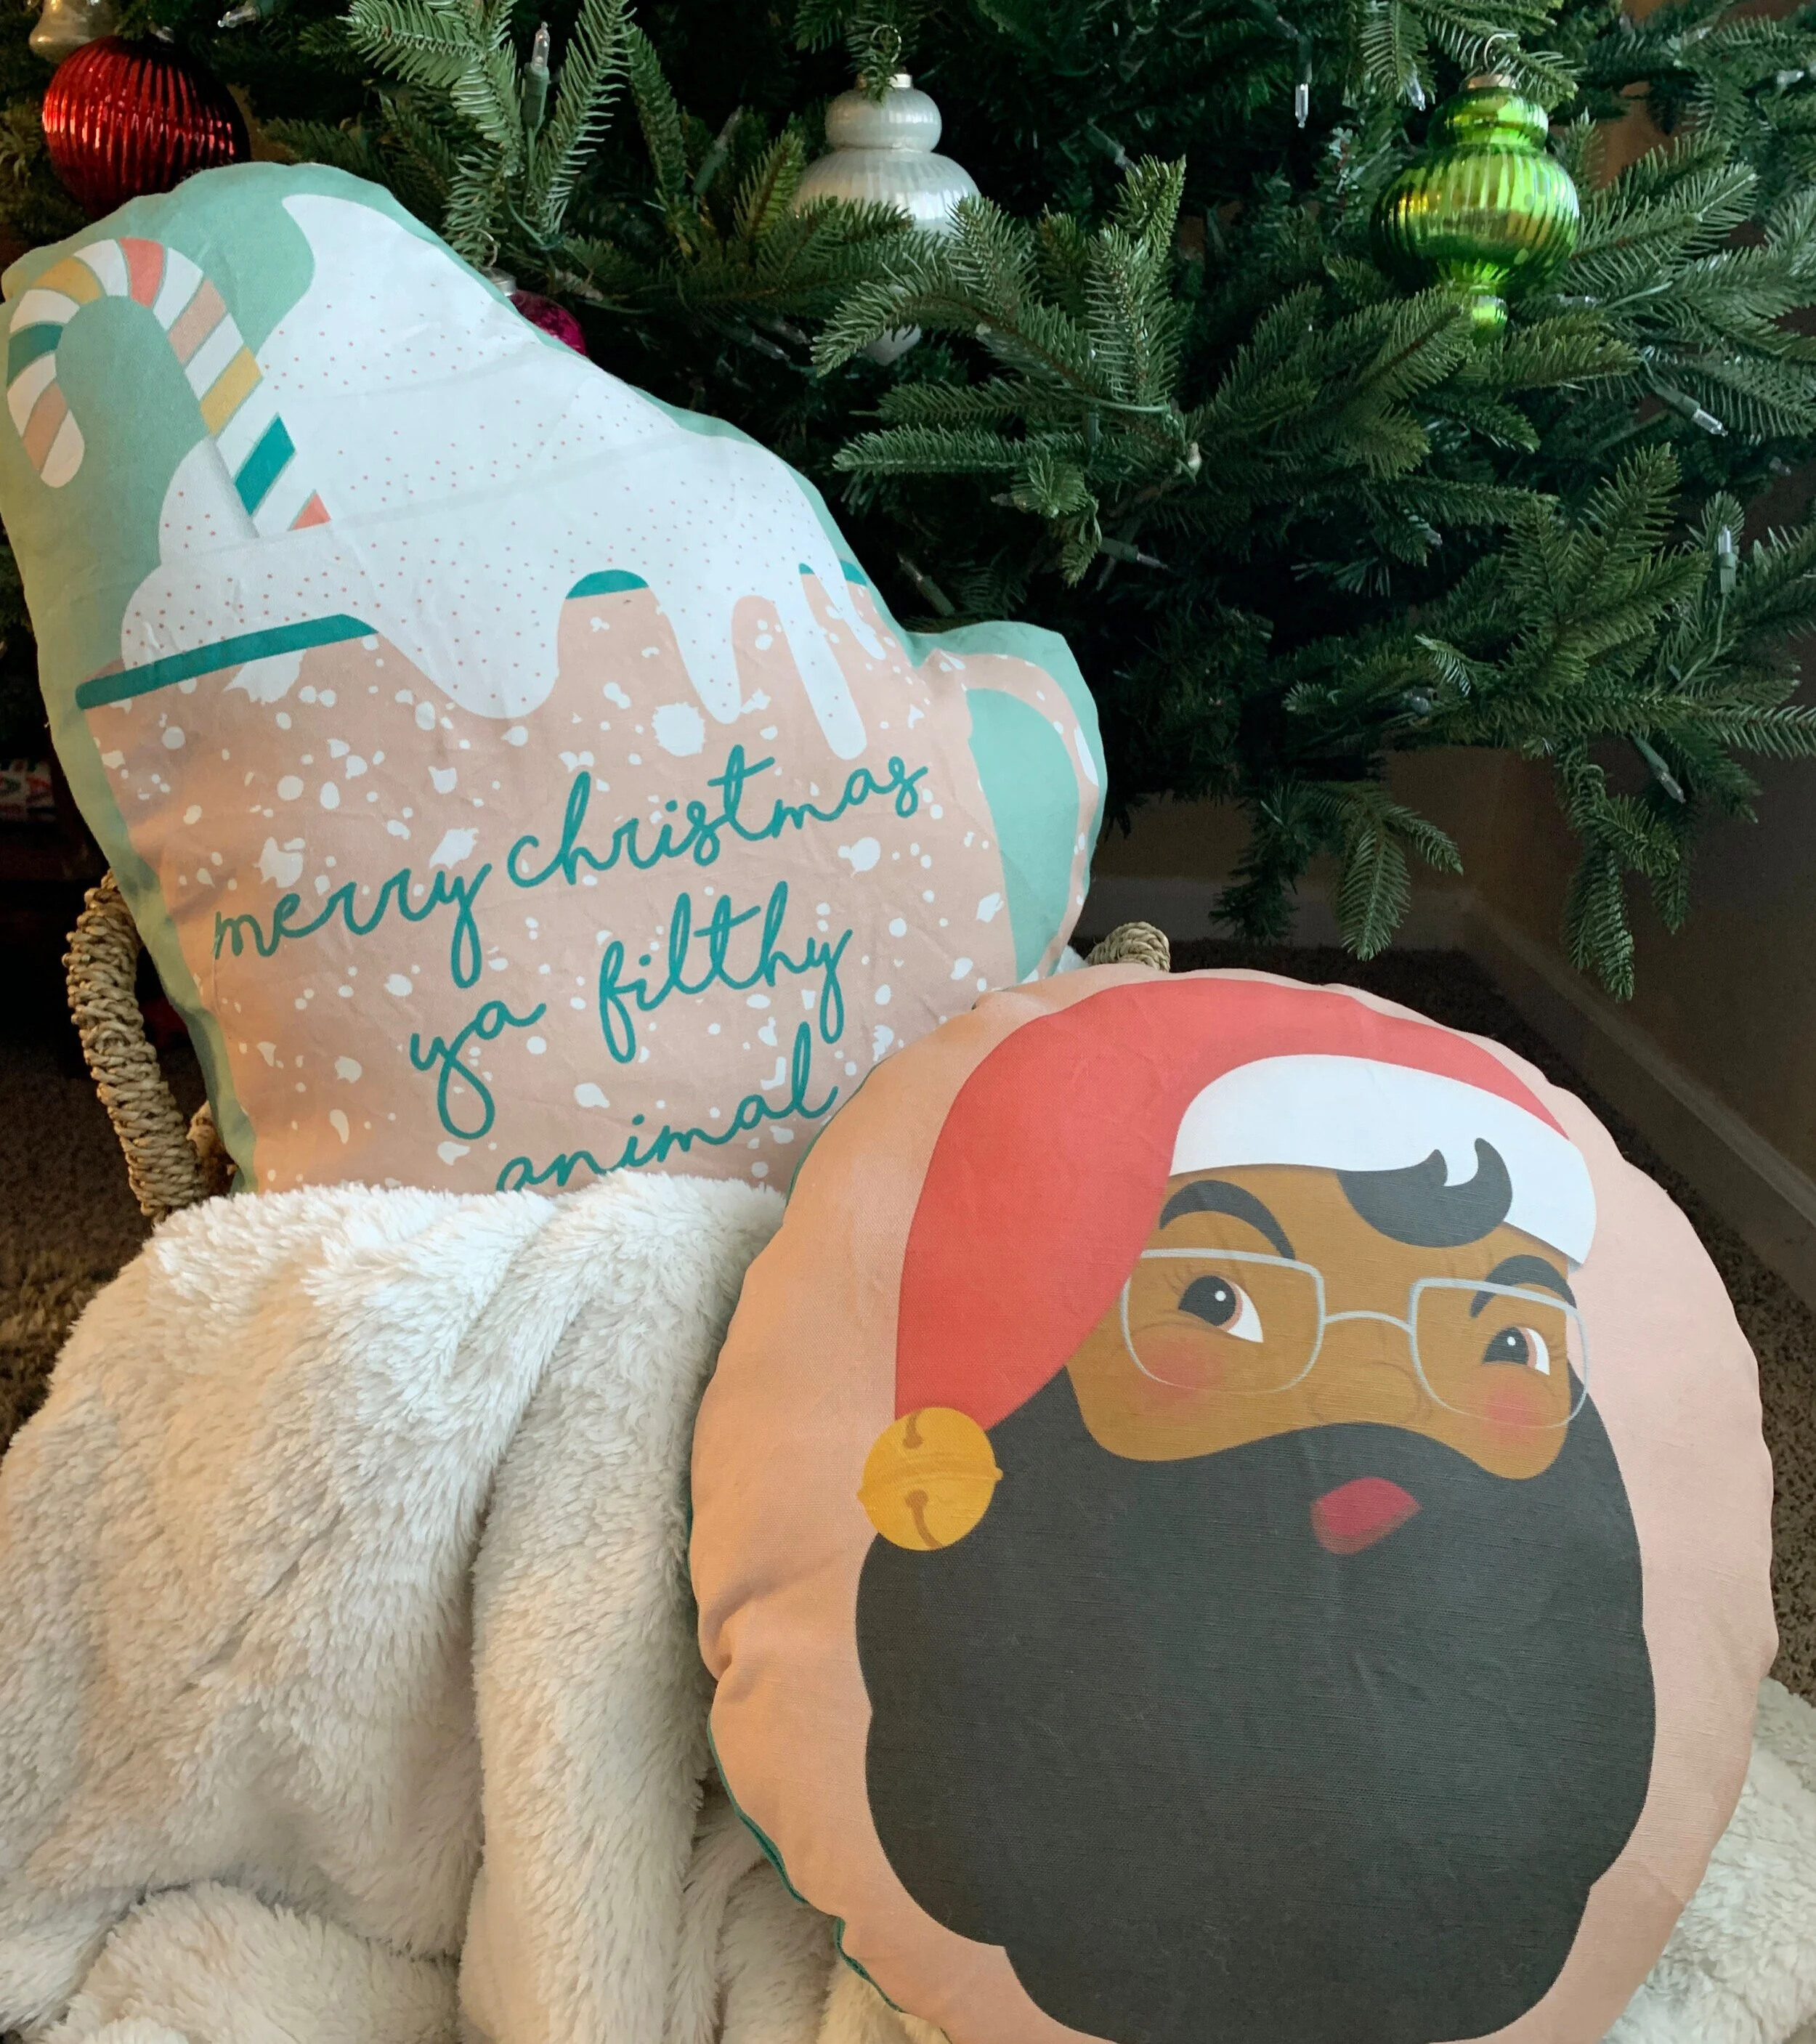
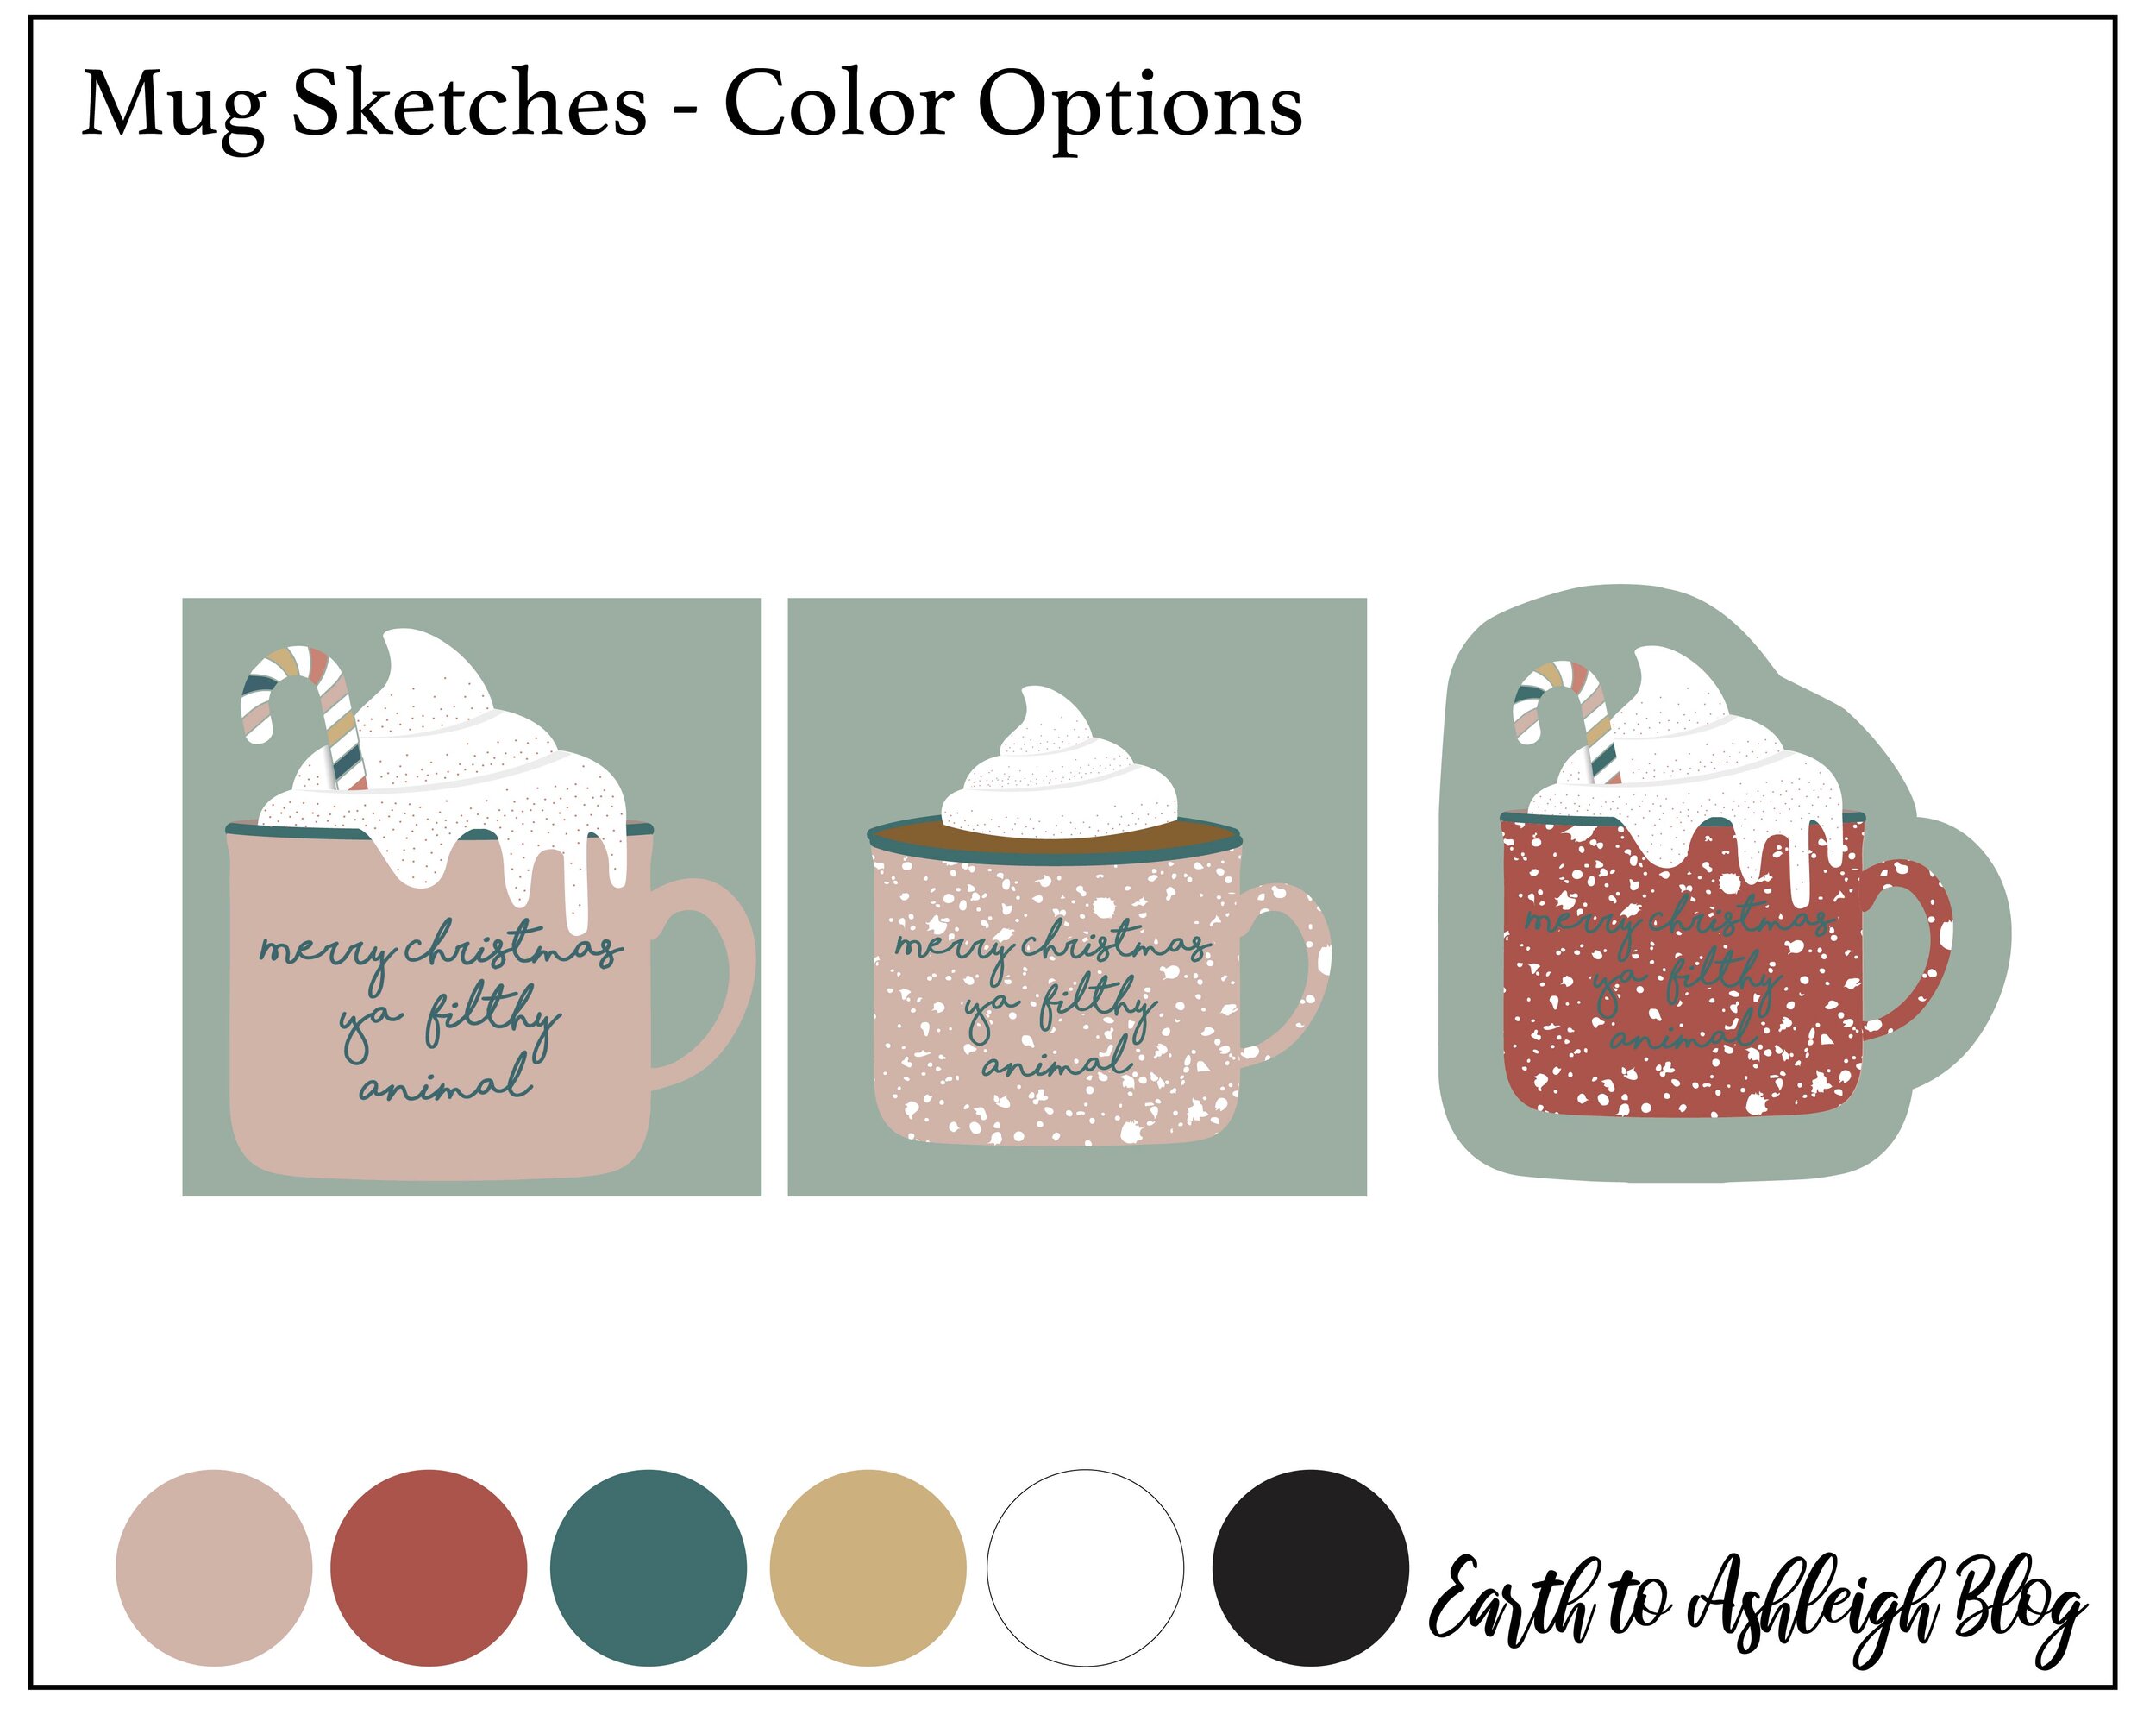
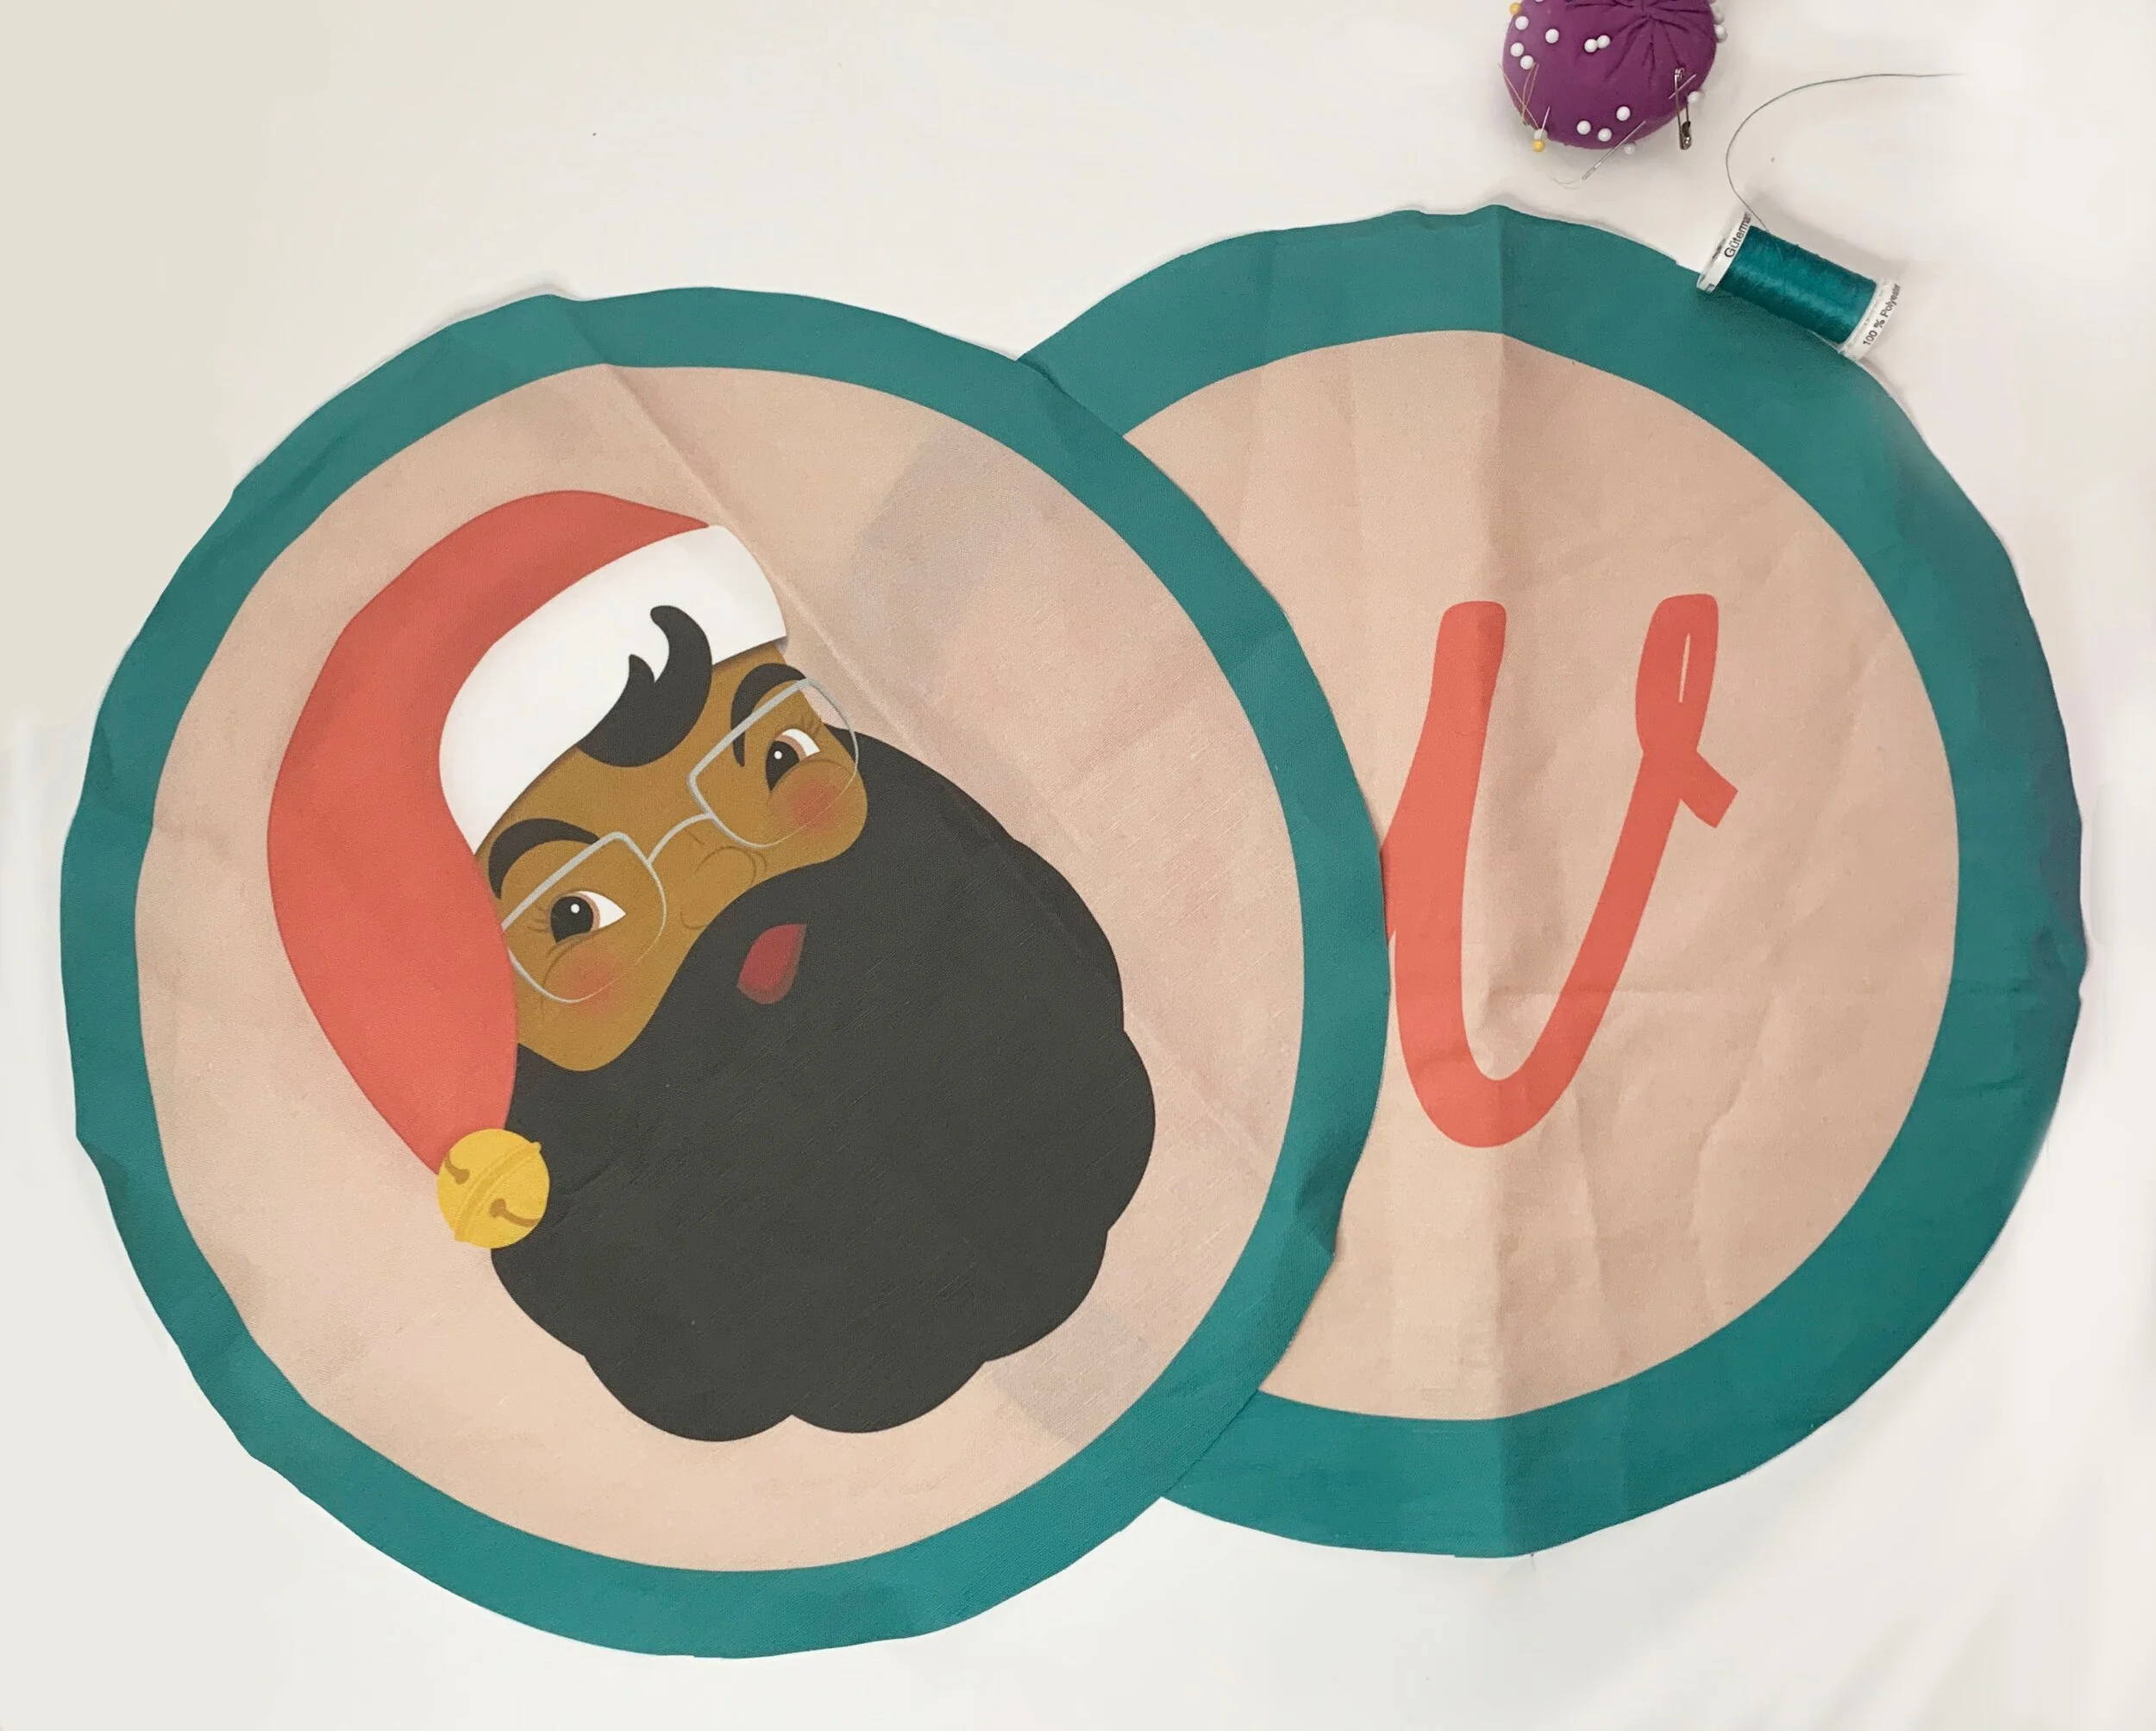
I started sketching and created a color palette for my mini collection. I decided to design two pillows. One would be Santa, and the would incorporate a Christmas movie quote as an homage to my favorite two Christmas movies, Home Alone and The Santa Claus. If I could’ve worked in the Grinch somehow I would have.
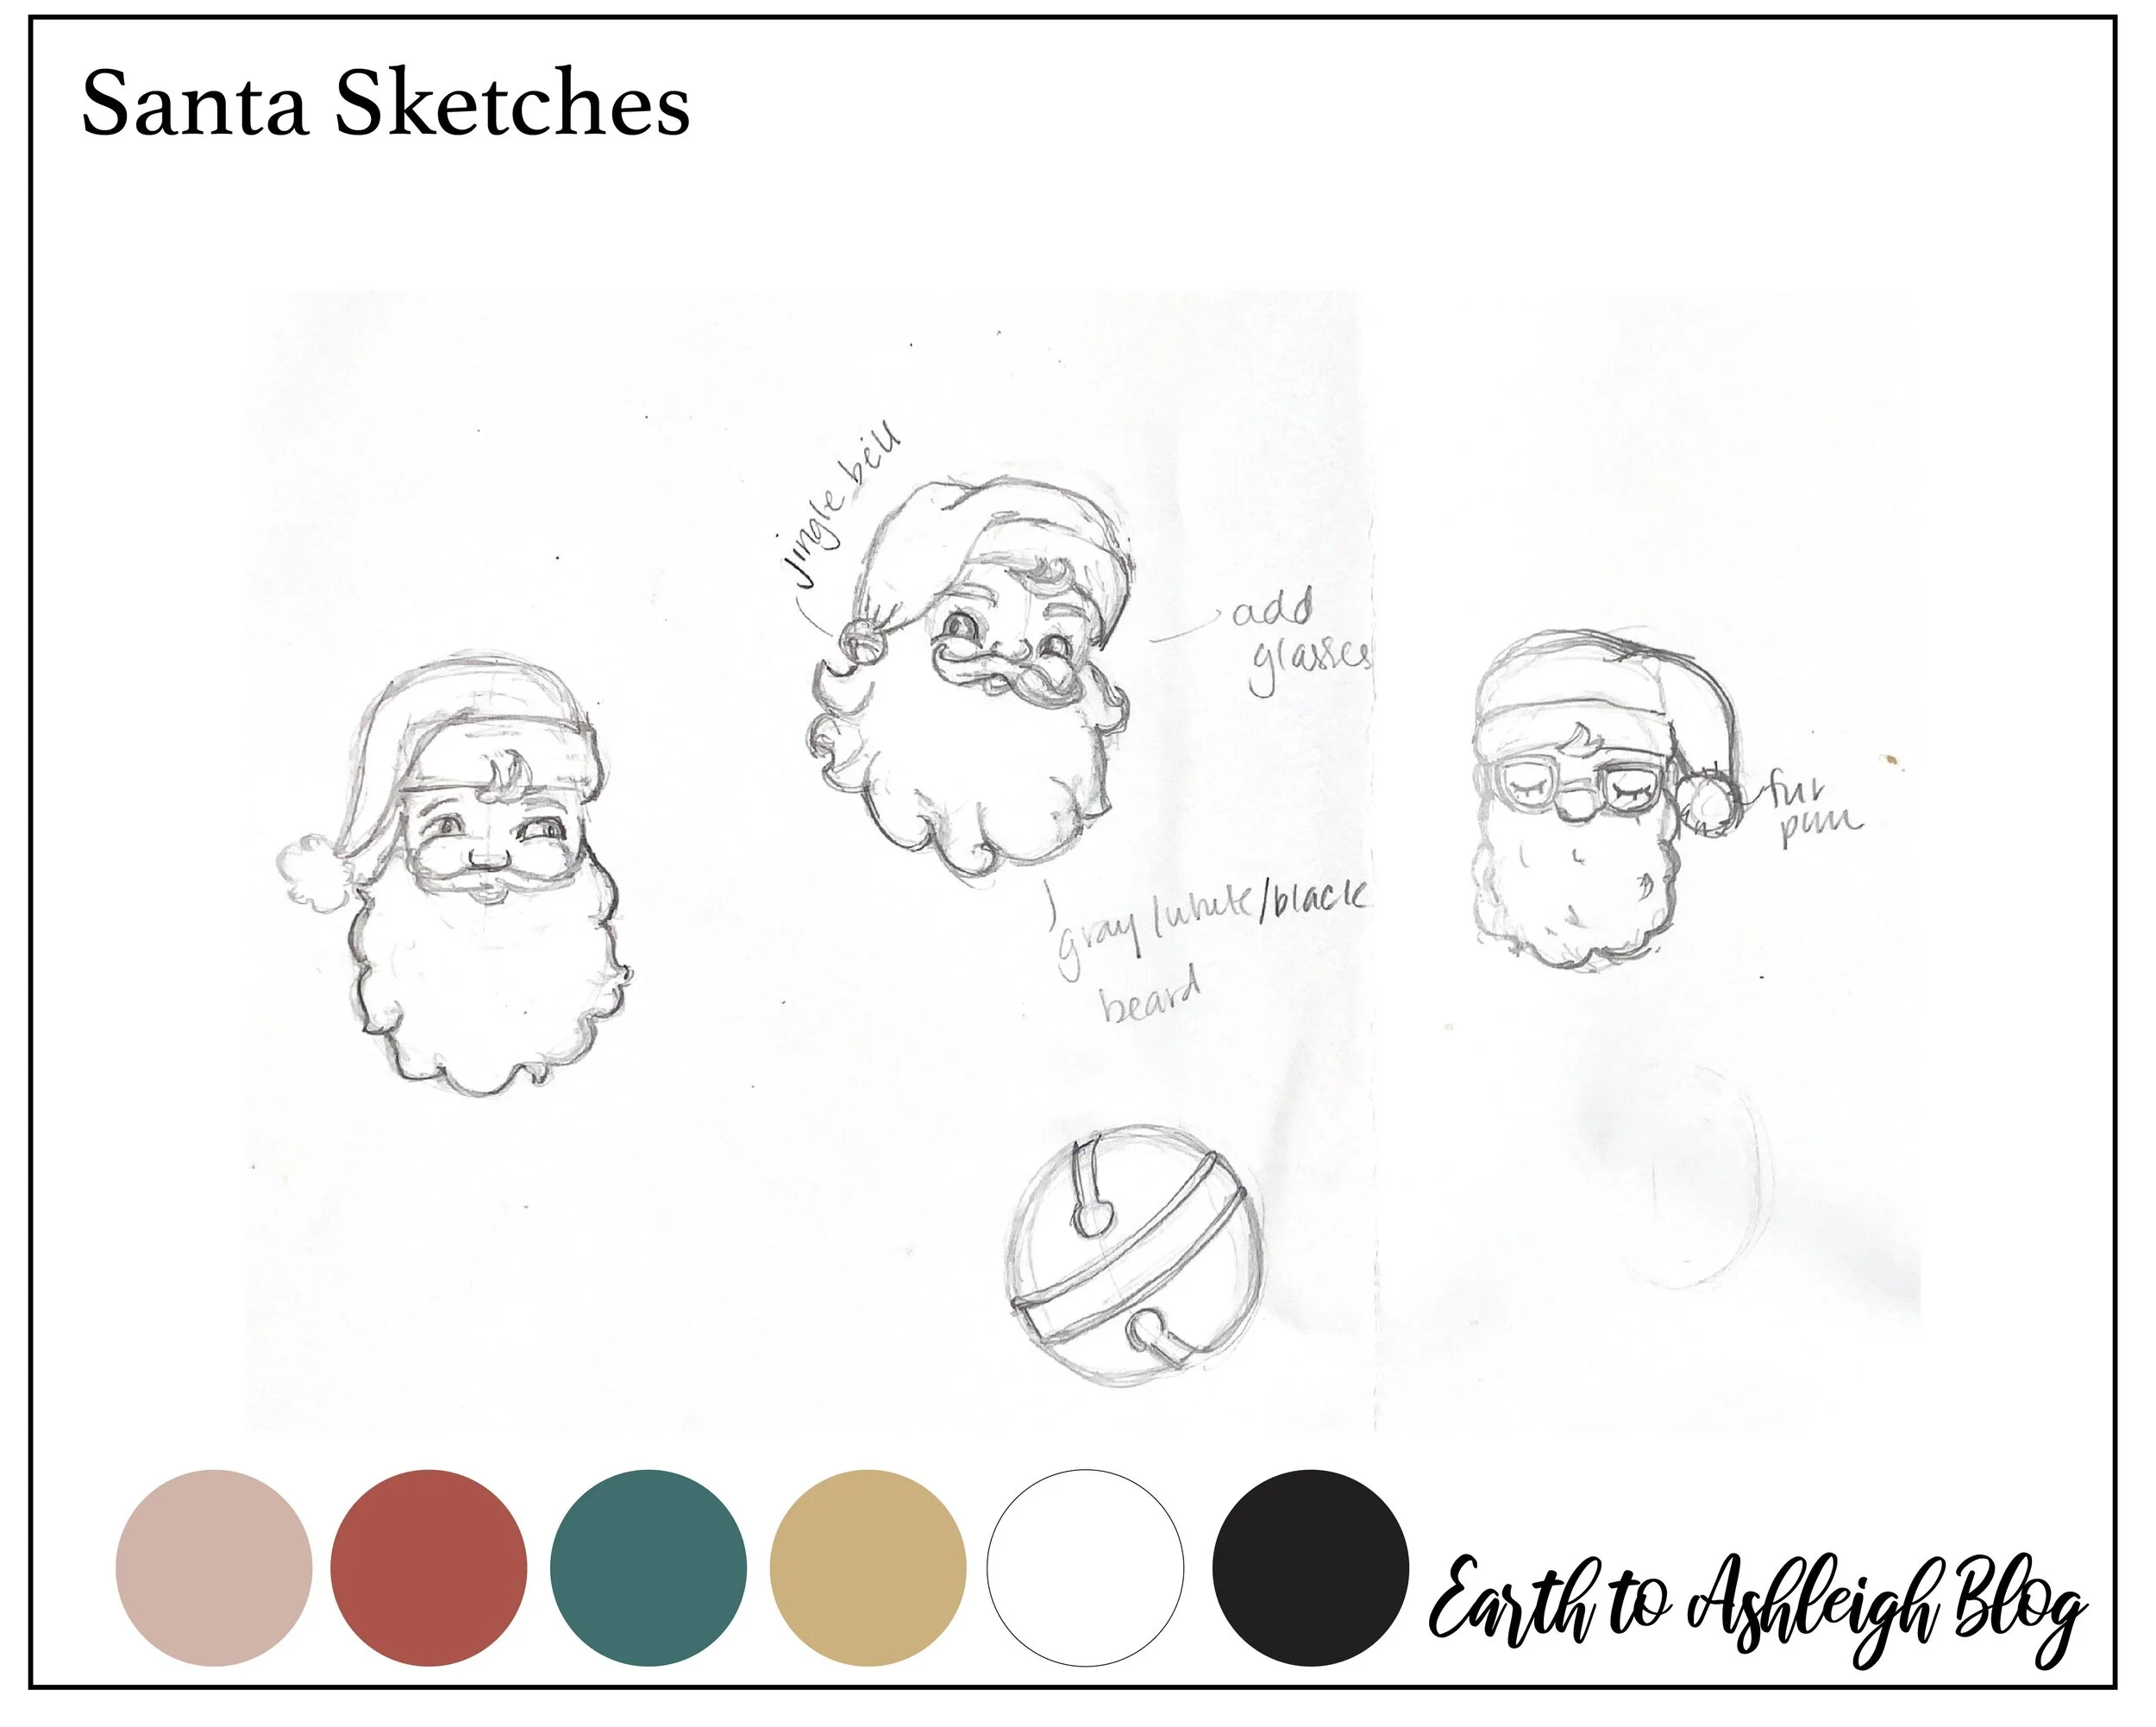
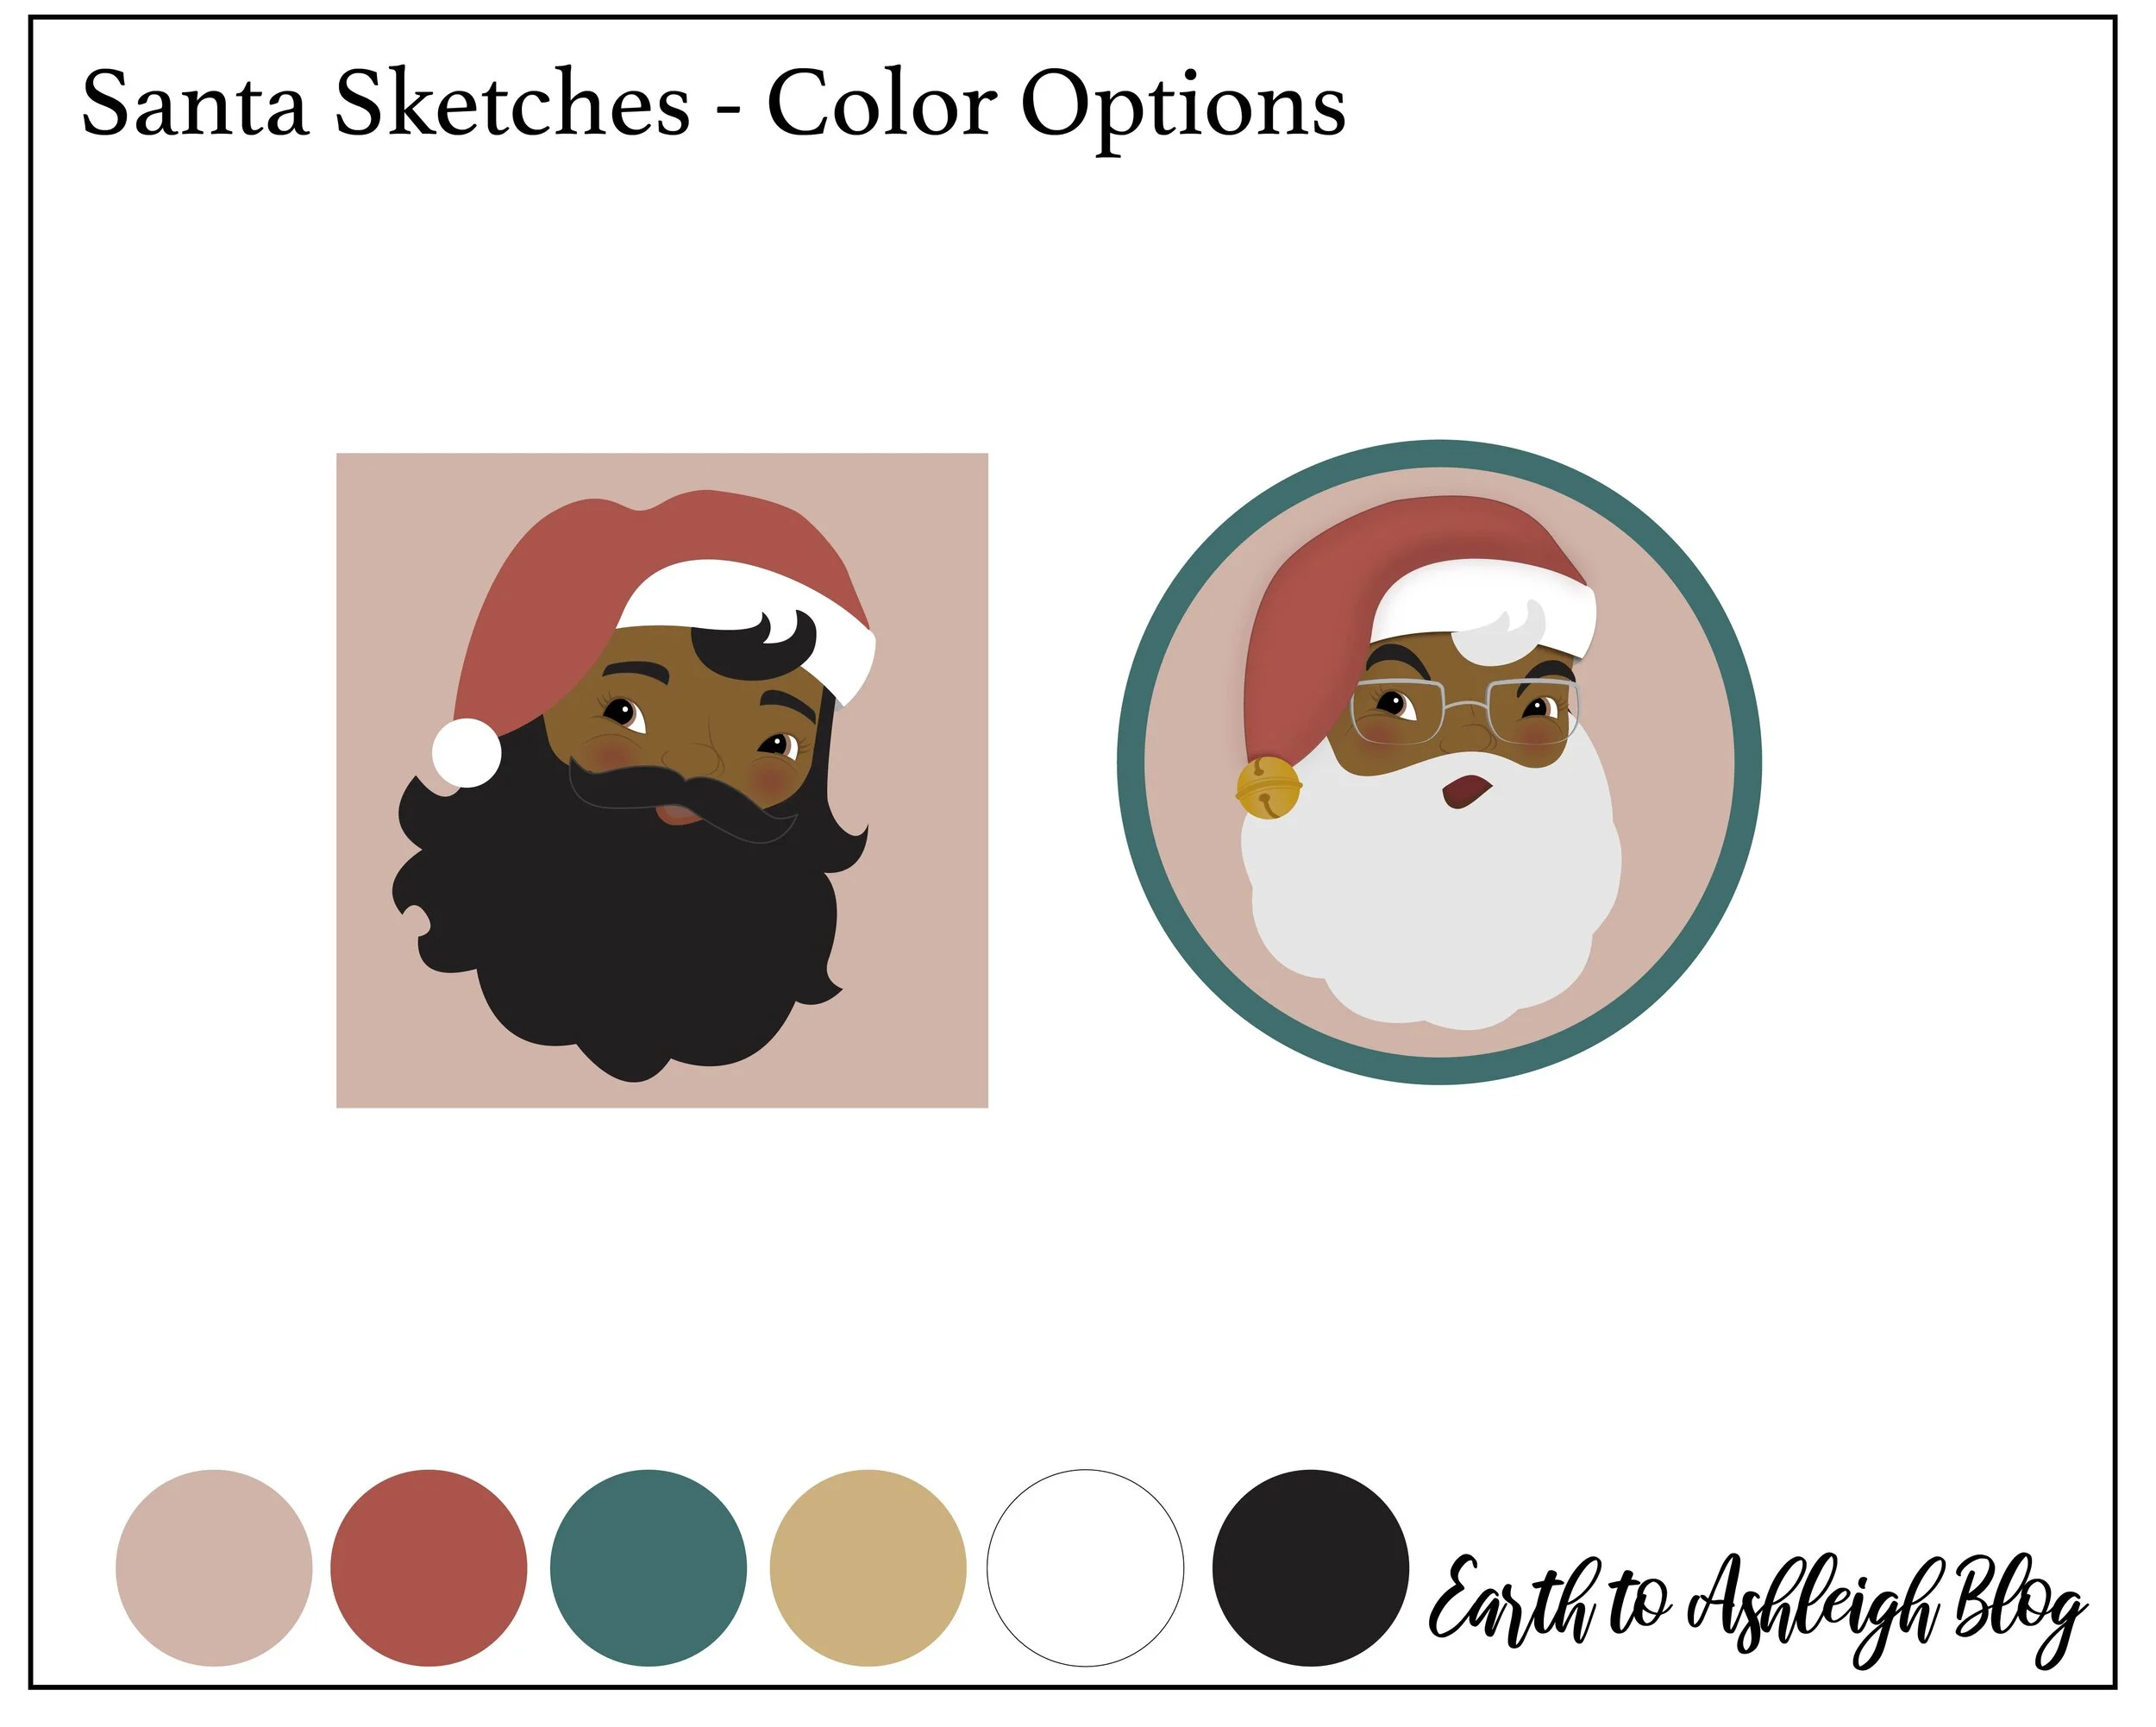
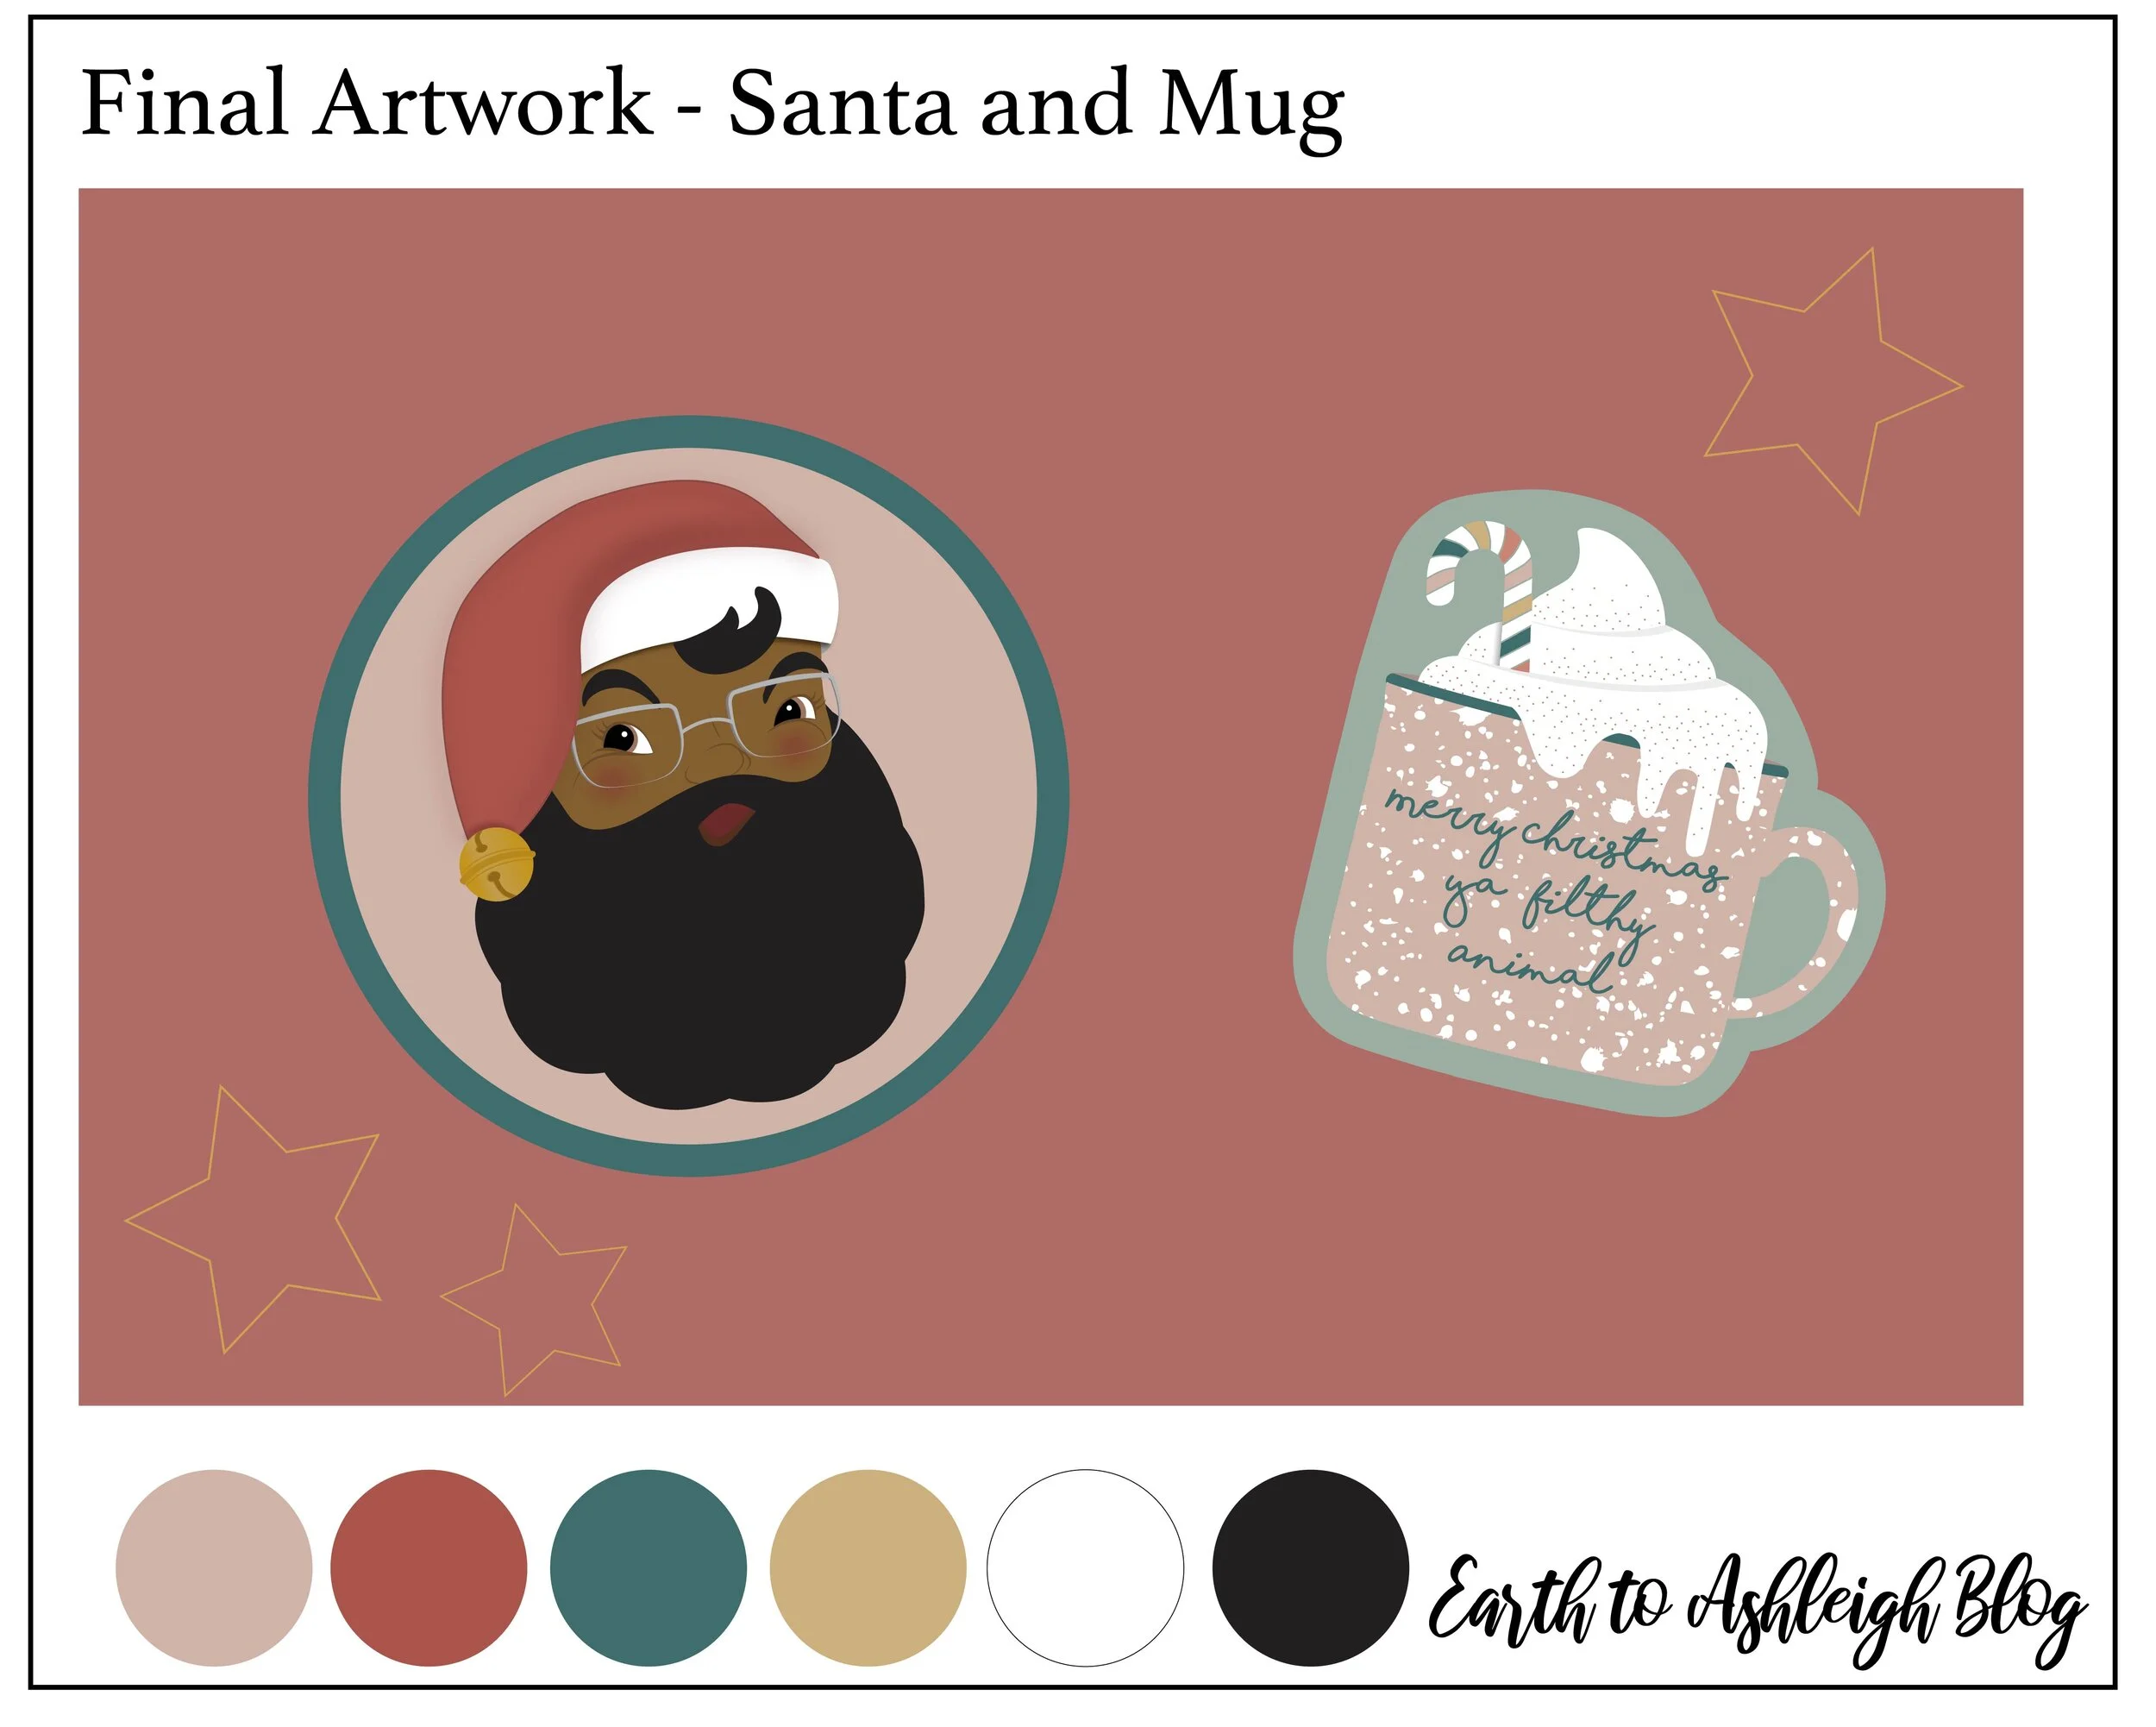
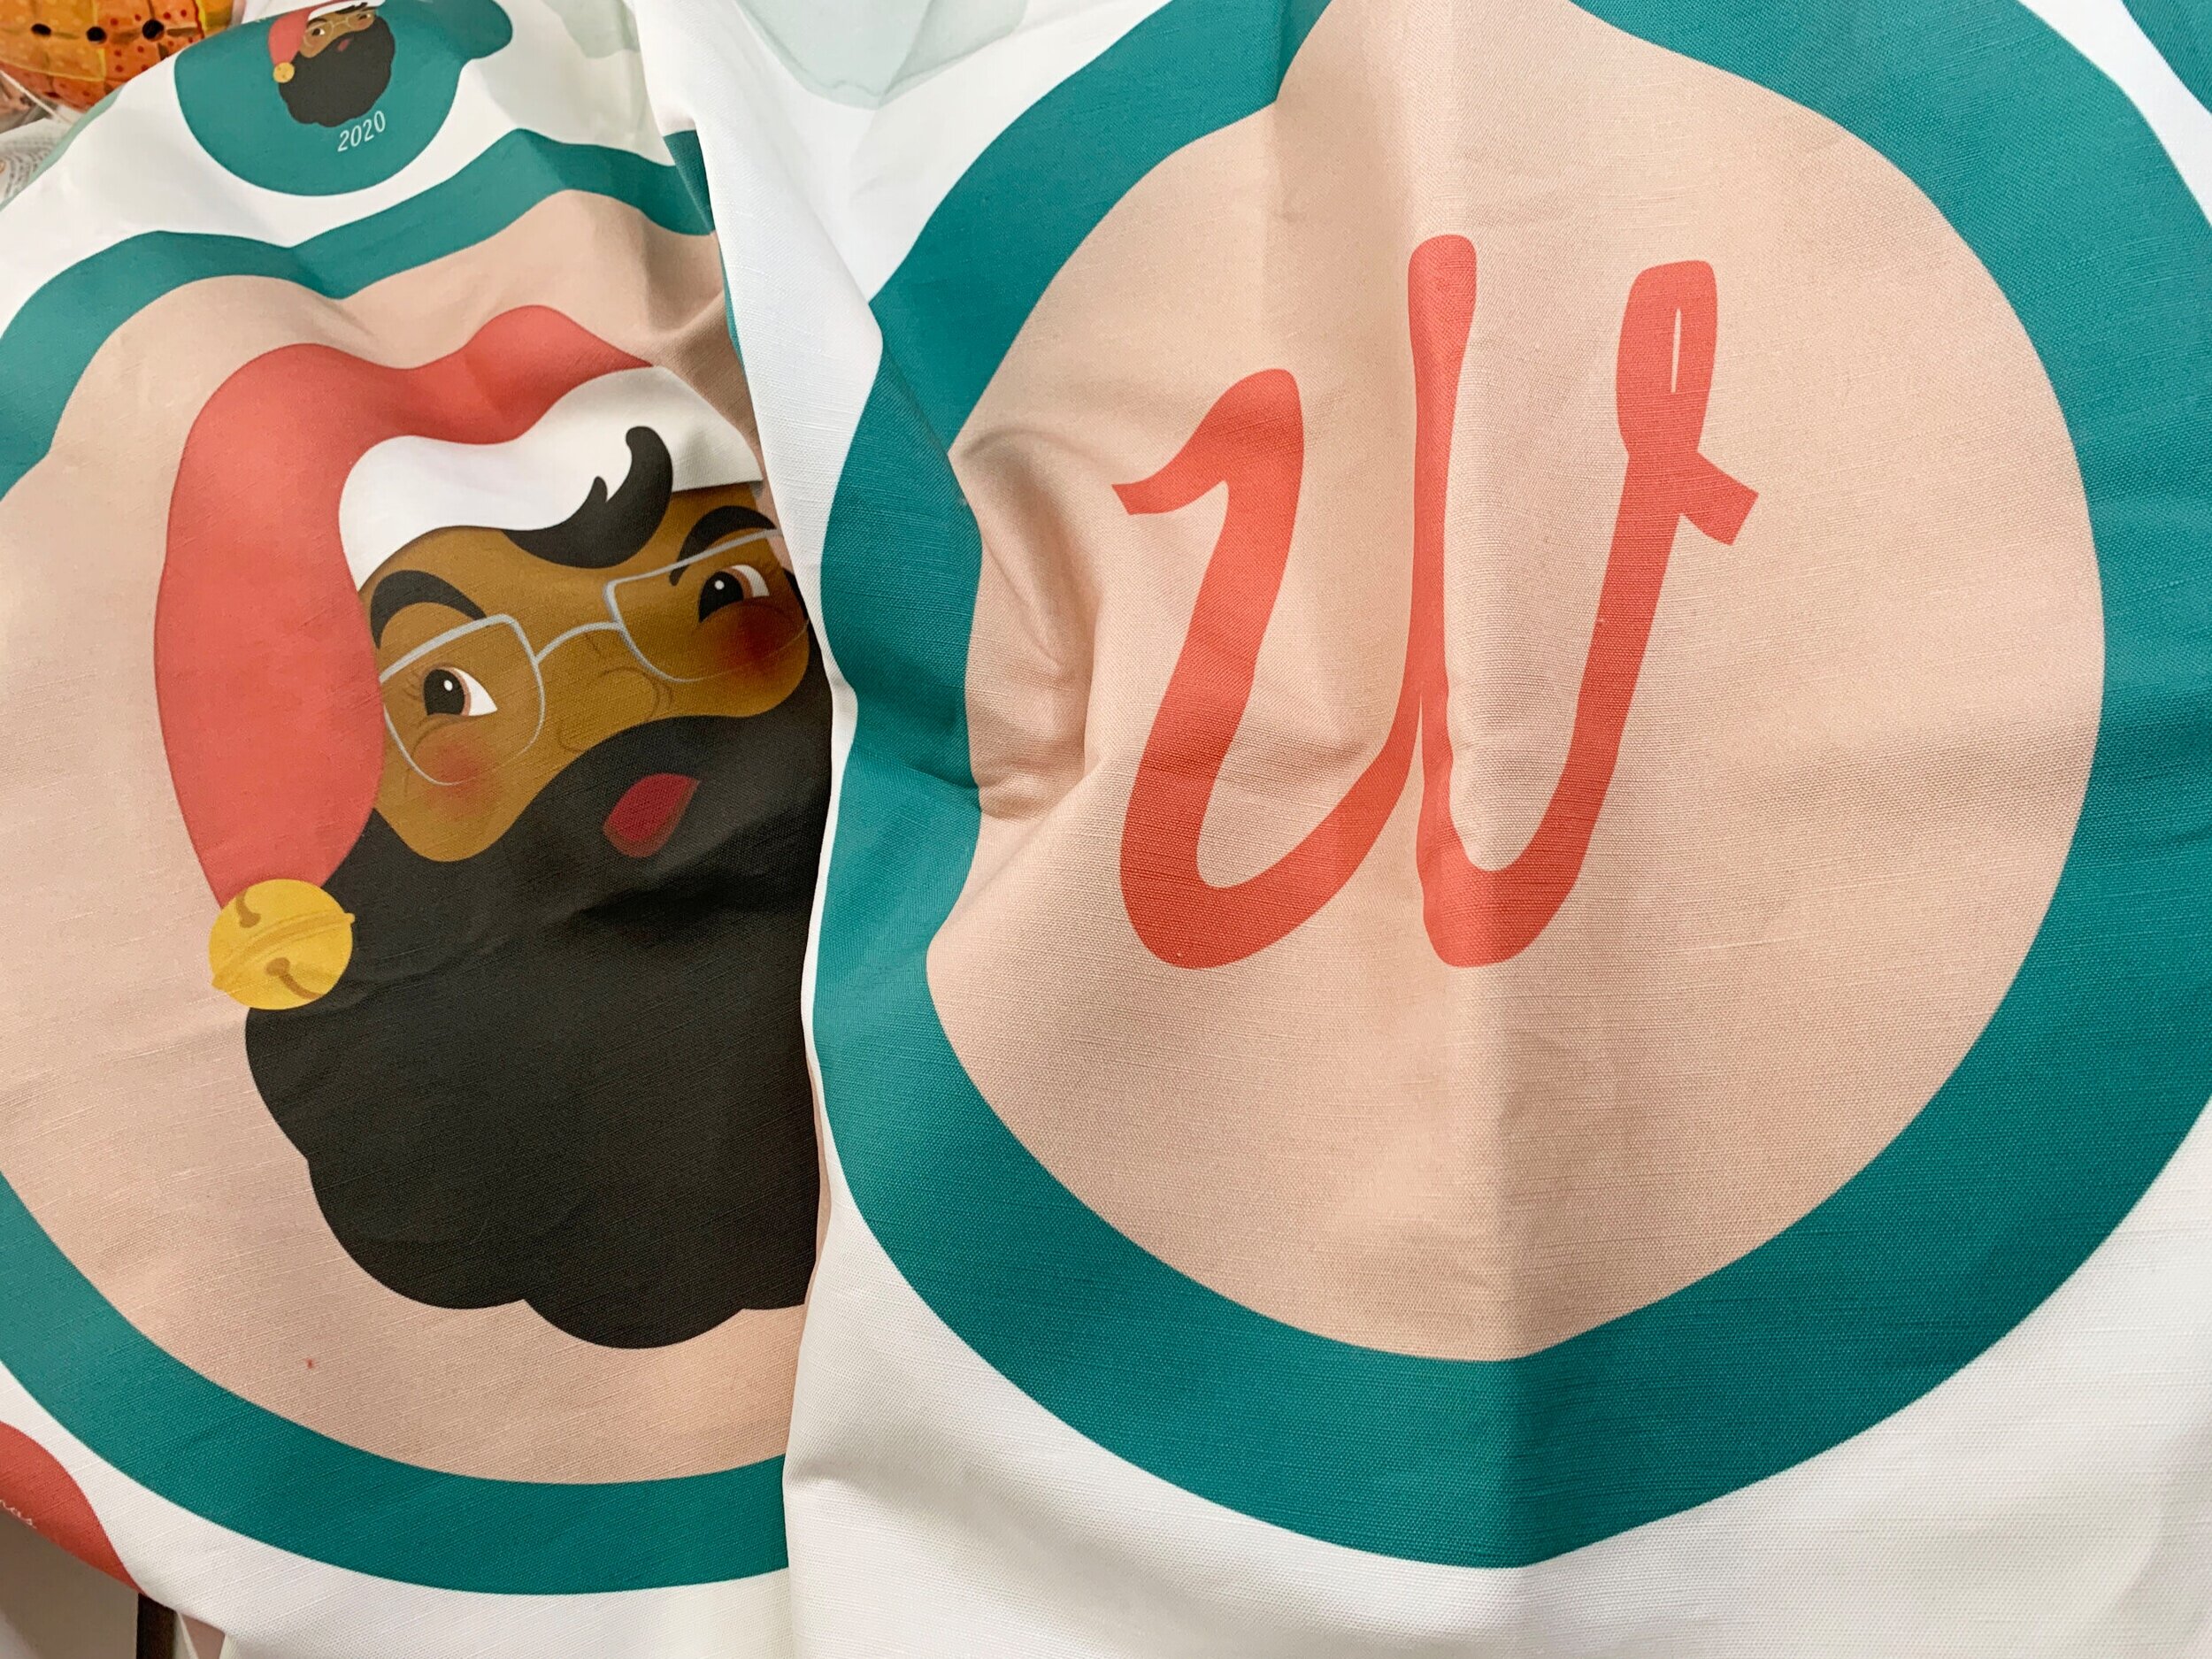
Anyhow, back to the pillows. I designed them using adobe illustrator and I had them printed with Spoonflower, a on-demand, digital printing company that prints custom fabric, wallpaper, and gift wrap. If designing a pillow sounds like more than you signed up for, then fear not. Spoonflower has a ton of season less options readily available.
I also wanted to mention that this isn’t a sponsored ad. I’m just a fan of their services, and have used them for numerous projects over the years. The artwork is generated by independent artists. So if you forgo a custom design, and purchase a pattern from that expansive library, then you’ll also be supporting a small business.
Materials & Equipment
½ yard fabric (check out these pillow options on Spoonflower)
Coordinating thread
Poly fill stuffing
Sewing machine
Needle
Ball head pins
Pin Cushion (optional)
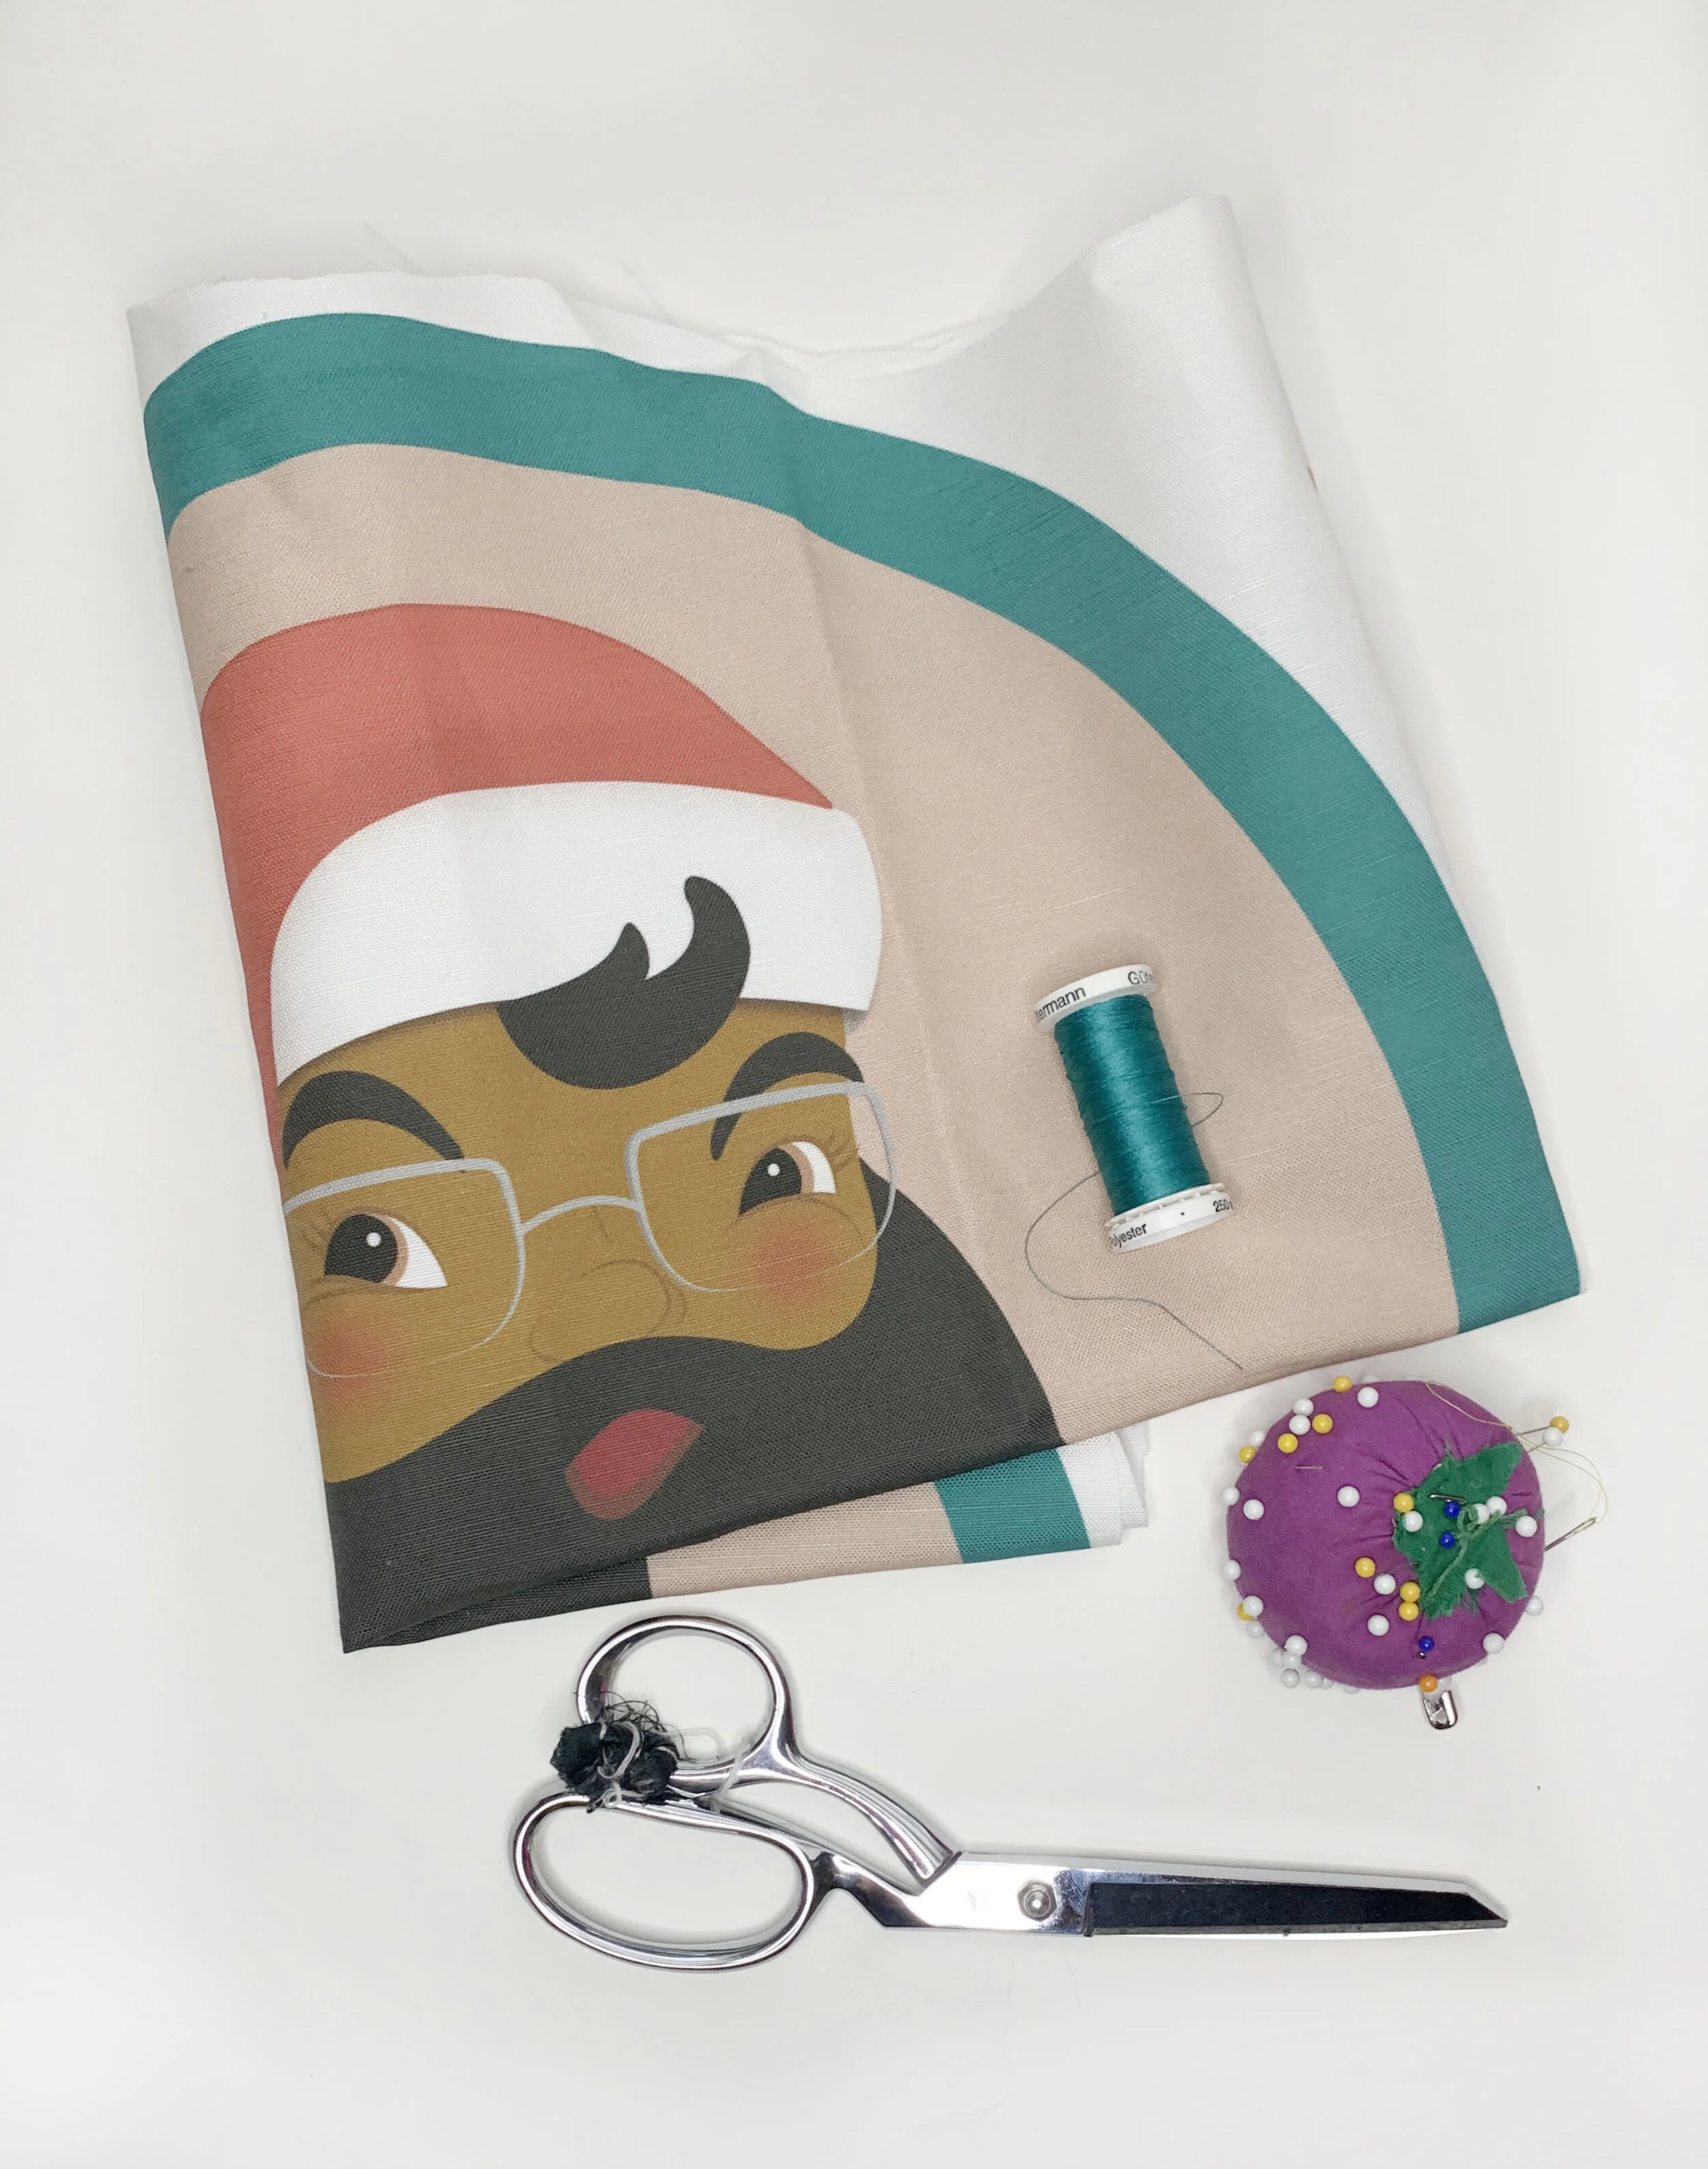
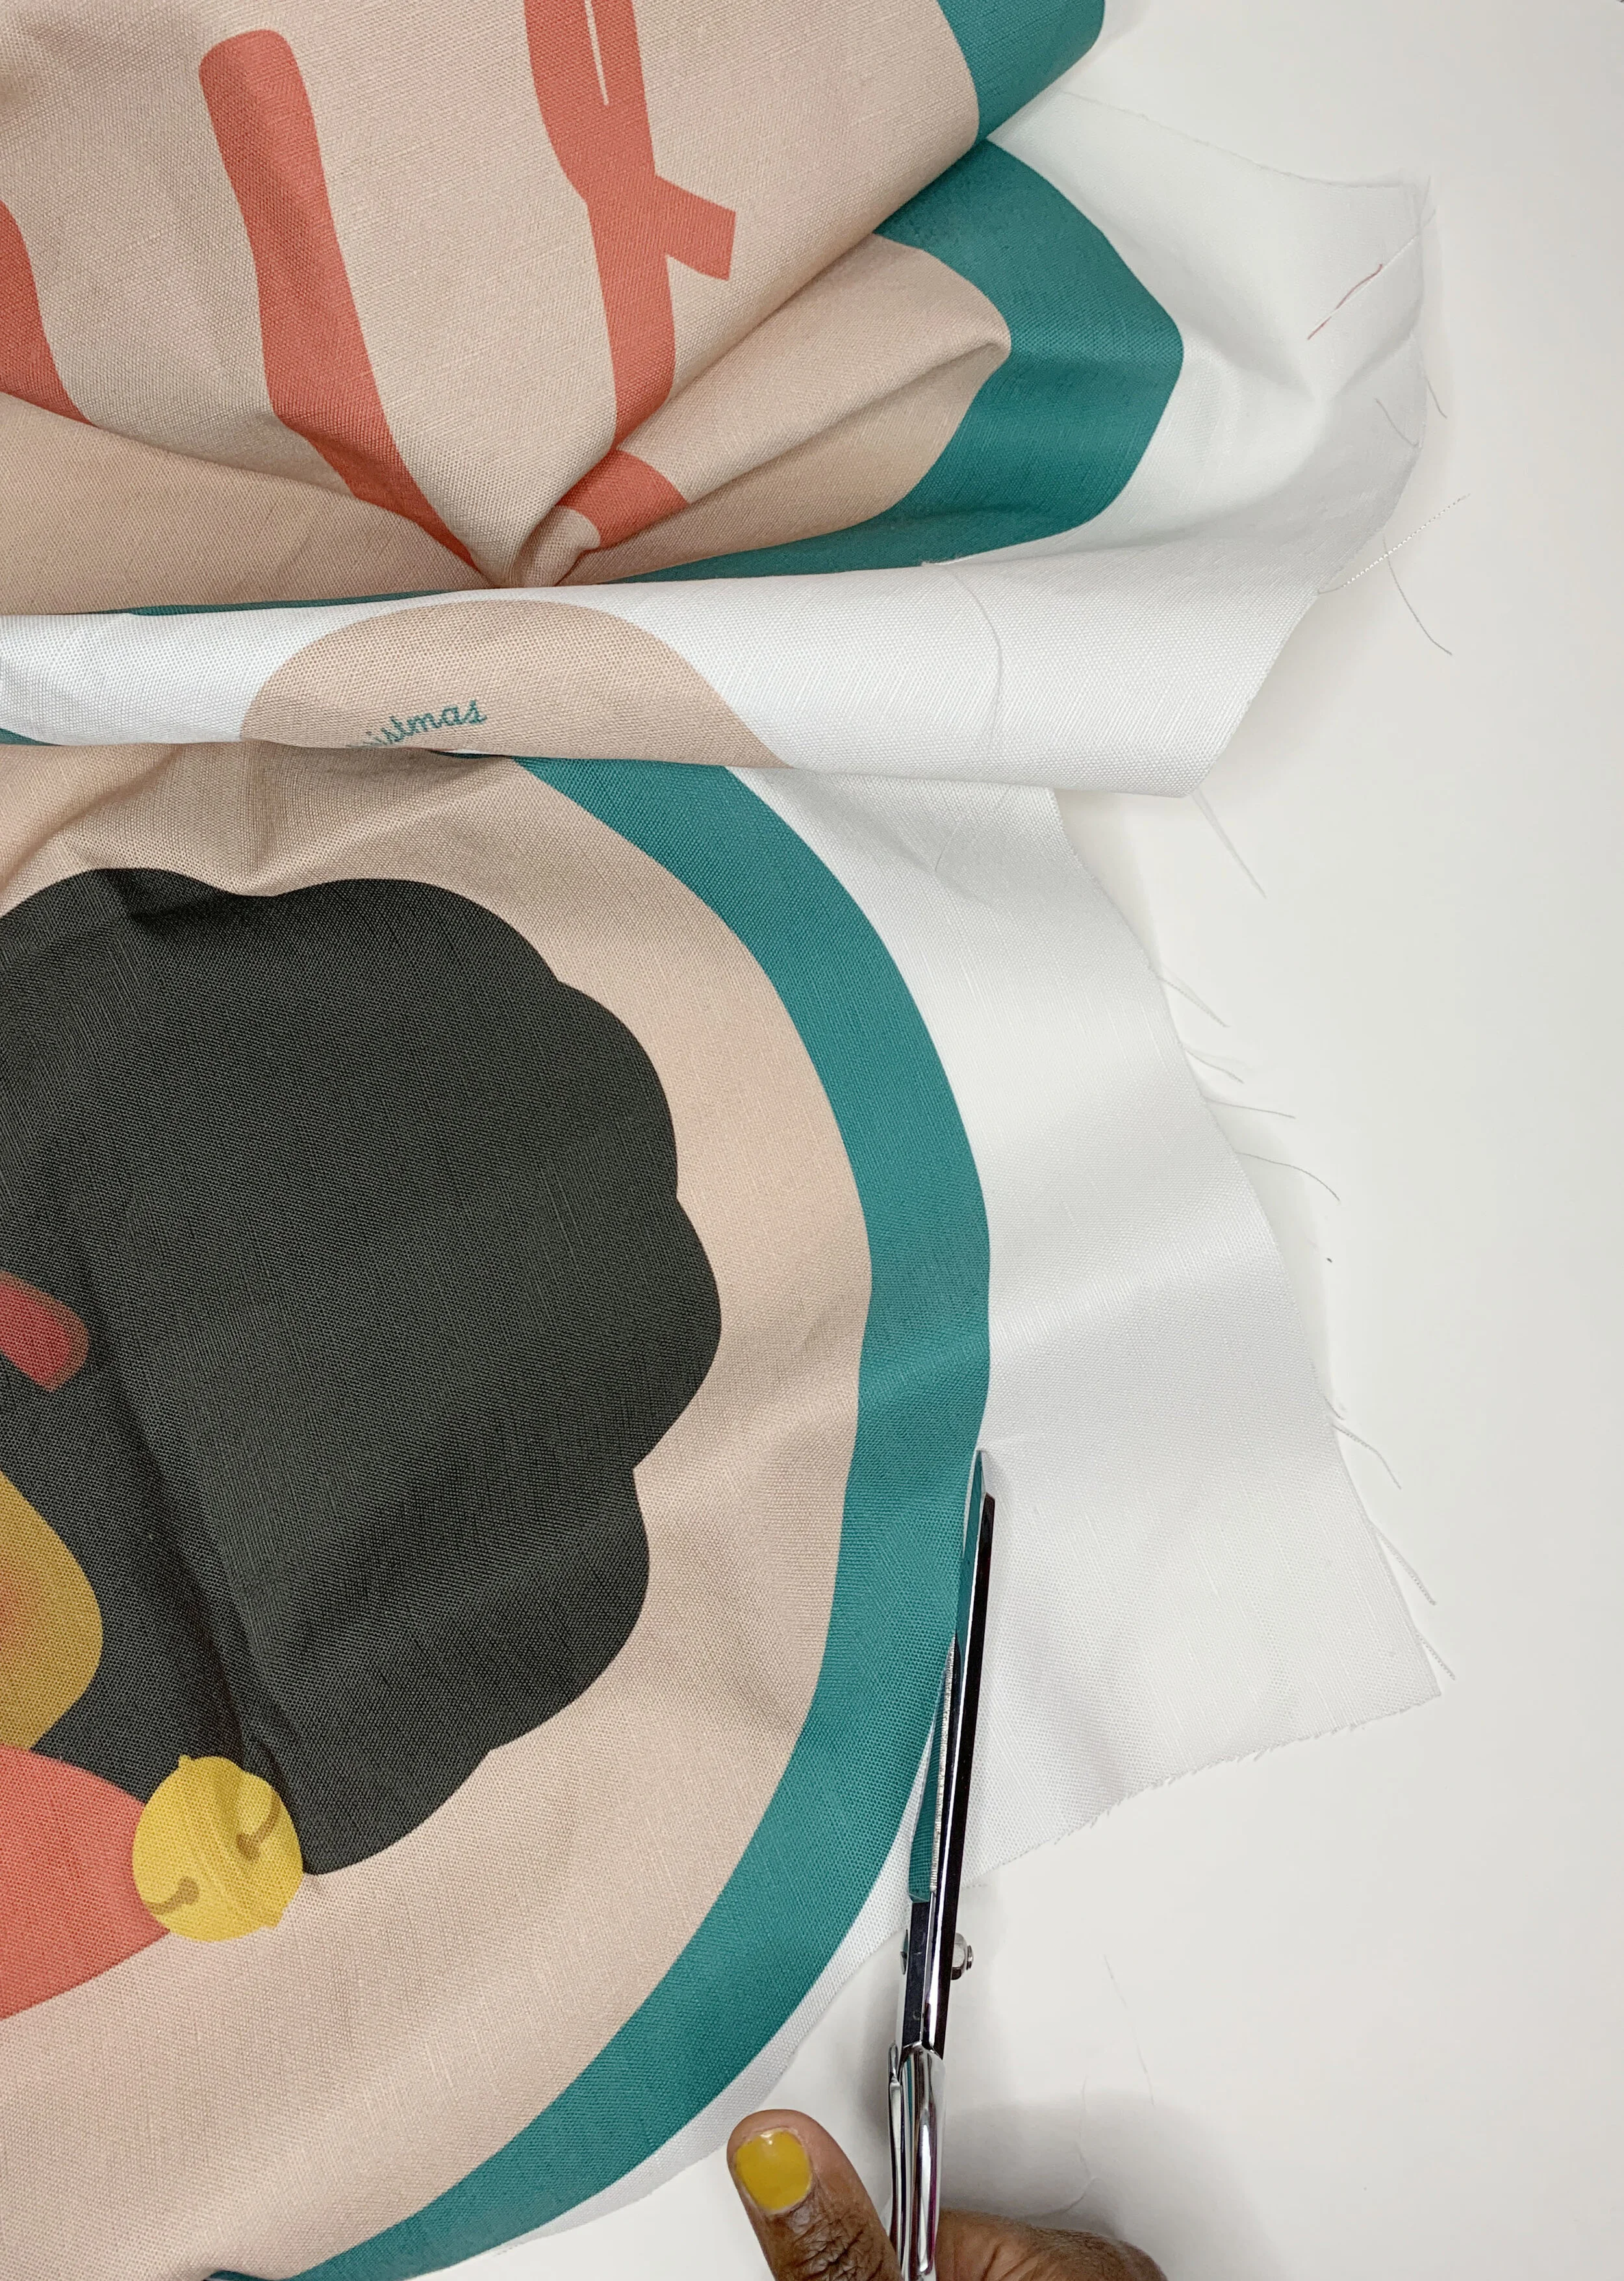
Now let’s make this pillow. Start by cutting out your pieces for front and back of pillow.
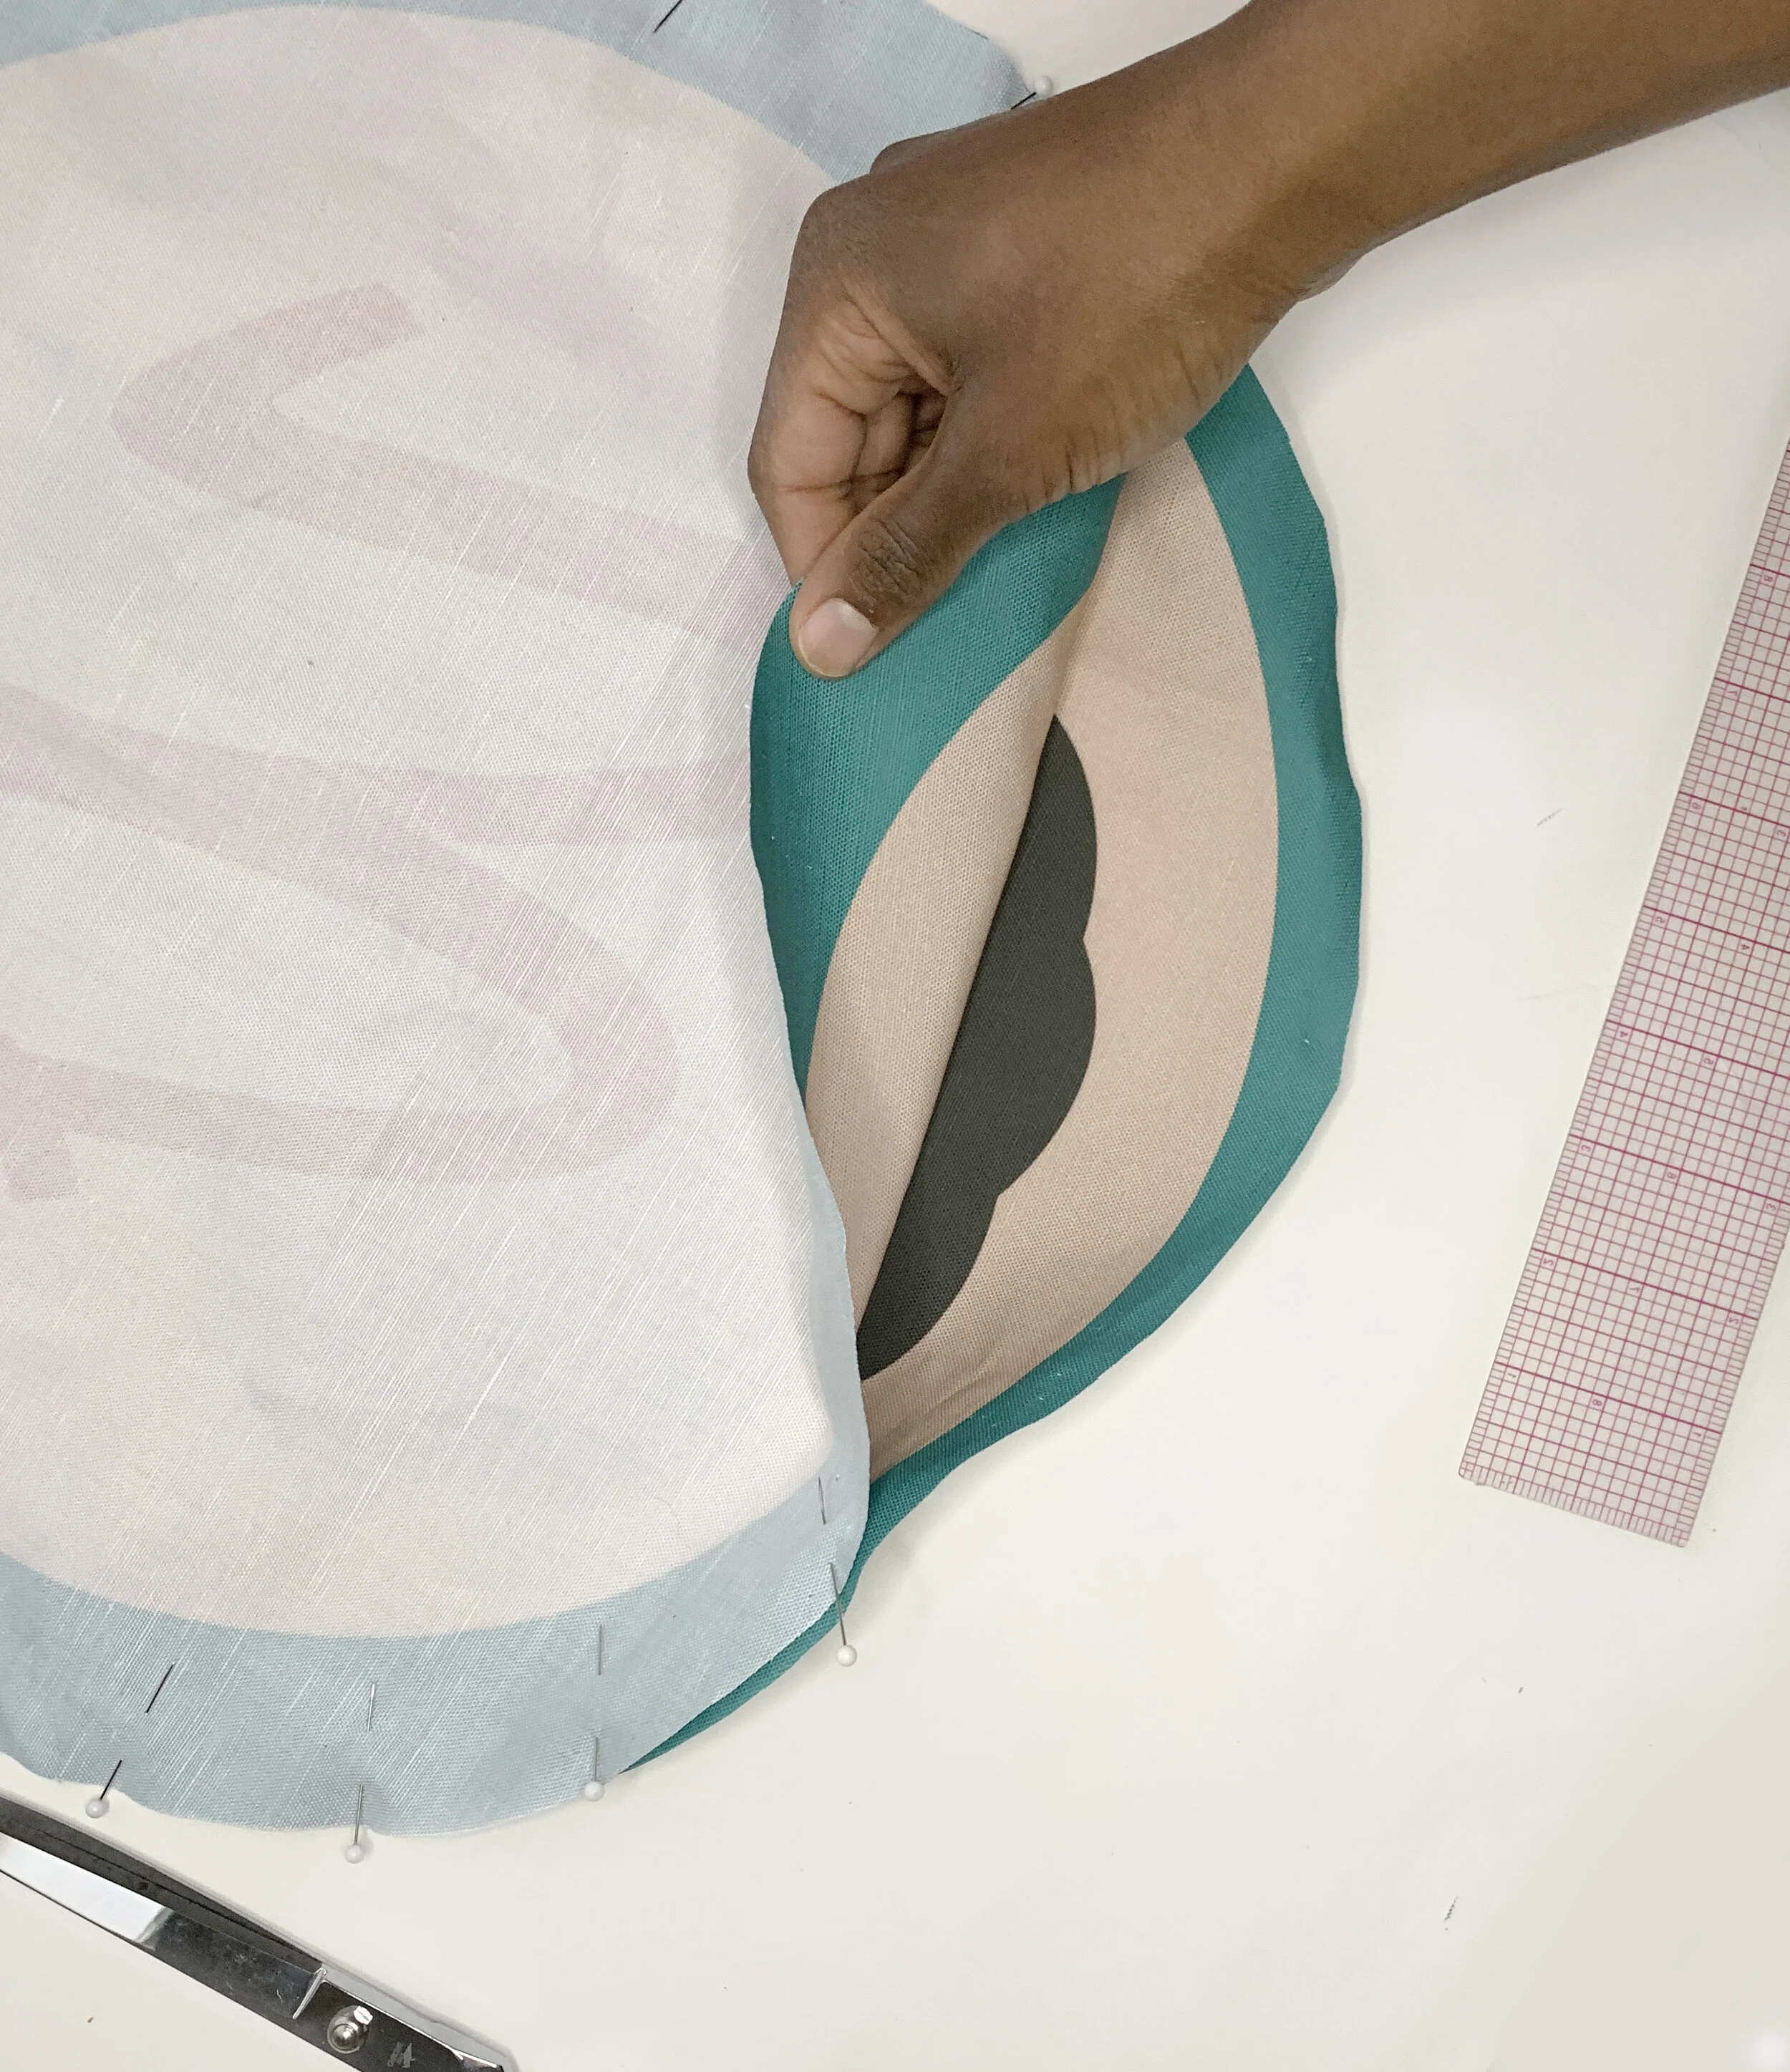
Lay the pretty sides of fabric together. Use ball head pins around the edges to secure front and back pieces. I pin every couple of inches.
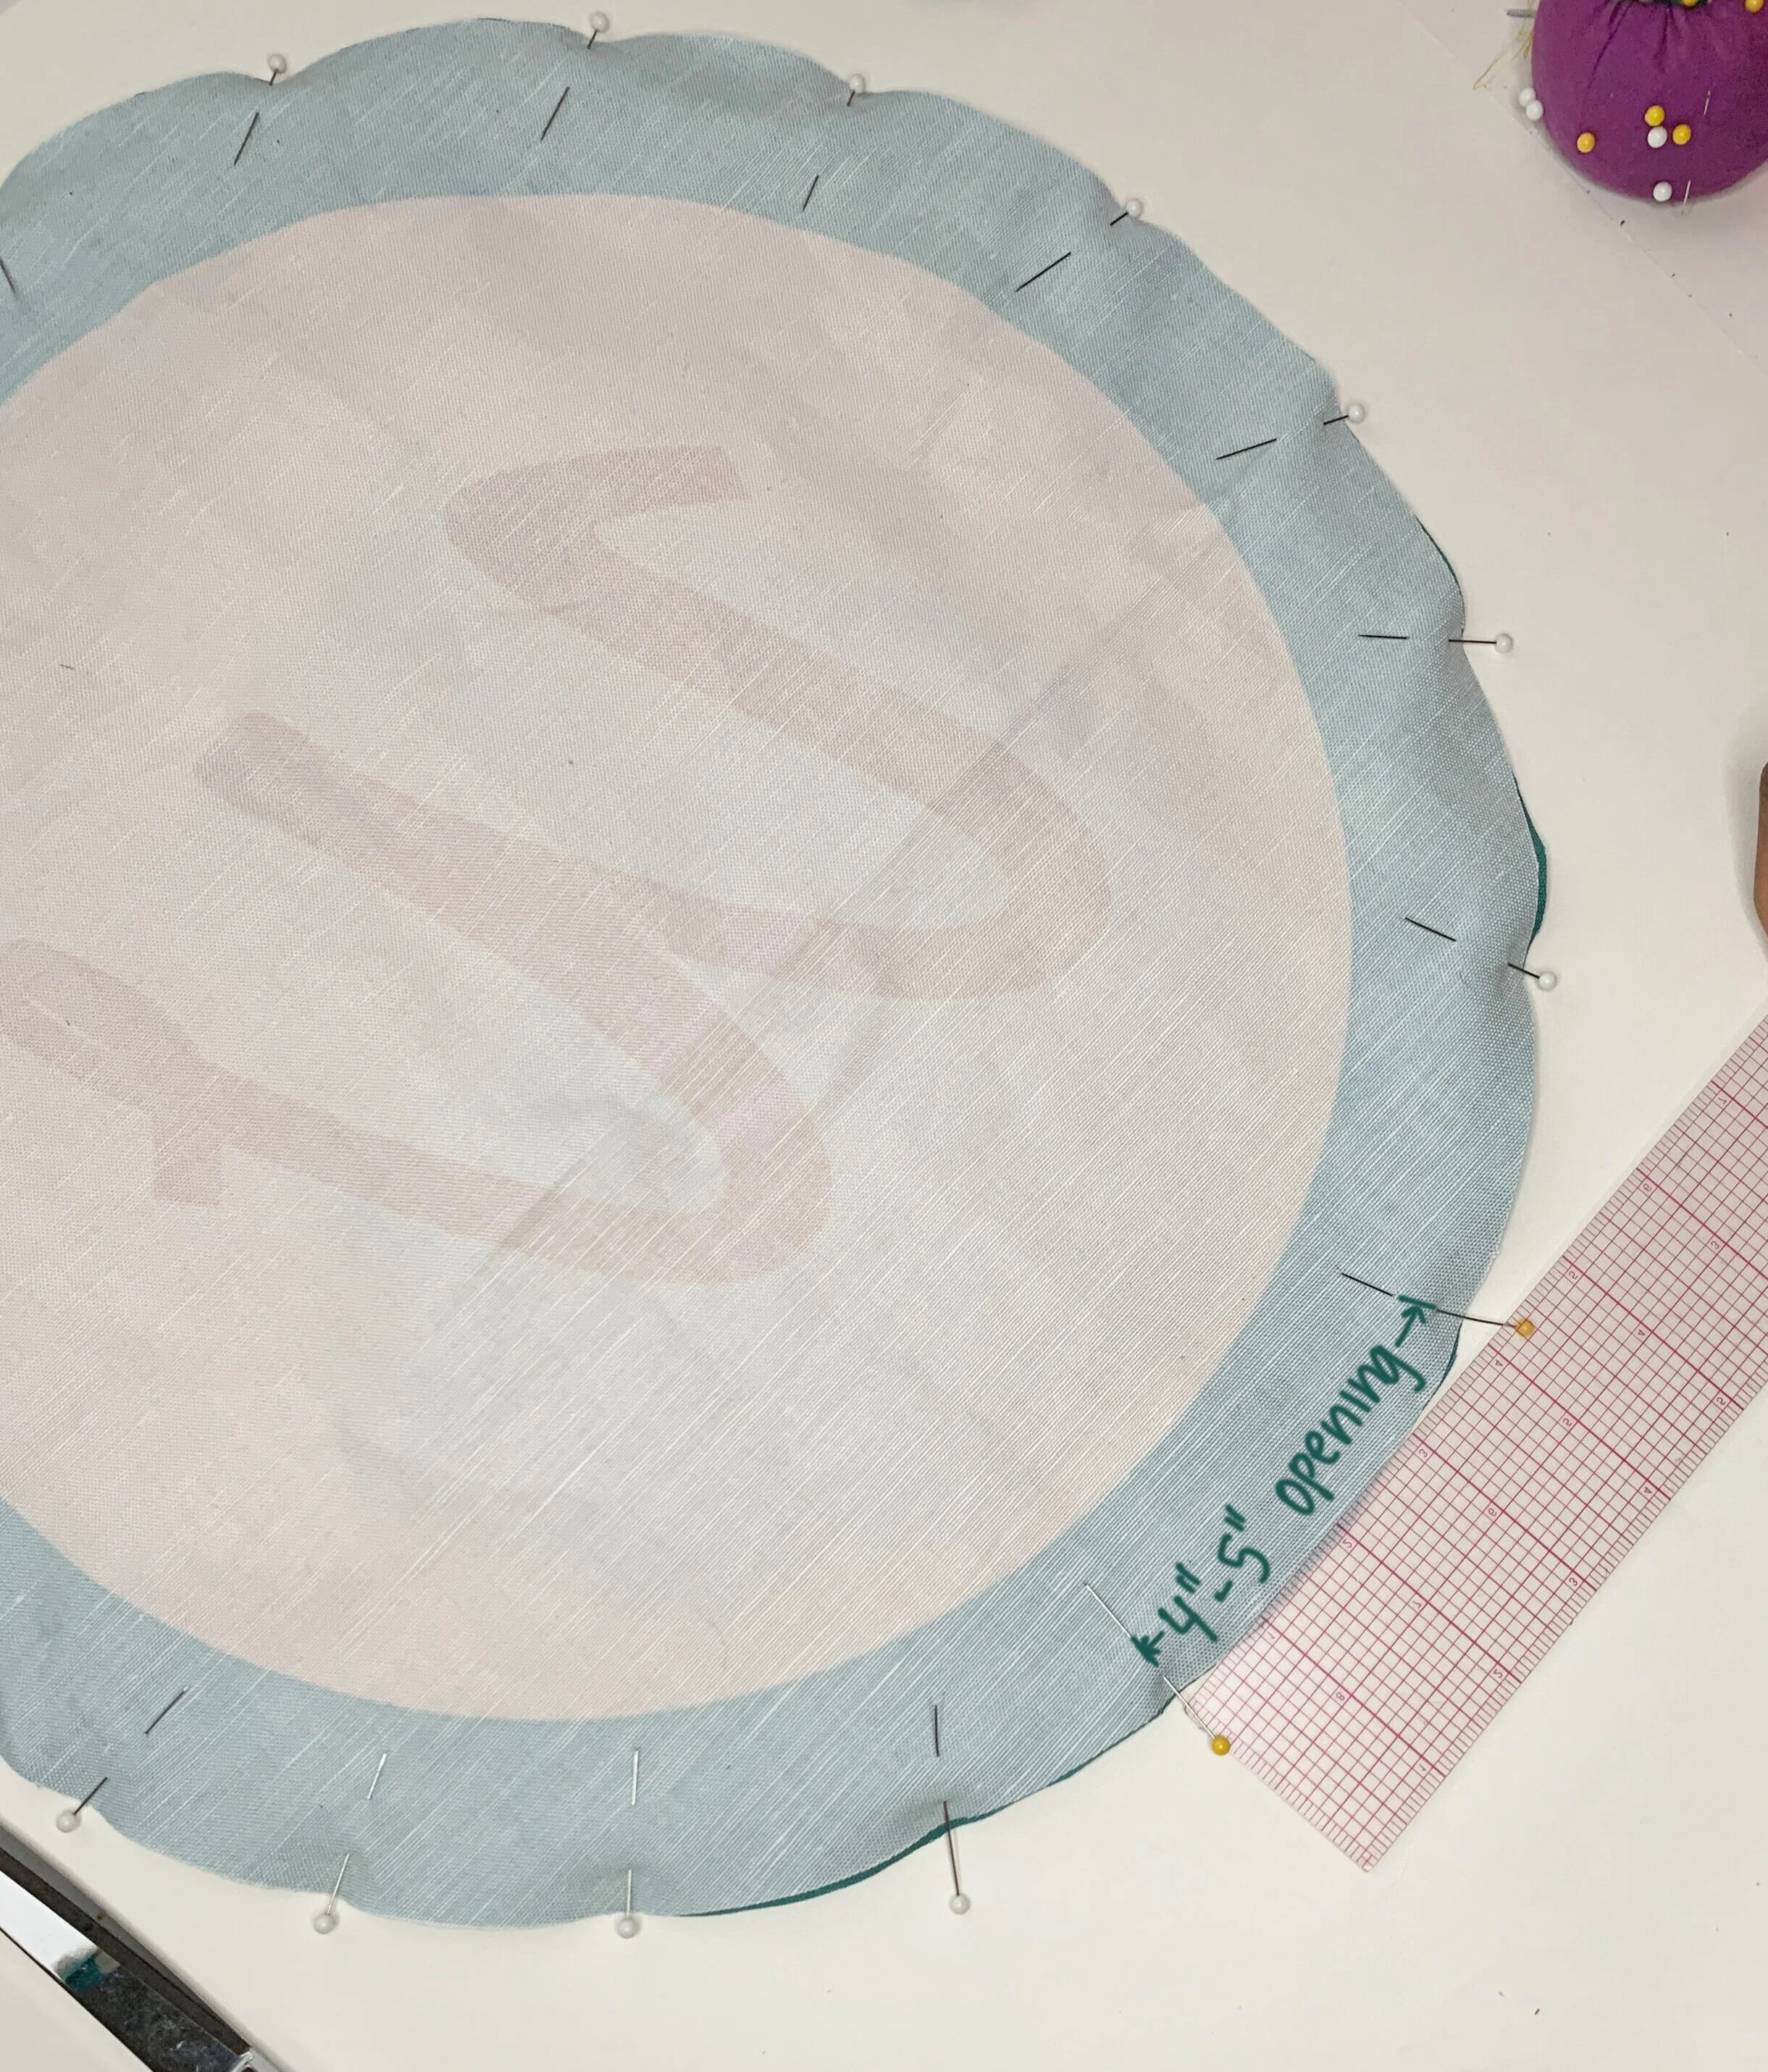
Leave a 4”-5” opening at the bottom. This hole will be used to turn your sewn pillow back to the pretty side. TIP: The hole needs to be large enough for you to stuff the pillow so keep that in mind. Also, you will have to hand stitch this hole closed, so don’t go any bigger than needed.
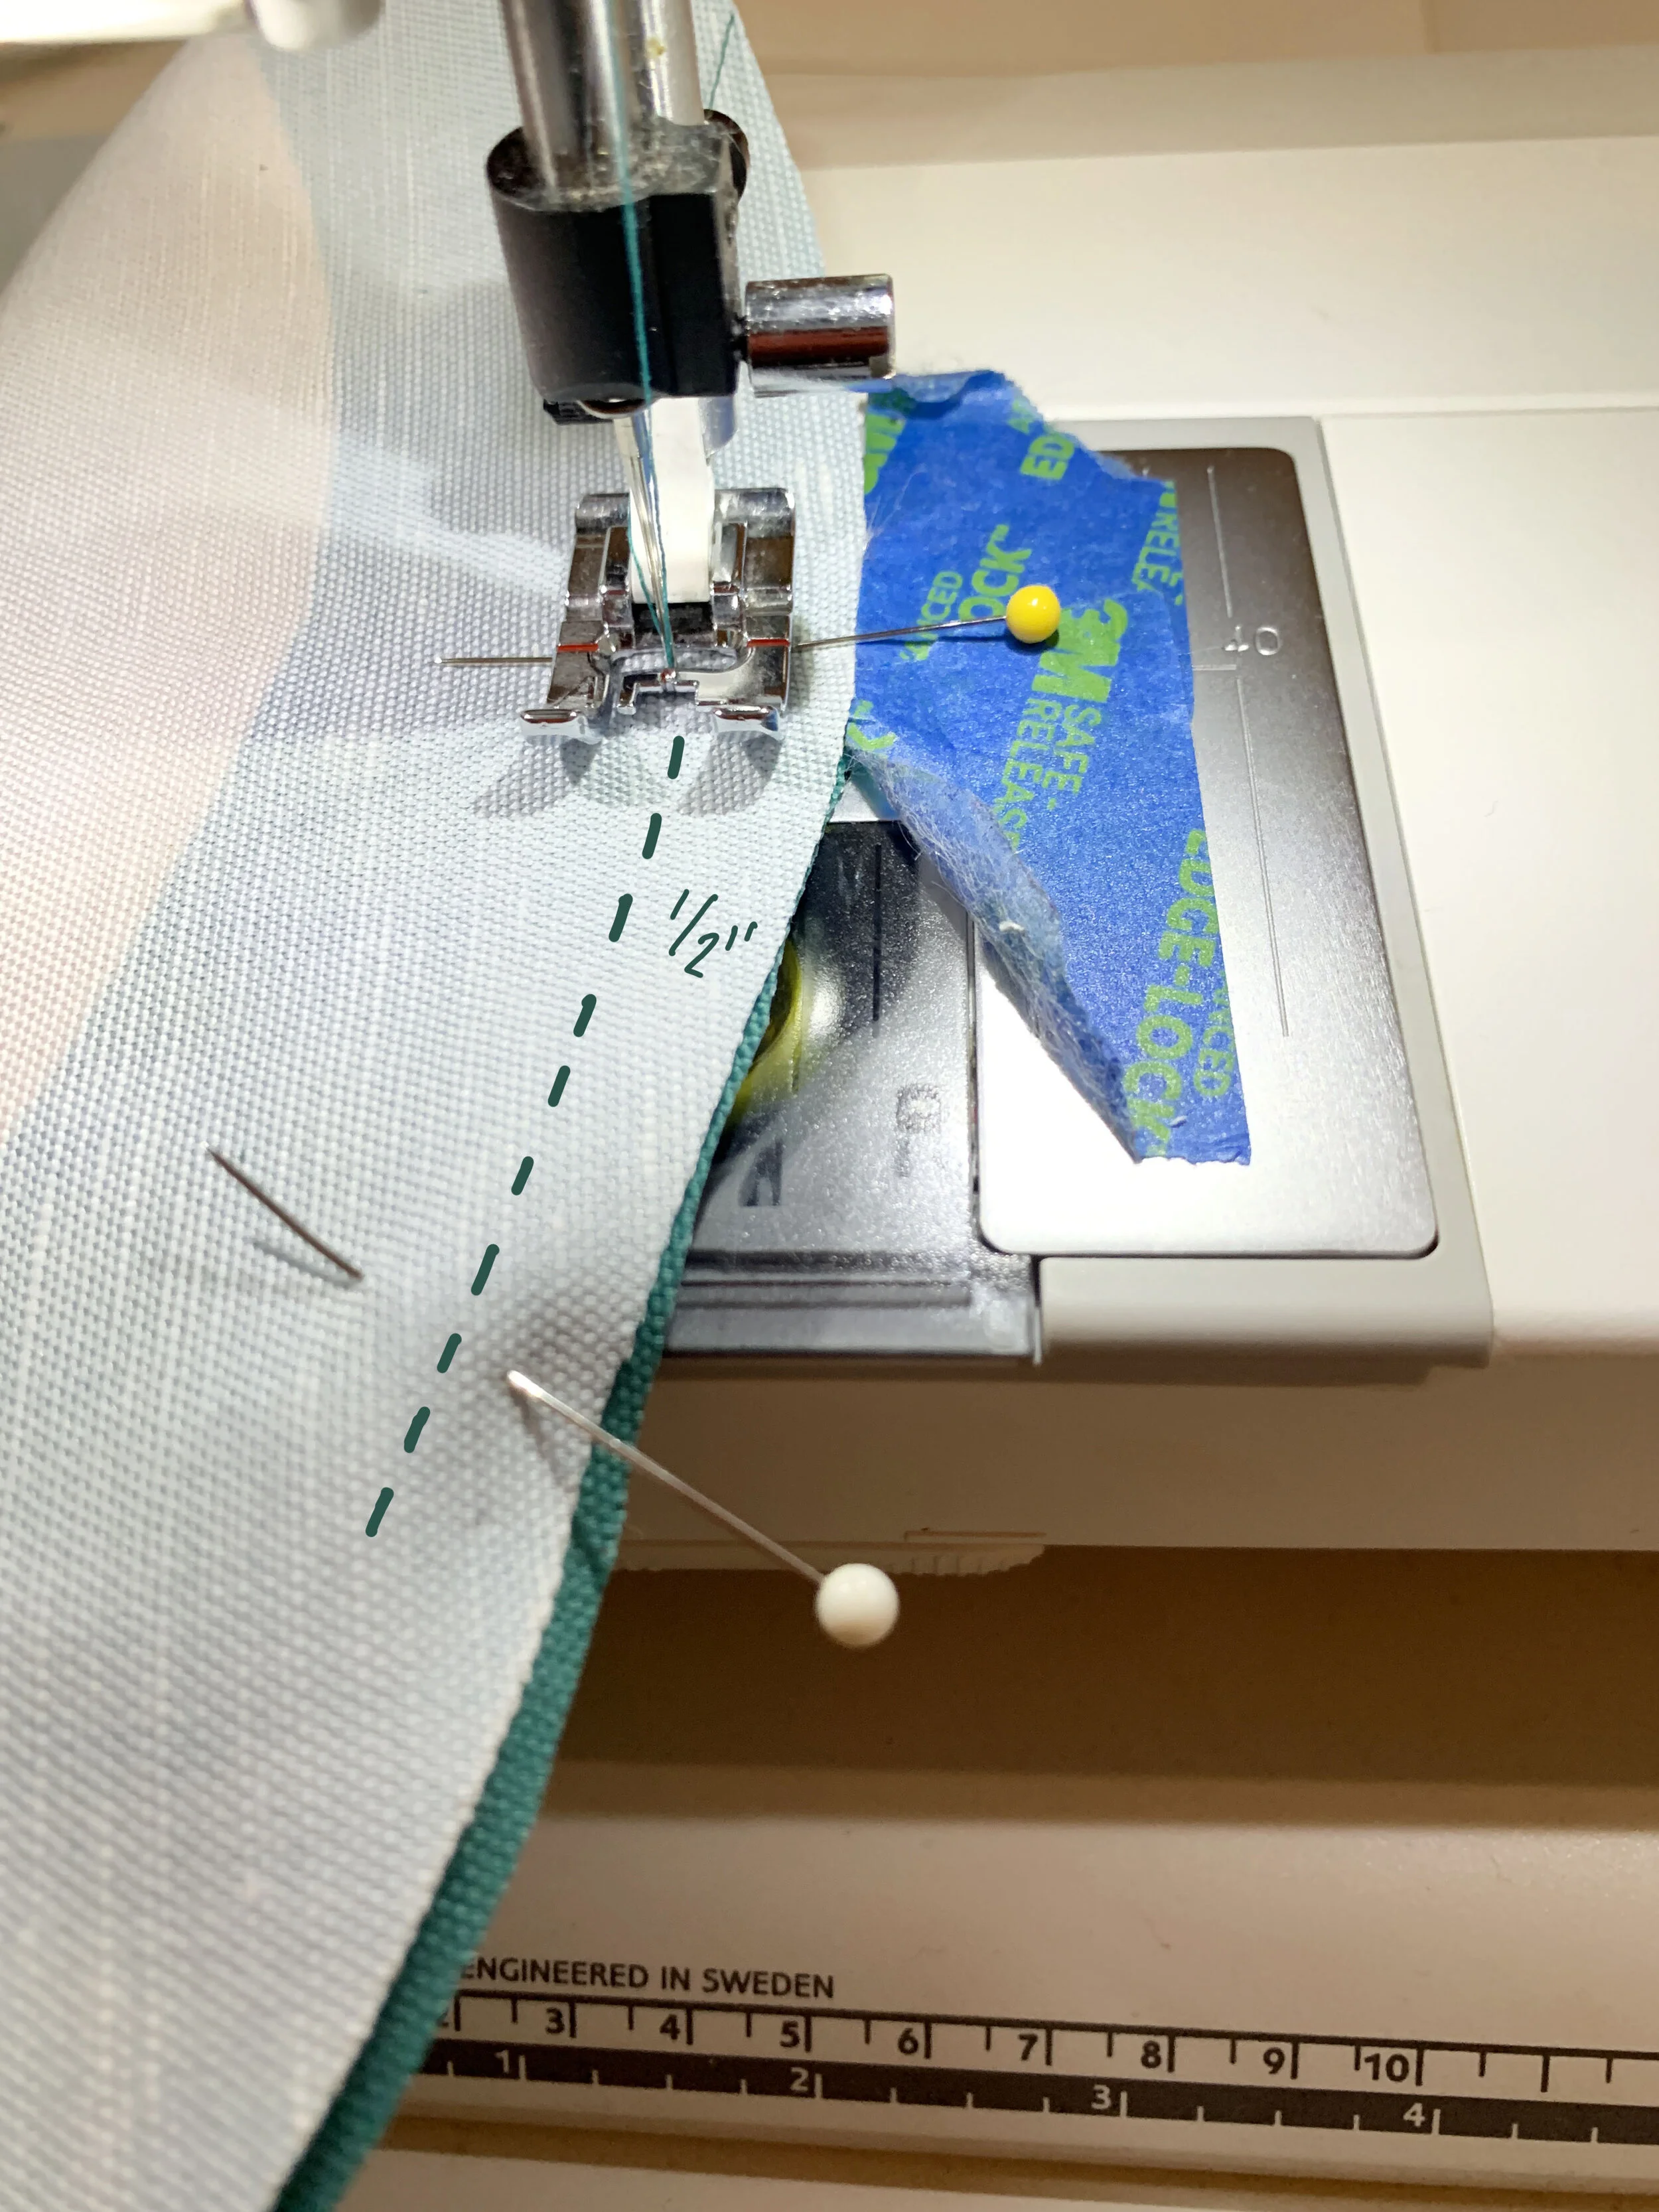
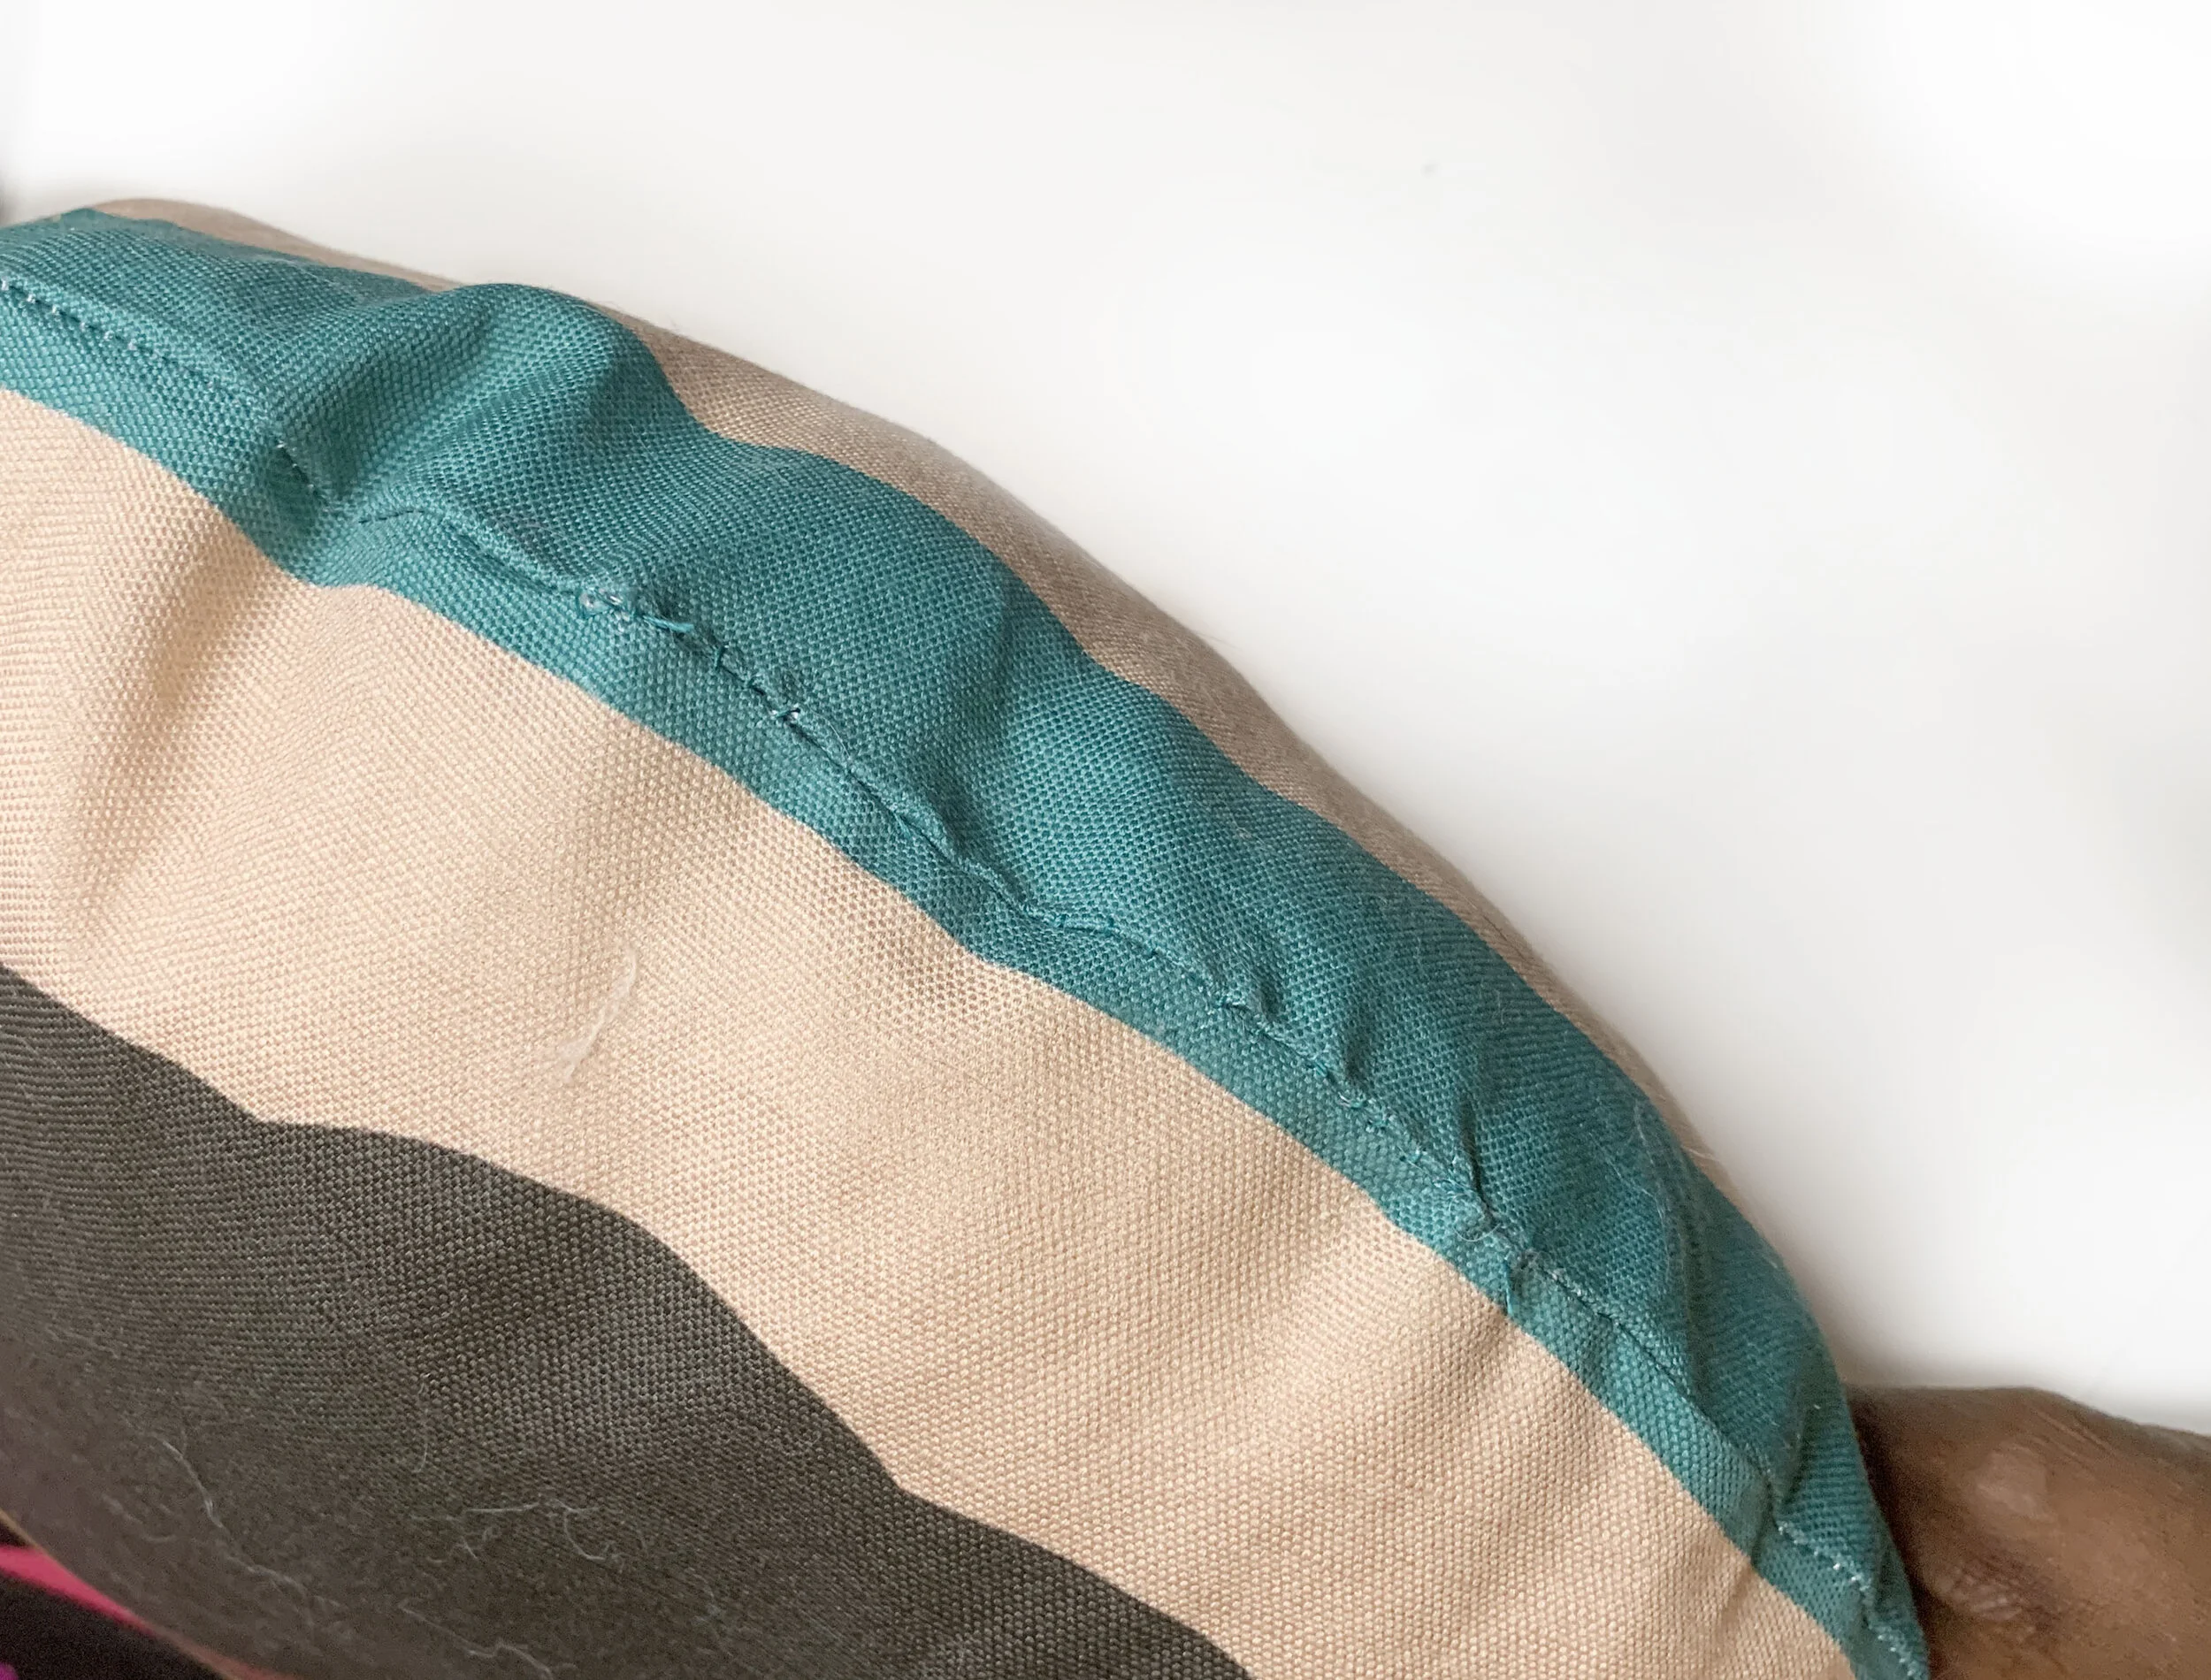
Stitch 1/2” from the edge all the way around the pillow (except for your hole).
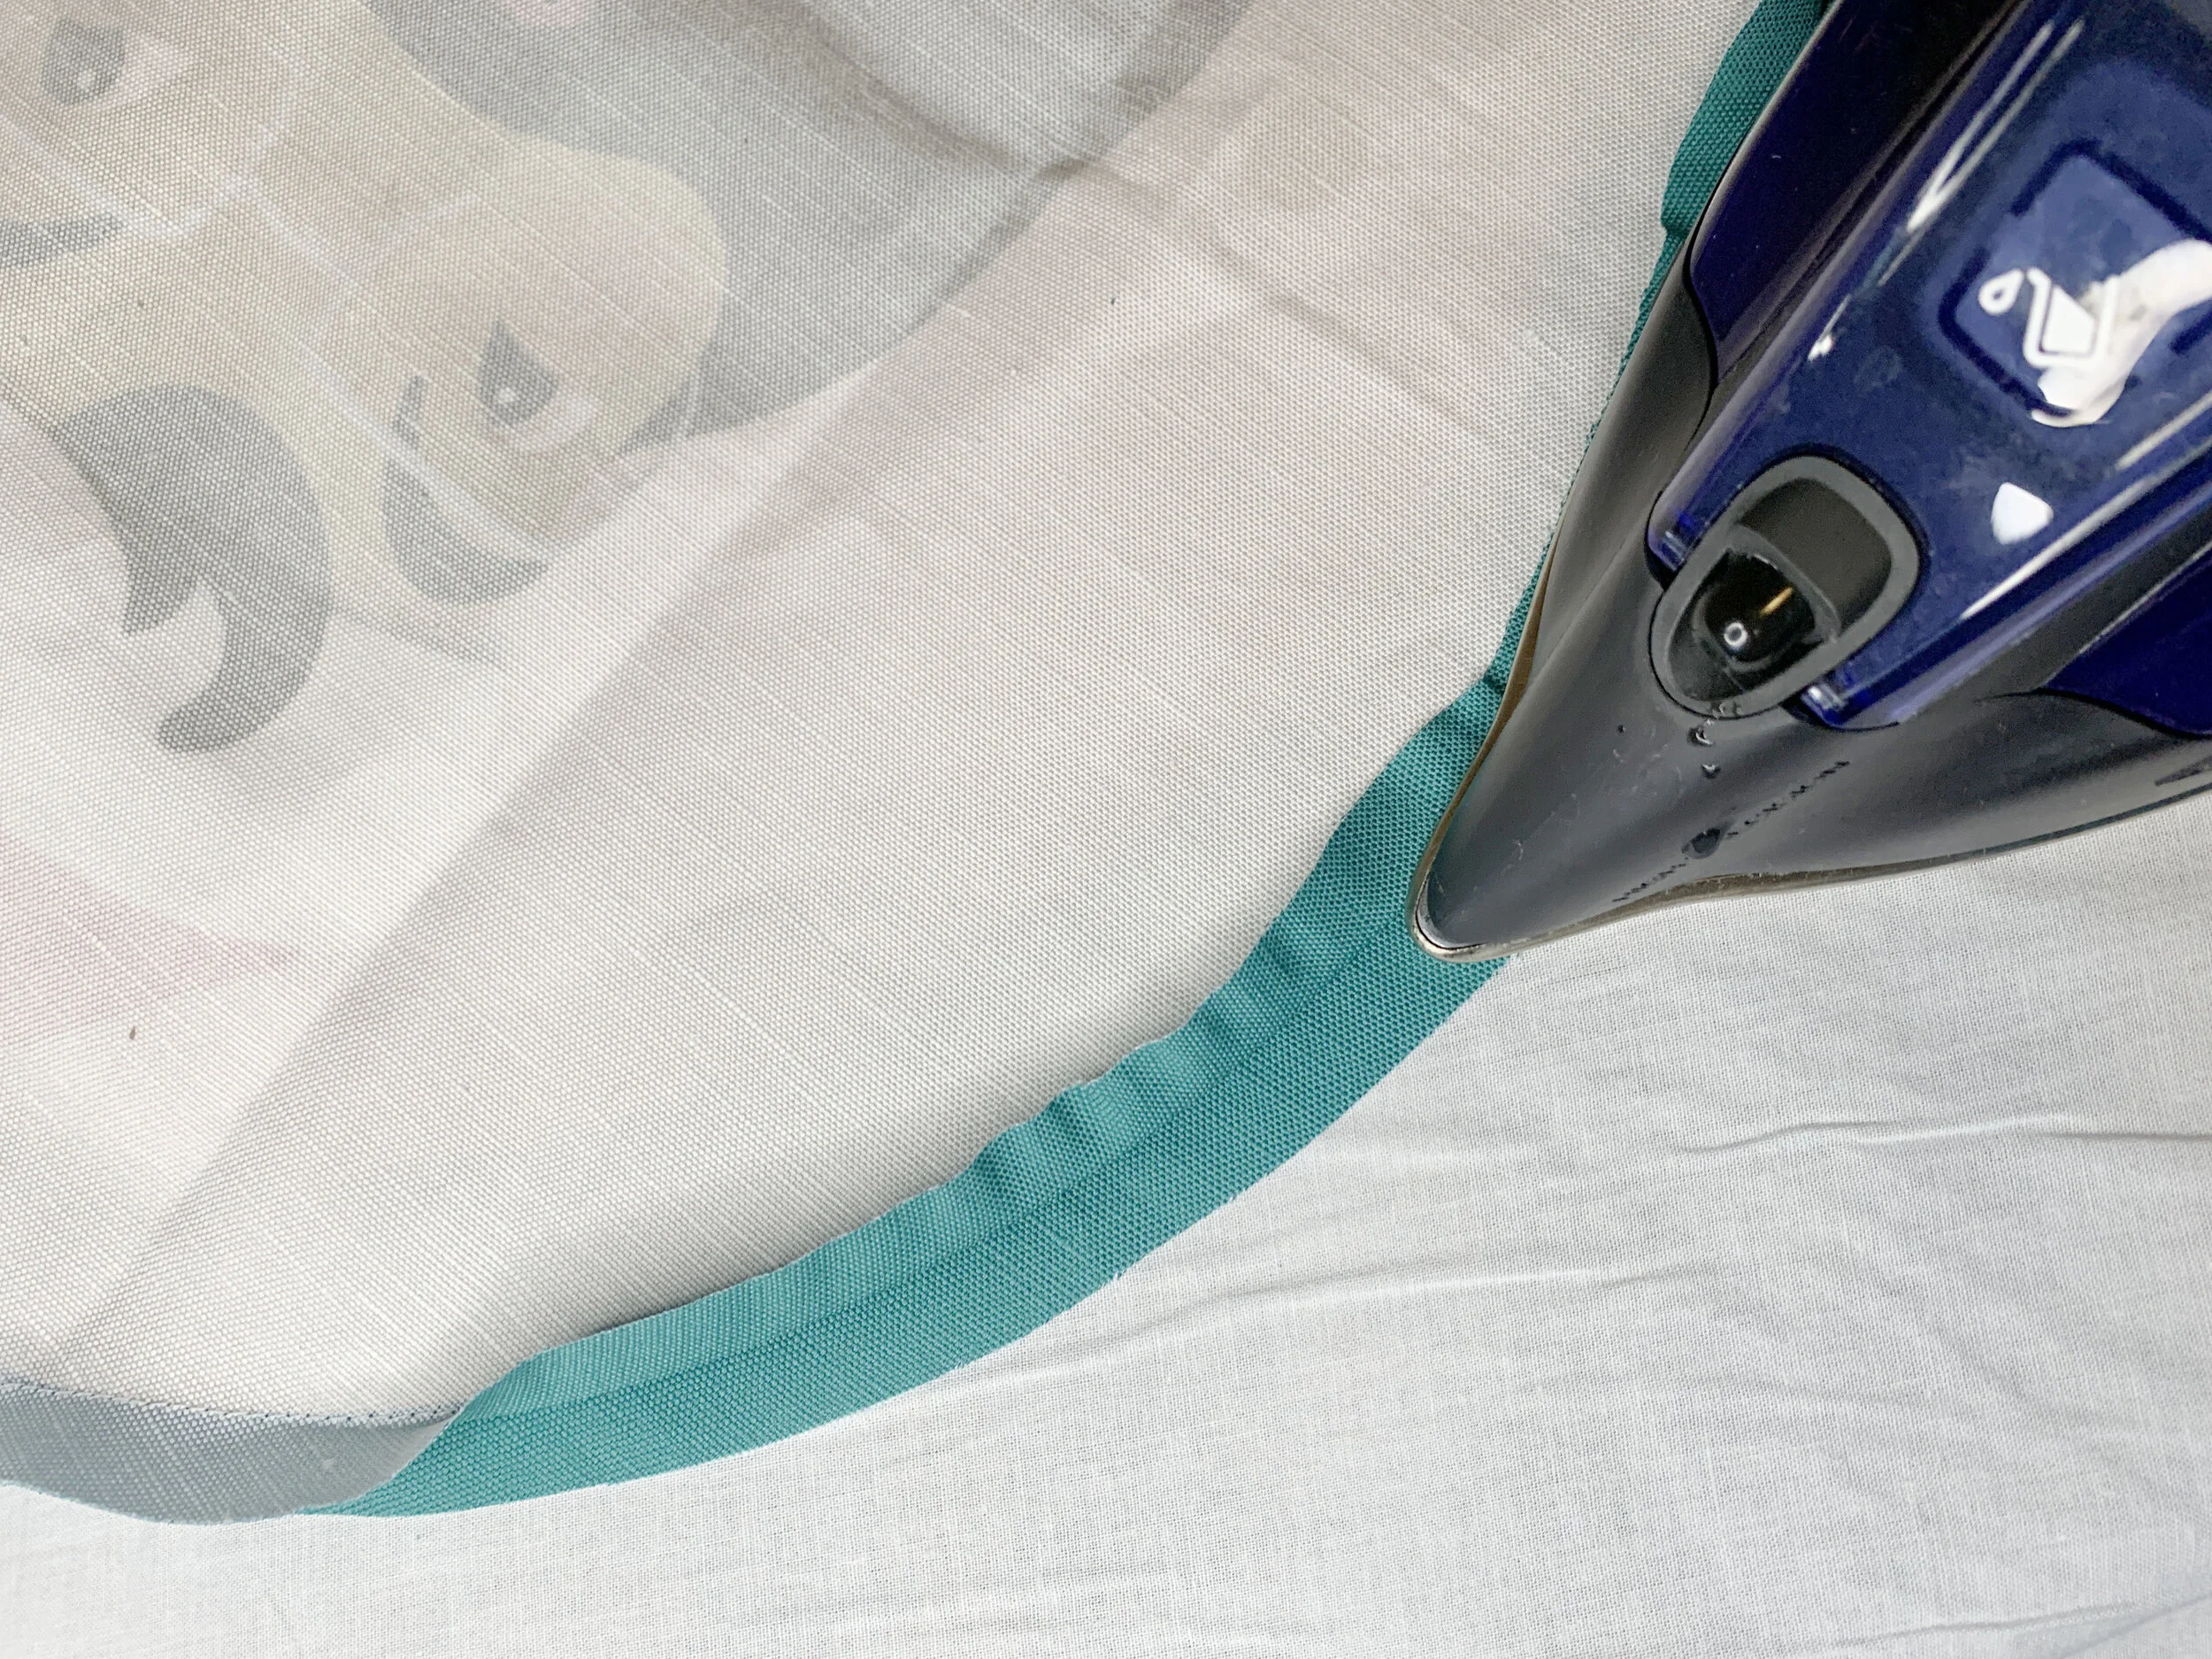
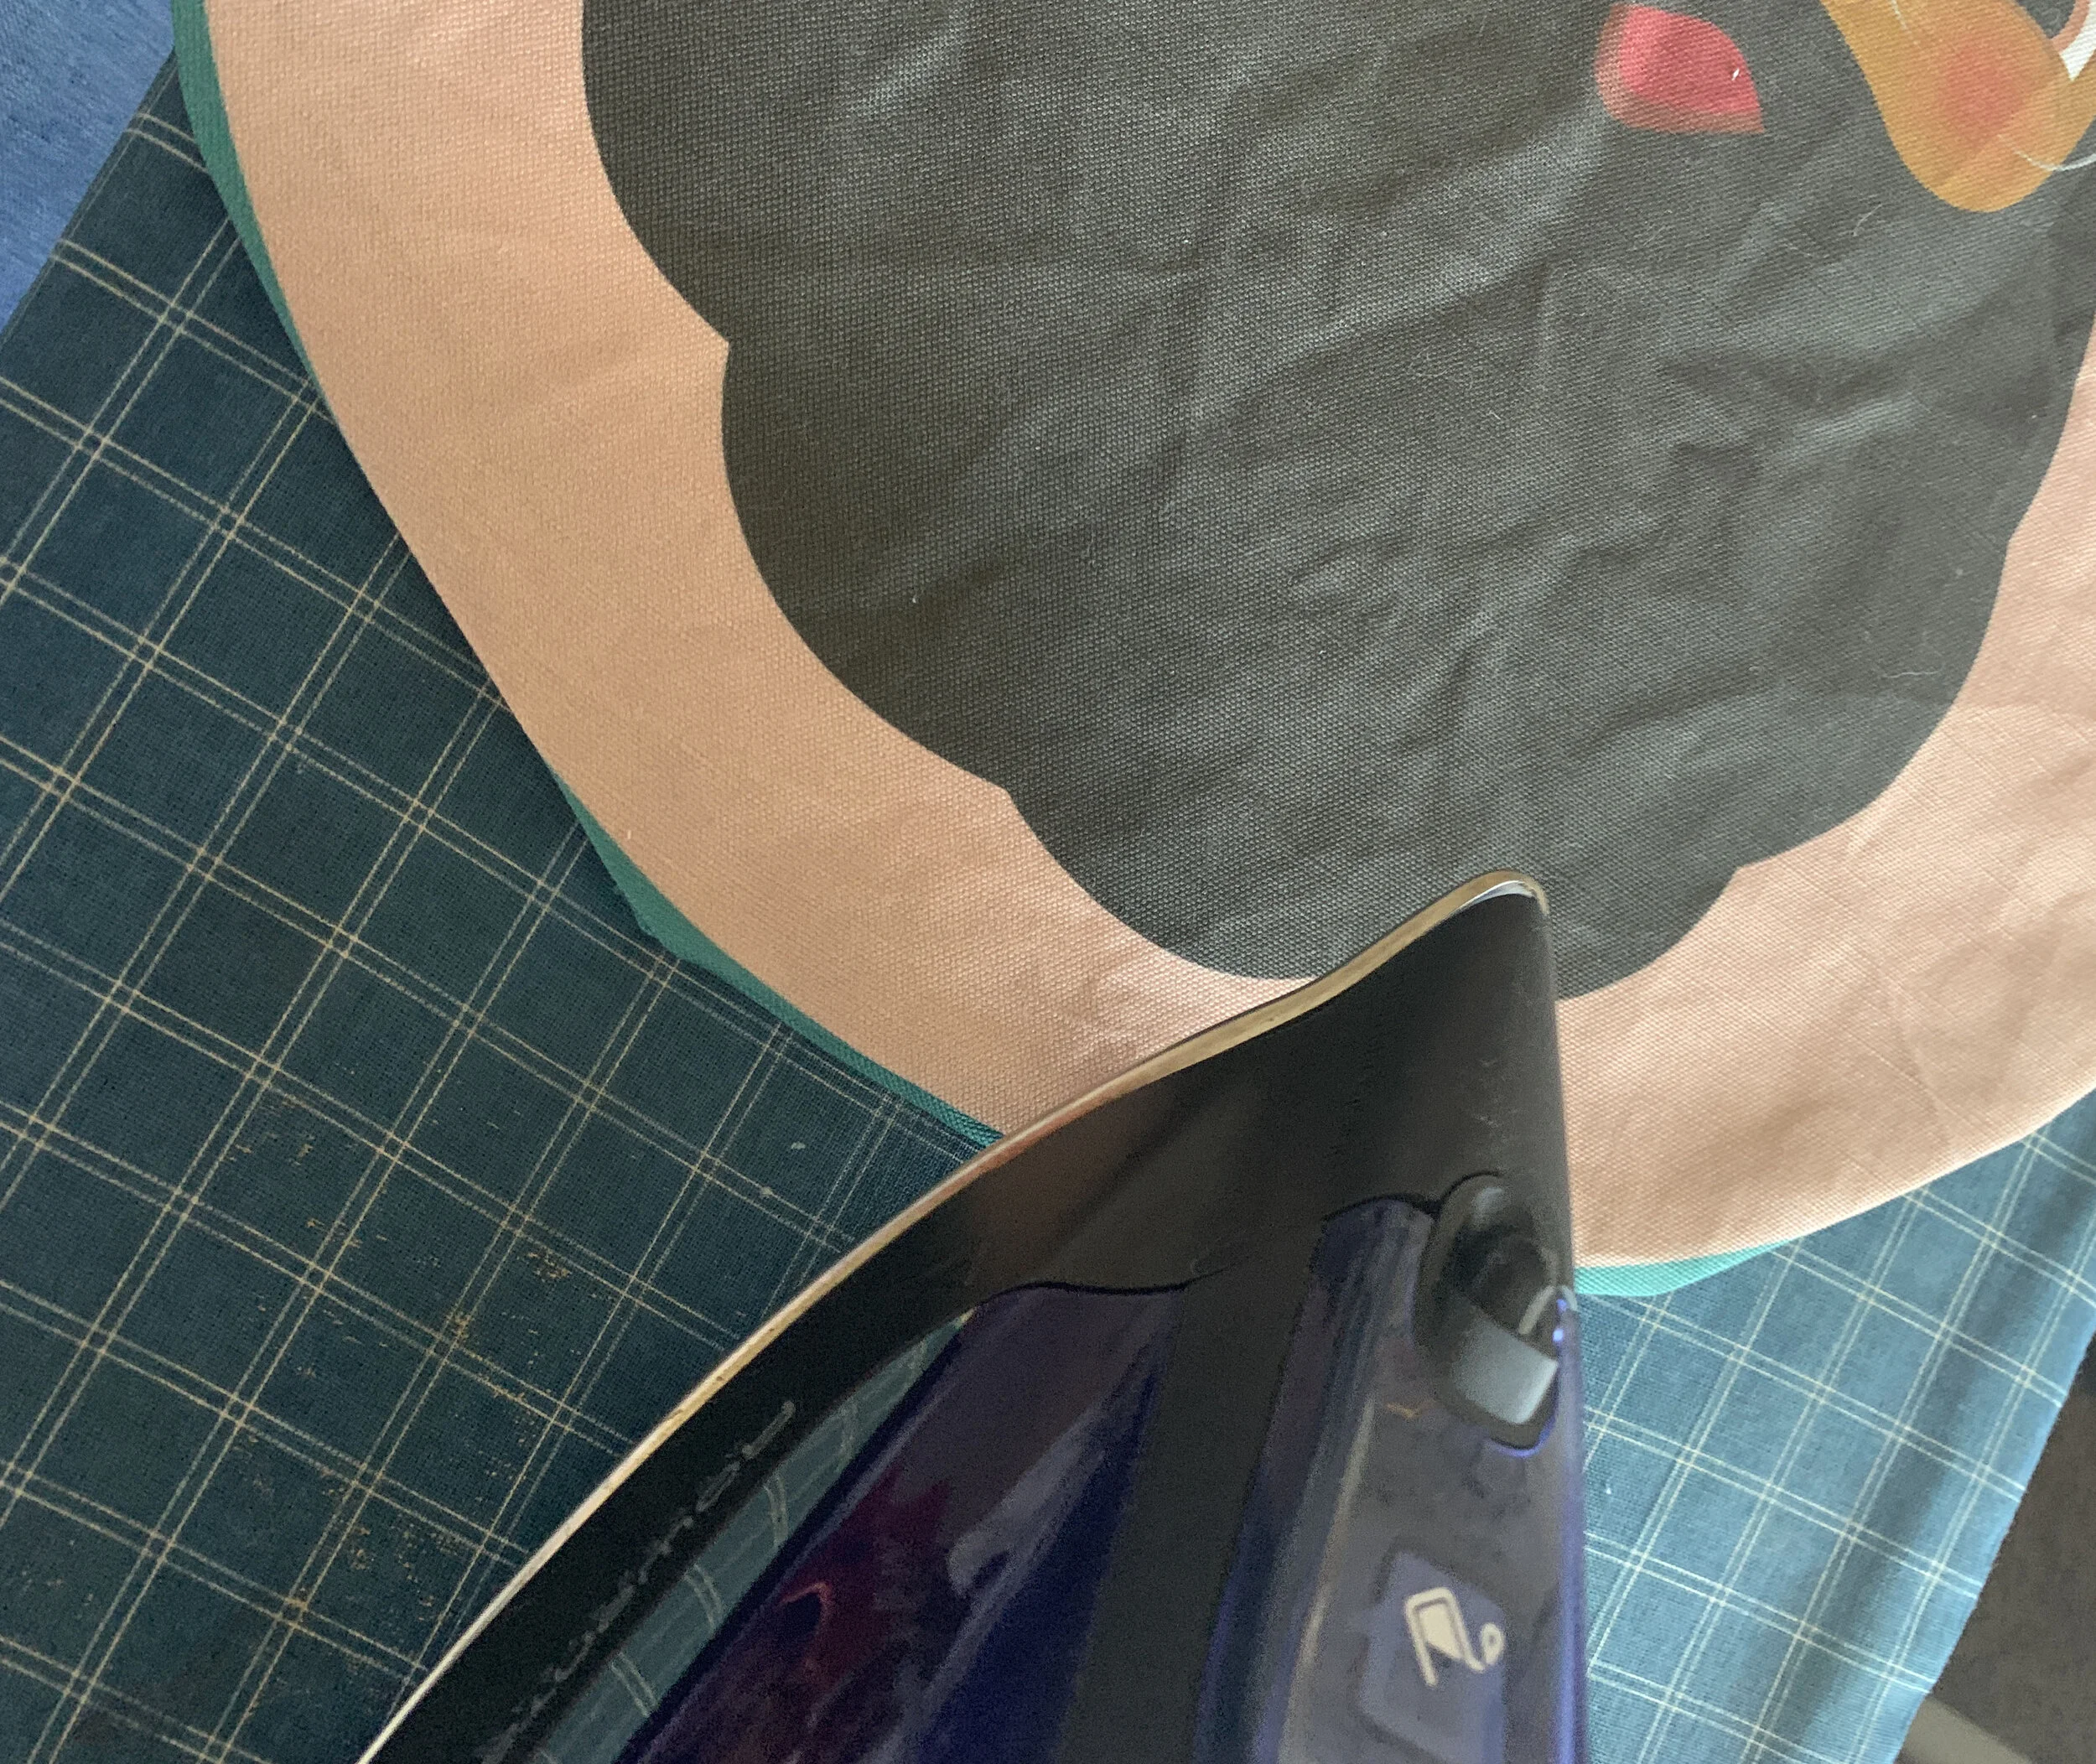
Use the iron to press open seam allowance.
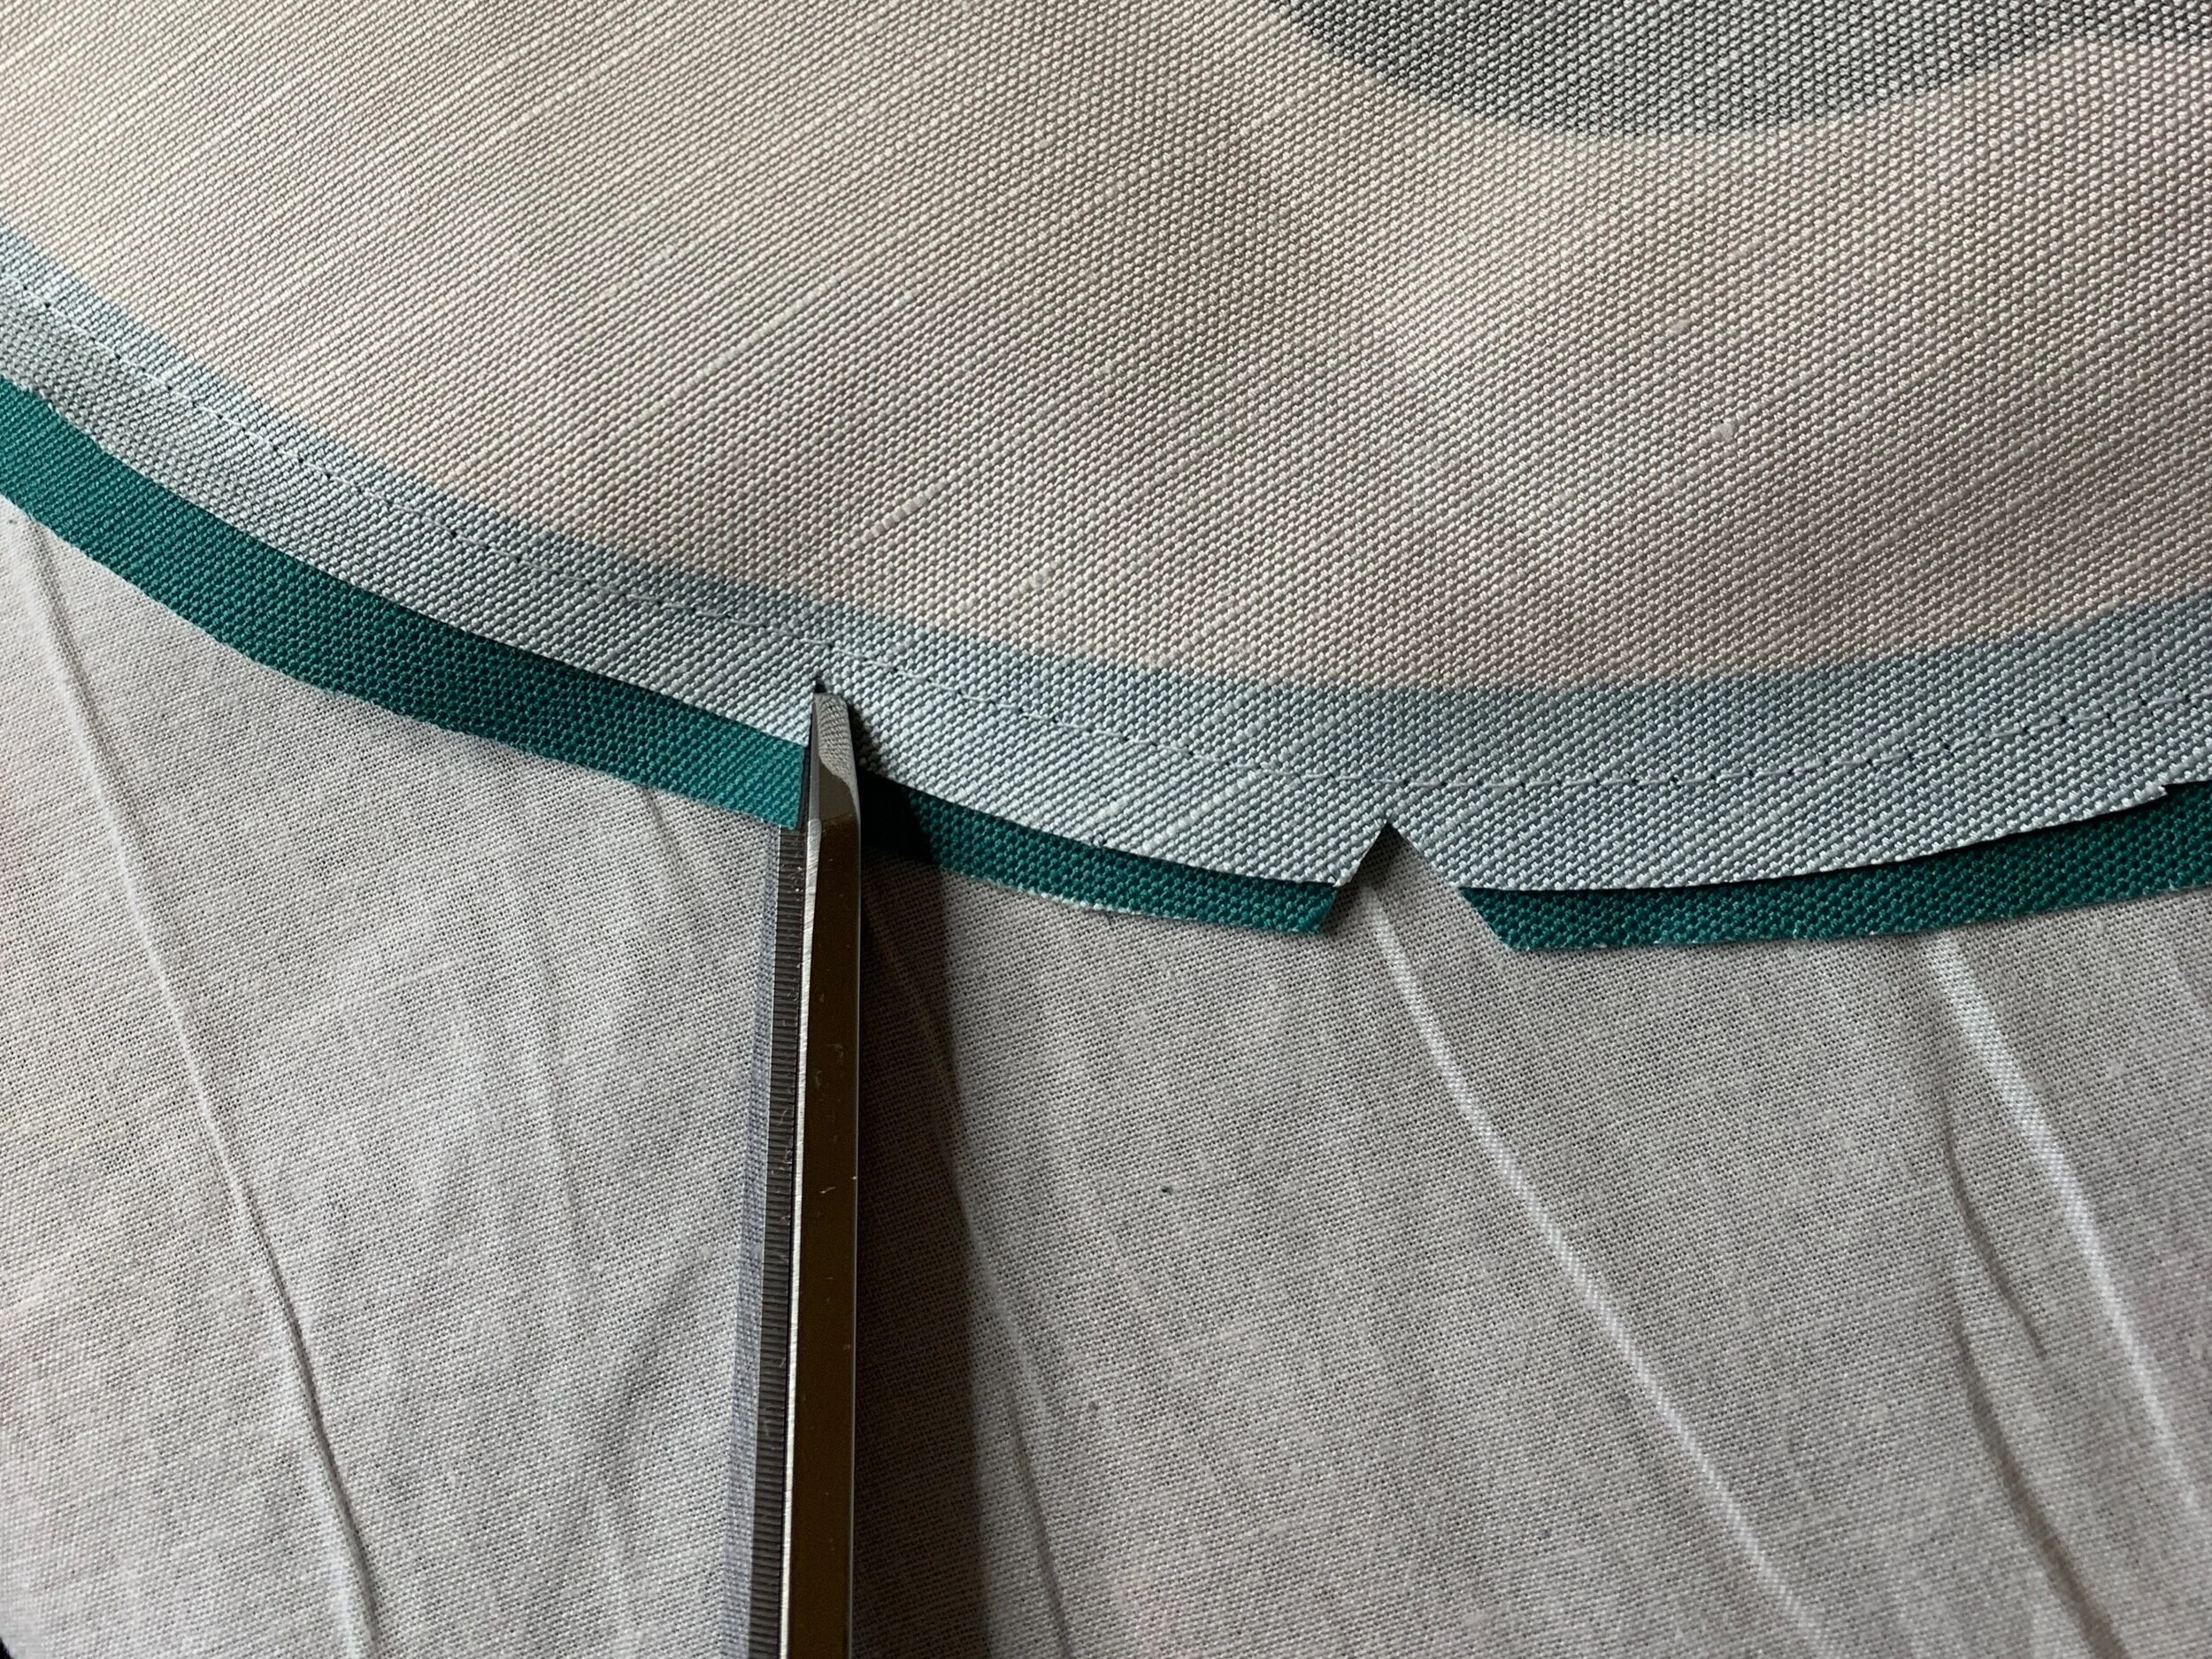
Optional: Use sharp scissors to grade seam allowance. You do this by cutting back on one side like below. This reduces the amount of bulk once it’s turned inside out.
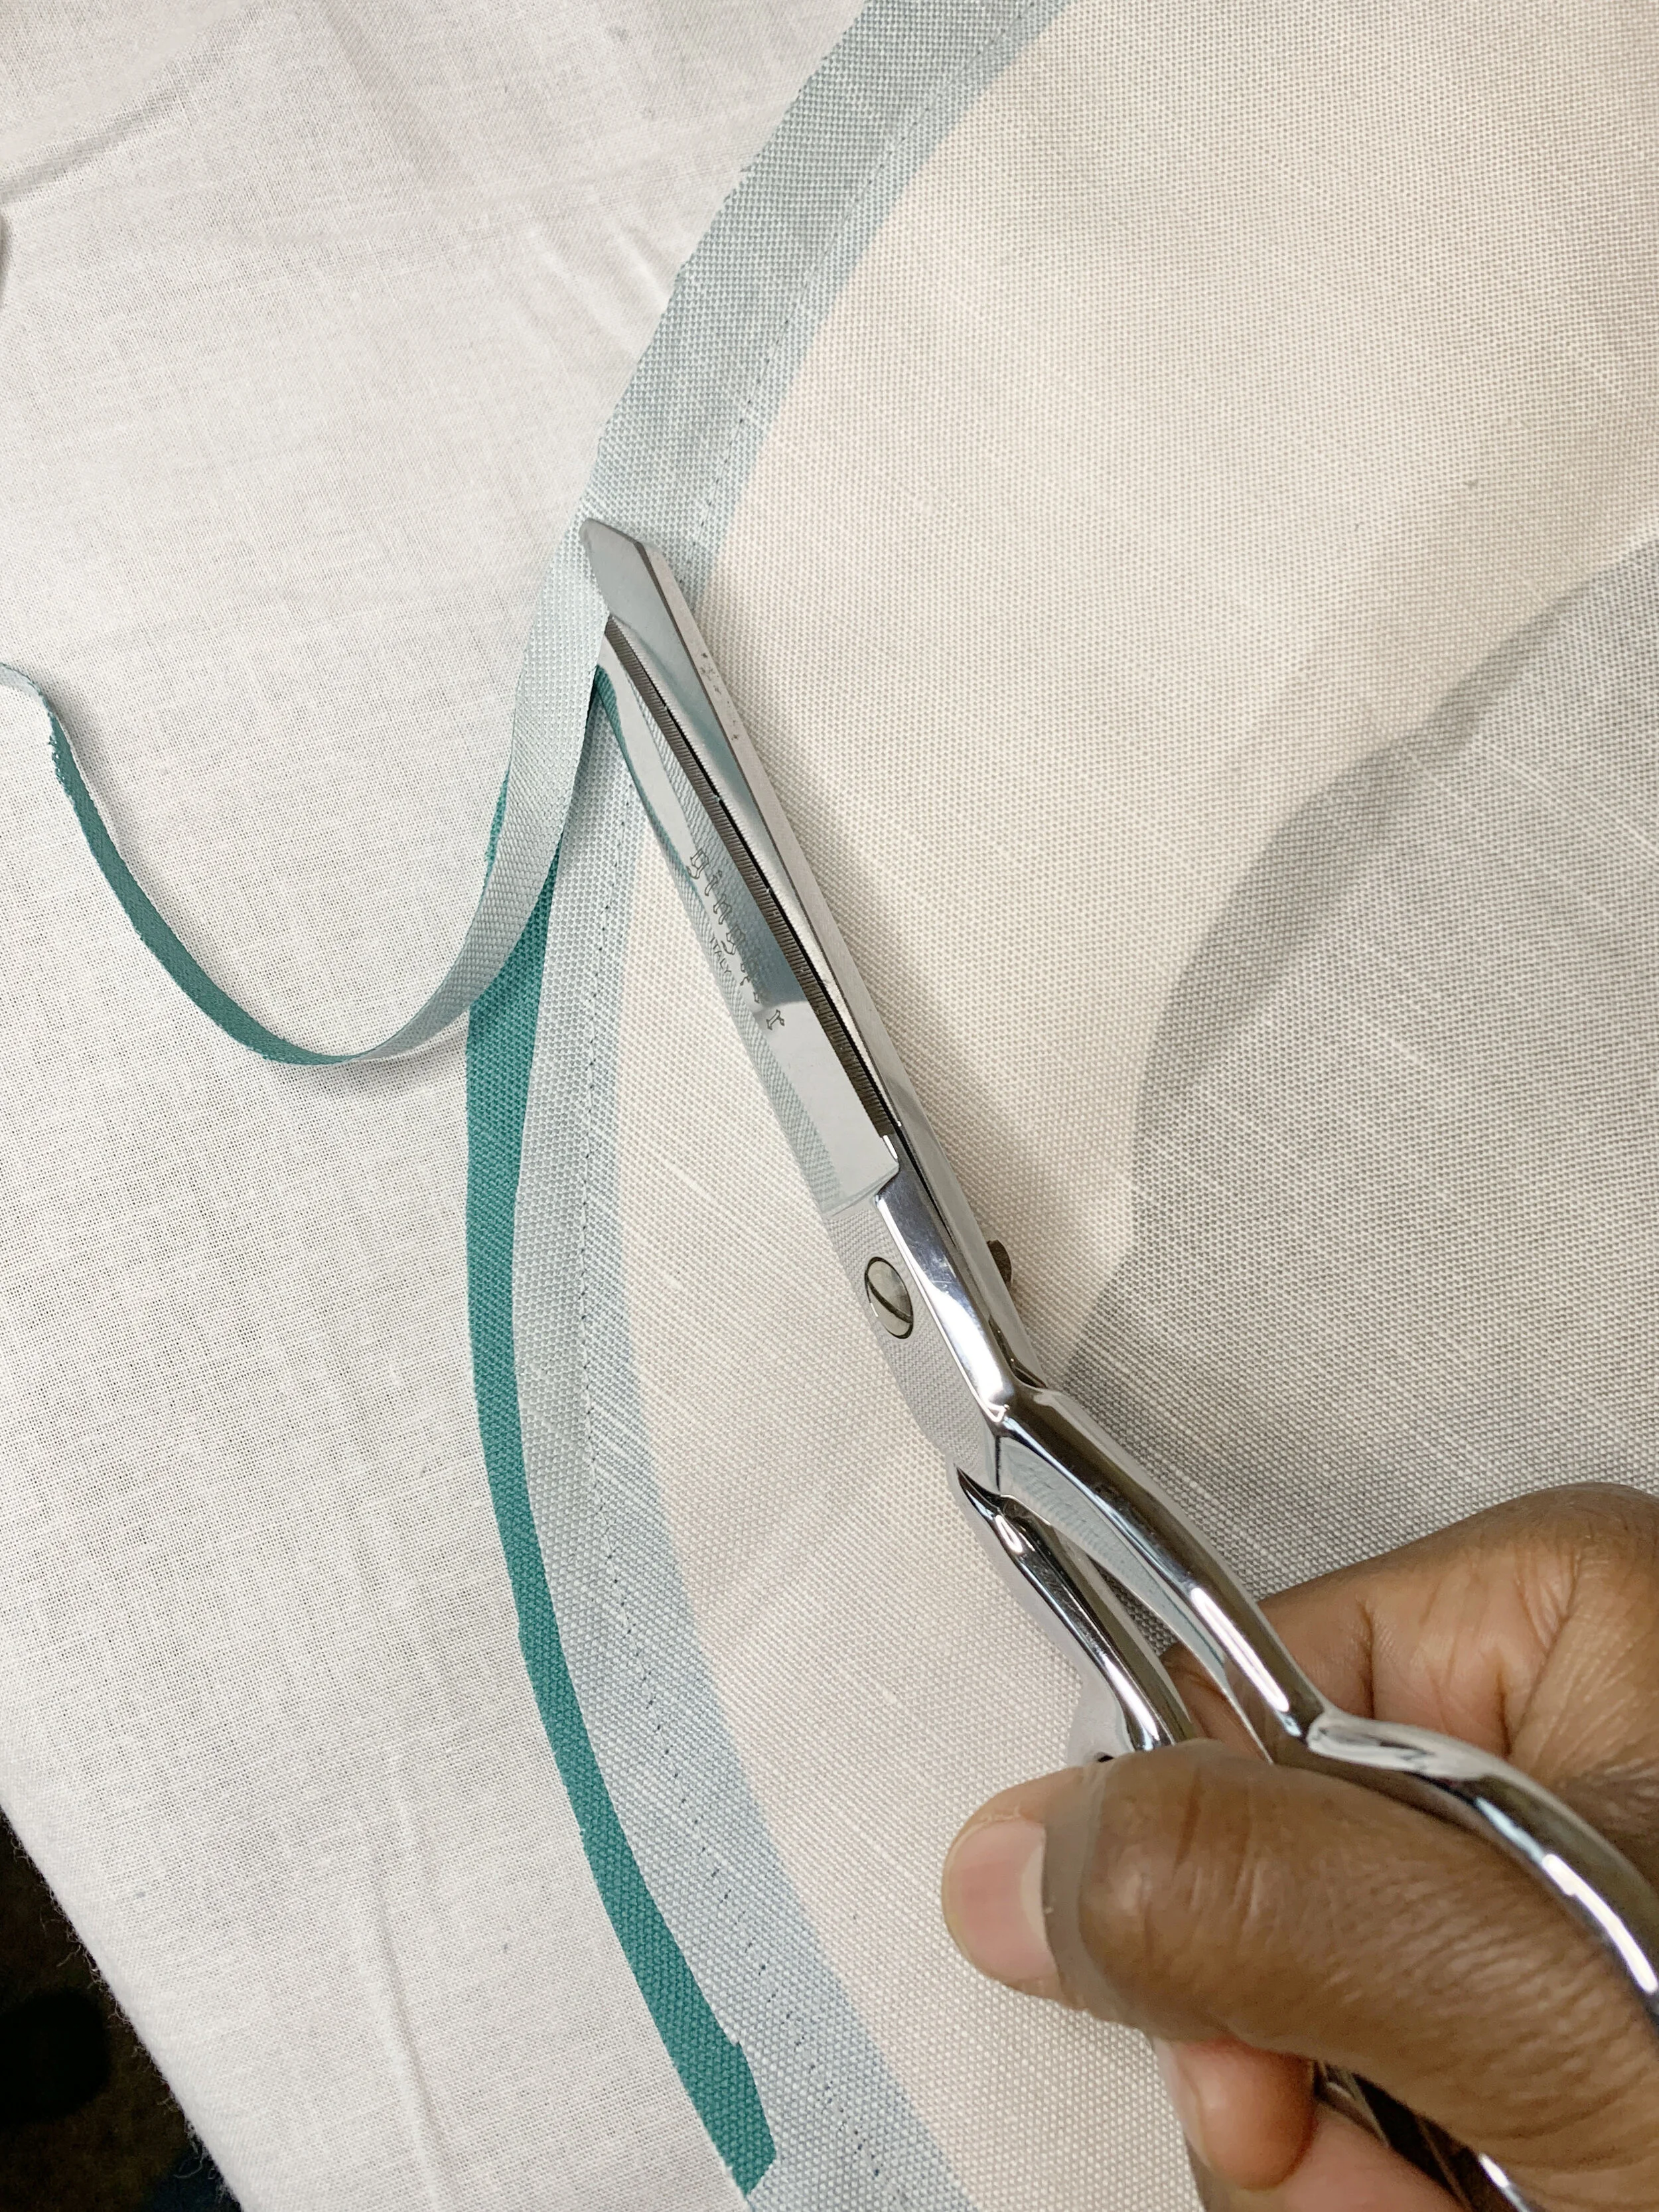
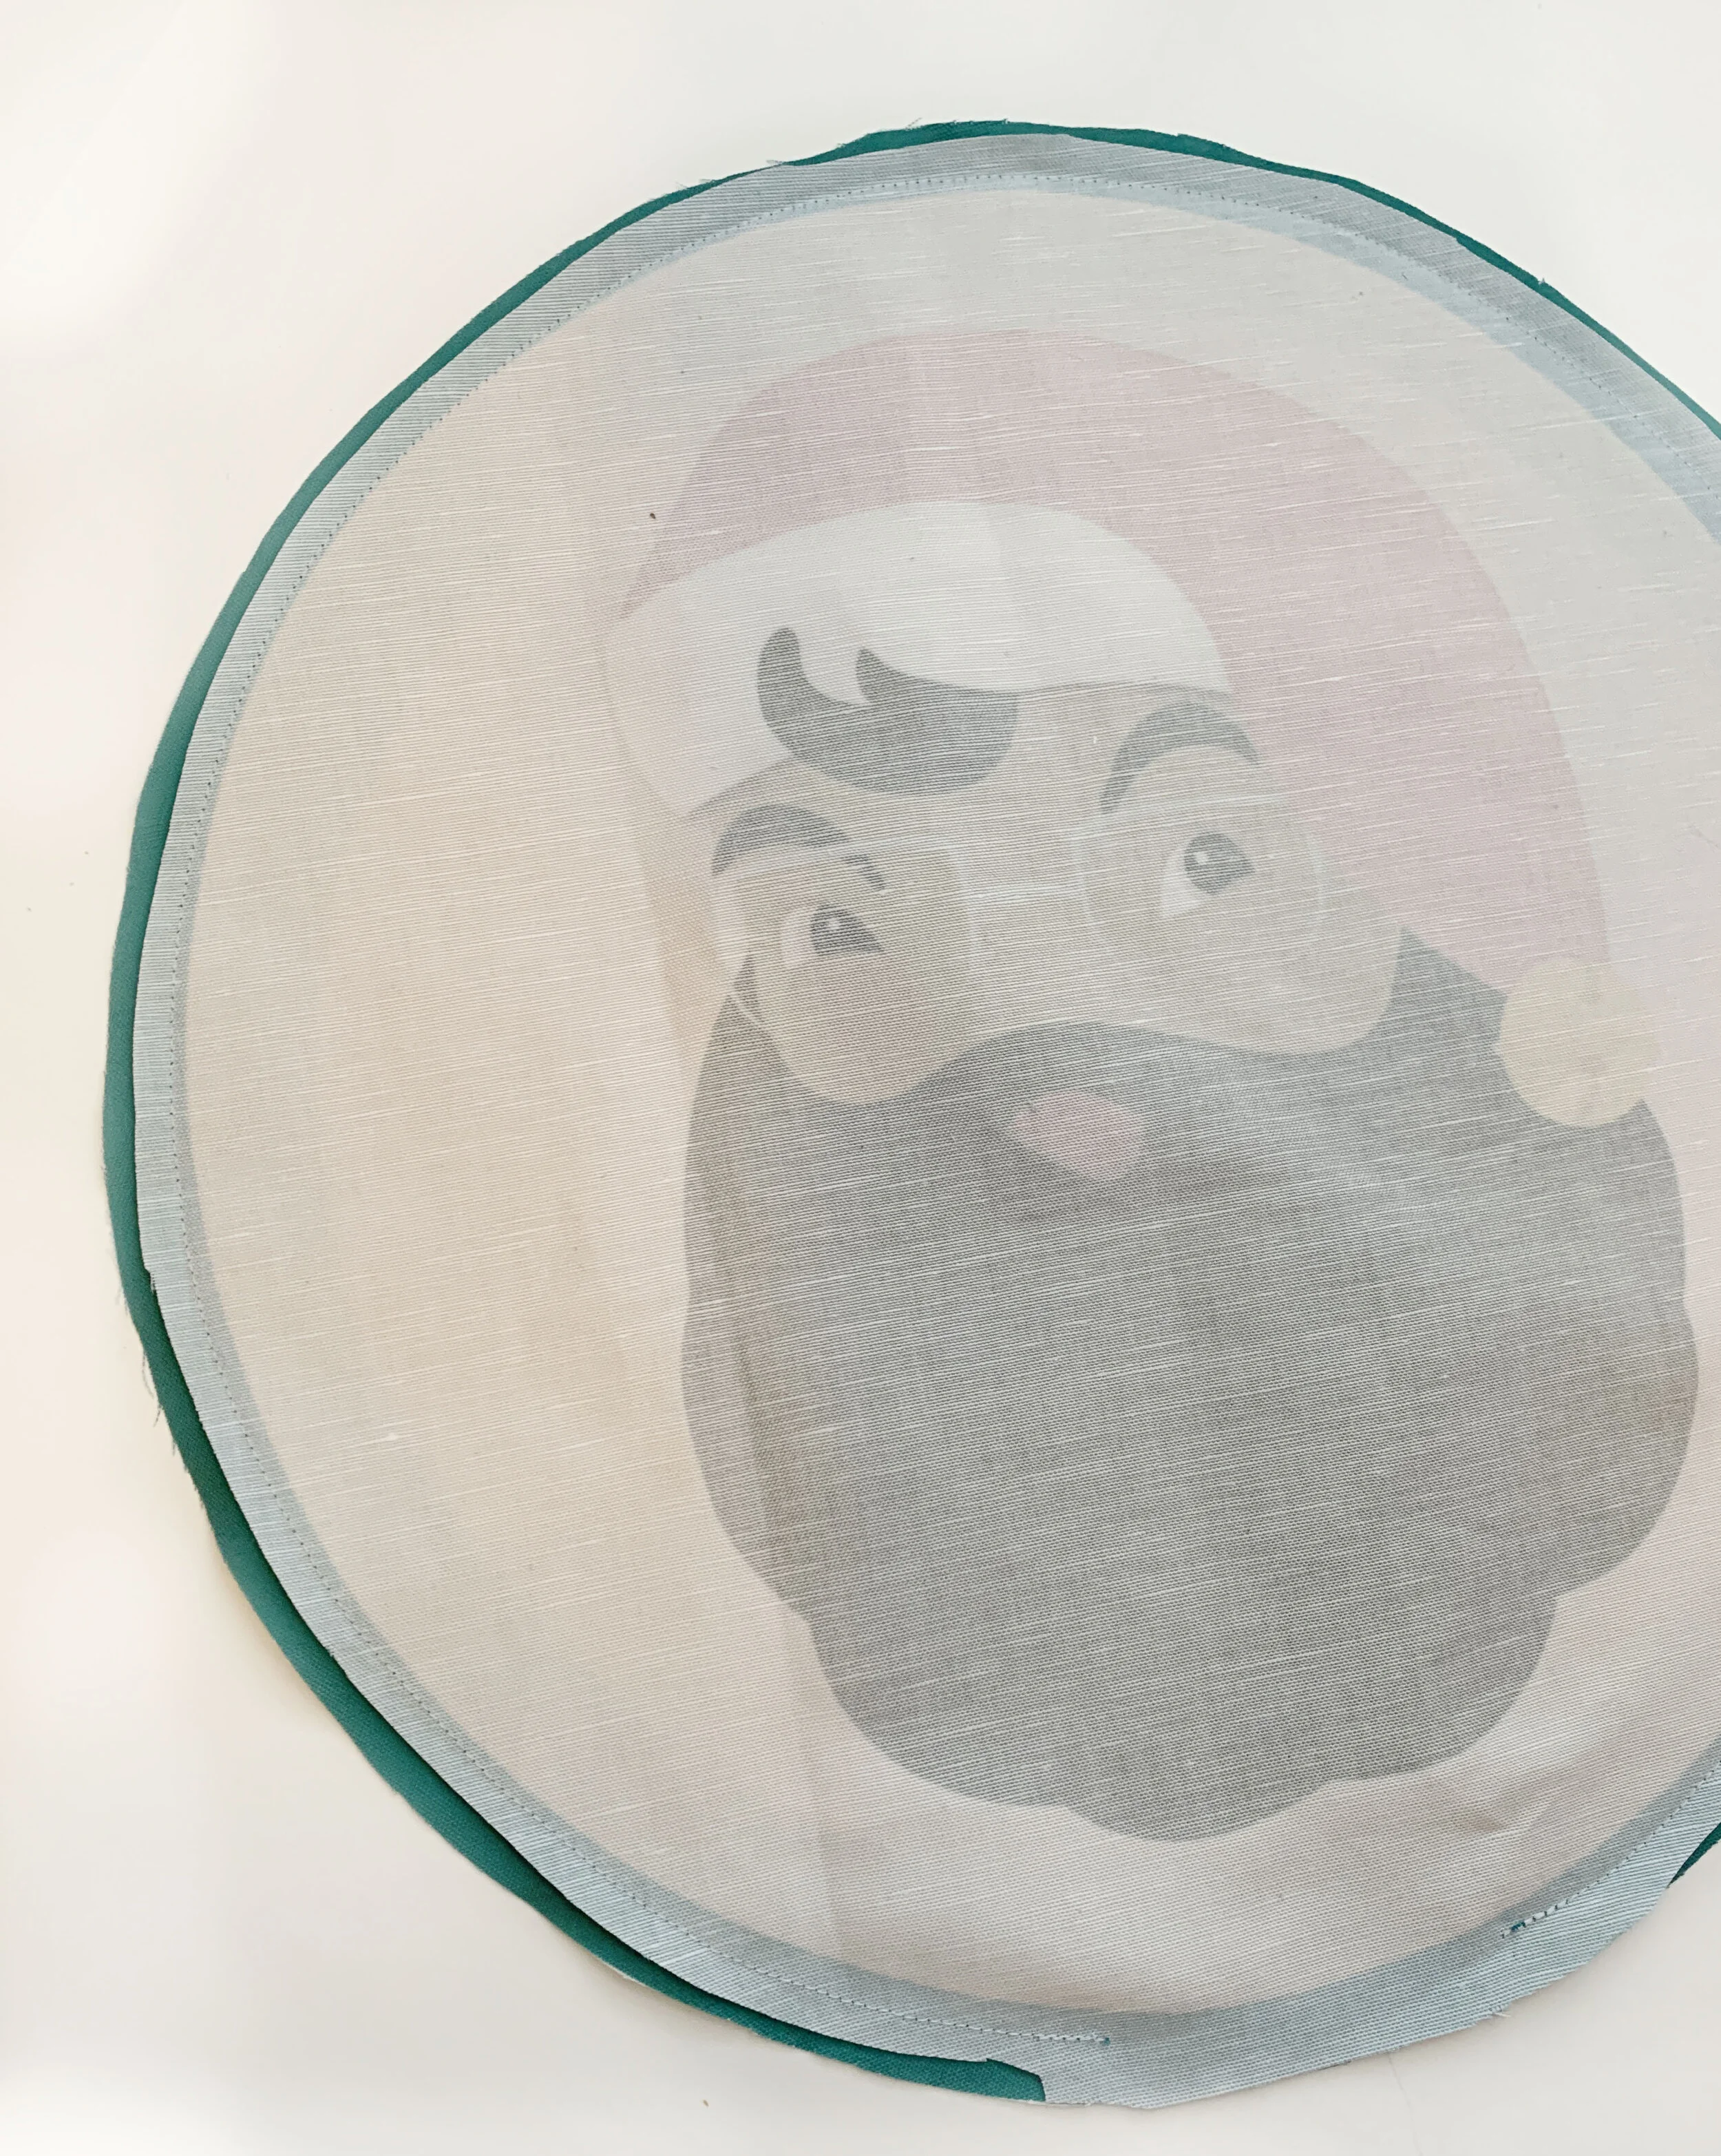
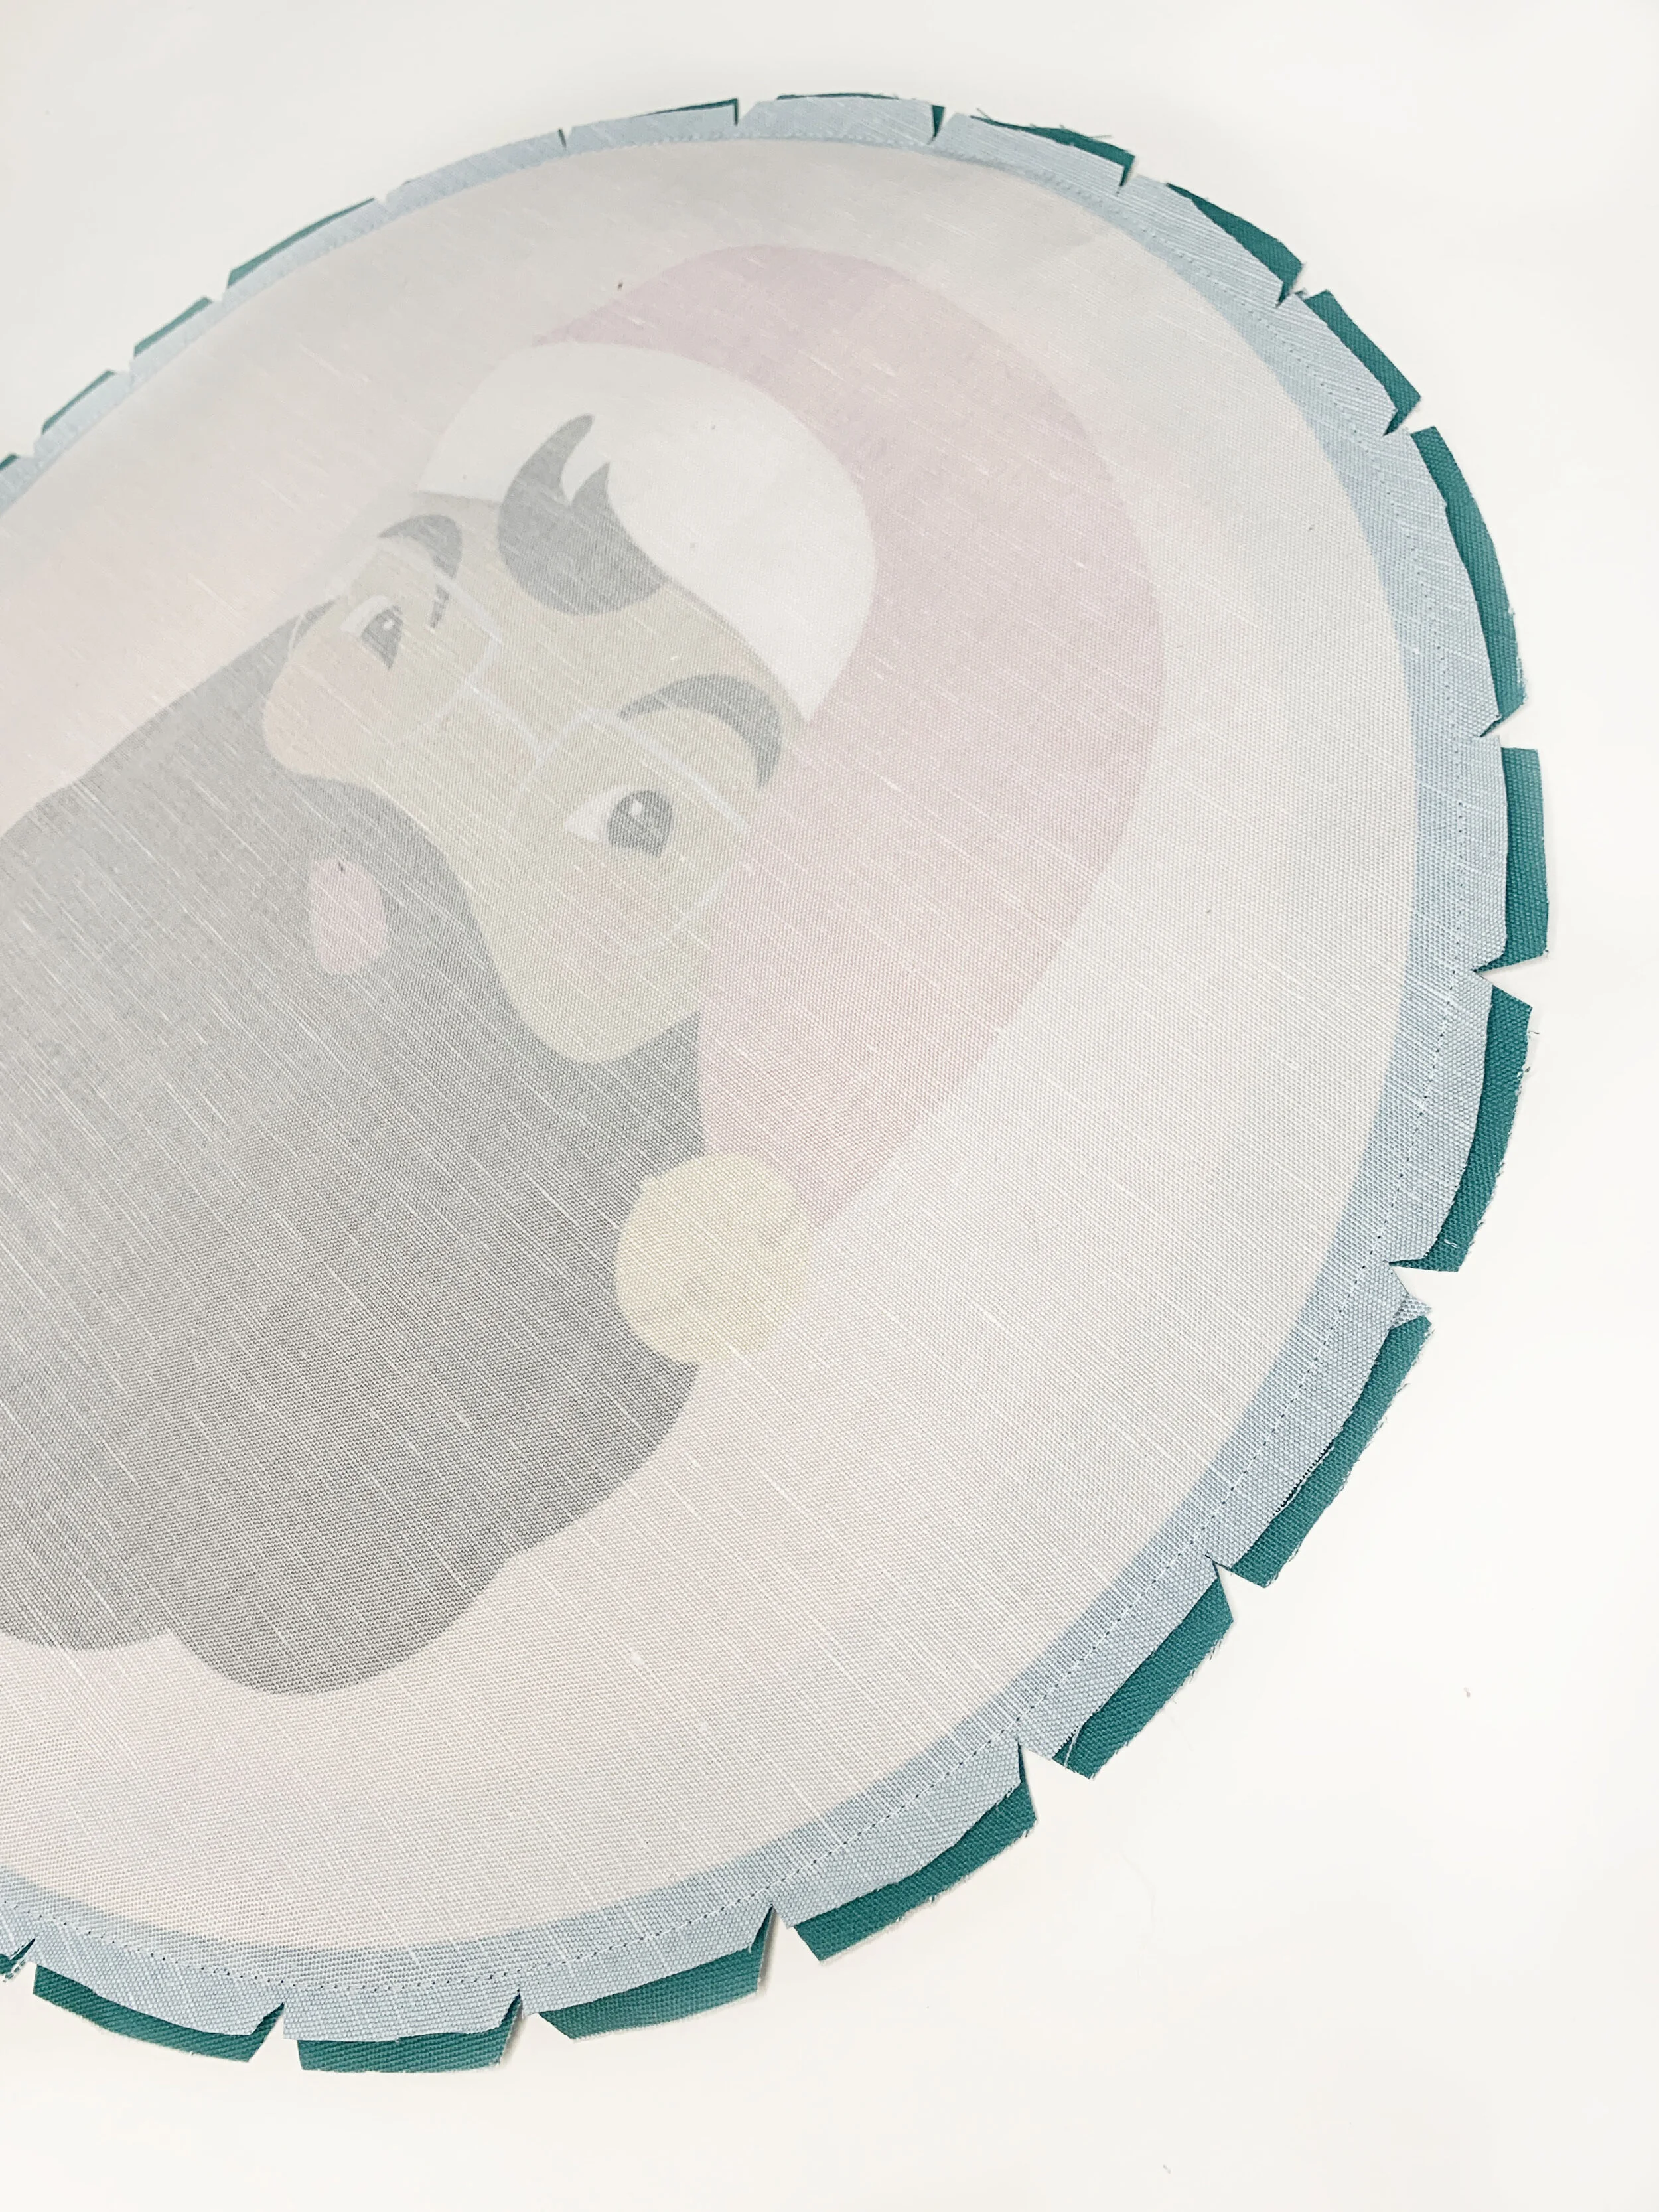
If you’re pillow is round, cut notches (little triangles) all the way around the pillow edge. This helps the pillow maintain it’s shape once turned pretty side out.
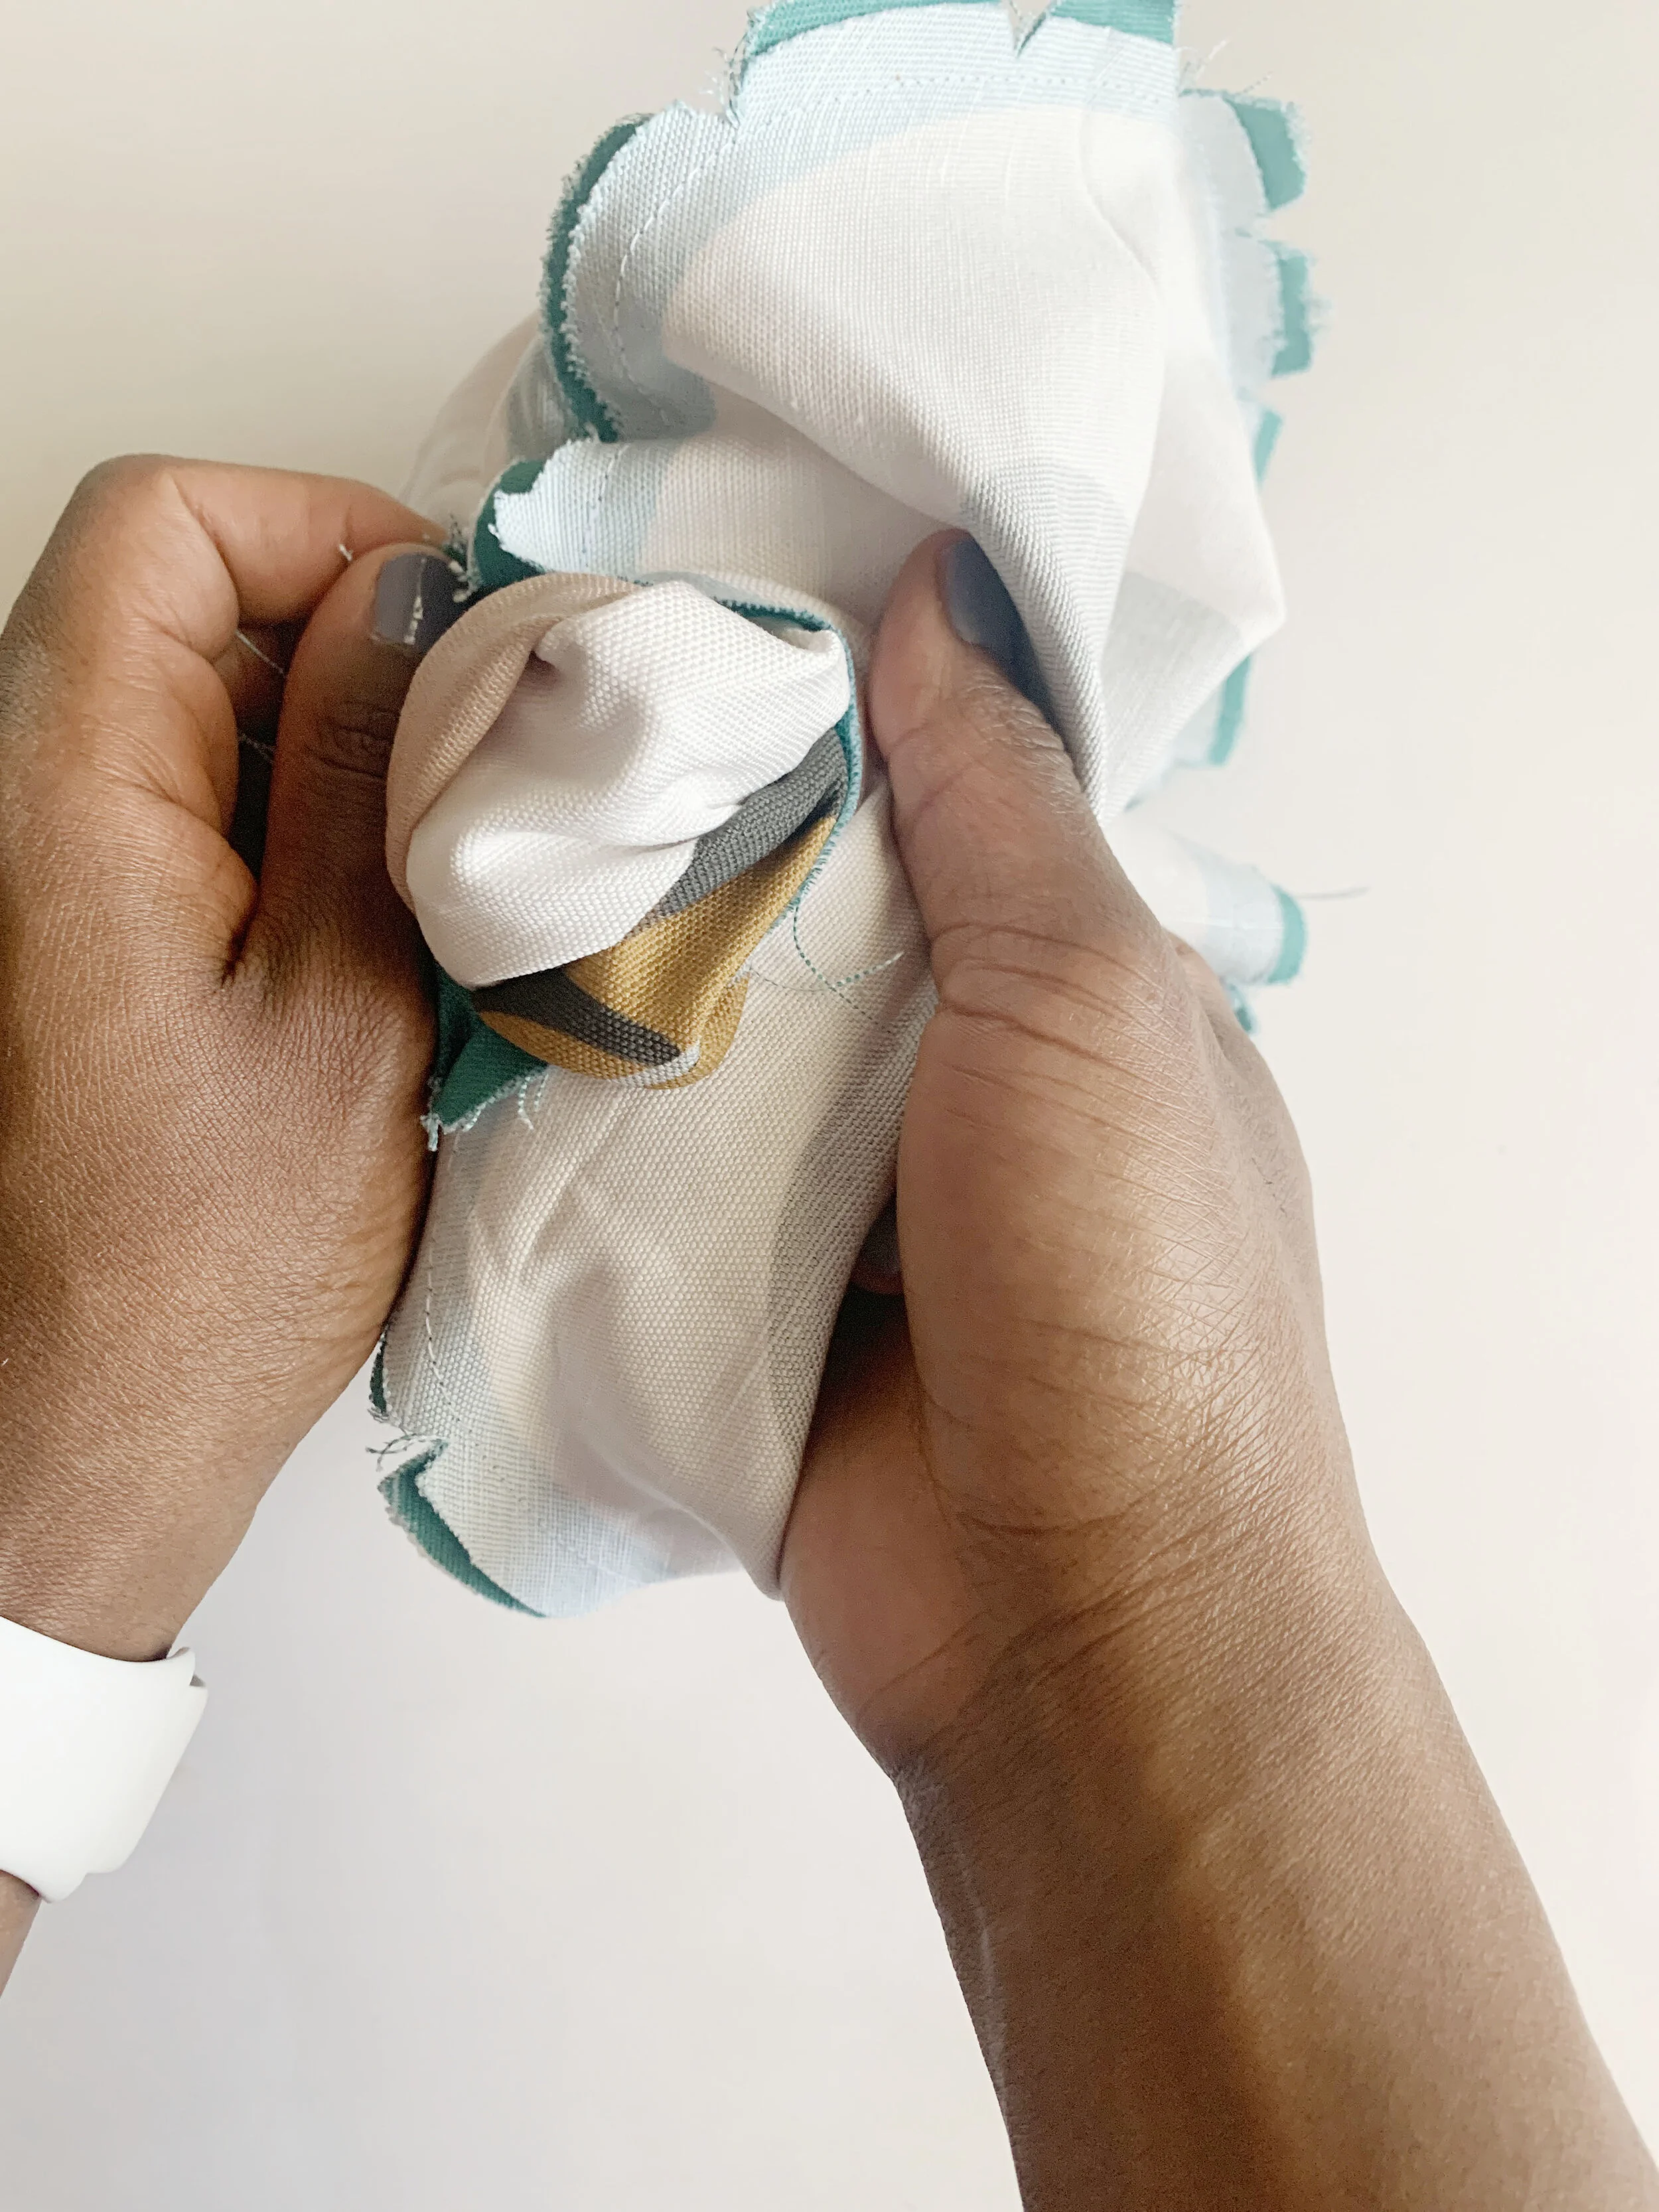
Use the hole to turn your pillow to the pretty side.
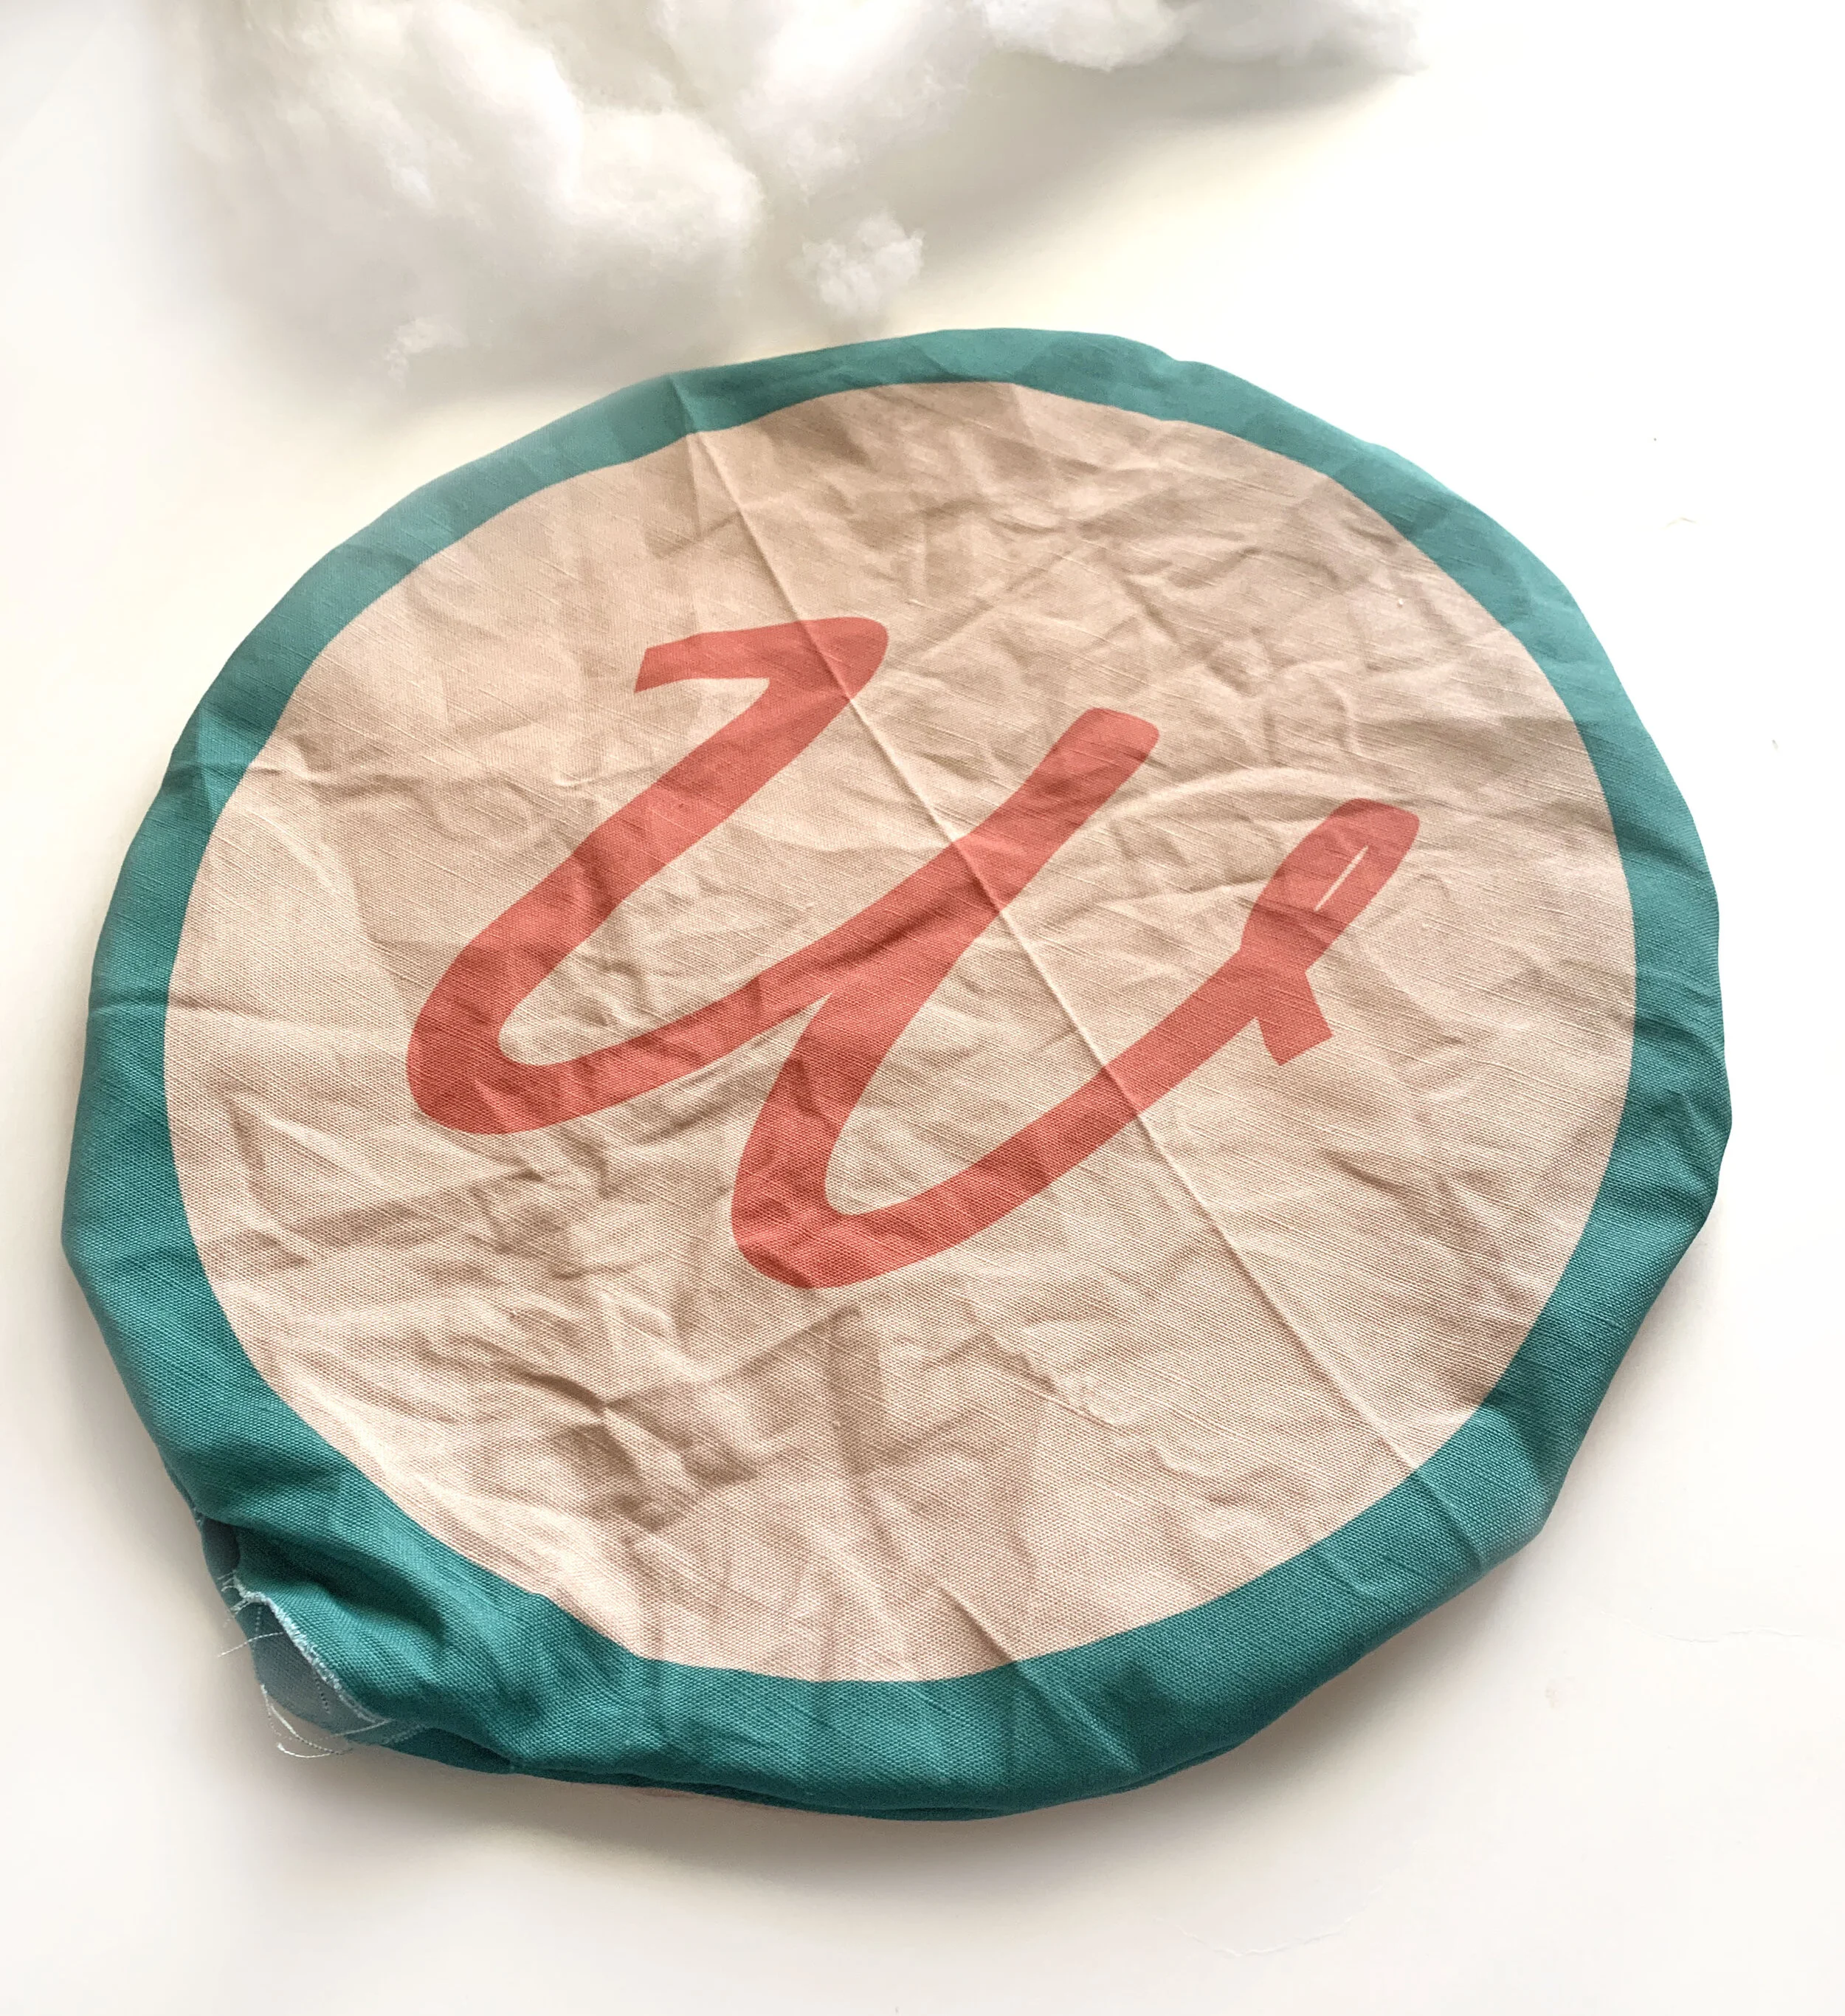
Once you turn the pillow pretty side out, use your iron to press out wrinkles.
TIP: Press seam allowance for hole in toward pillow. This will make it easier to hand sew the hole closed.
Use your hole to stuff pillow. The amount of stuffing is all up to you.

Pin the hole closed.
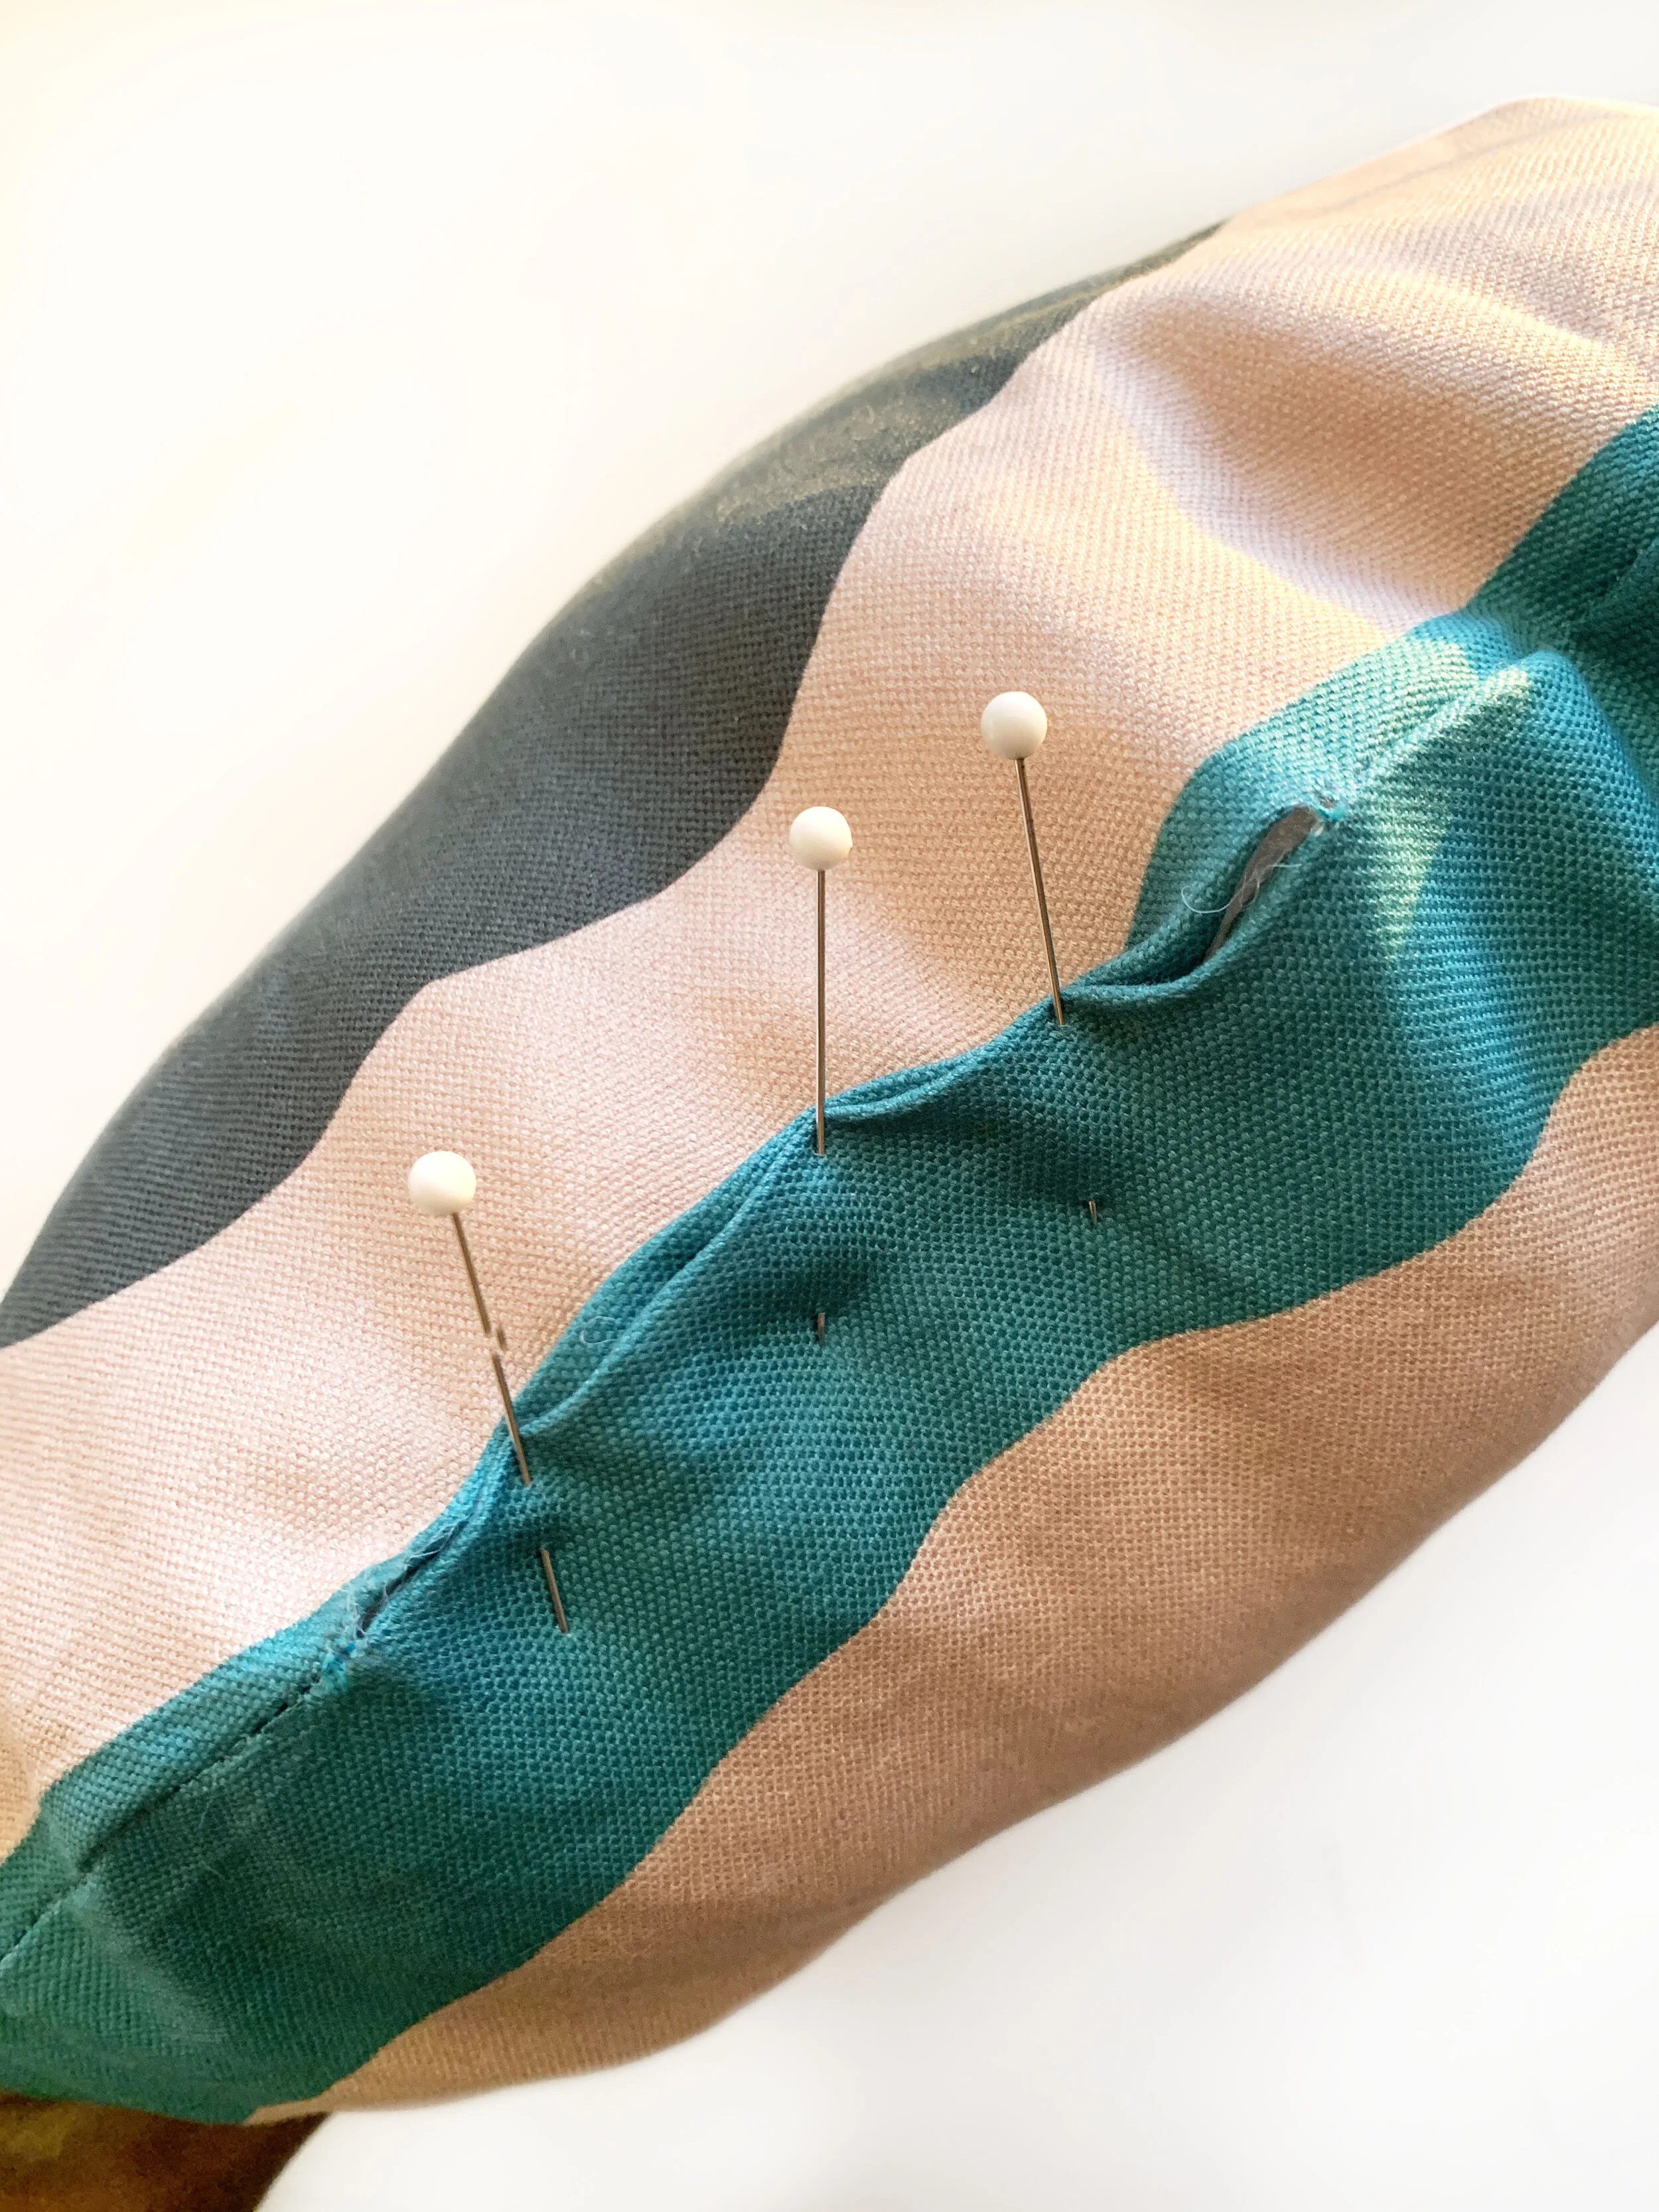
Use a hand needle to sew hole closed.
Viola! You’re all done! Throw it on the couch, and enjoy your new pillow.
Here are some tips for creating a pillow.
Wash your fabric before you get started. This will remove any finishes added to the fabric, and allow the fabric to shrink to the correct size.
Press your seams open to creating a smoother appearance once your pillow is finished.
Notching round pillows is essential for the round shape.
Want more information on Spoonflower? Use links below:
https://blog.spoonflower.com/2019/02/5-tips-for-designing-on-spoonflower/
https://blog.spoonflower.com/2015/12/uploading-your-image-to-spoonflower/
https://blog.spoonflower.com/?s=Fill+a+yard
Thanks for stopping by. I can’t wait to see what you create!