Furry Bear iPad Sleeve
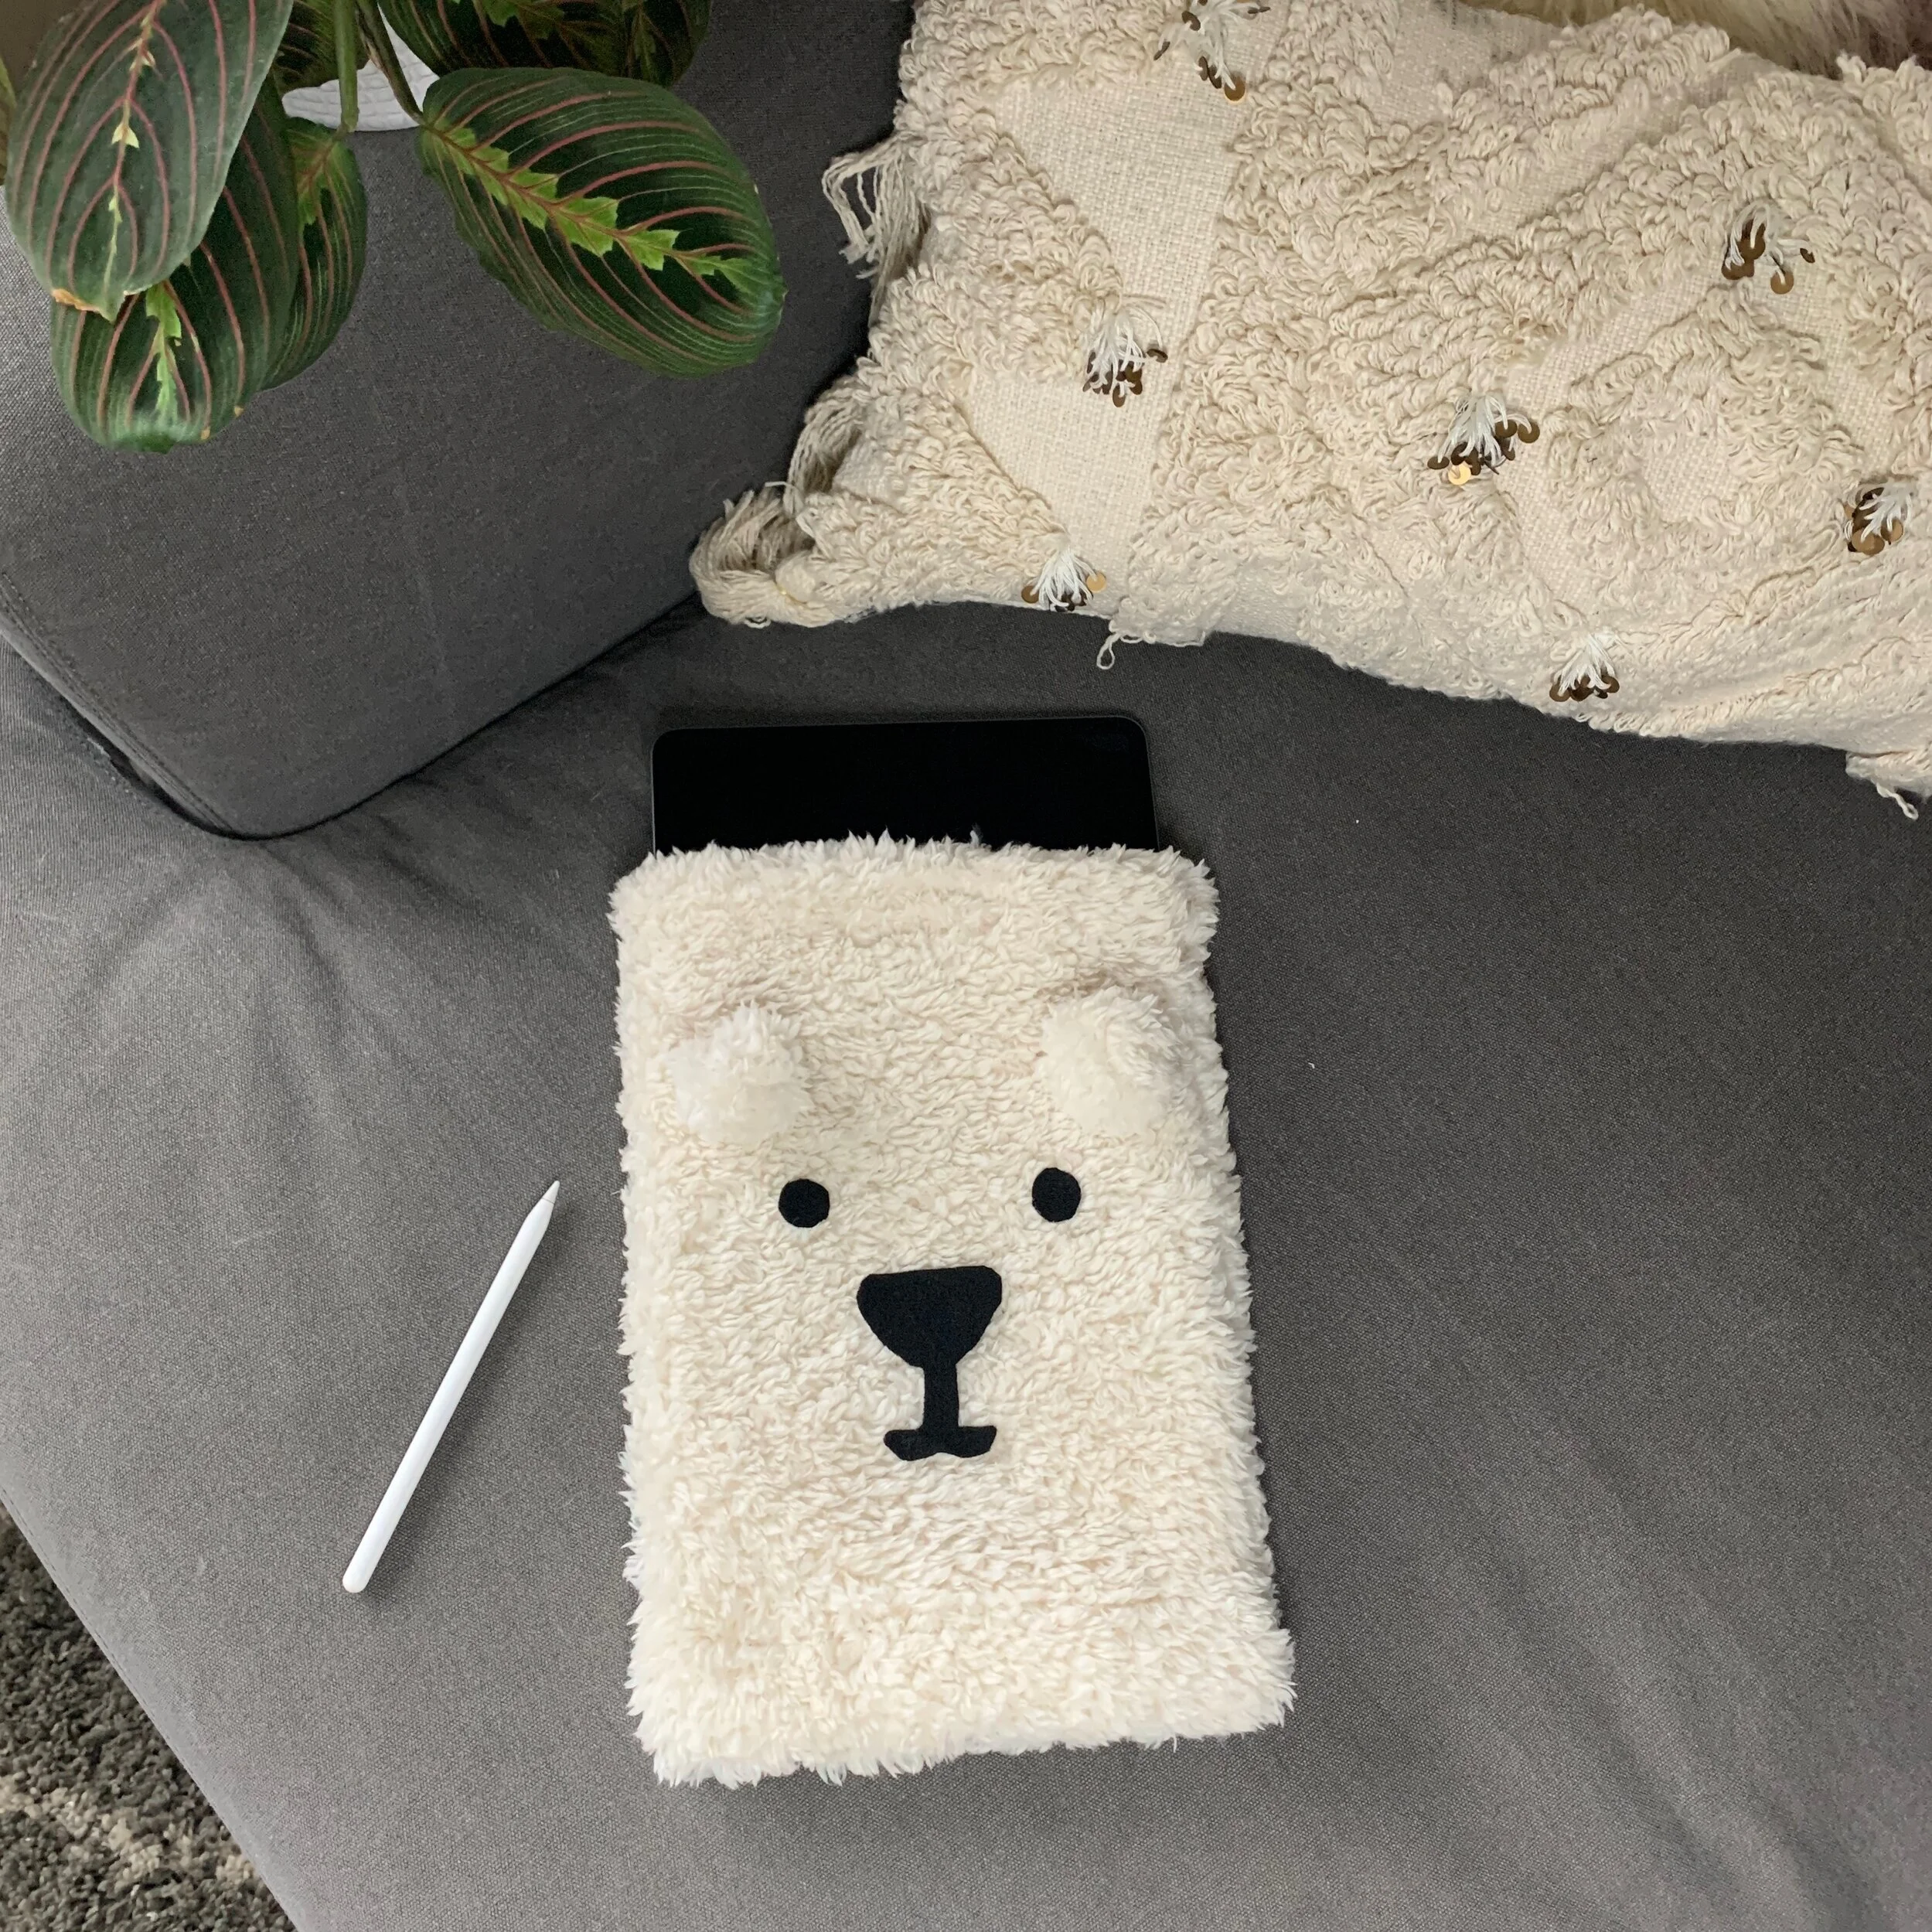
Who doesn’t love a cuddly bear? With winter still being in full swing, I’m all for anything soft and furry. I recently got my first ever iPad, and wanted a sleeve to protect it from scratches and dust when it’s left out on the coffee table.

My sleeve is made of cozy sherpa, and features felt details for the face. Because this sleeve doesn’t have any interior support, I wanted to use a really soft material to create a cushion around the iPad. Feel free to customize your sleeve by using other fur types. Some other animal ideas are a llama, panda or cat.
So let’s get started. You’ll need the below materials.
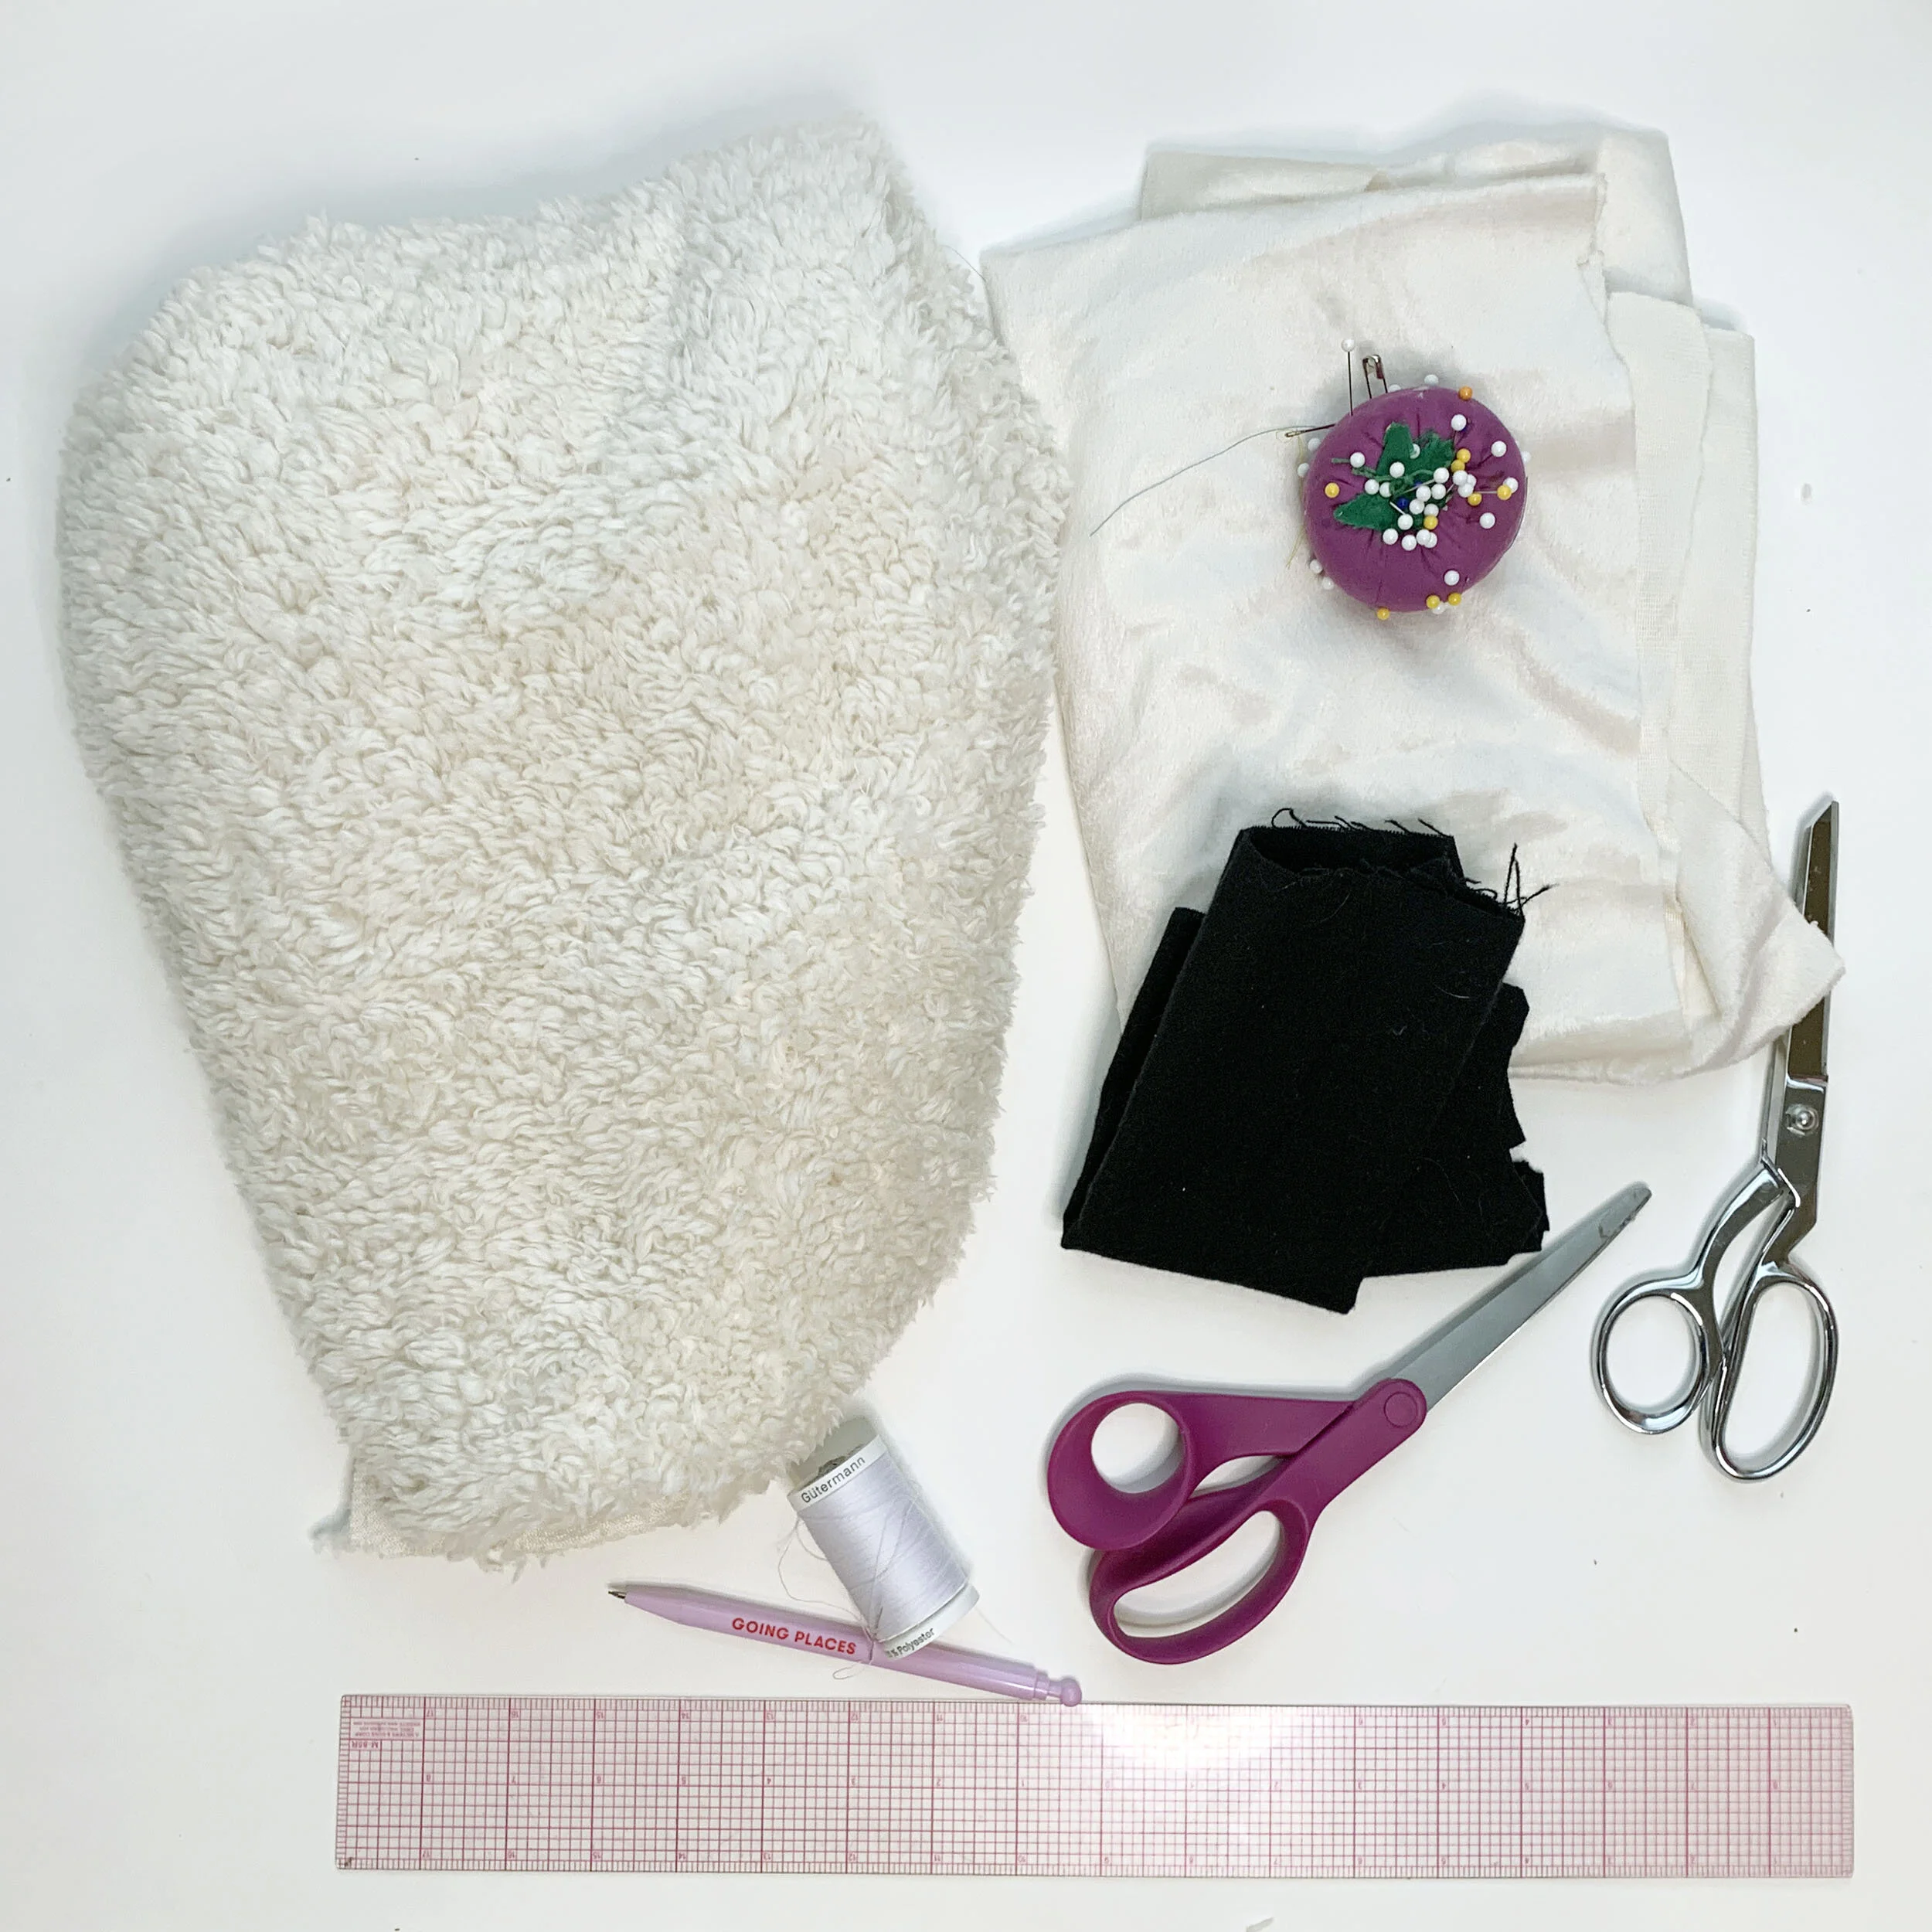
Materials & Equipment
Cream Sherpa - Exterior Fabric
Cream Short Pile Fur - Interior Fabric
Black Felt
PolyFill (You only need handful for this project)
Velcro (optional)
Sewing Machine
Scissors
Ruler
Printer (optional)
Hot Glue Gun
Hot Glue Sticks
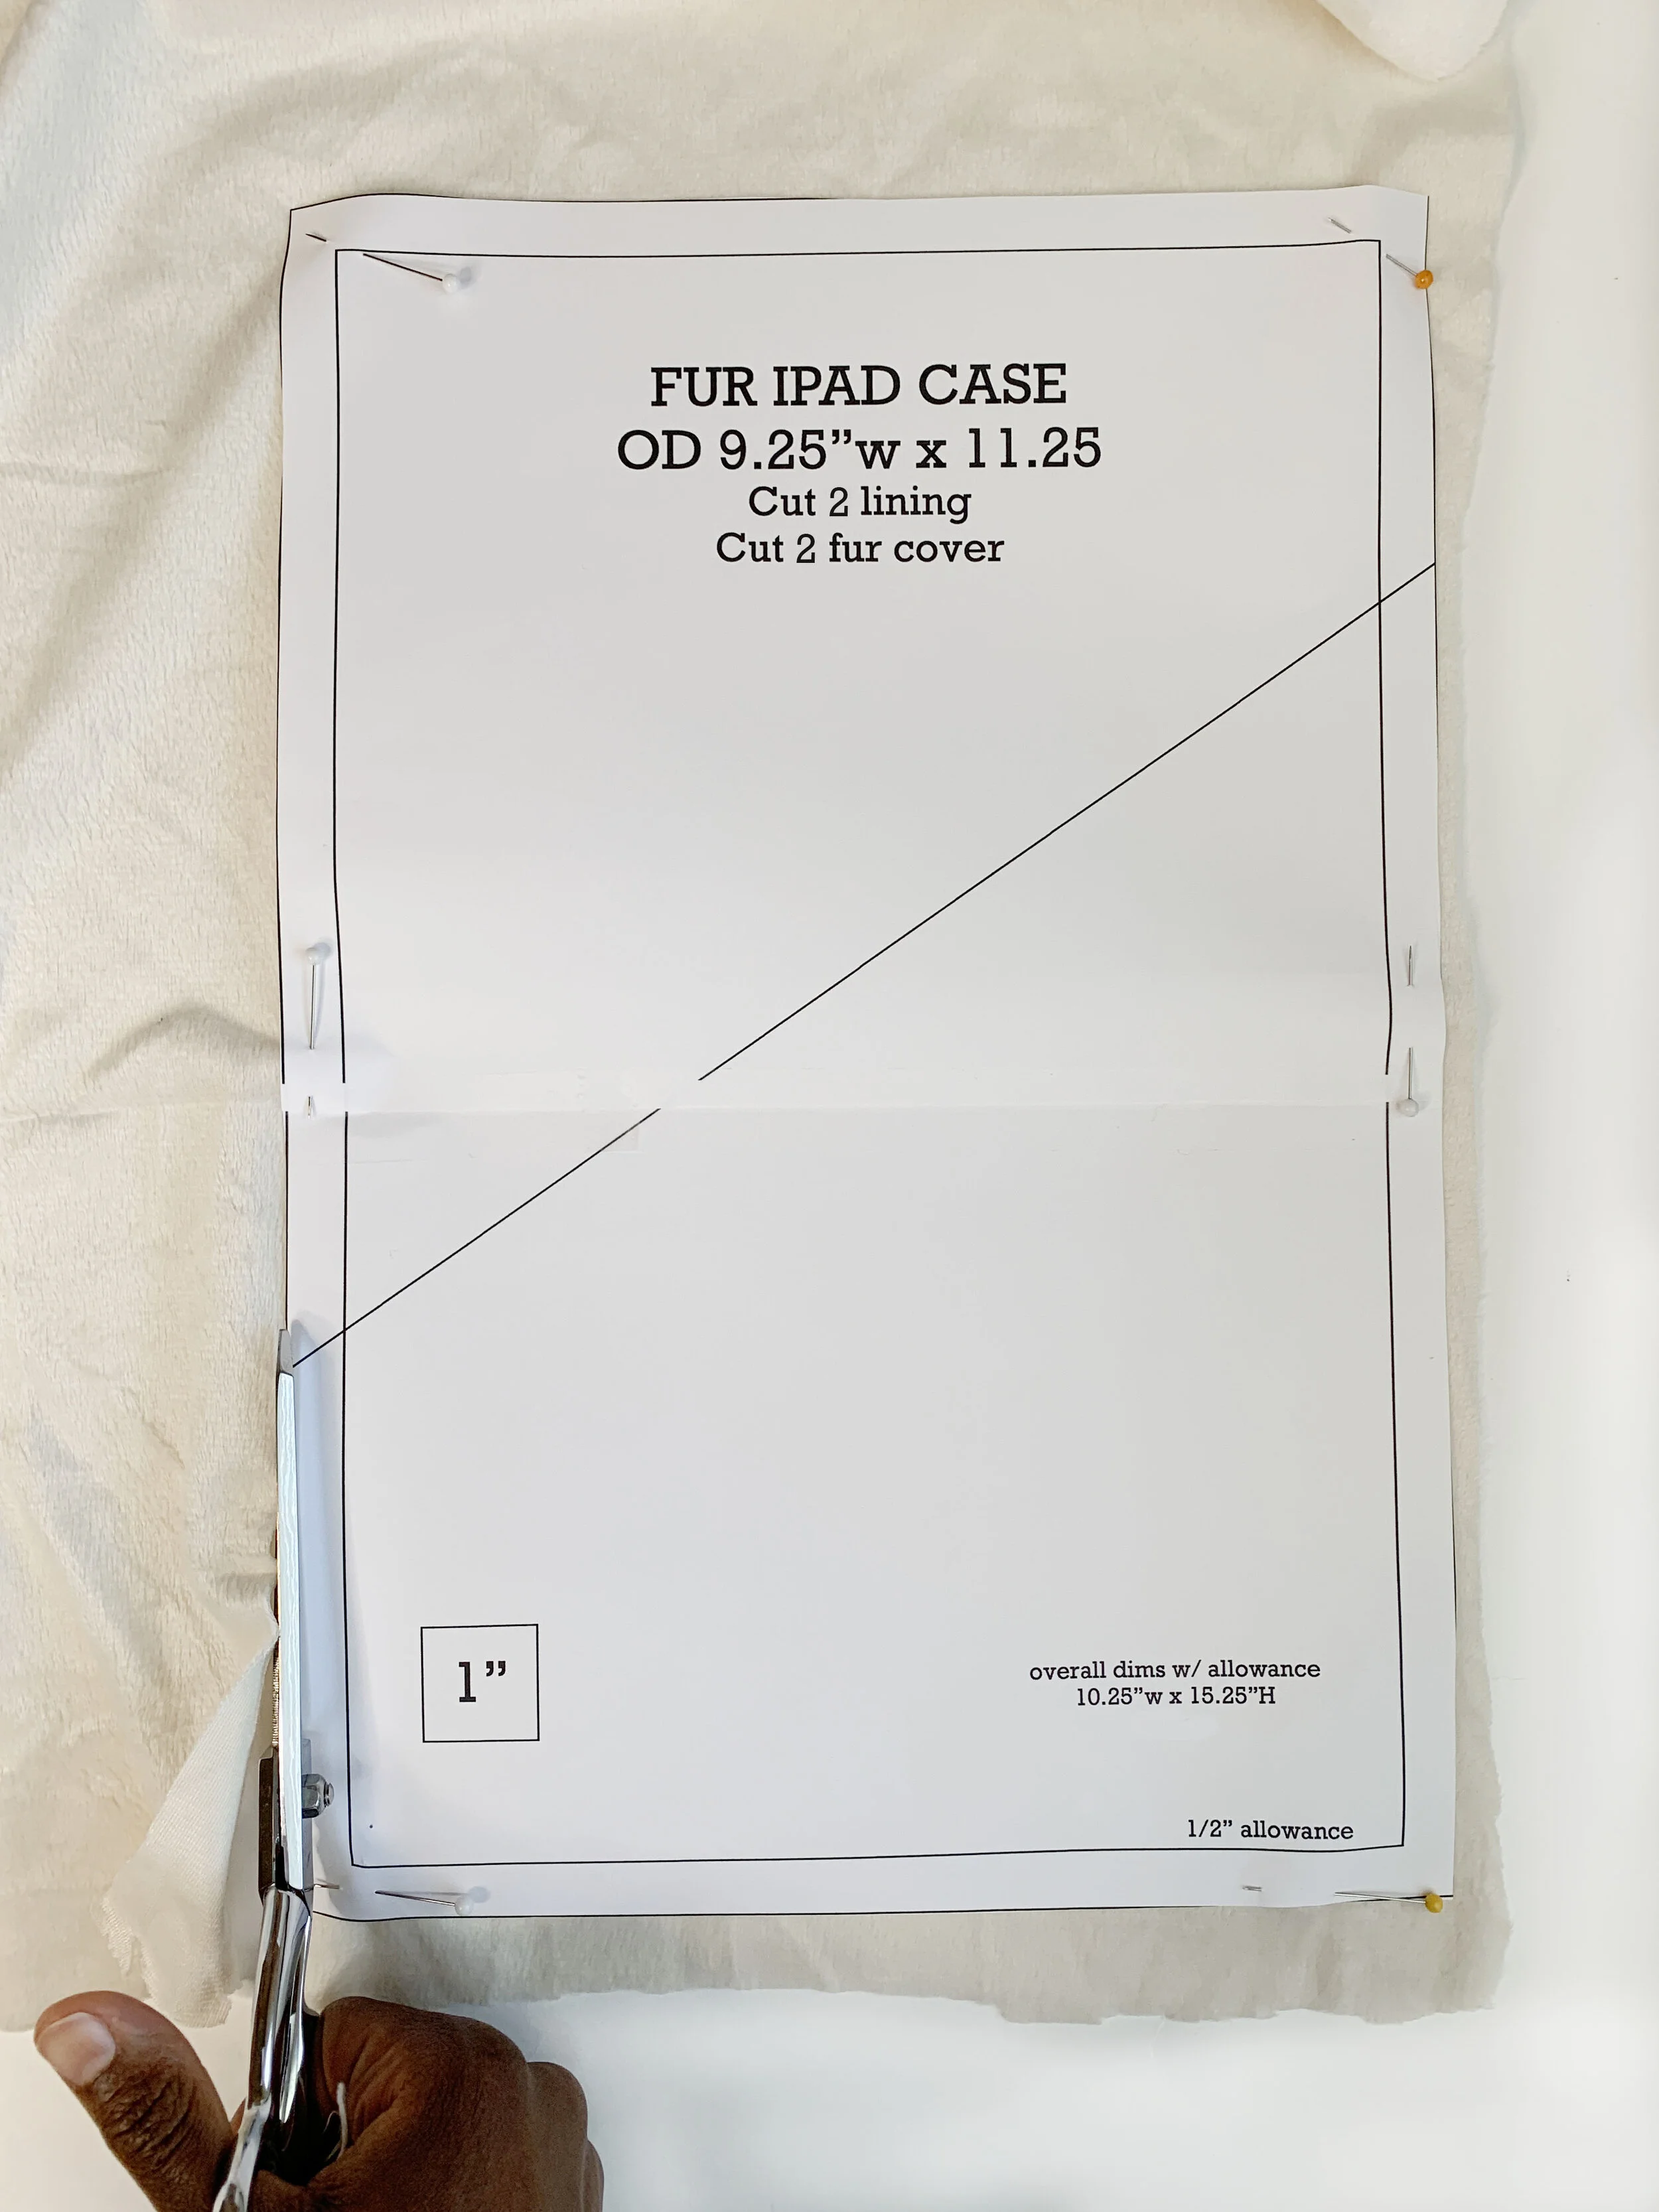
Print the pattern on basic 8.5” x 11” paper. Cut around the outer black line.
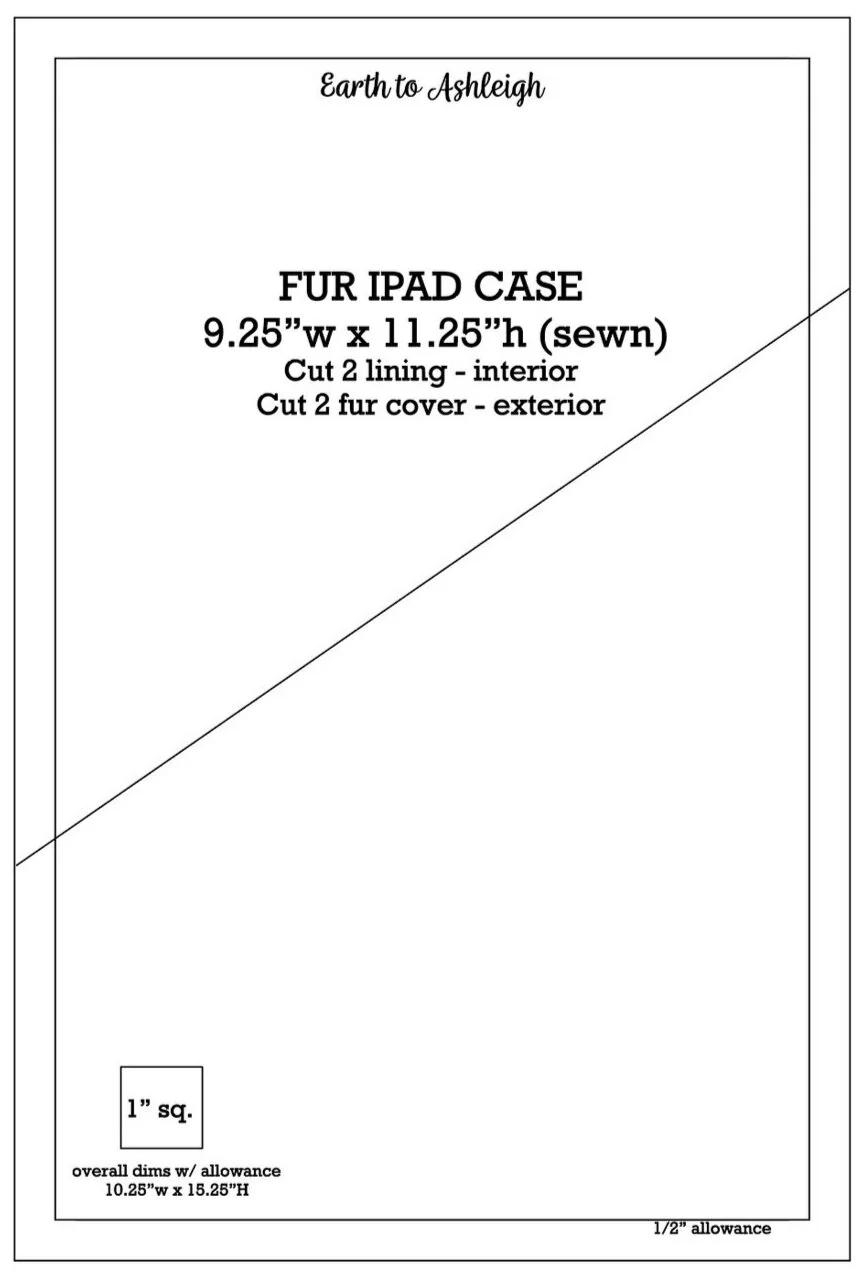
Tape pattern together. You can confirm the size by checking the 1” box, and using diagonal lines to match up the pattern accurately.
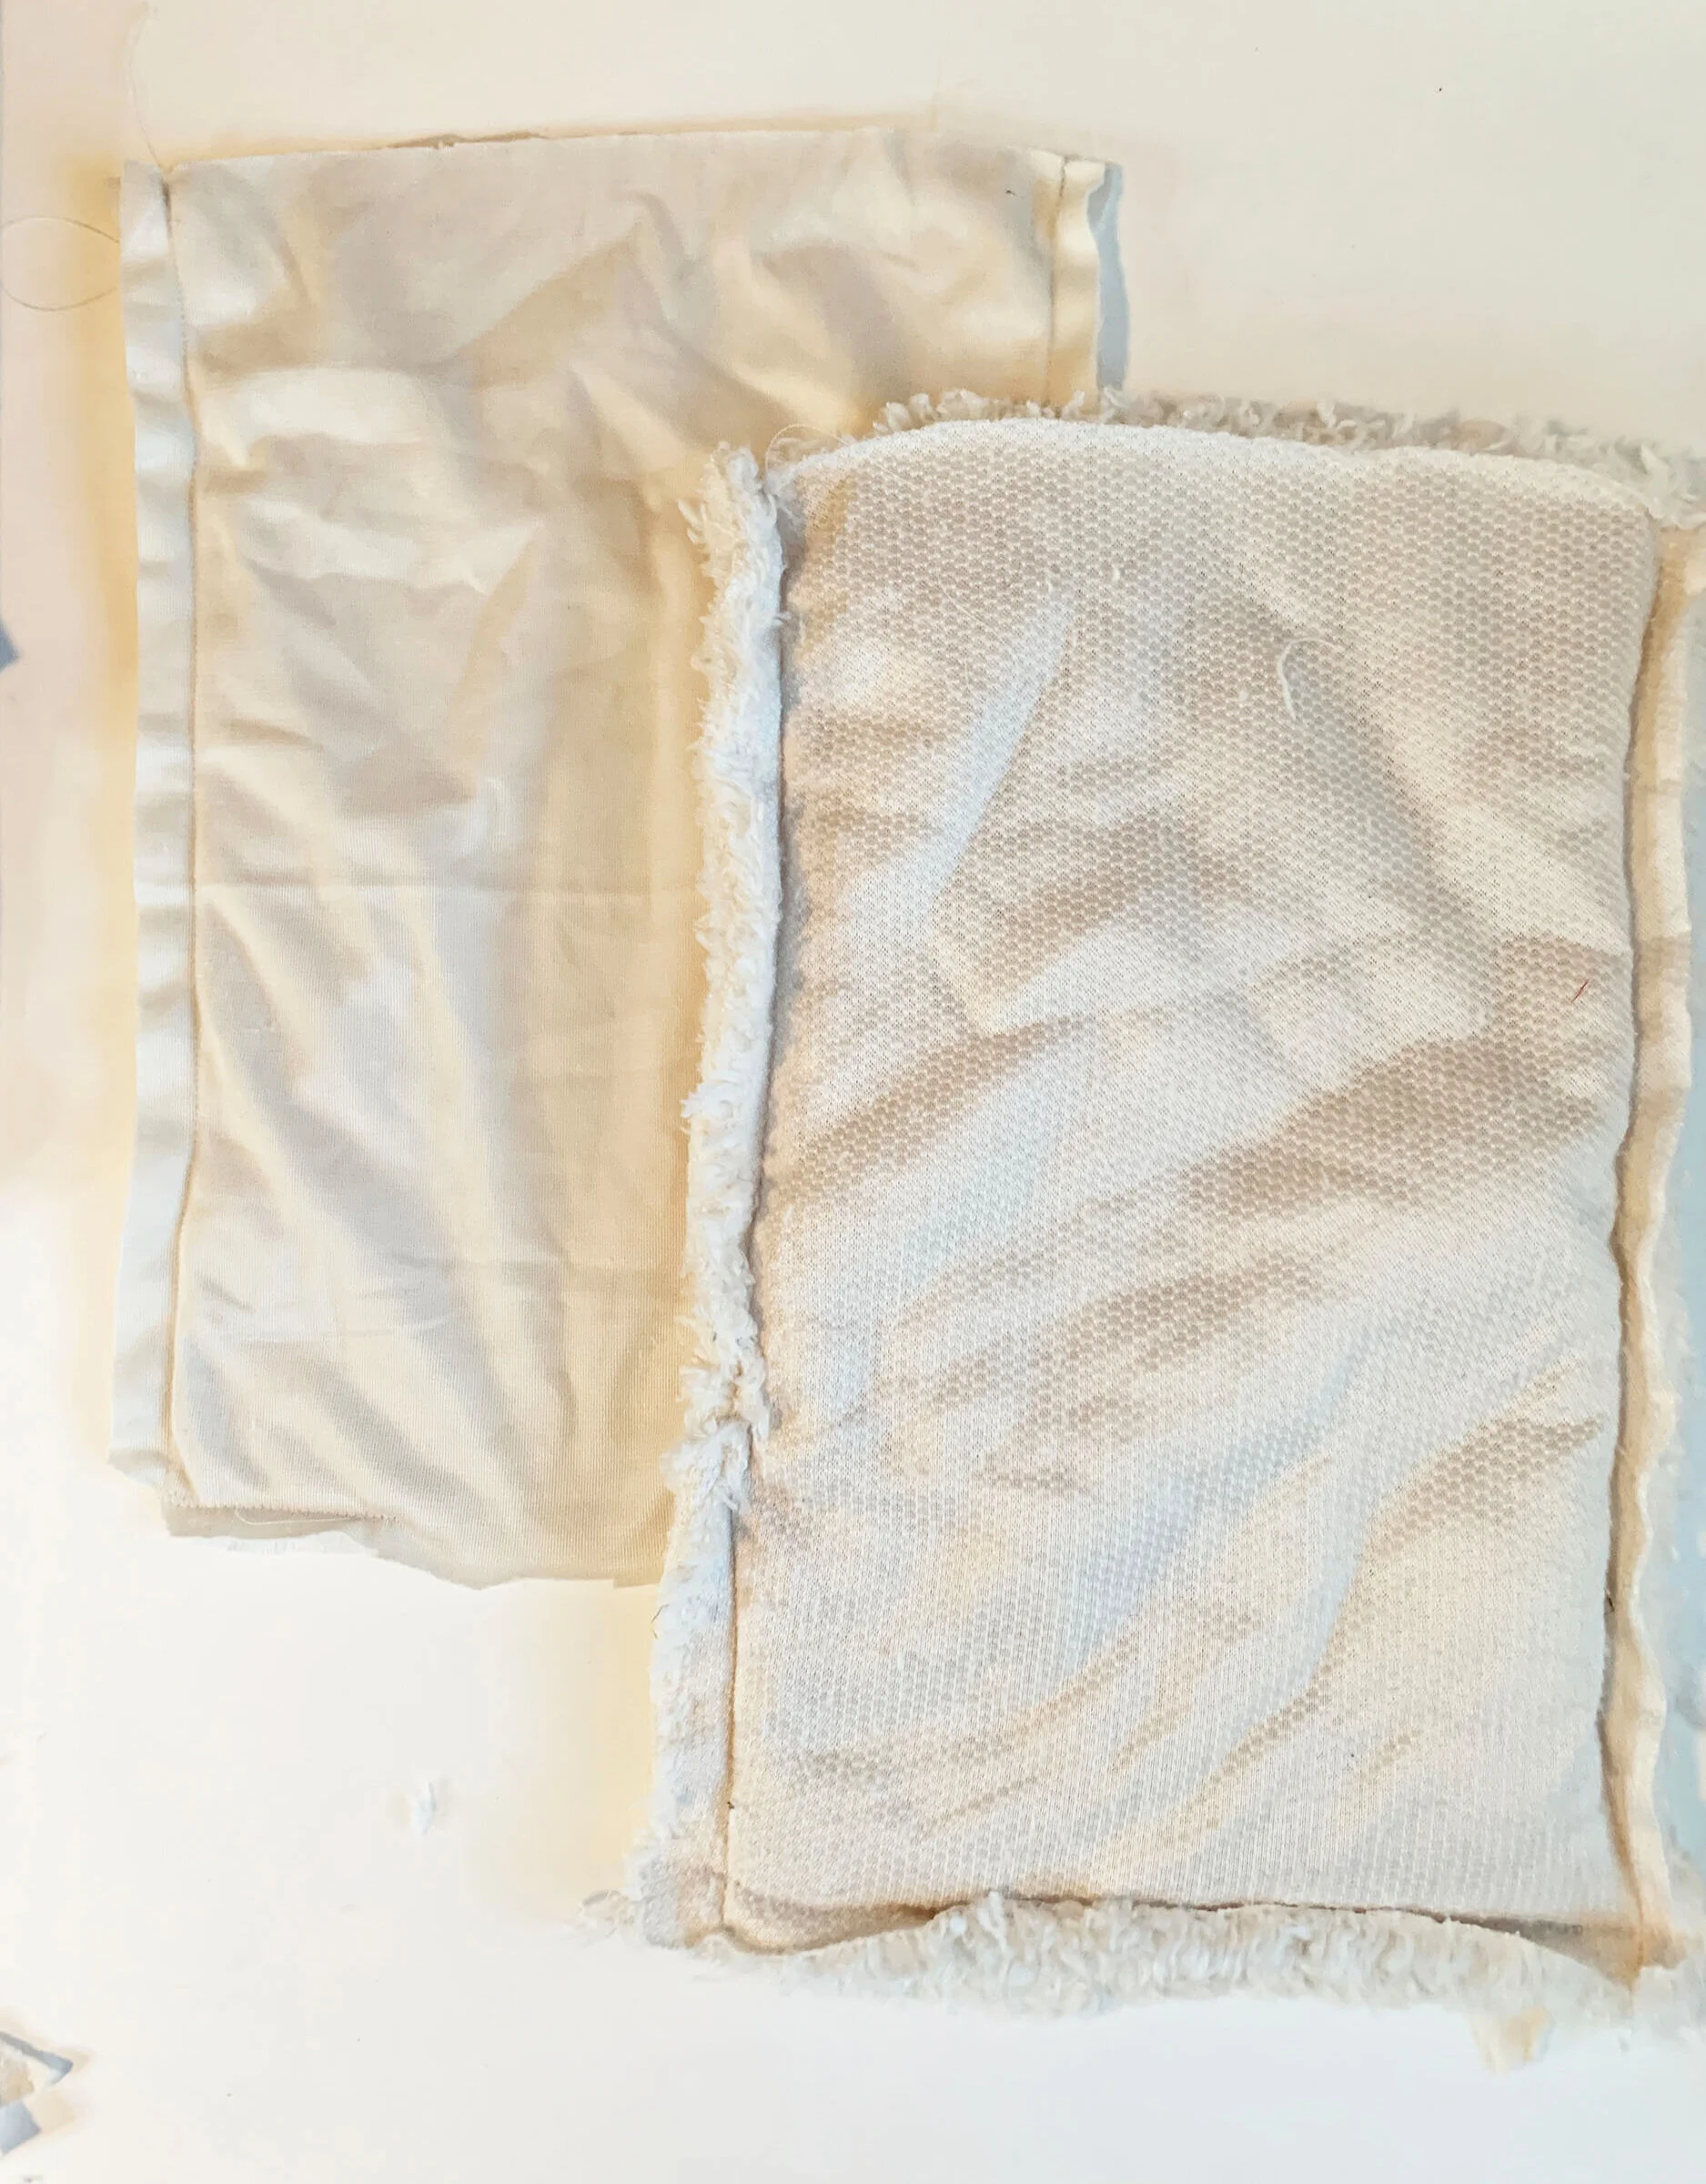
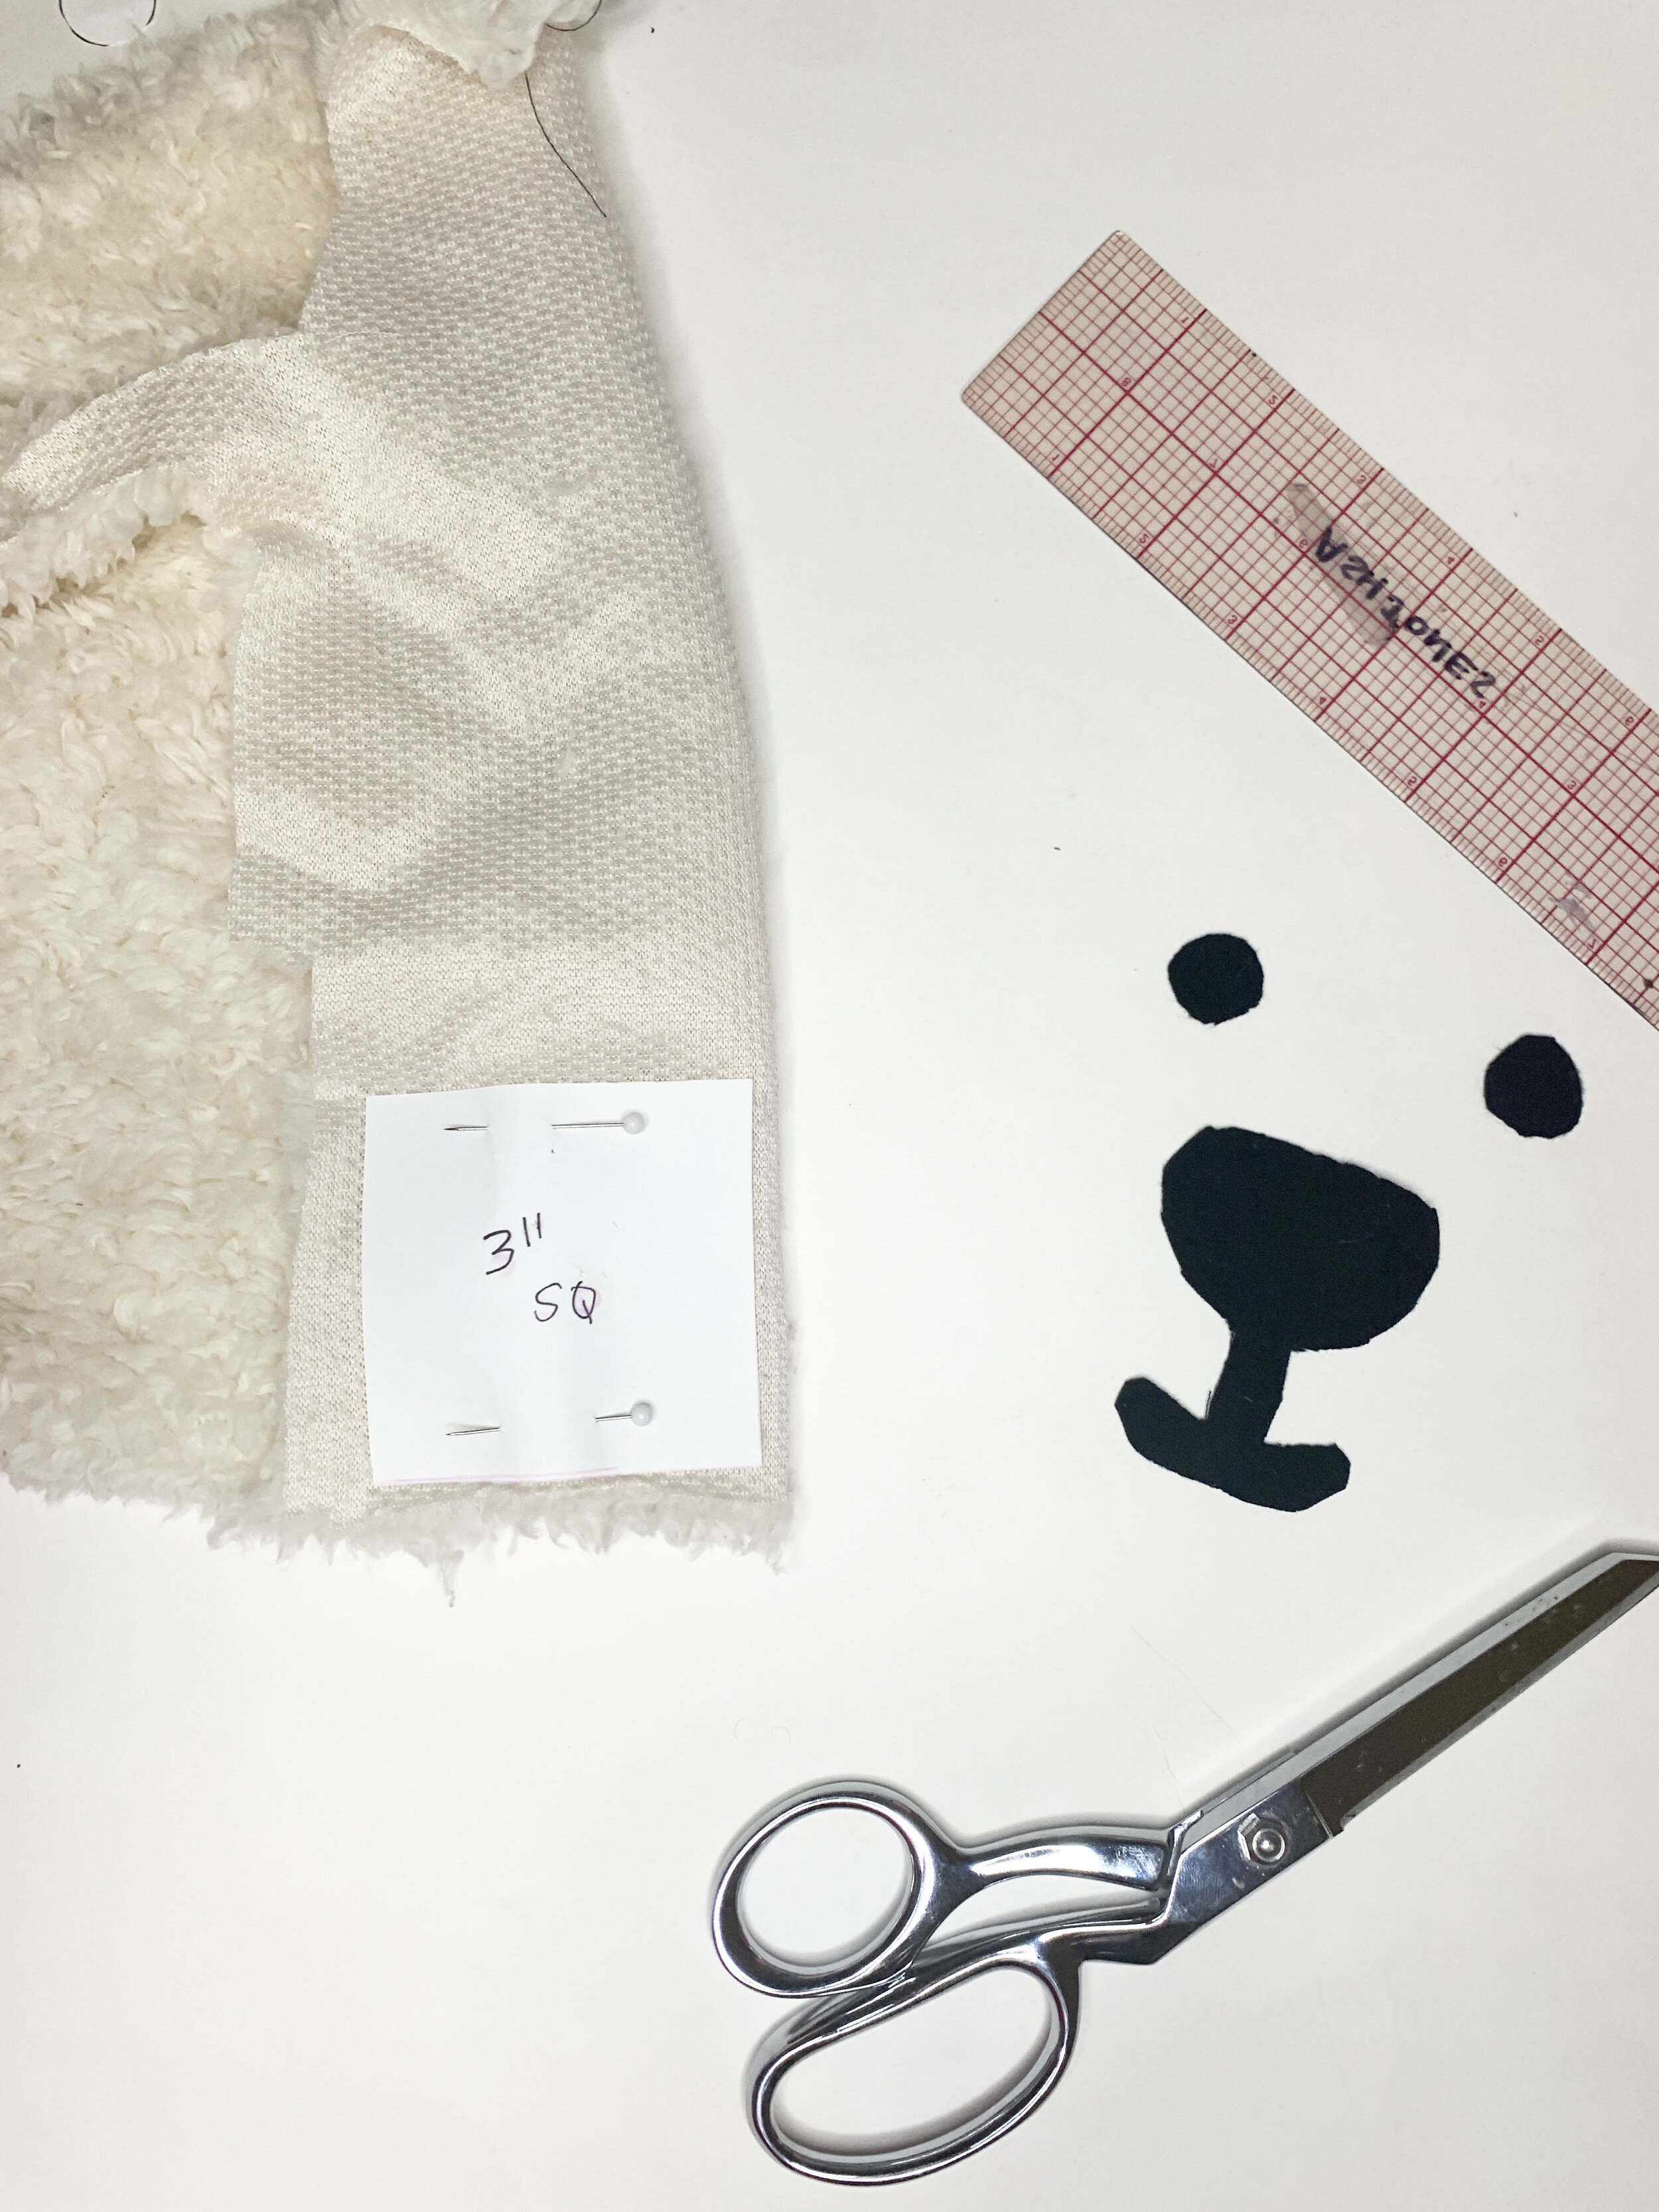
Pin the paper pattern onto the interior fabric, and cut two pieces. Repeat for the exterior fabric. Please note the file in download will not match below image, but it is correct. I made cosmetic revisions after making the sample.
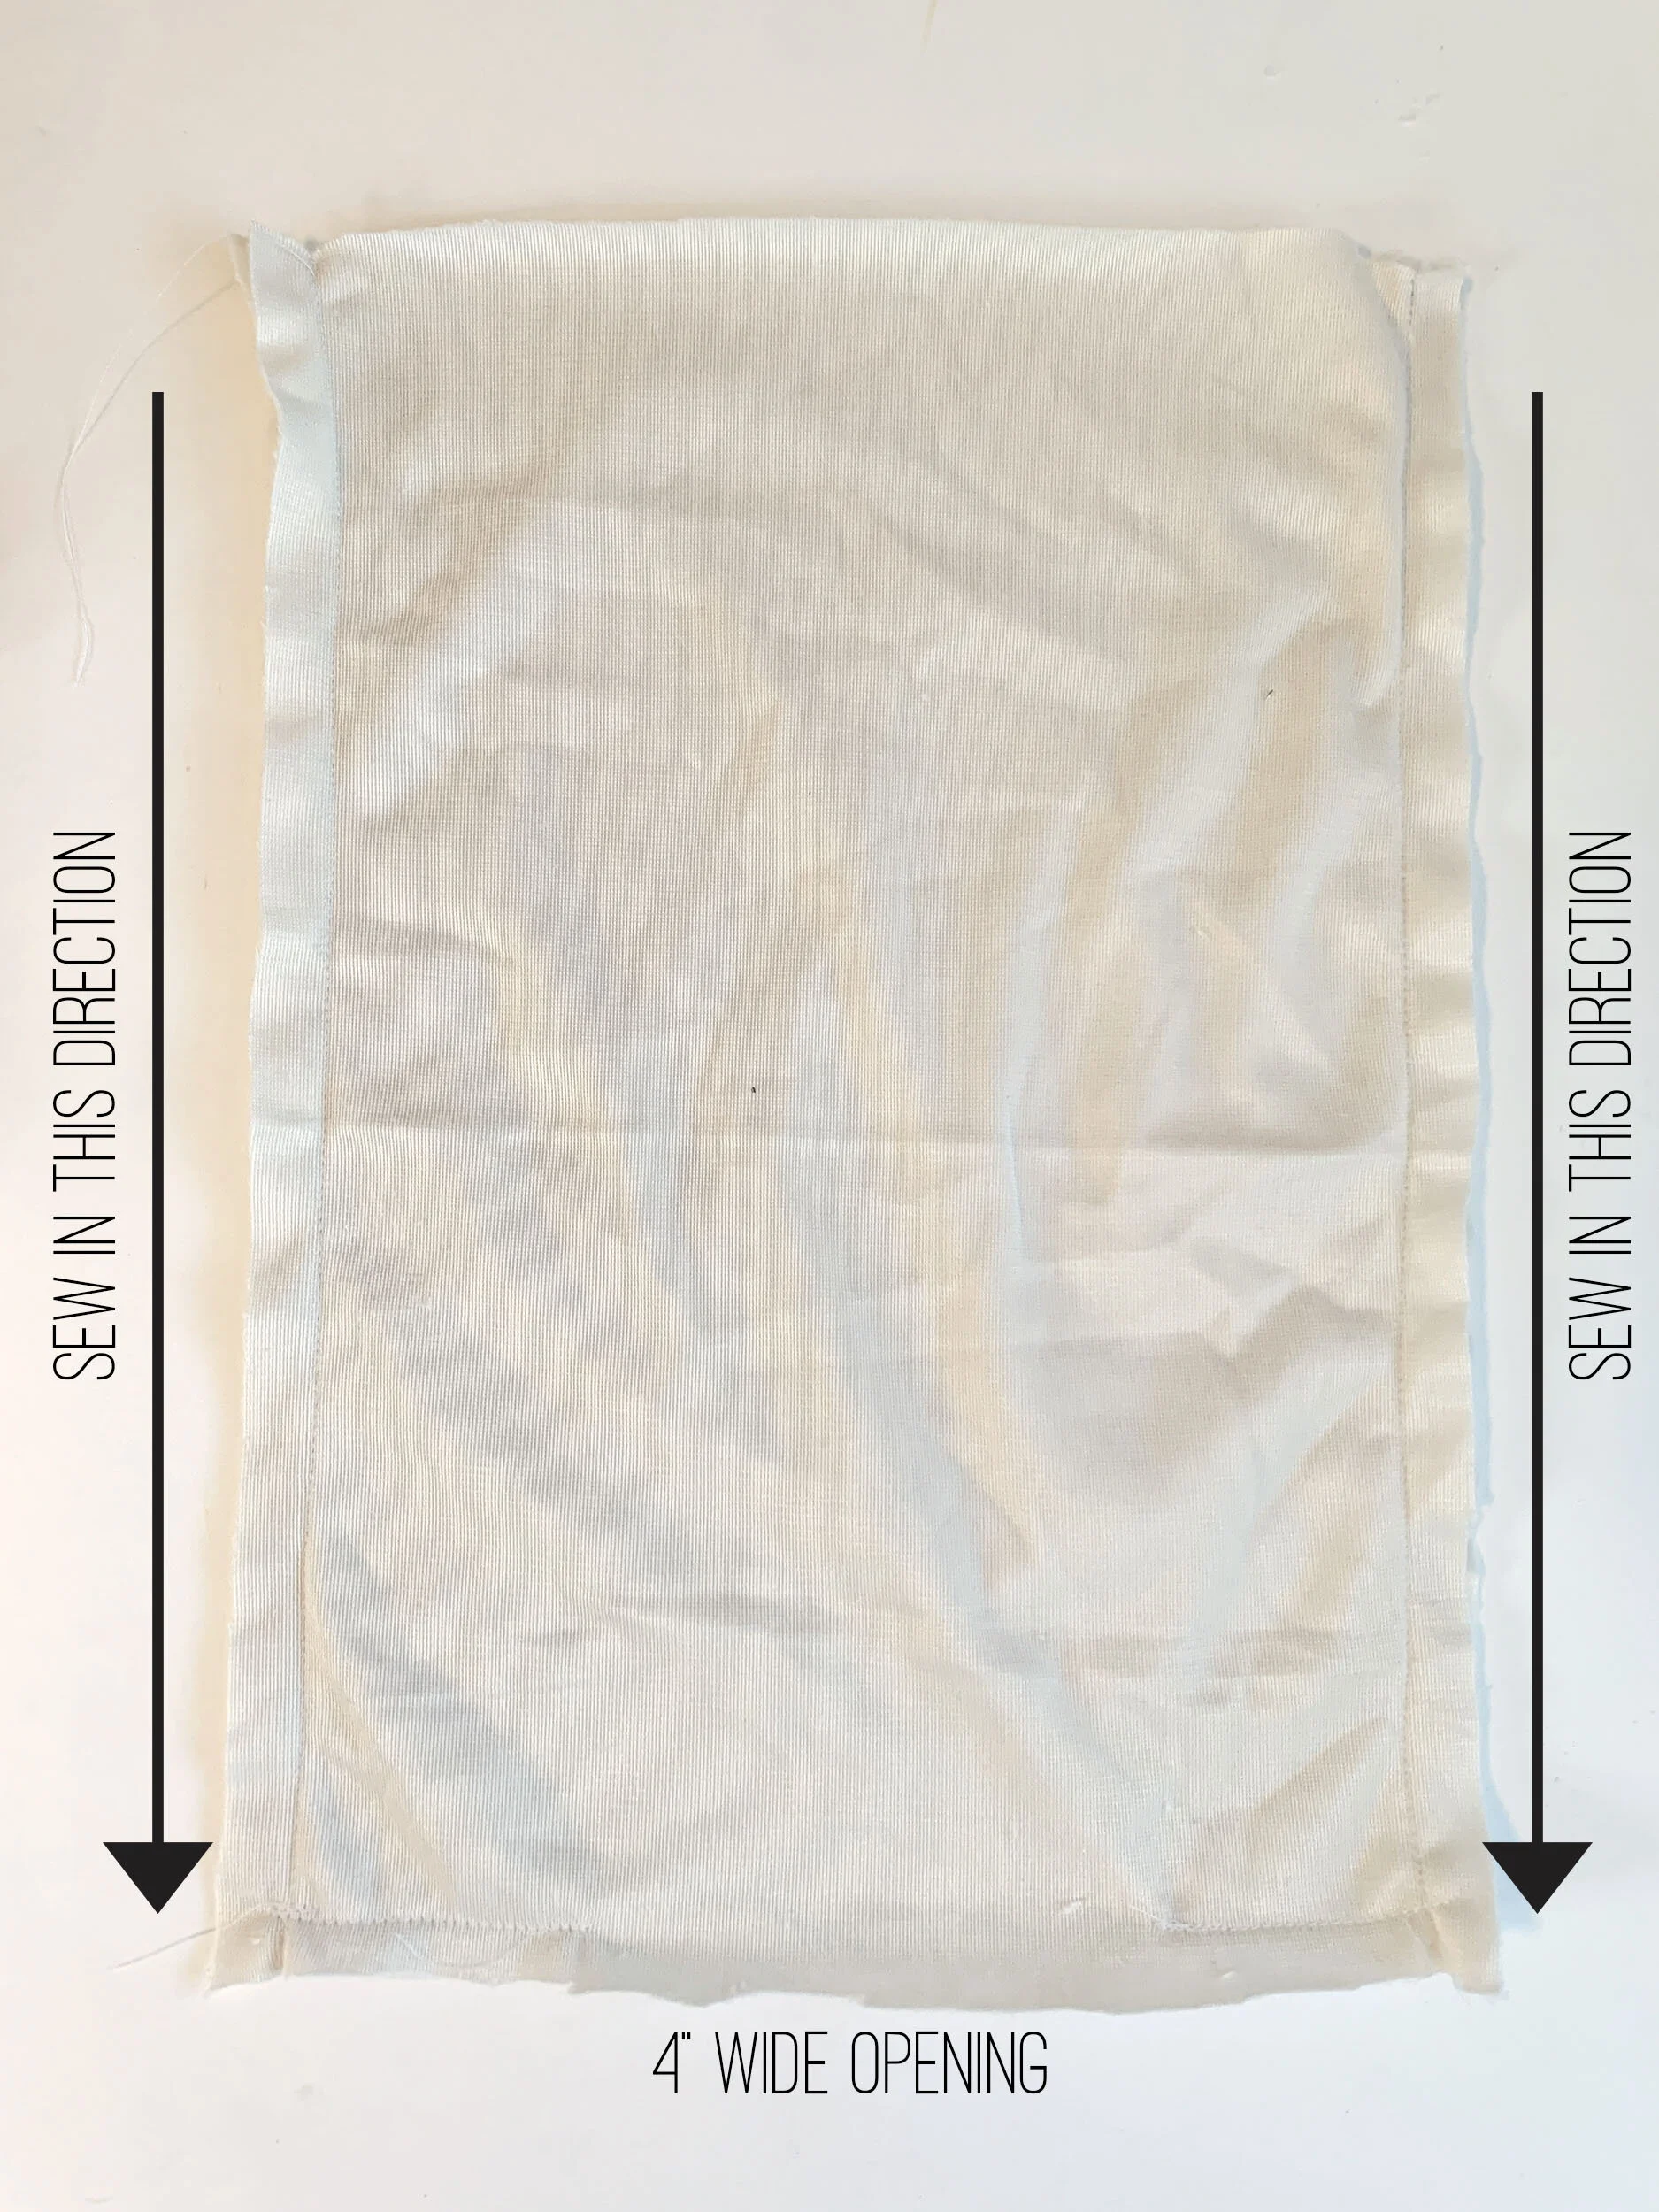
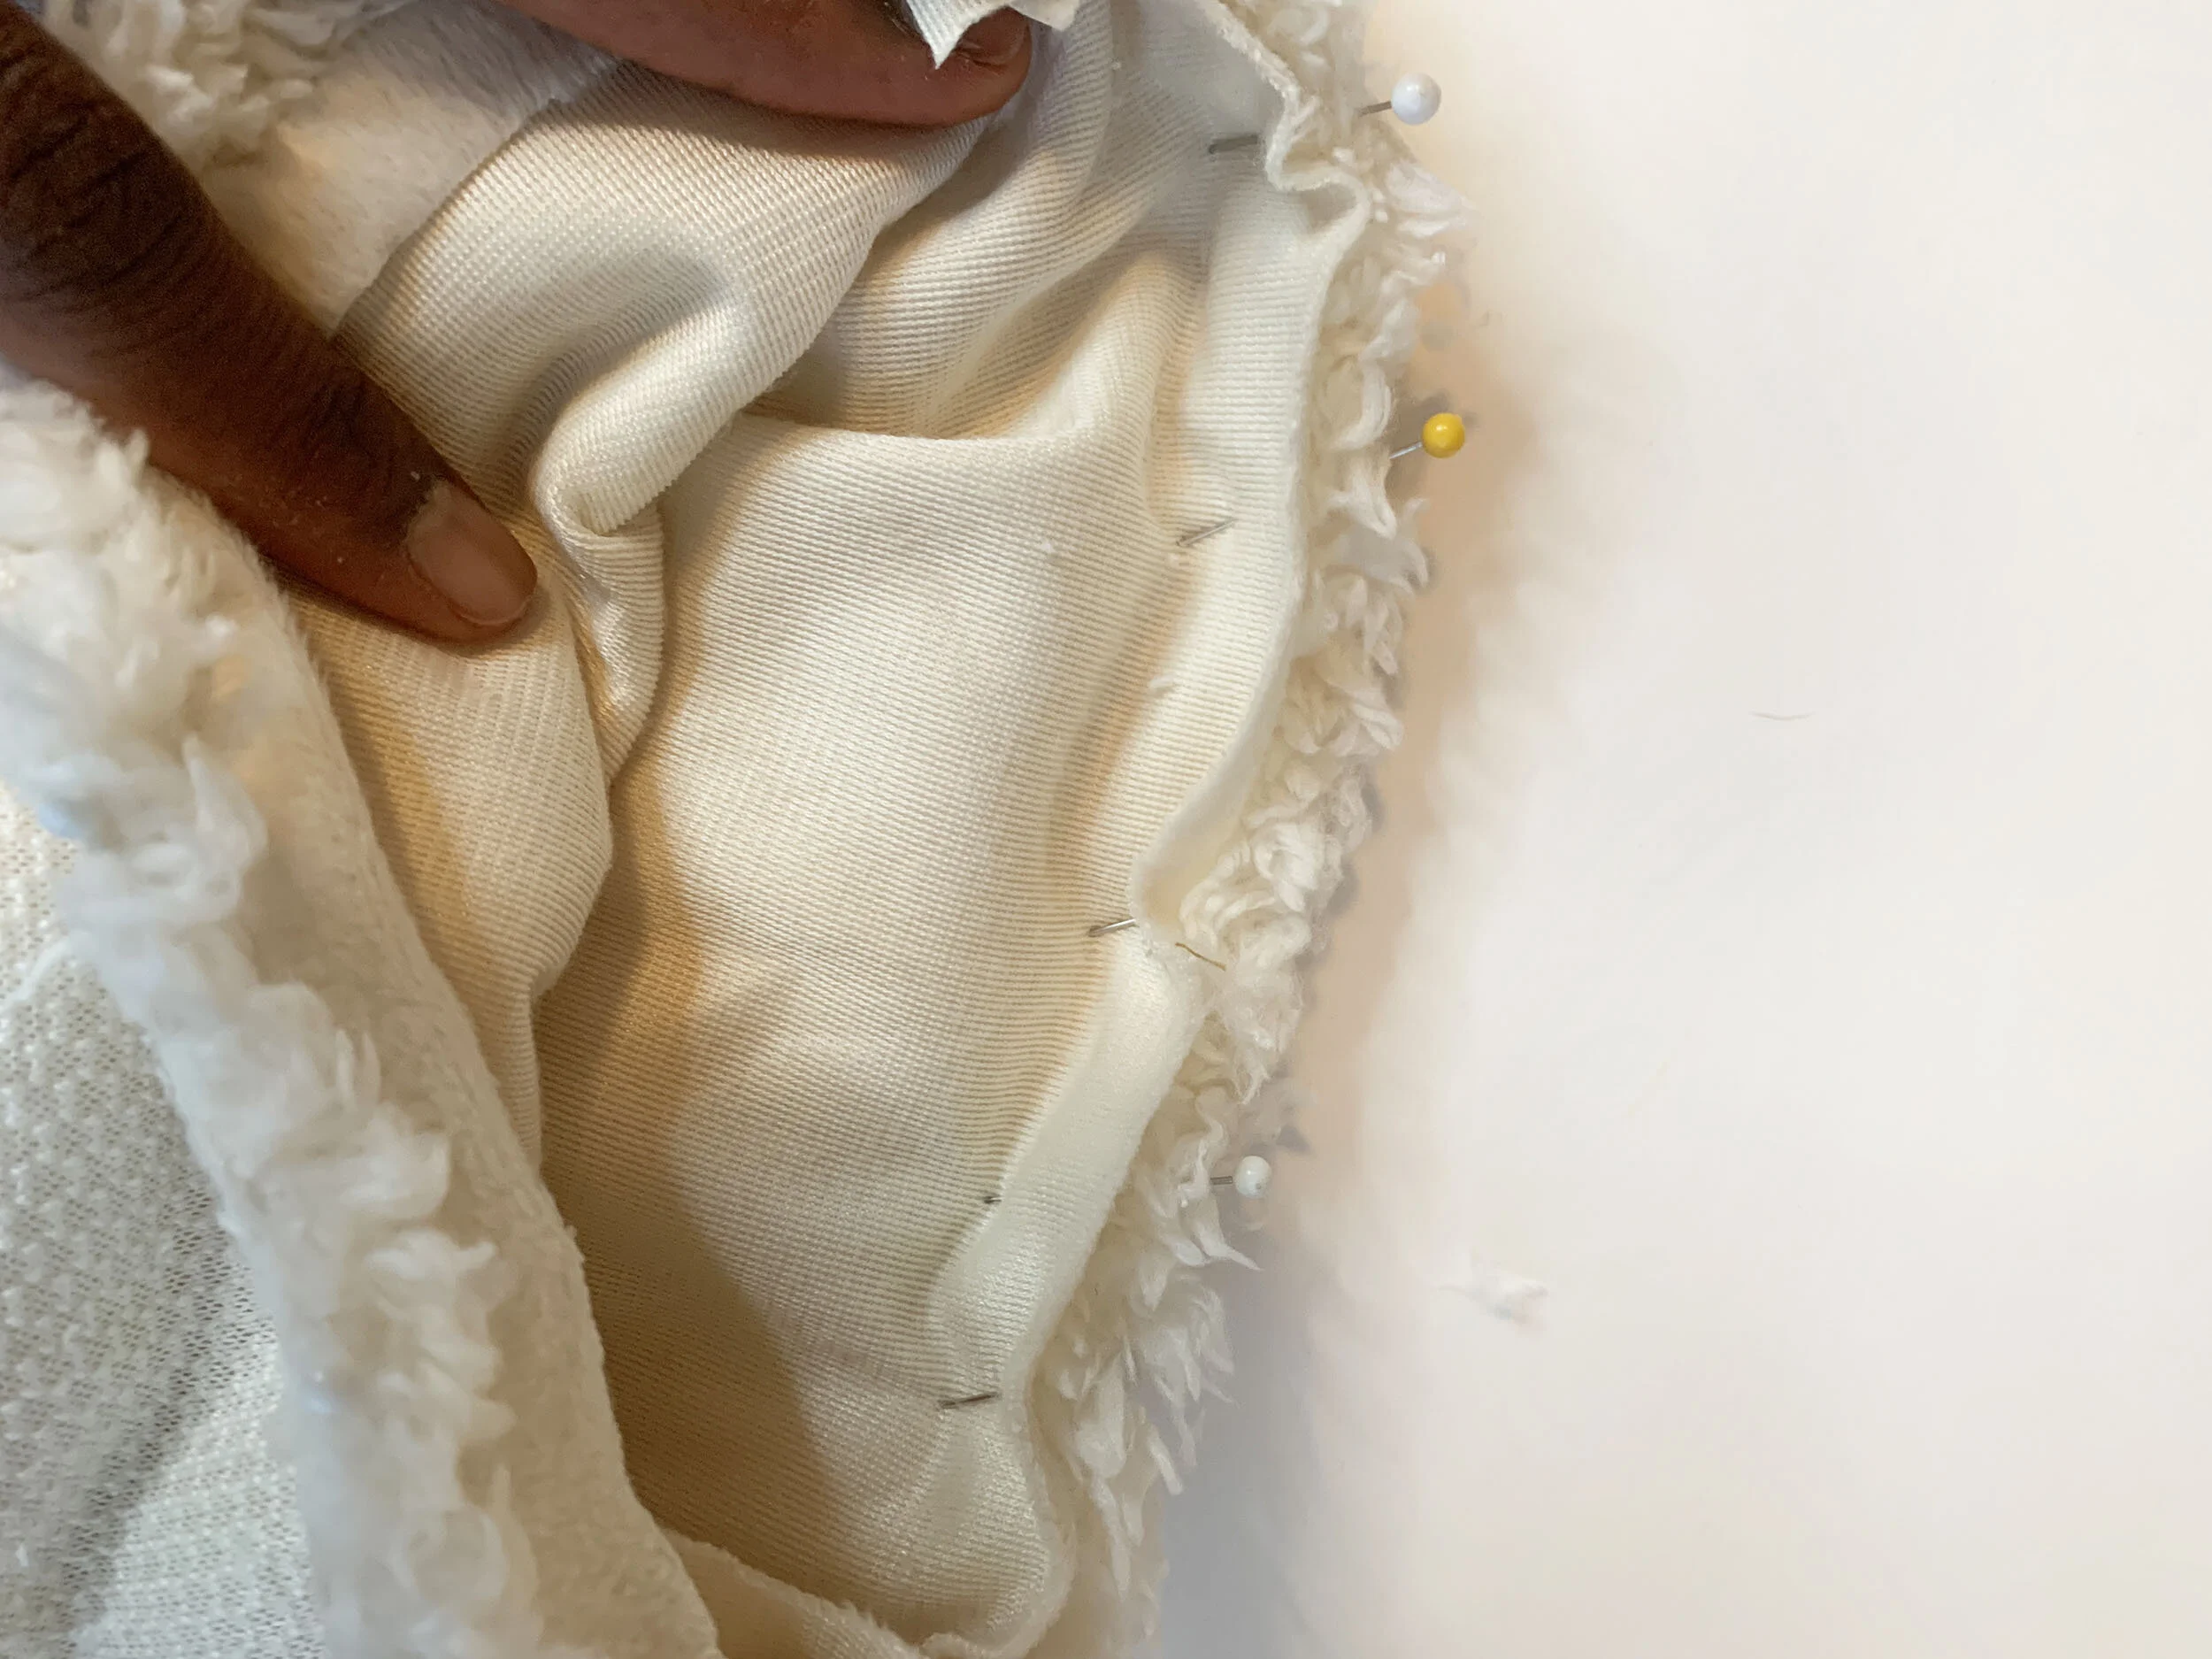
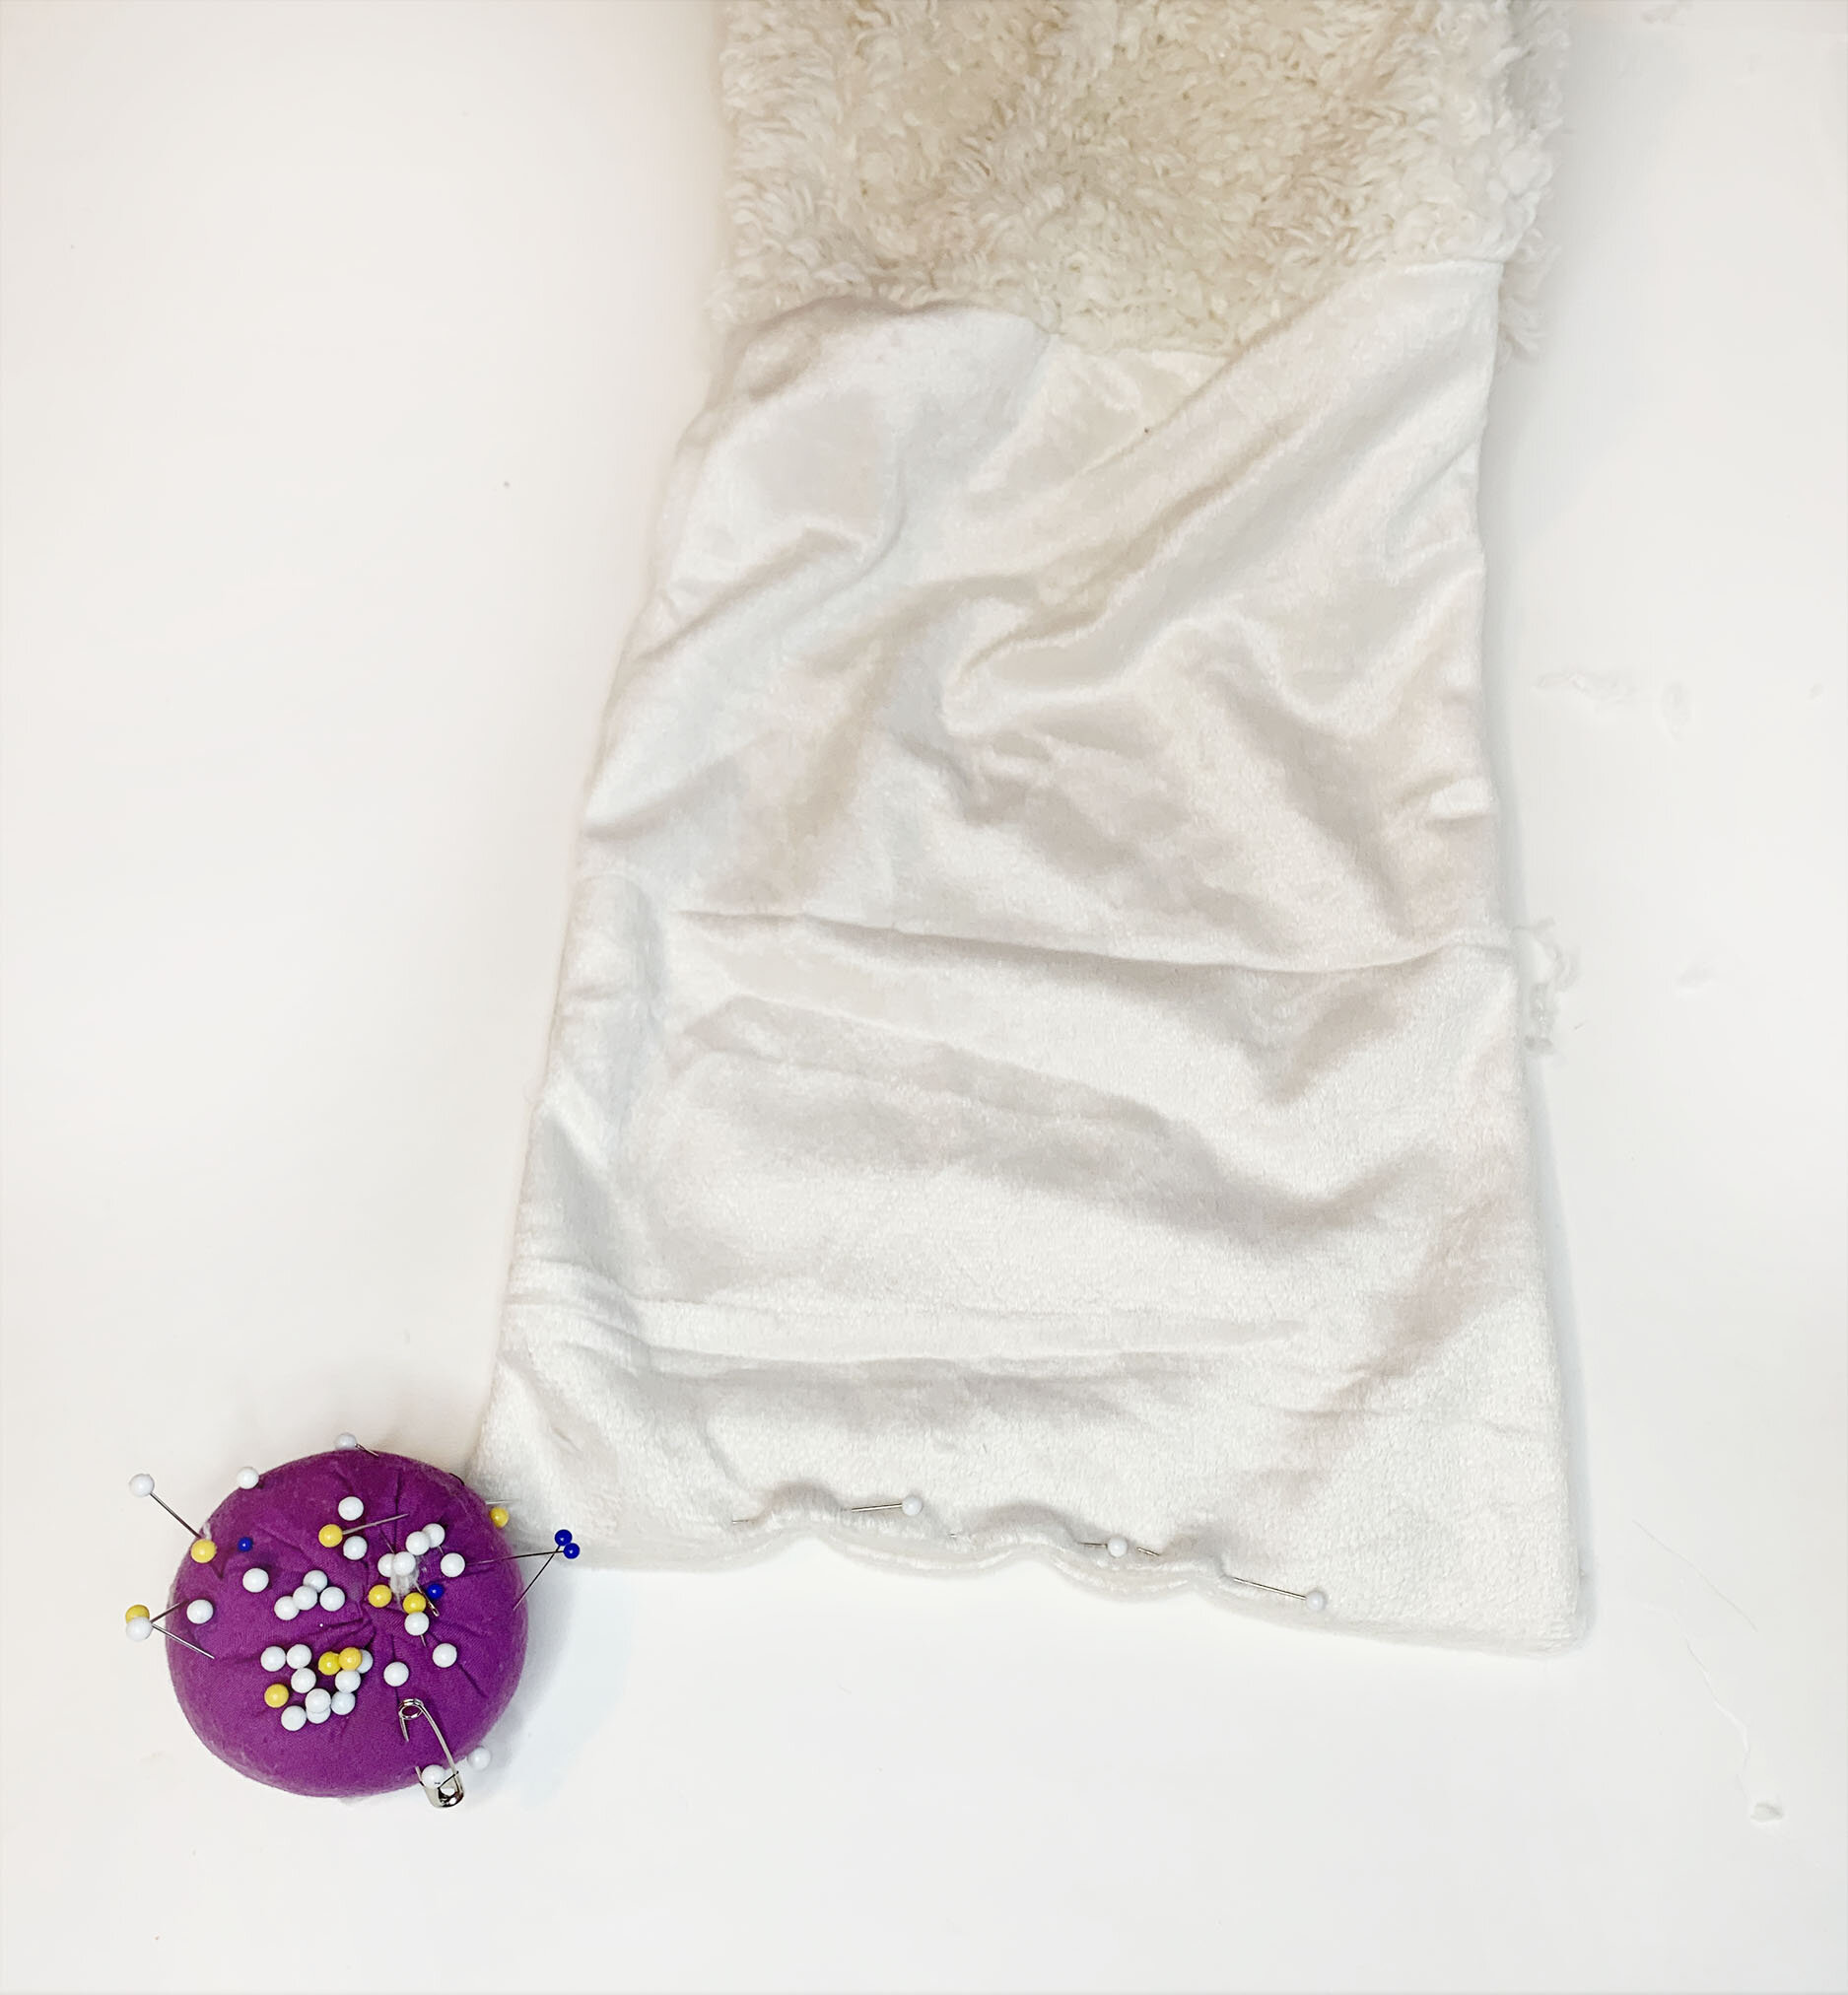
Interior Fabric: Lay pretty sides together and pin around the horizontal sides and bottom. Leave a 4” hole open at the bottom. You can see this marked with my blue pins in the image below.
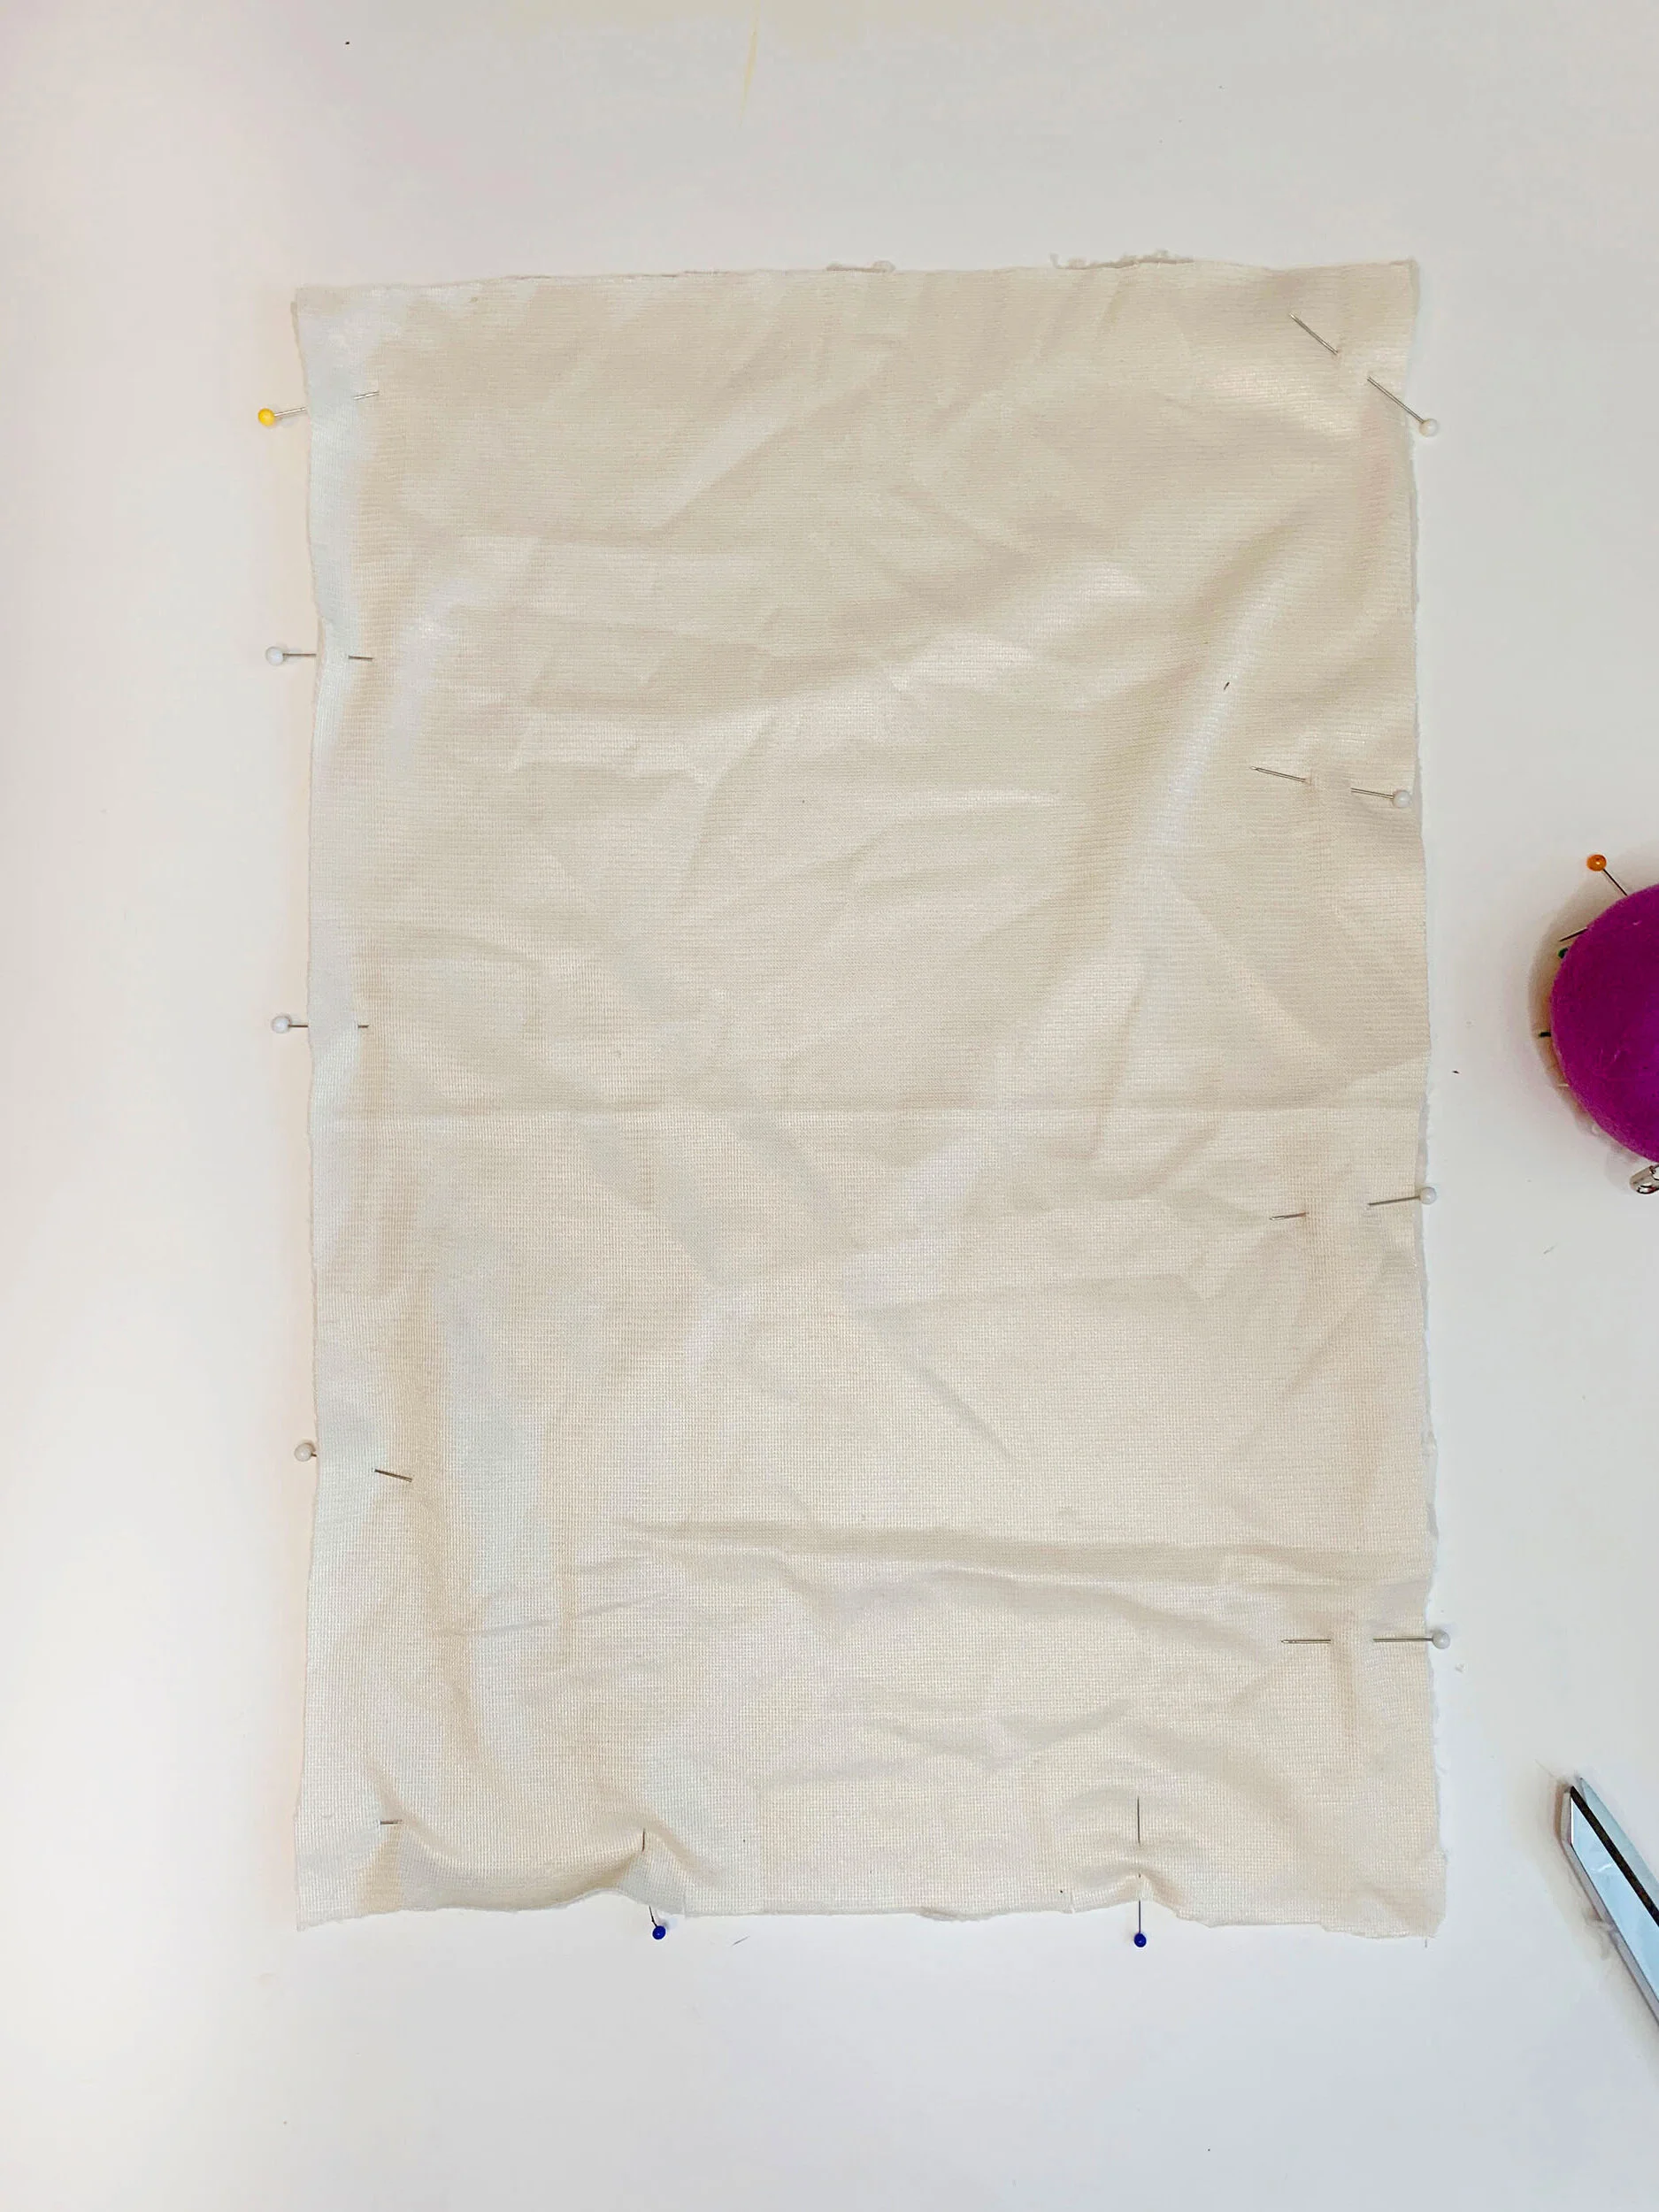
Sew horizontal sides first in the same direction at ½” from edge. Then, for the bottom, sew ½” from the edge. Make sure to keep the 4” hole open. TIP: Sewing the horizontal sides in the same direction helps the fabric move in the same direction, especially if your fur has stretch.
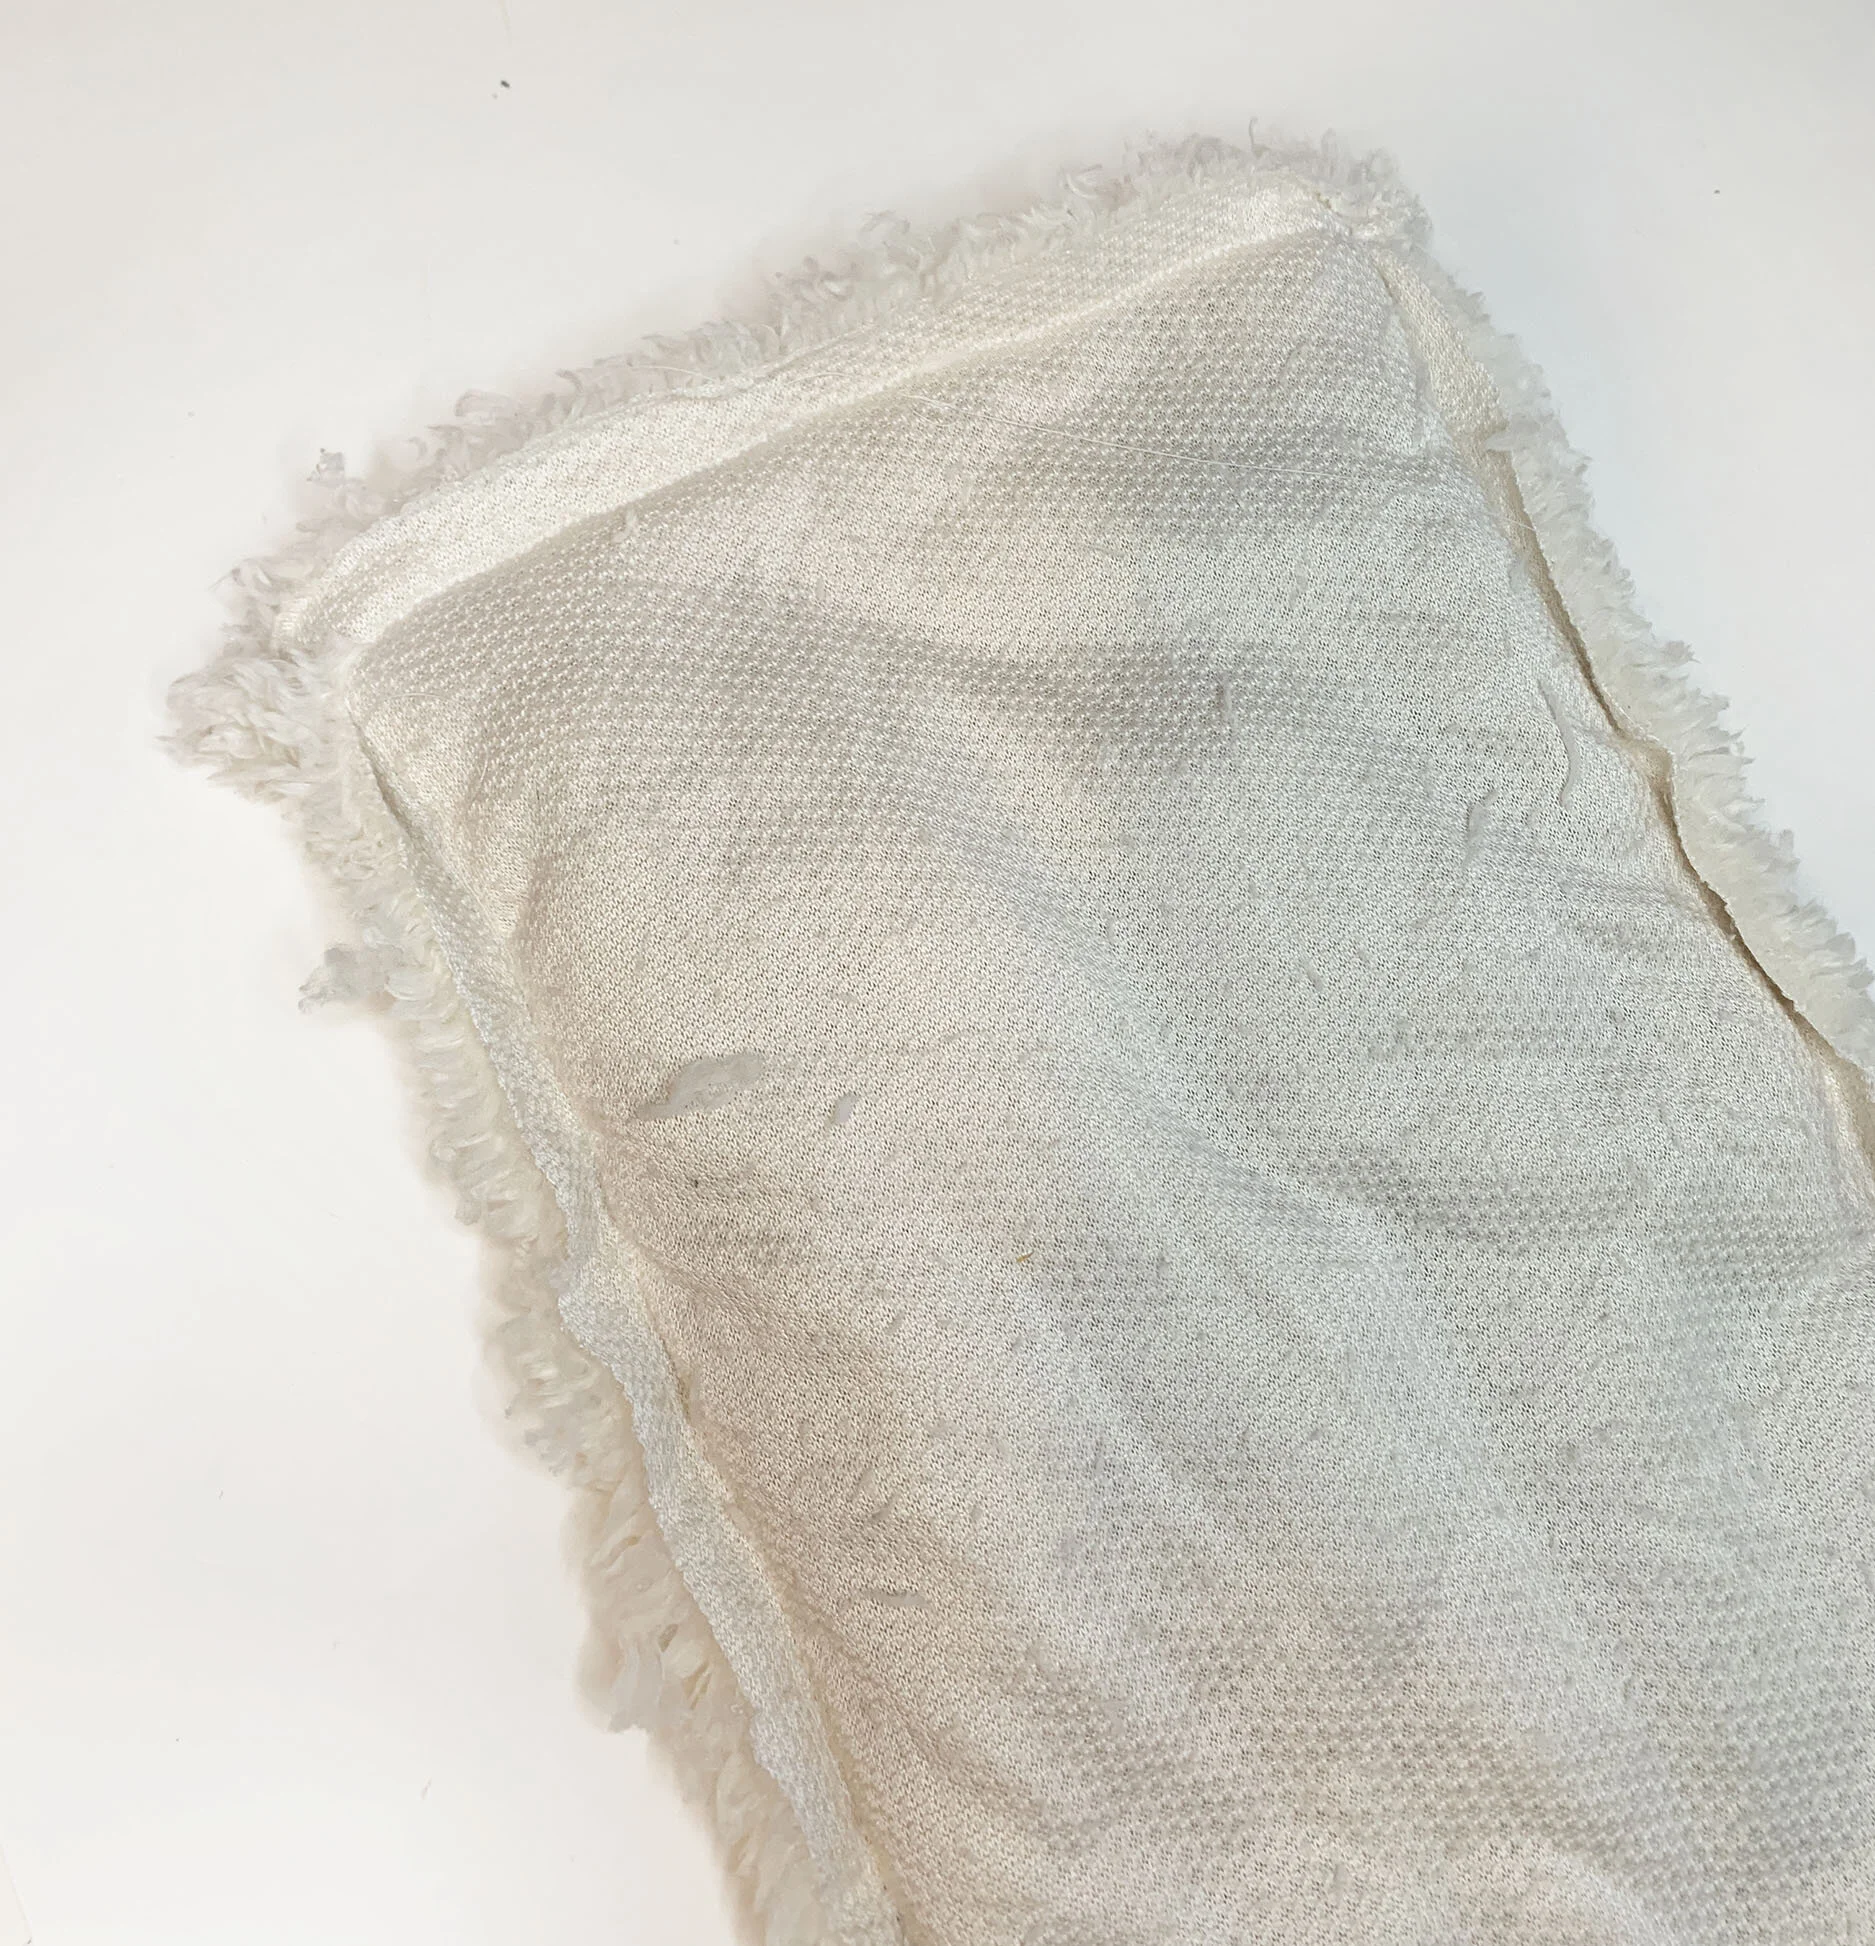
Exterior Fabric: Lay pretty sides together and pin around the horizontal sides, and bottom.
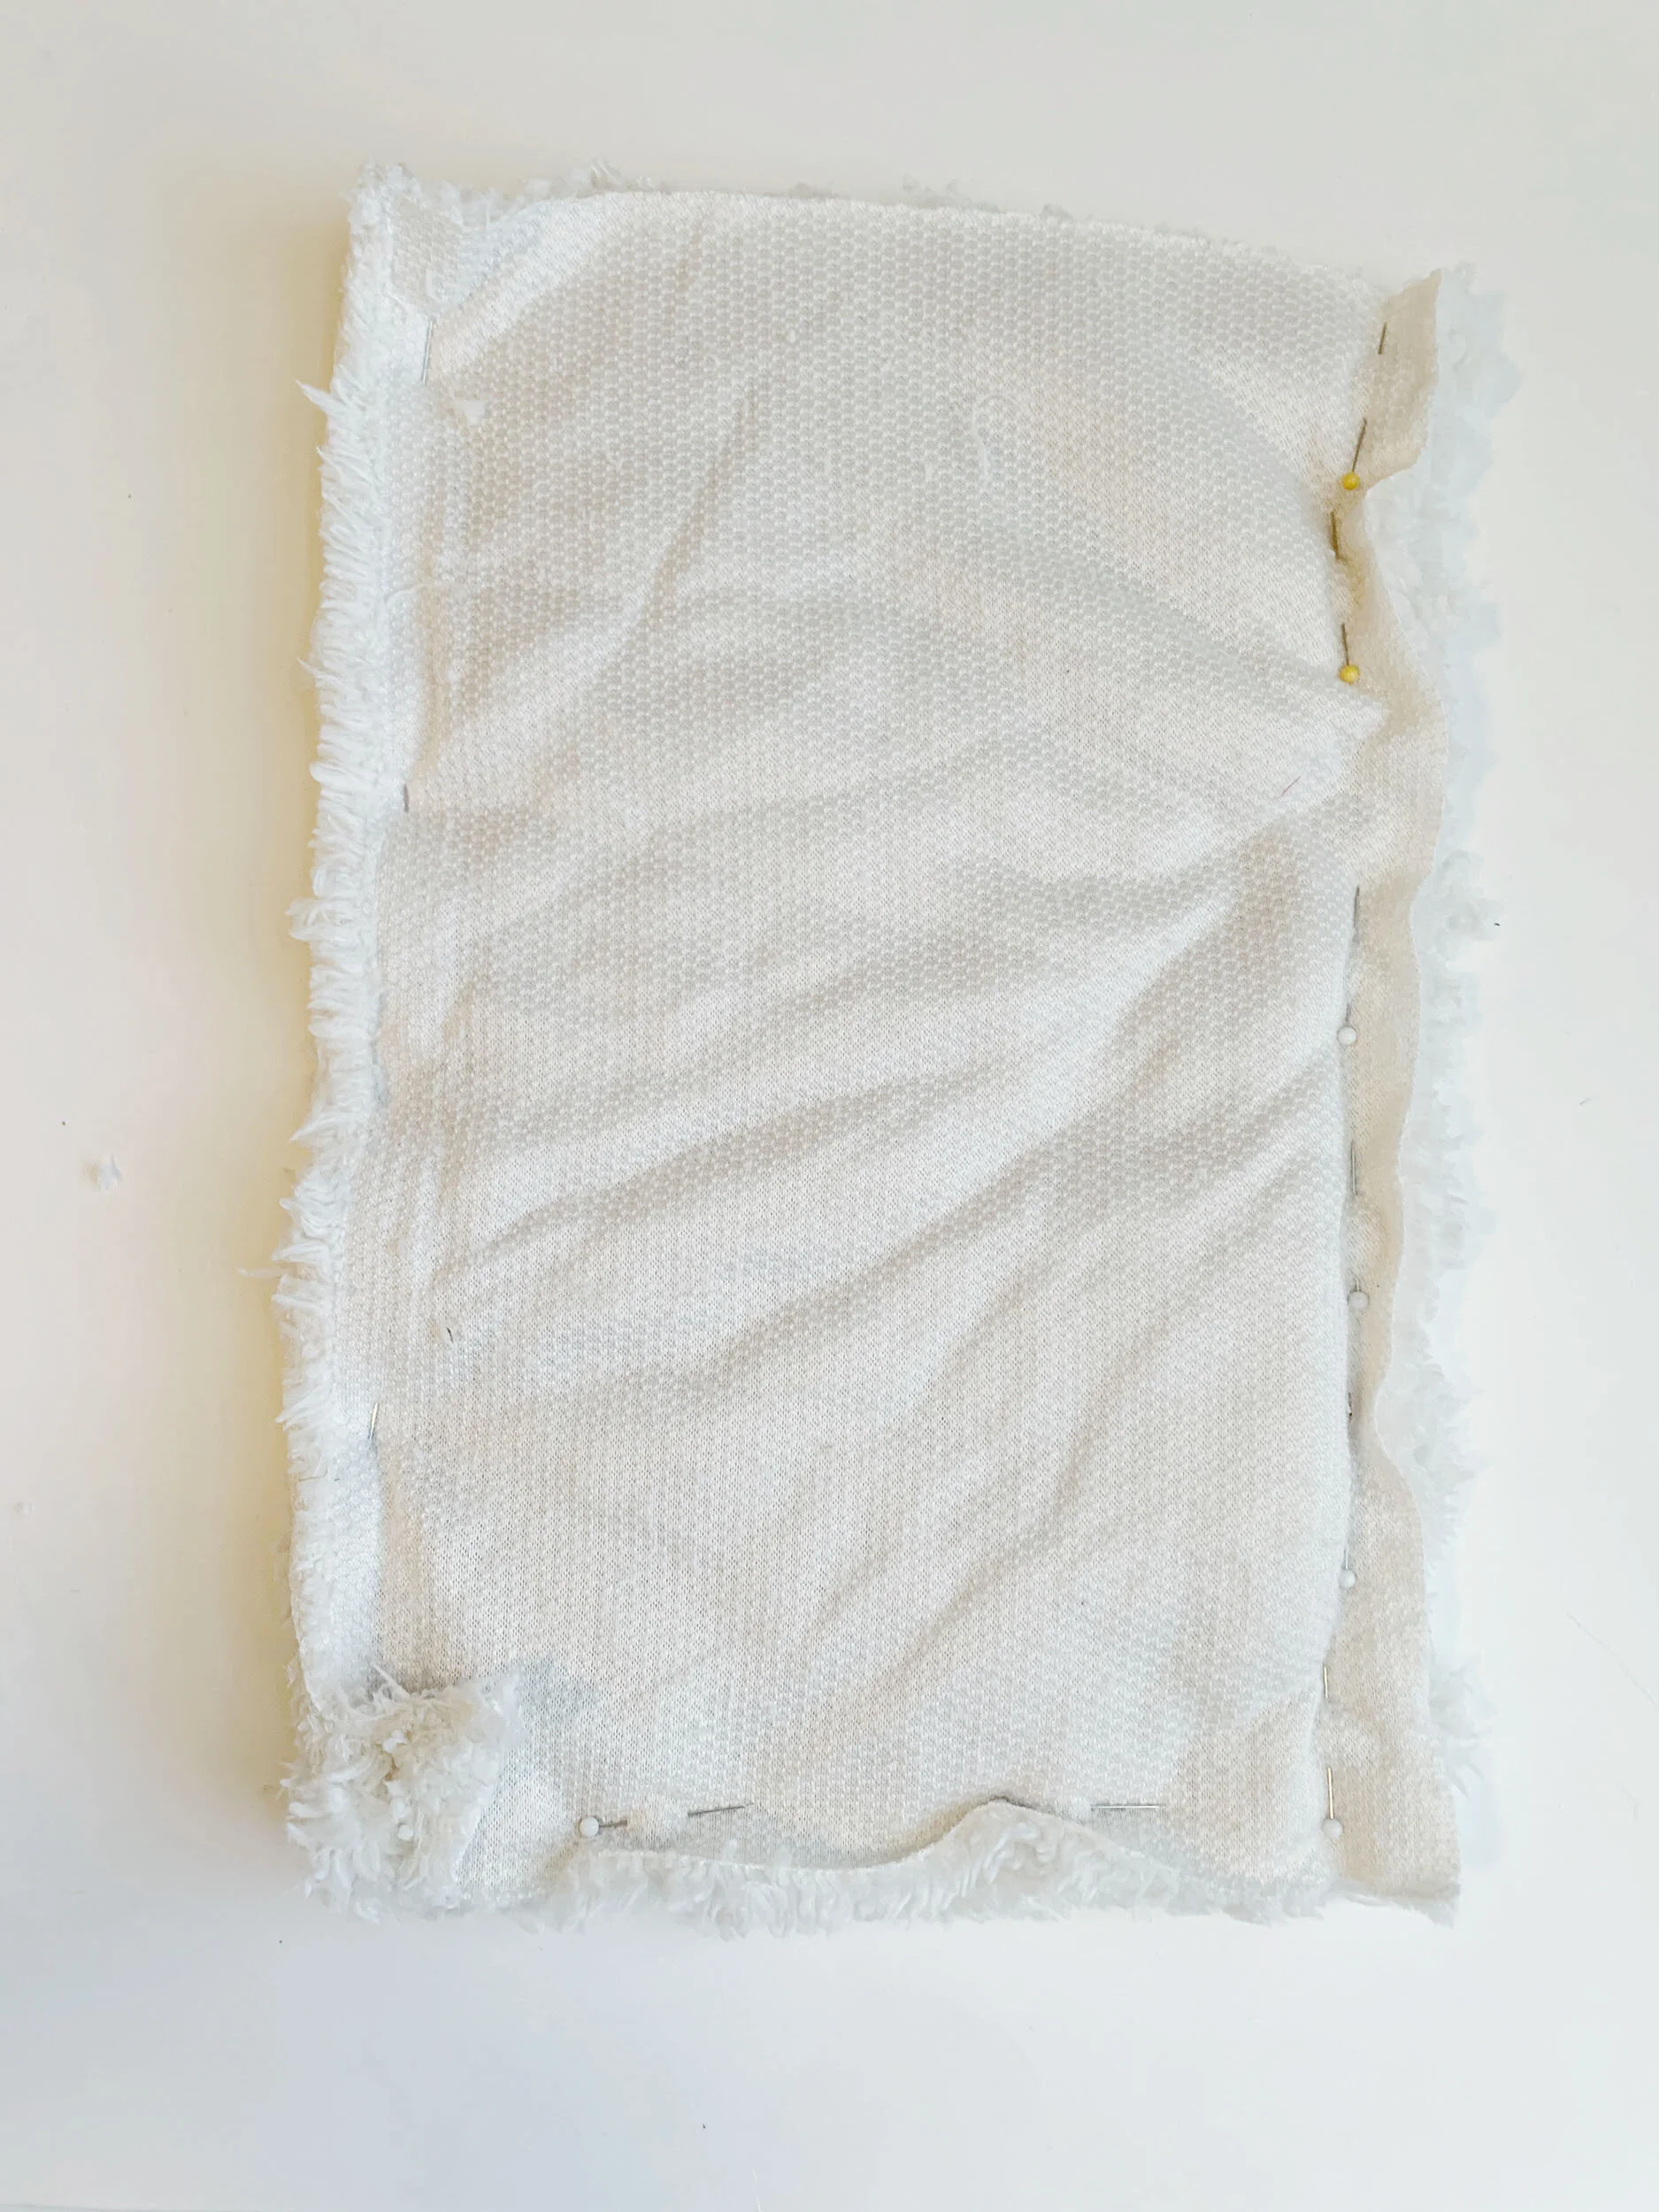
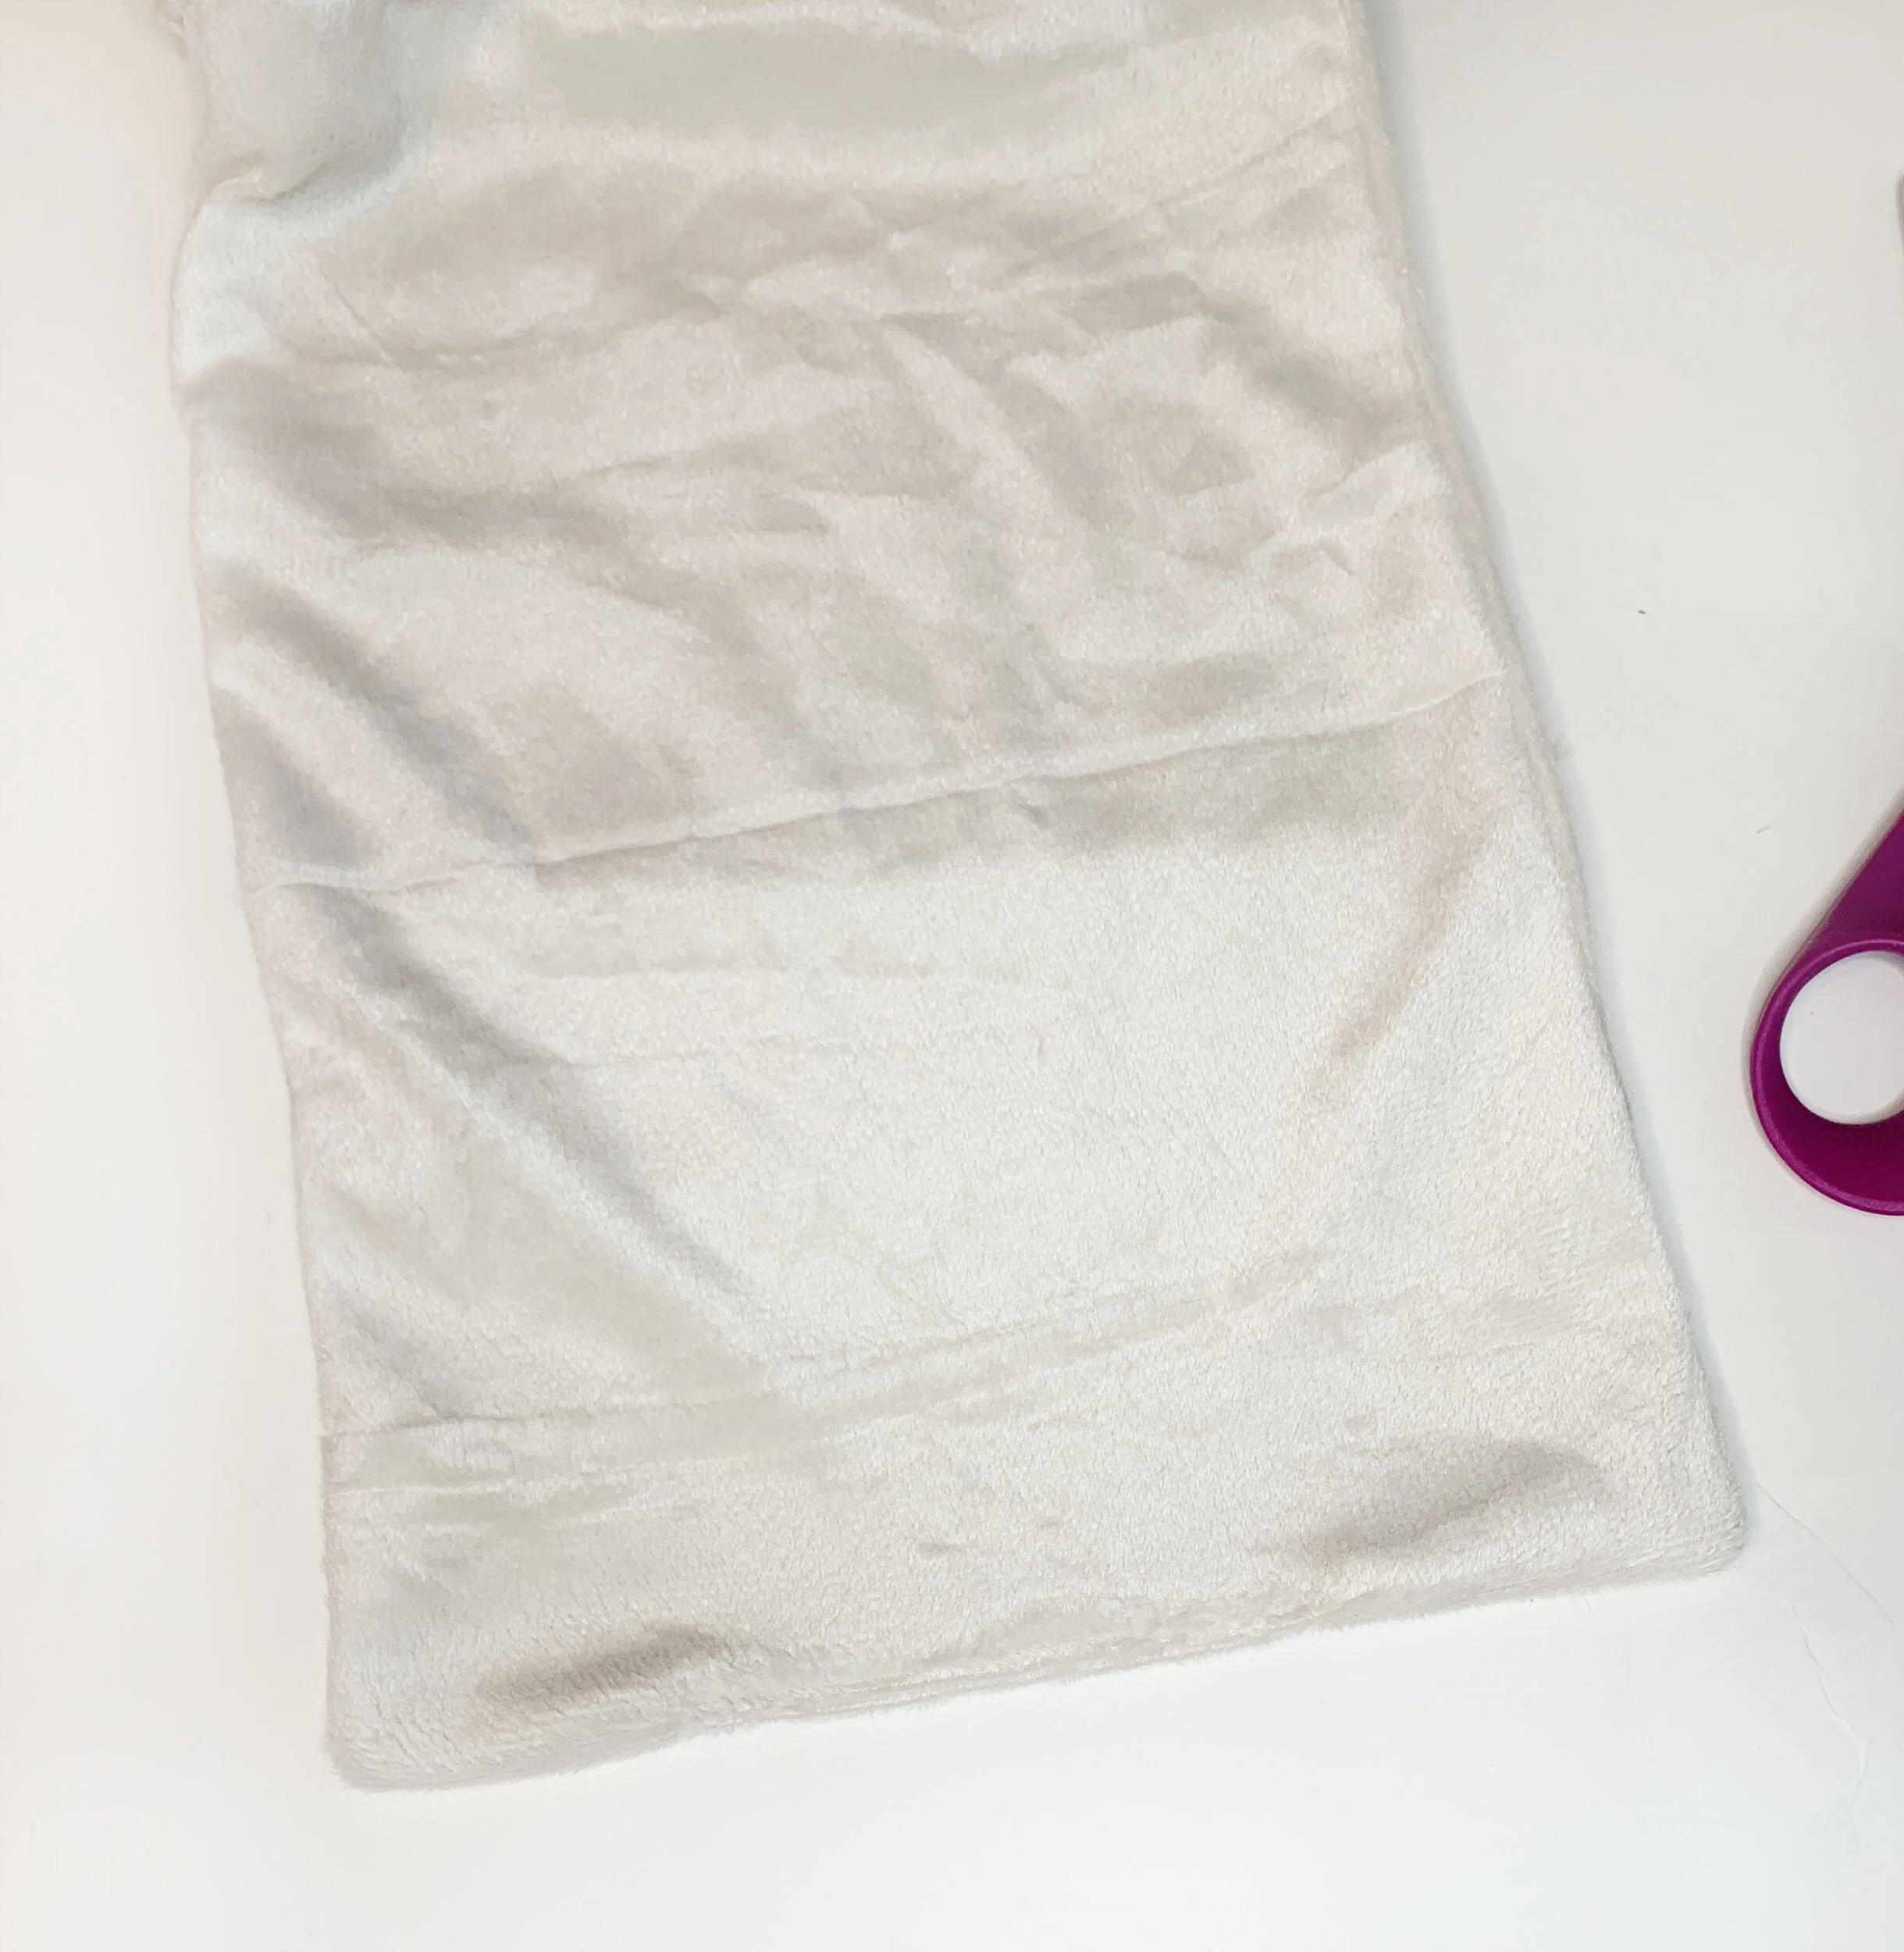
Sew horizontal sides first in the same direction at ½” from edge. Then, for the bottom, sew ½” from the edge
Once both the interior and exterior portions of the case are sewn, we will sew them together. This will form the sleeve.
Take the interior piece and put it into the exterior piece with pretty sides together. Pin along the top edge.
Stitch around the top at ½” from the edge.
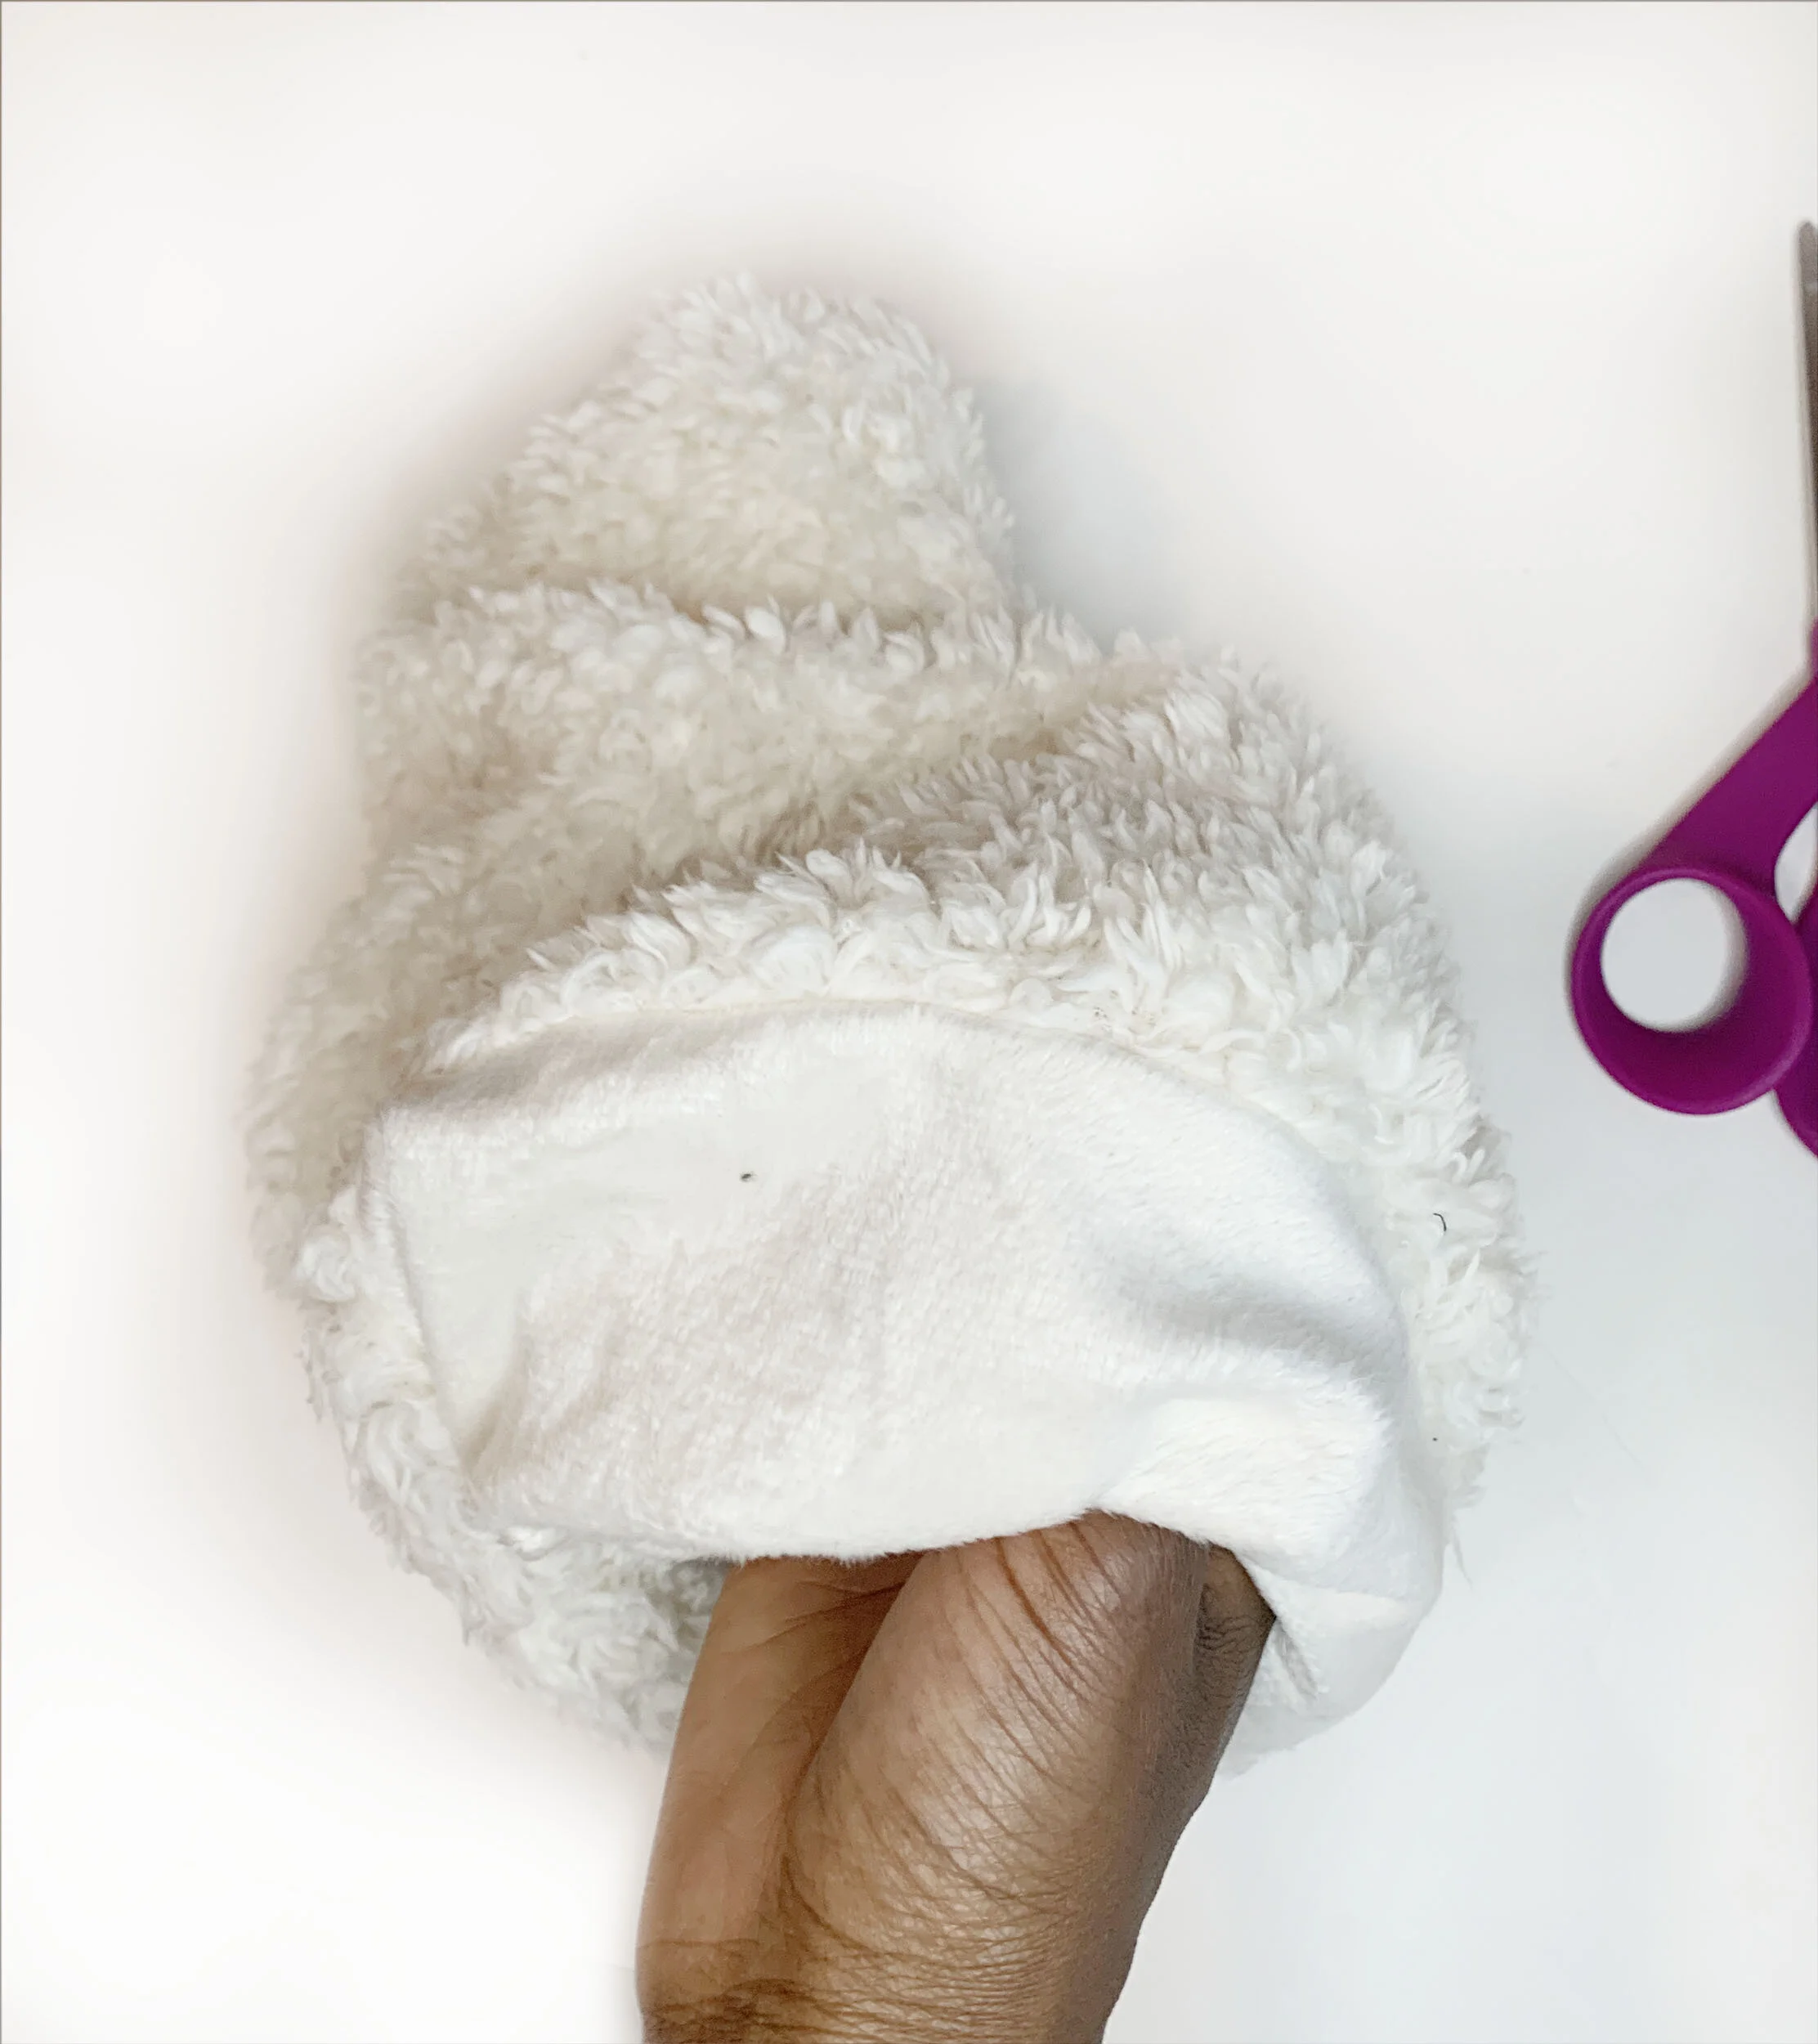
Using the hole you left open in the interior piece, pull the exterior and interior through until both are on the pretty side.
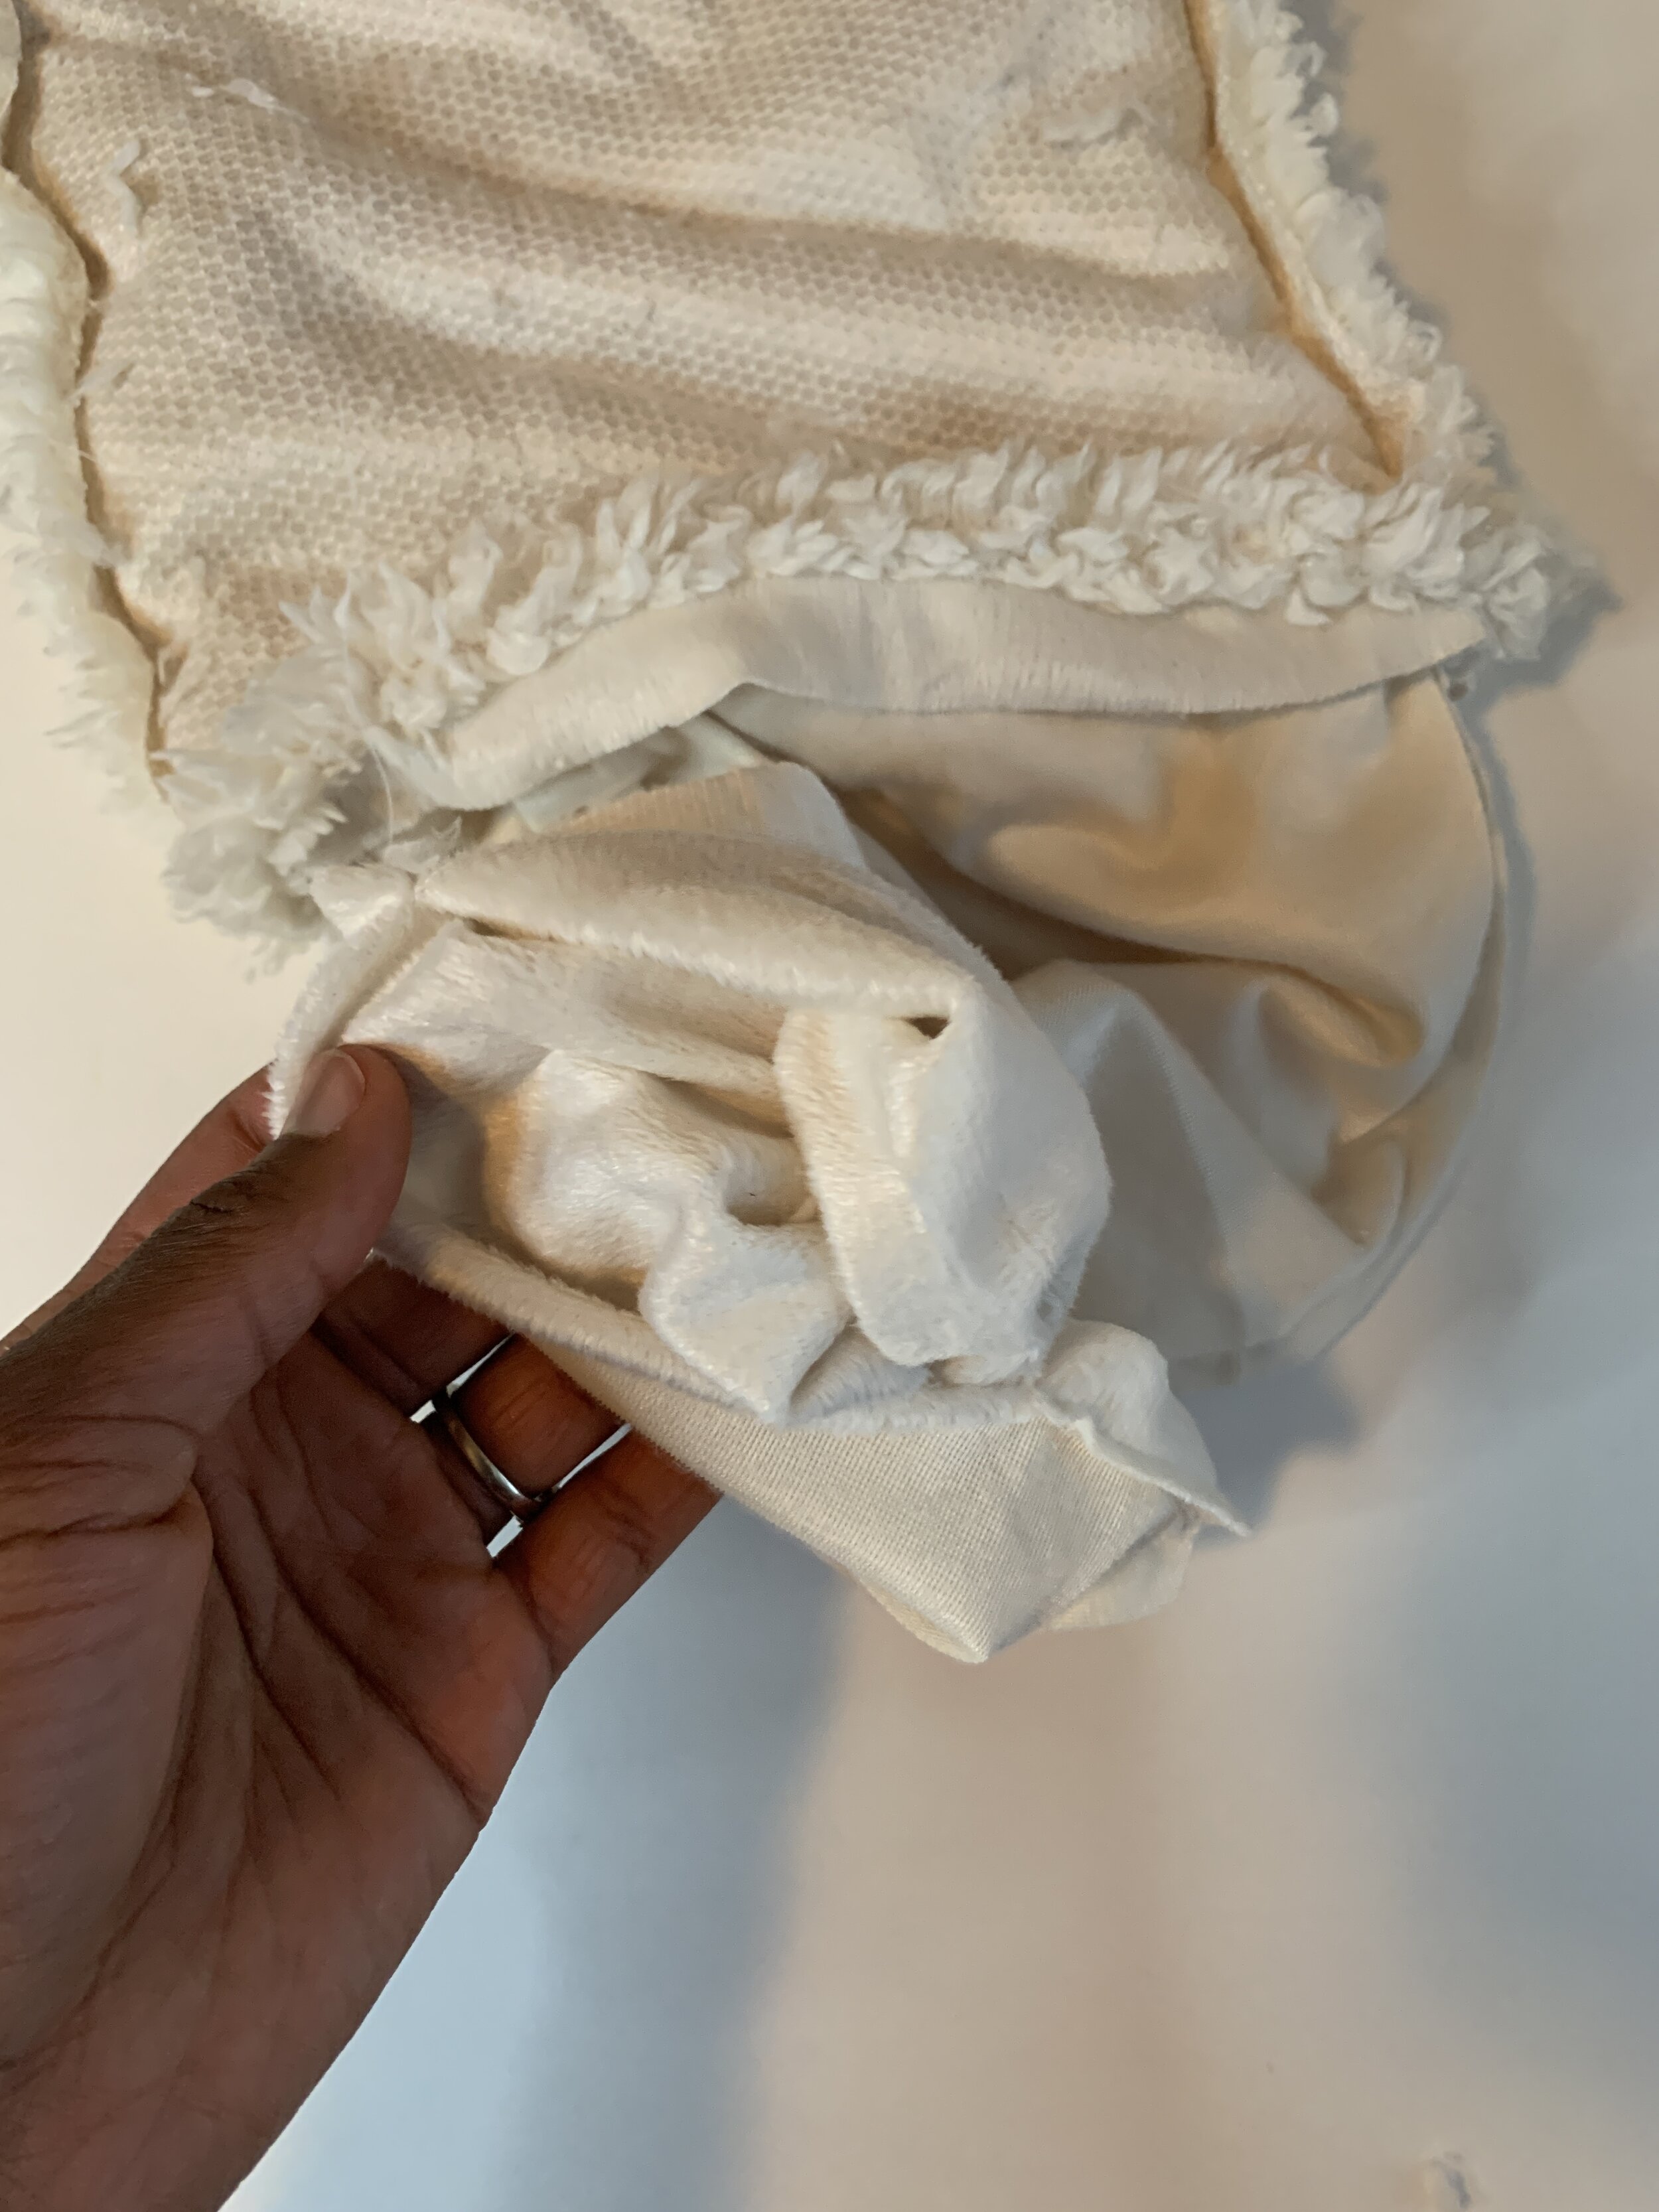
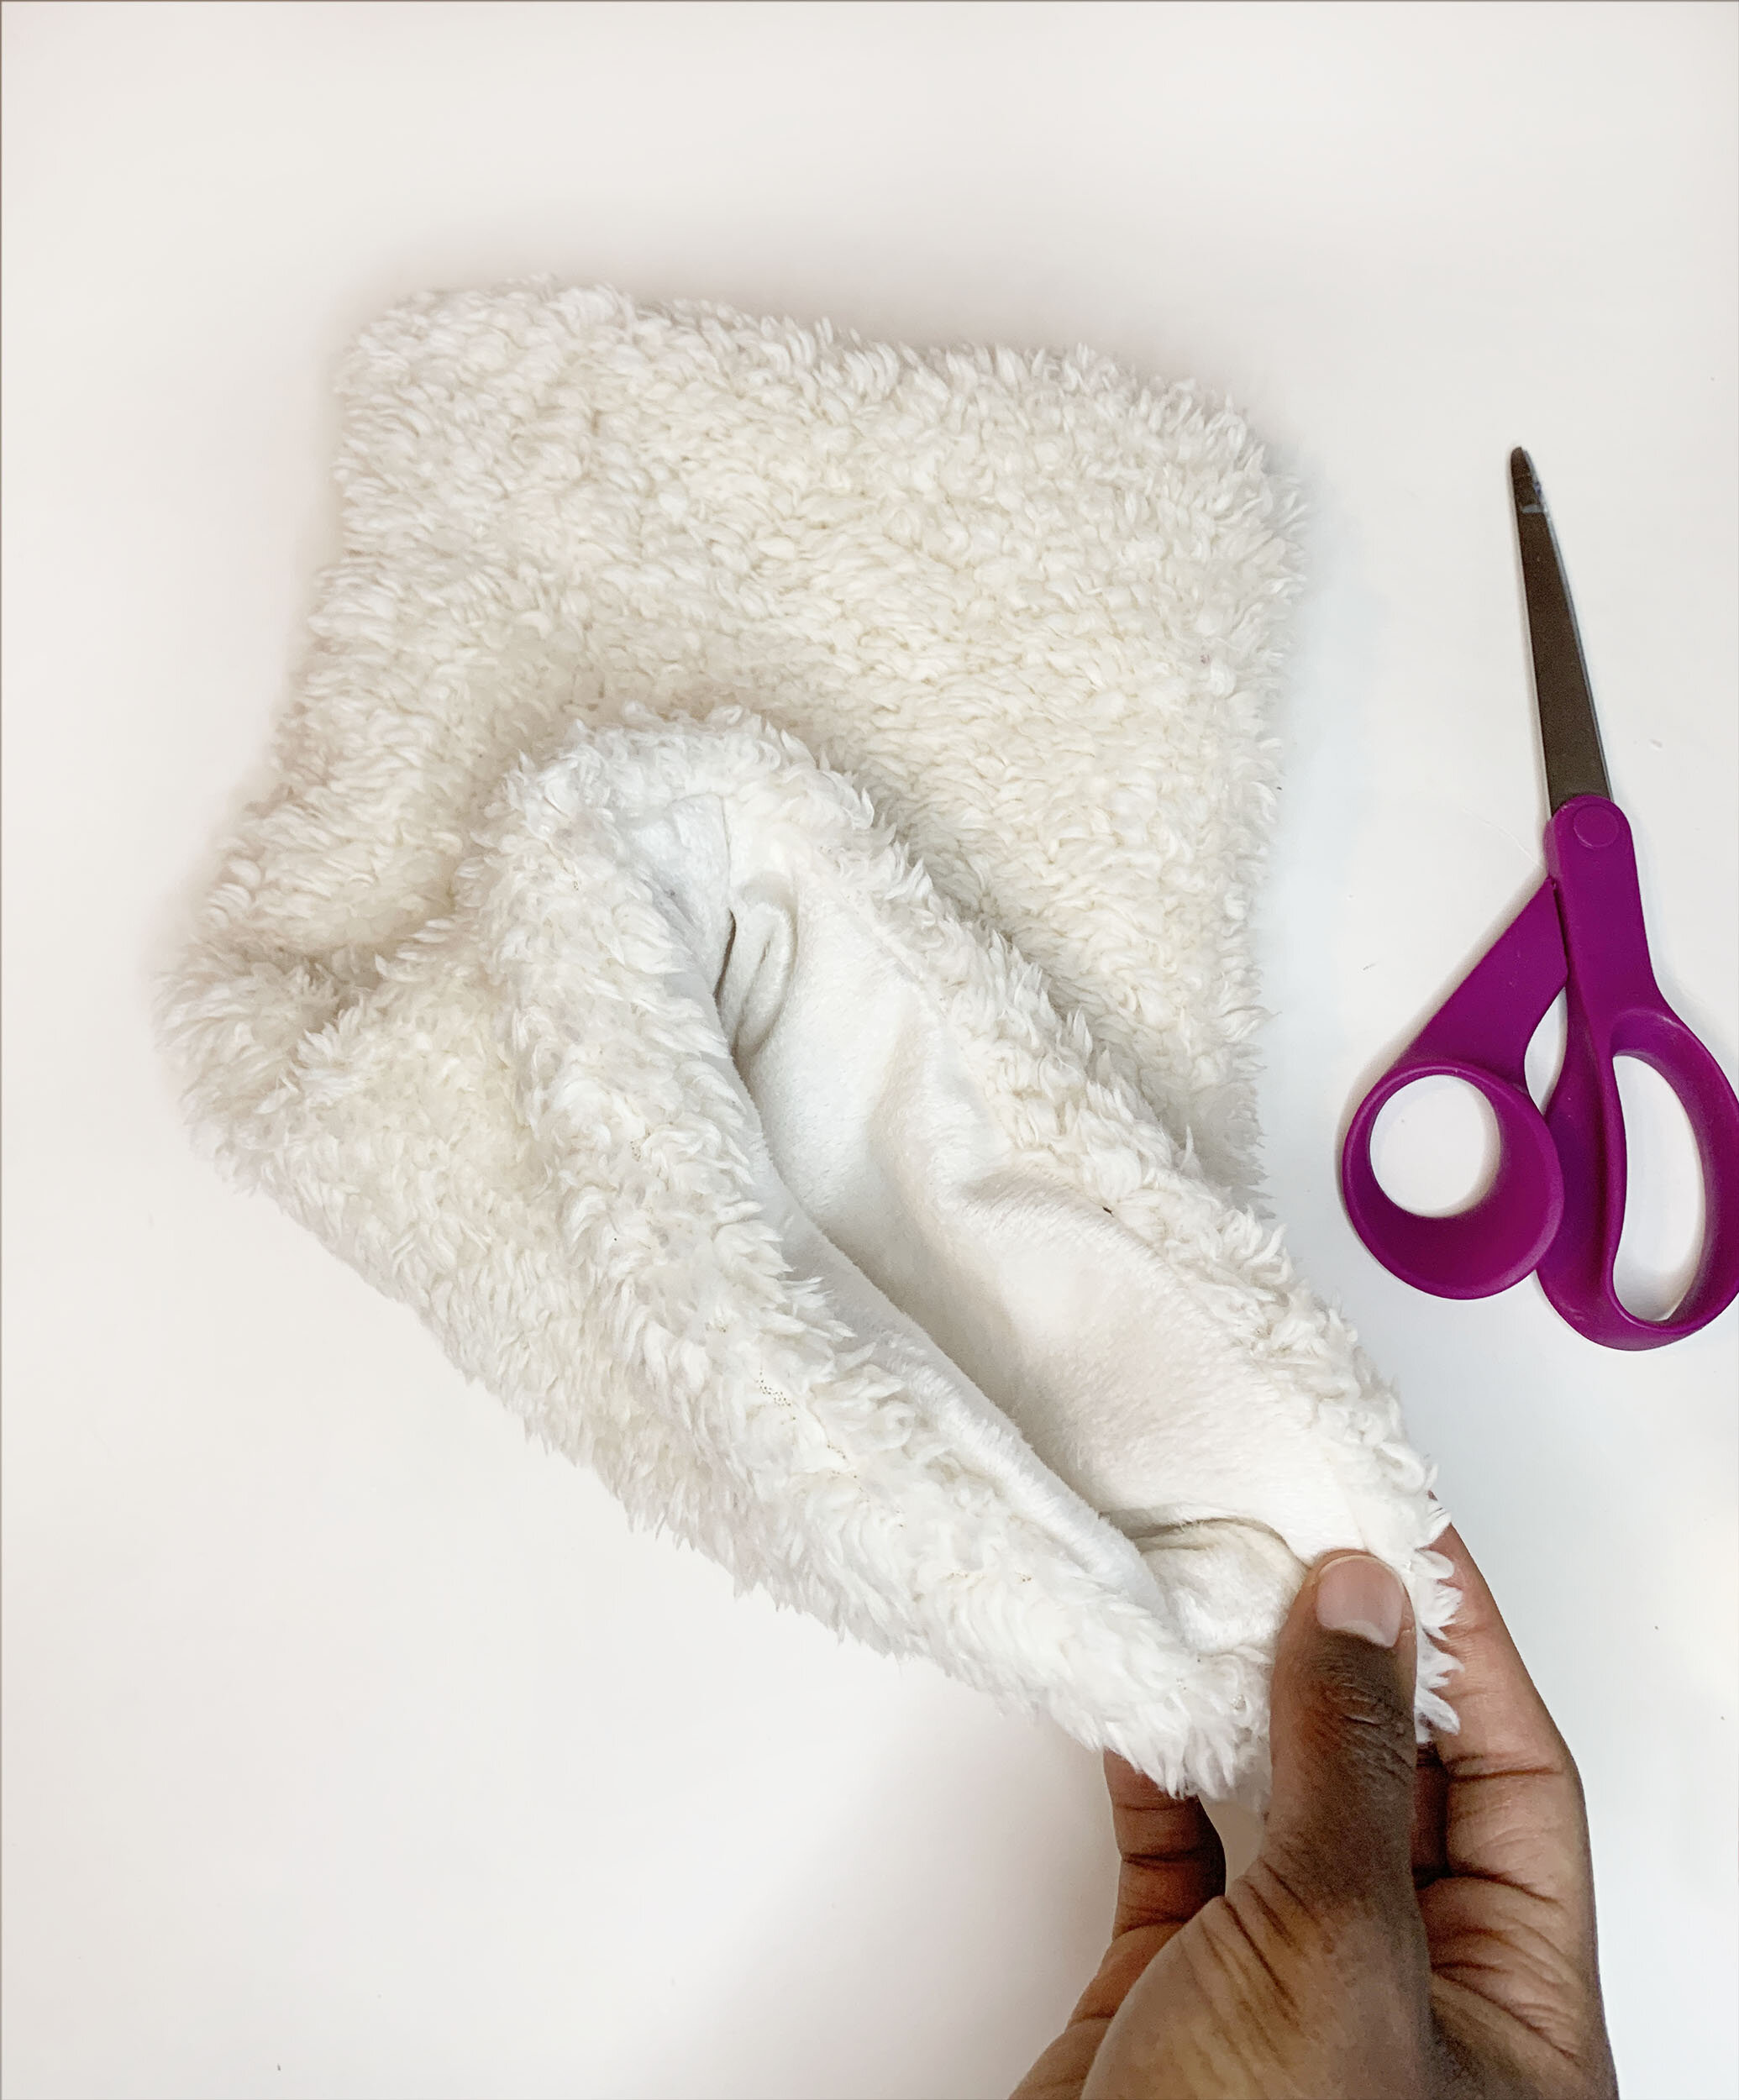
To close the hole, fold the seam ½” seam allowance inward (toward the wrong side of fabric). Pin along edge.
Then stitch along the edge of fabric to close the hole.
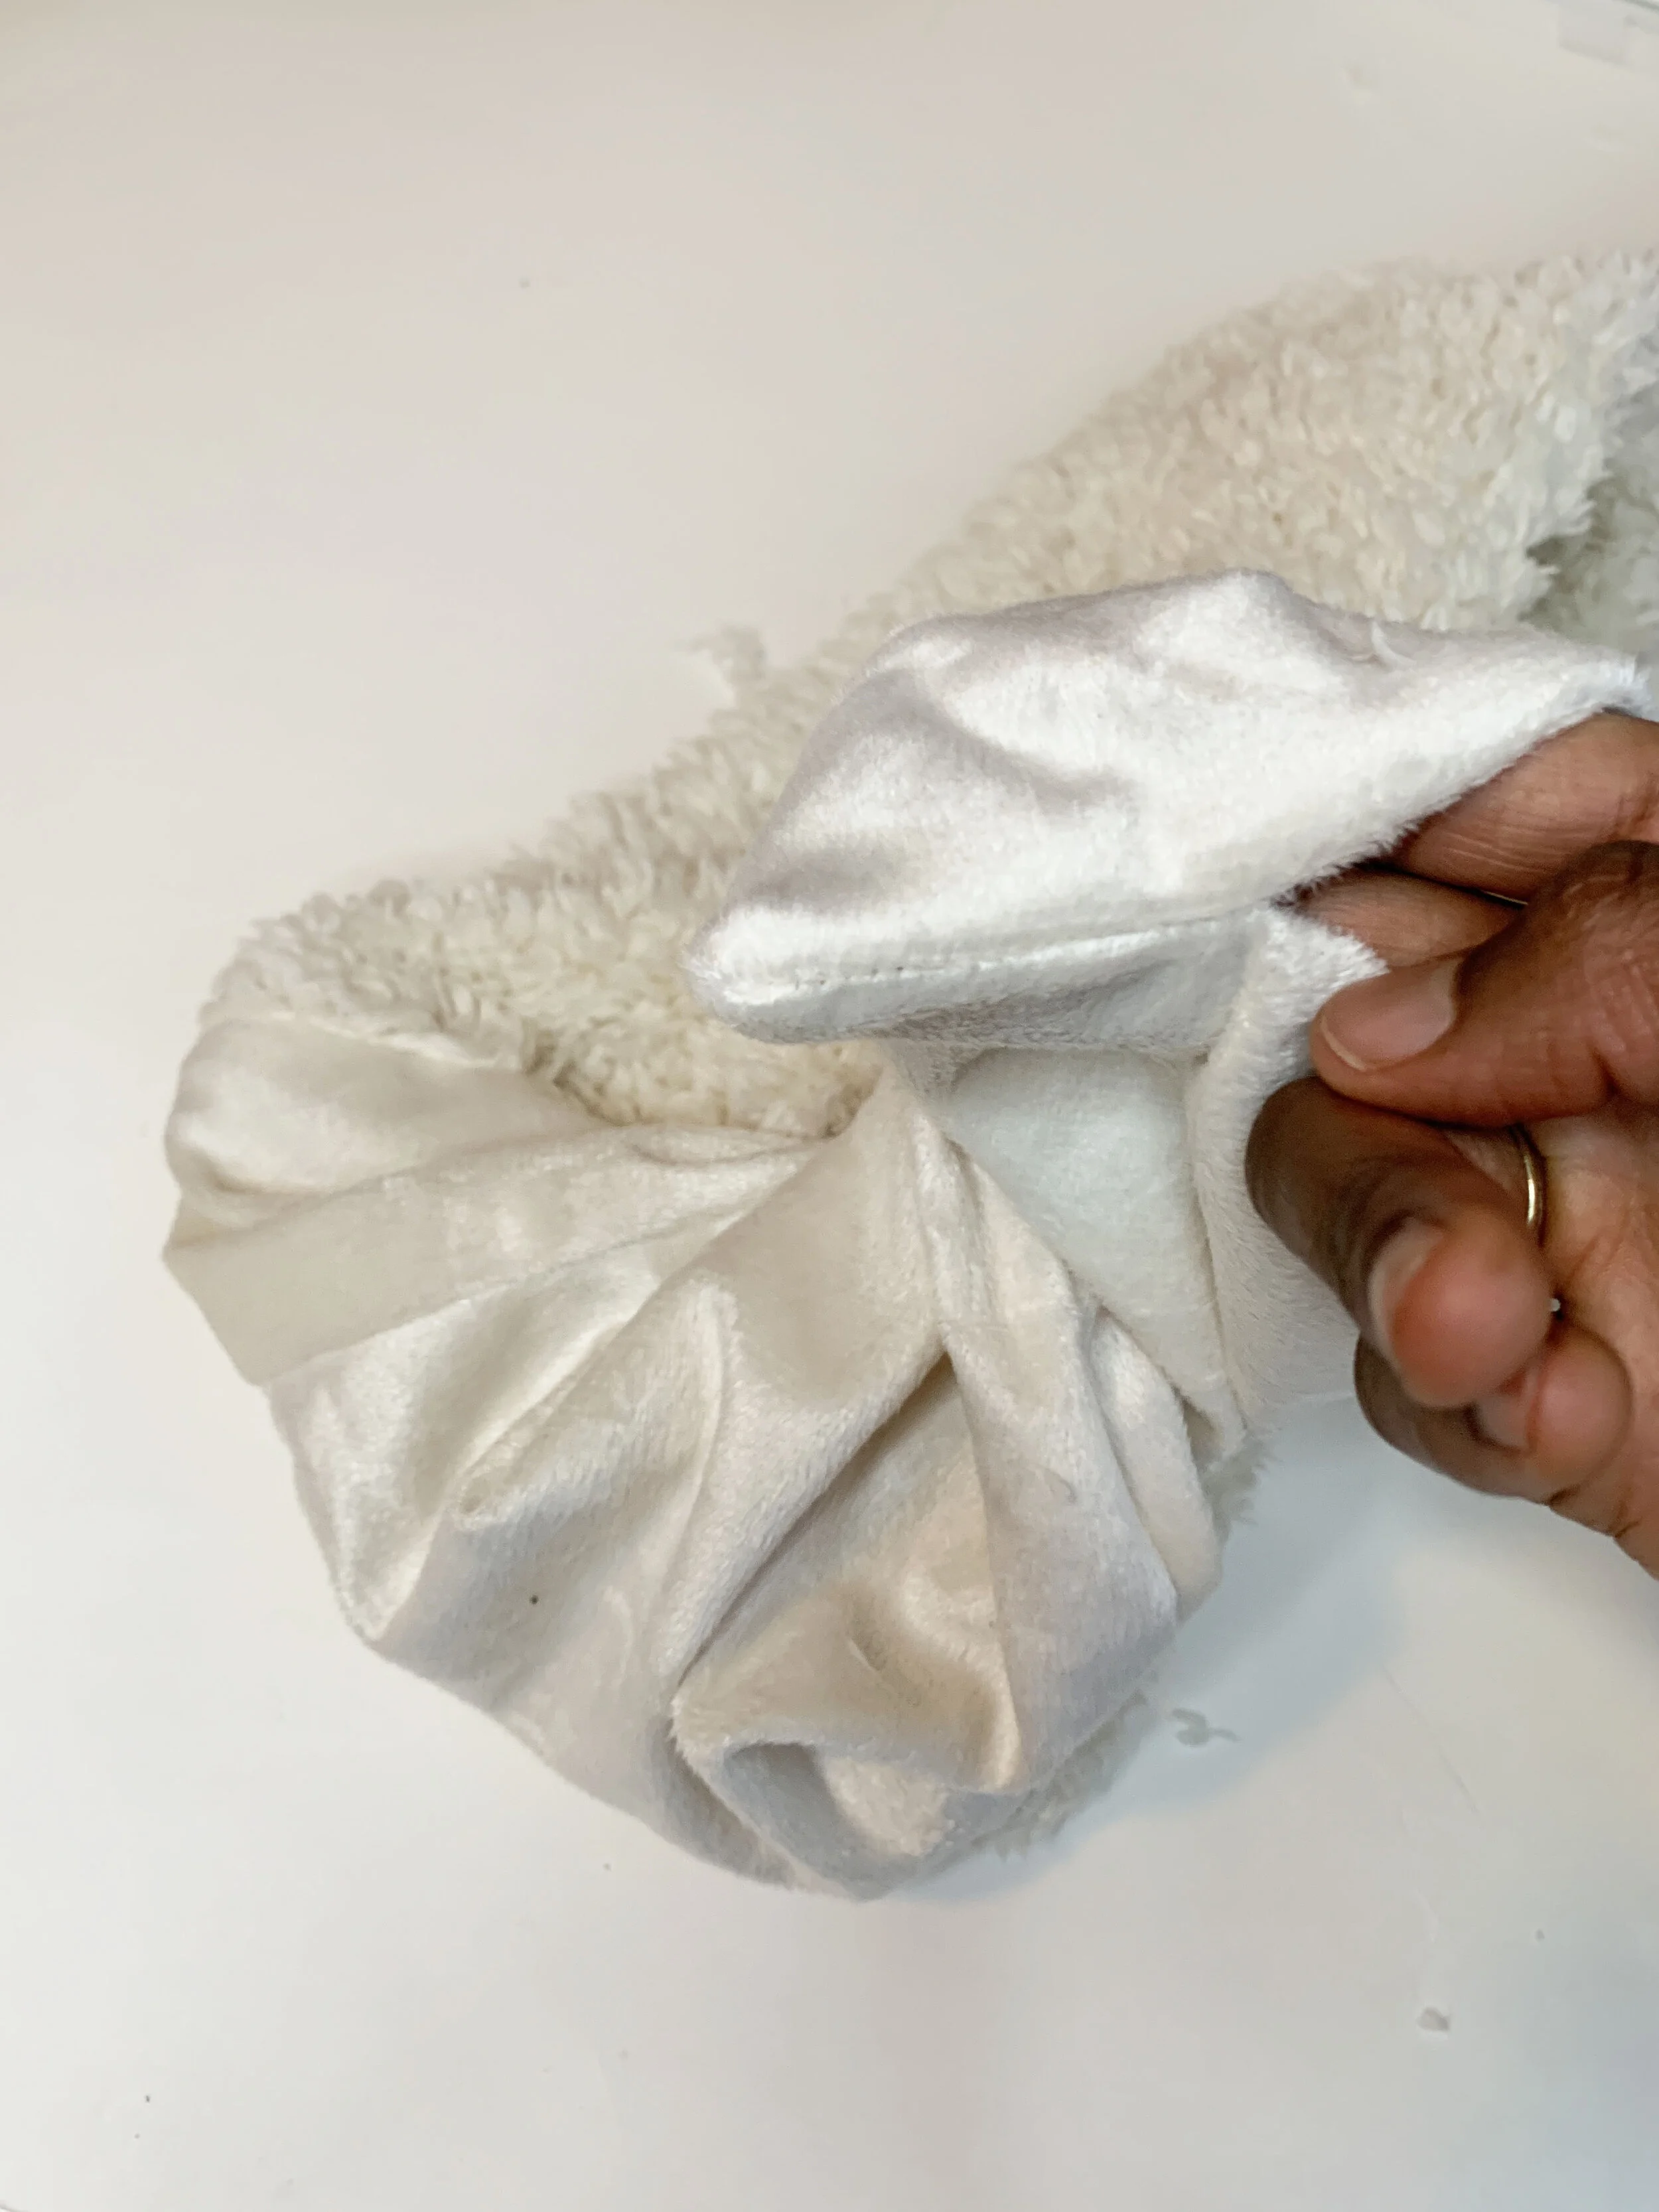
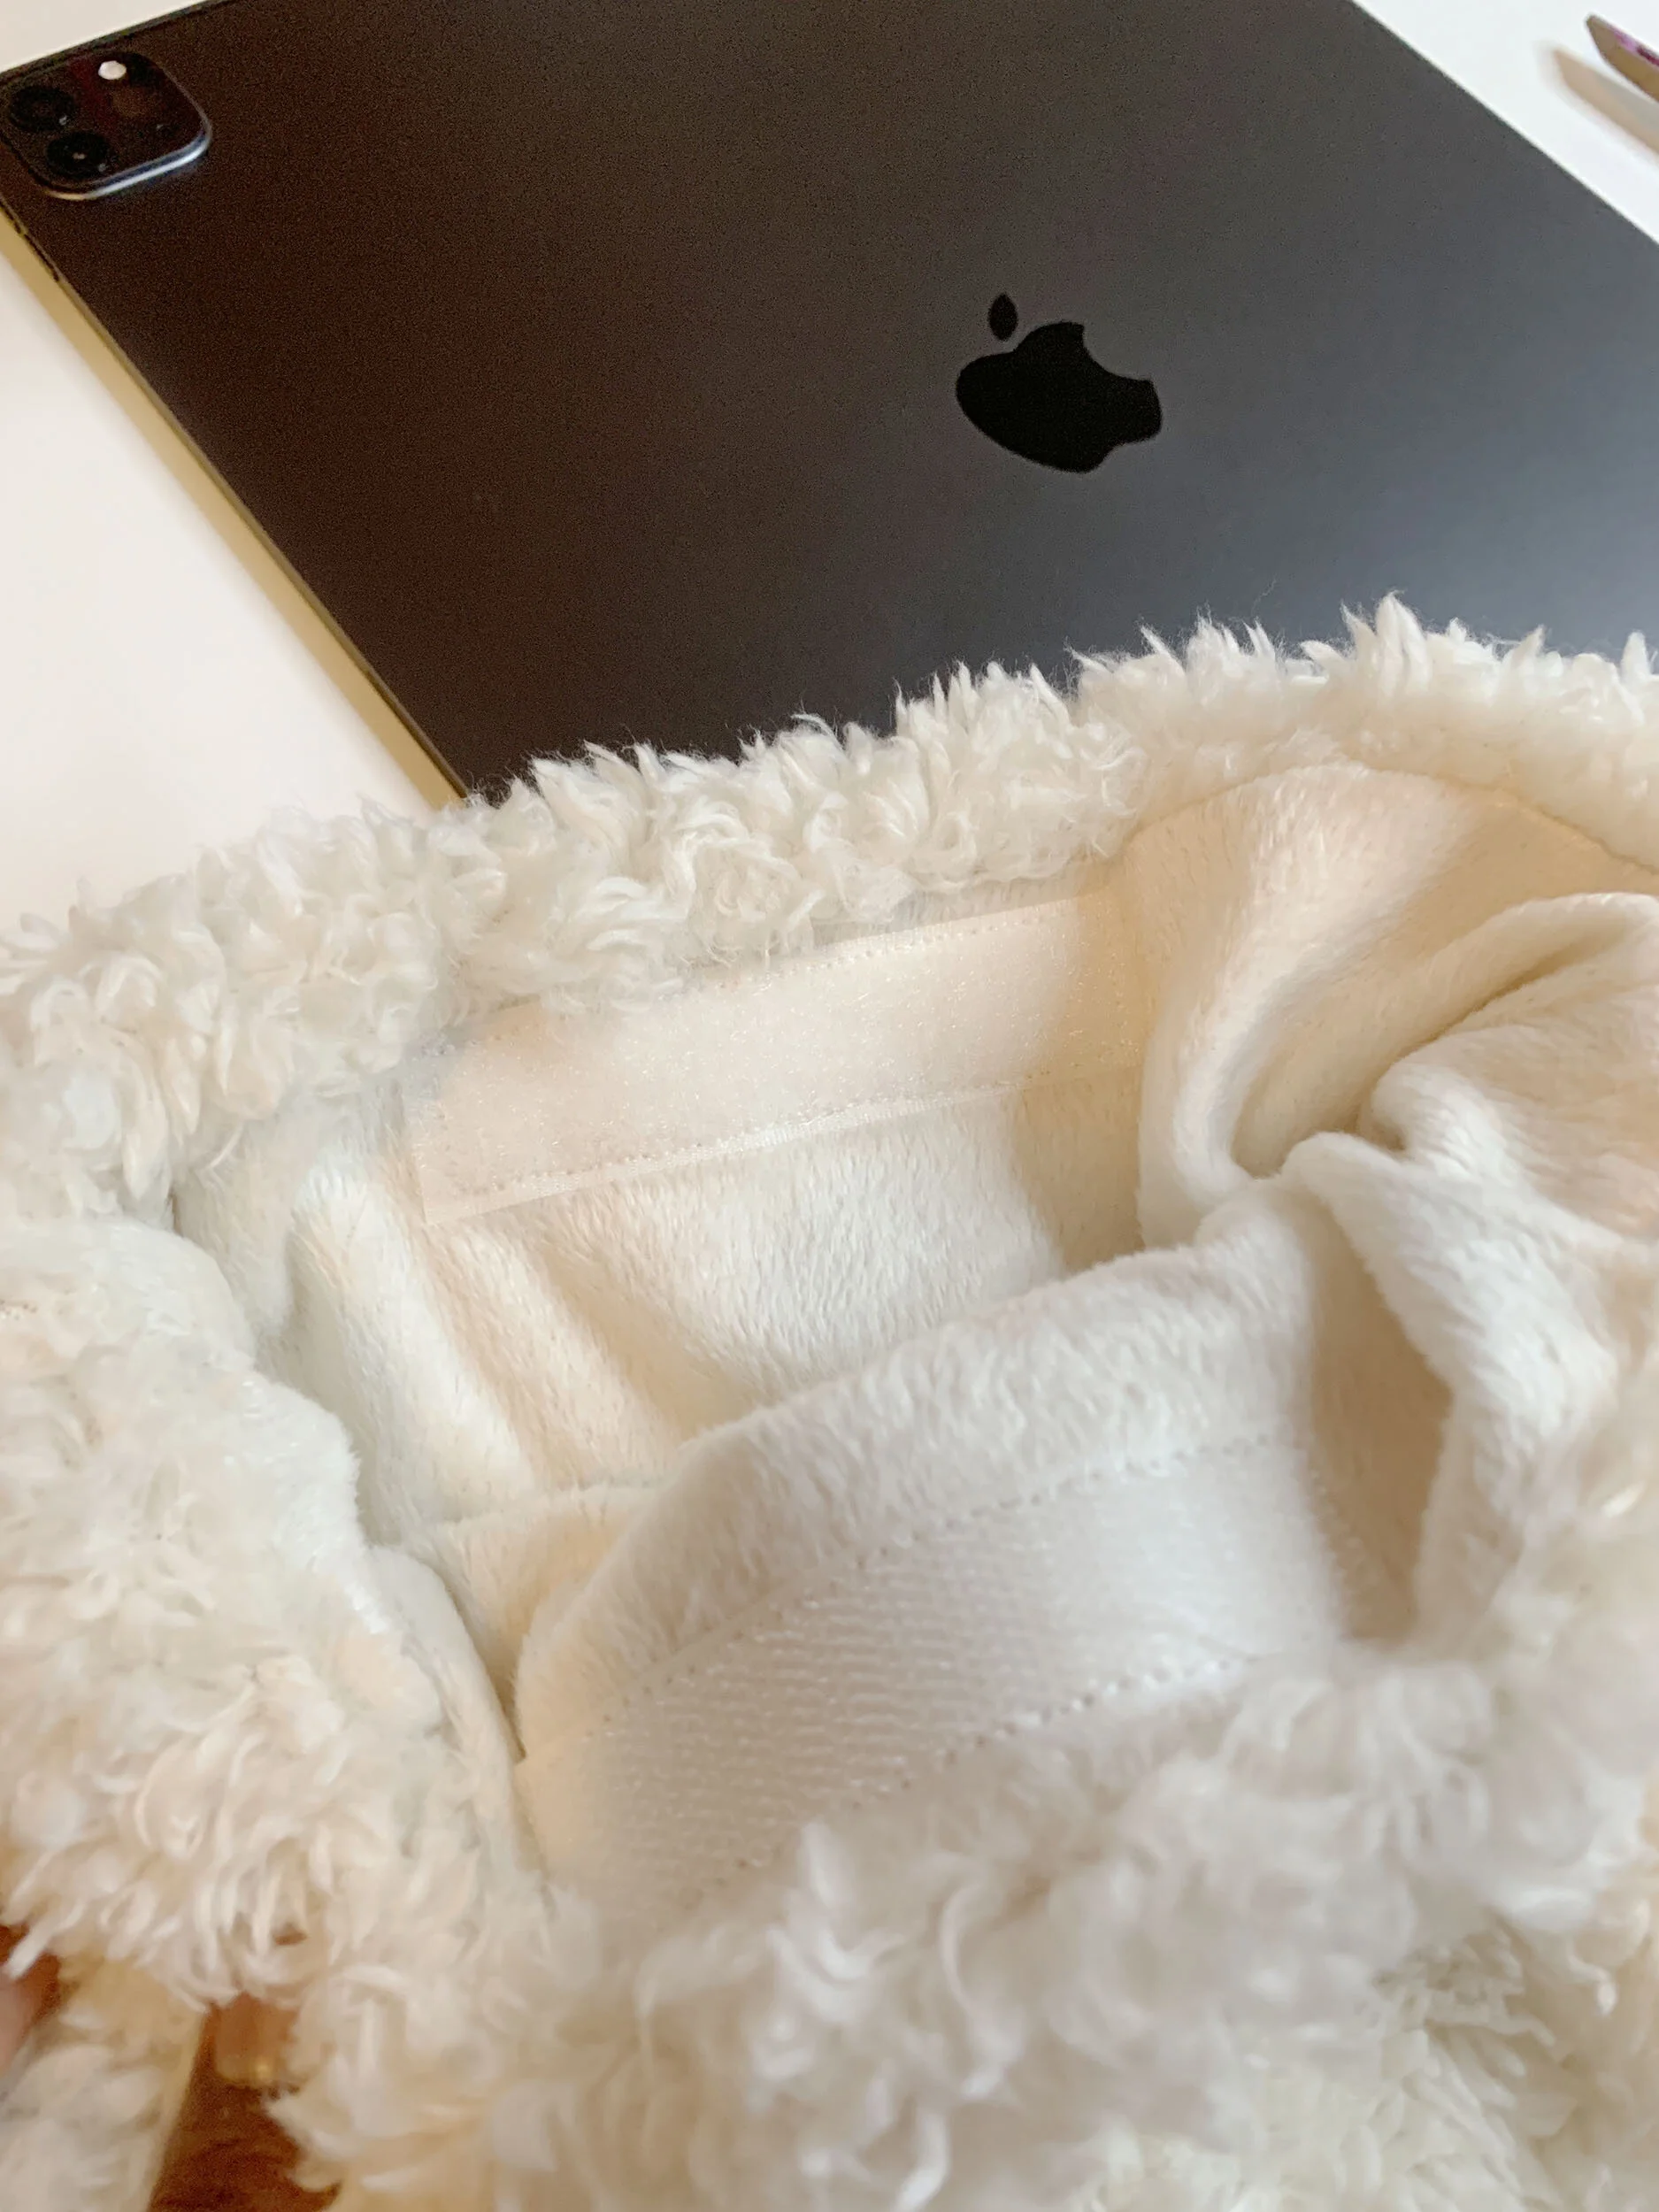
Stuff the interior into the exterior, and your sleeve is almost set.
Adding the velcro is completely optional. You can keep the top open for ease of use. I added it to mine so you can see what it looks like. Grab your 1”H Velcro and cut to 3.5” L.
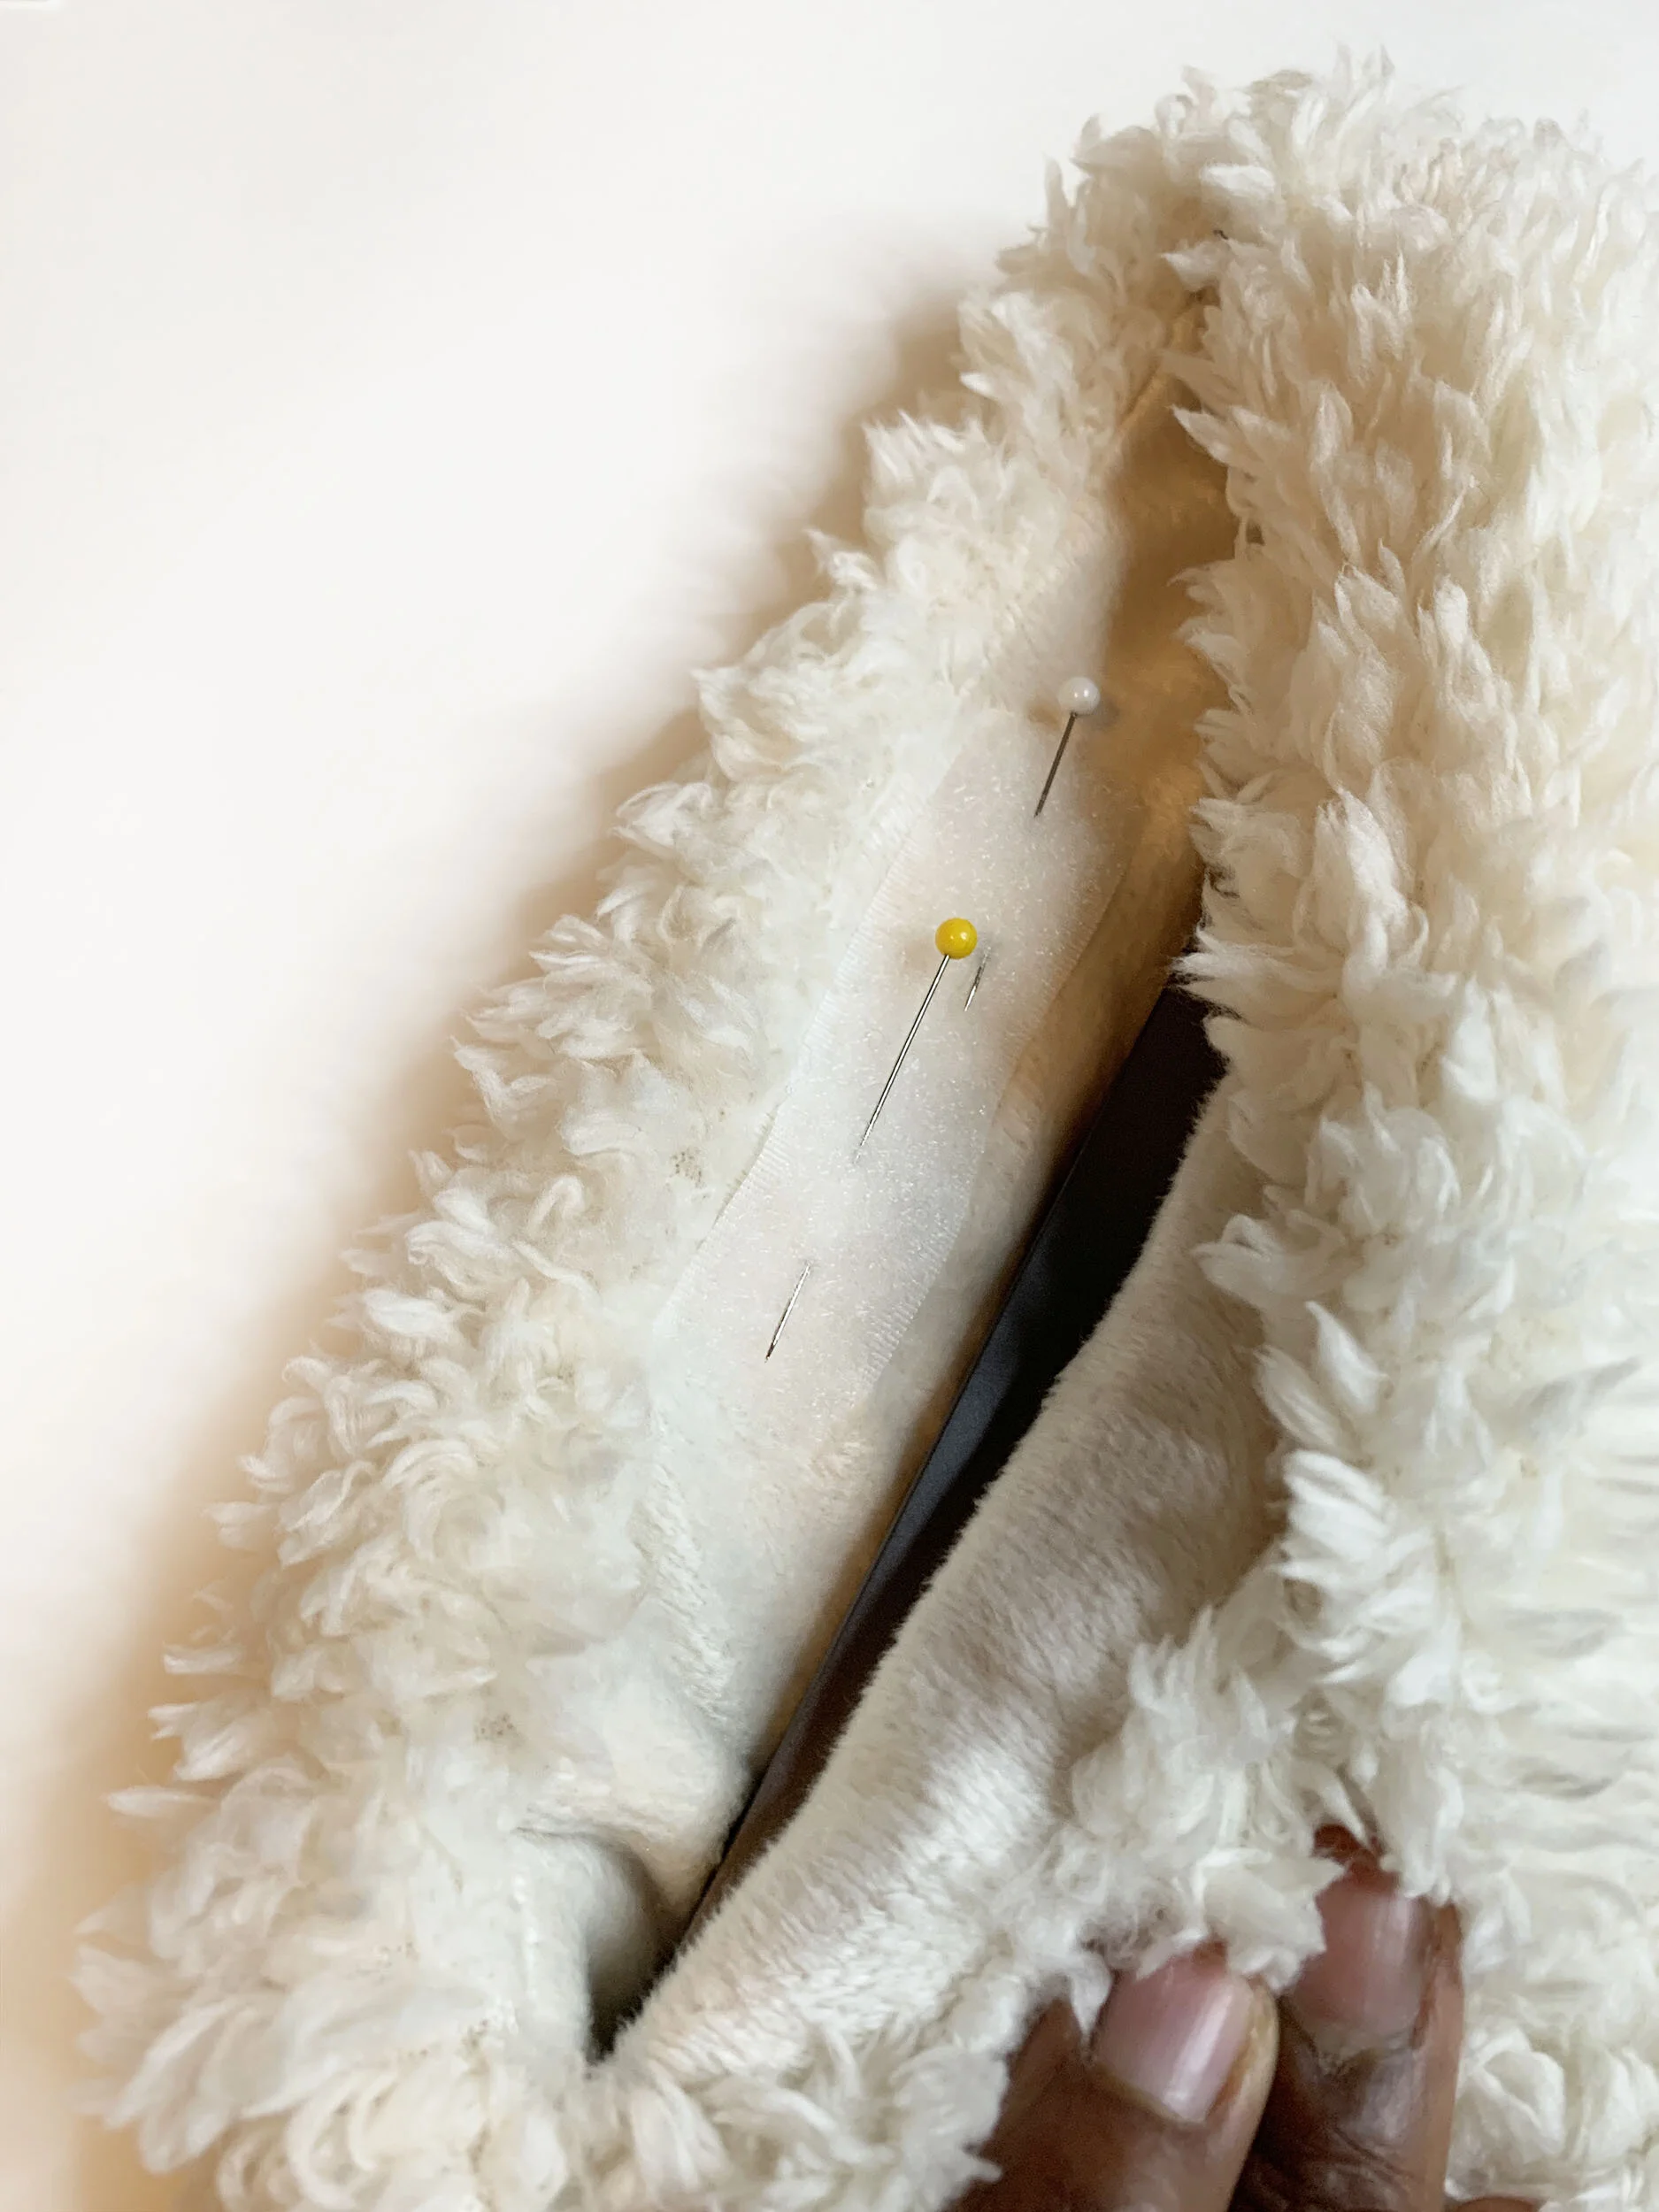
Center the Velcro in the middle of the opening. Pin a piece of Velcro to each side of the opening. Use a sewing machine to secure velcro to the case by stitching around the edge.
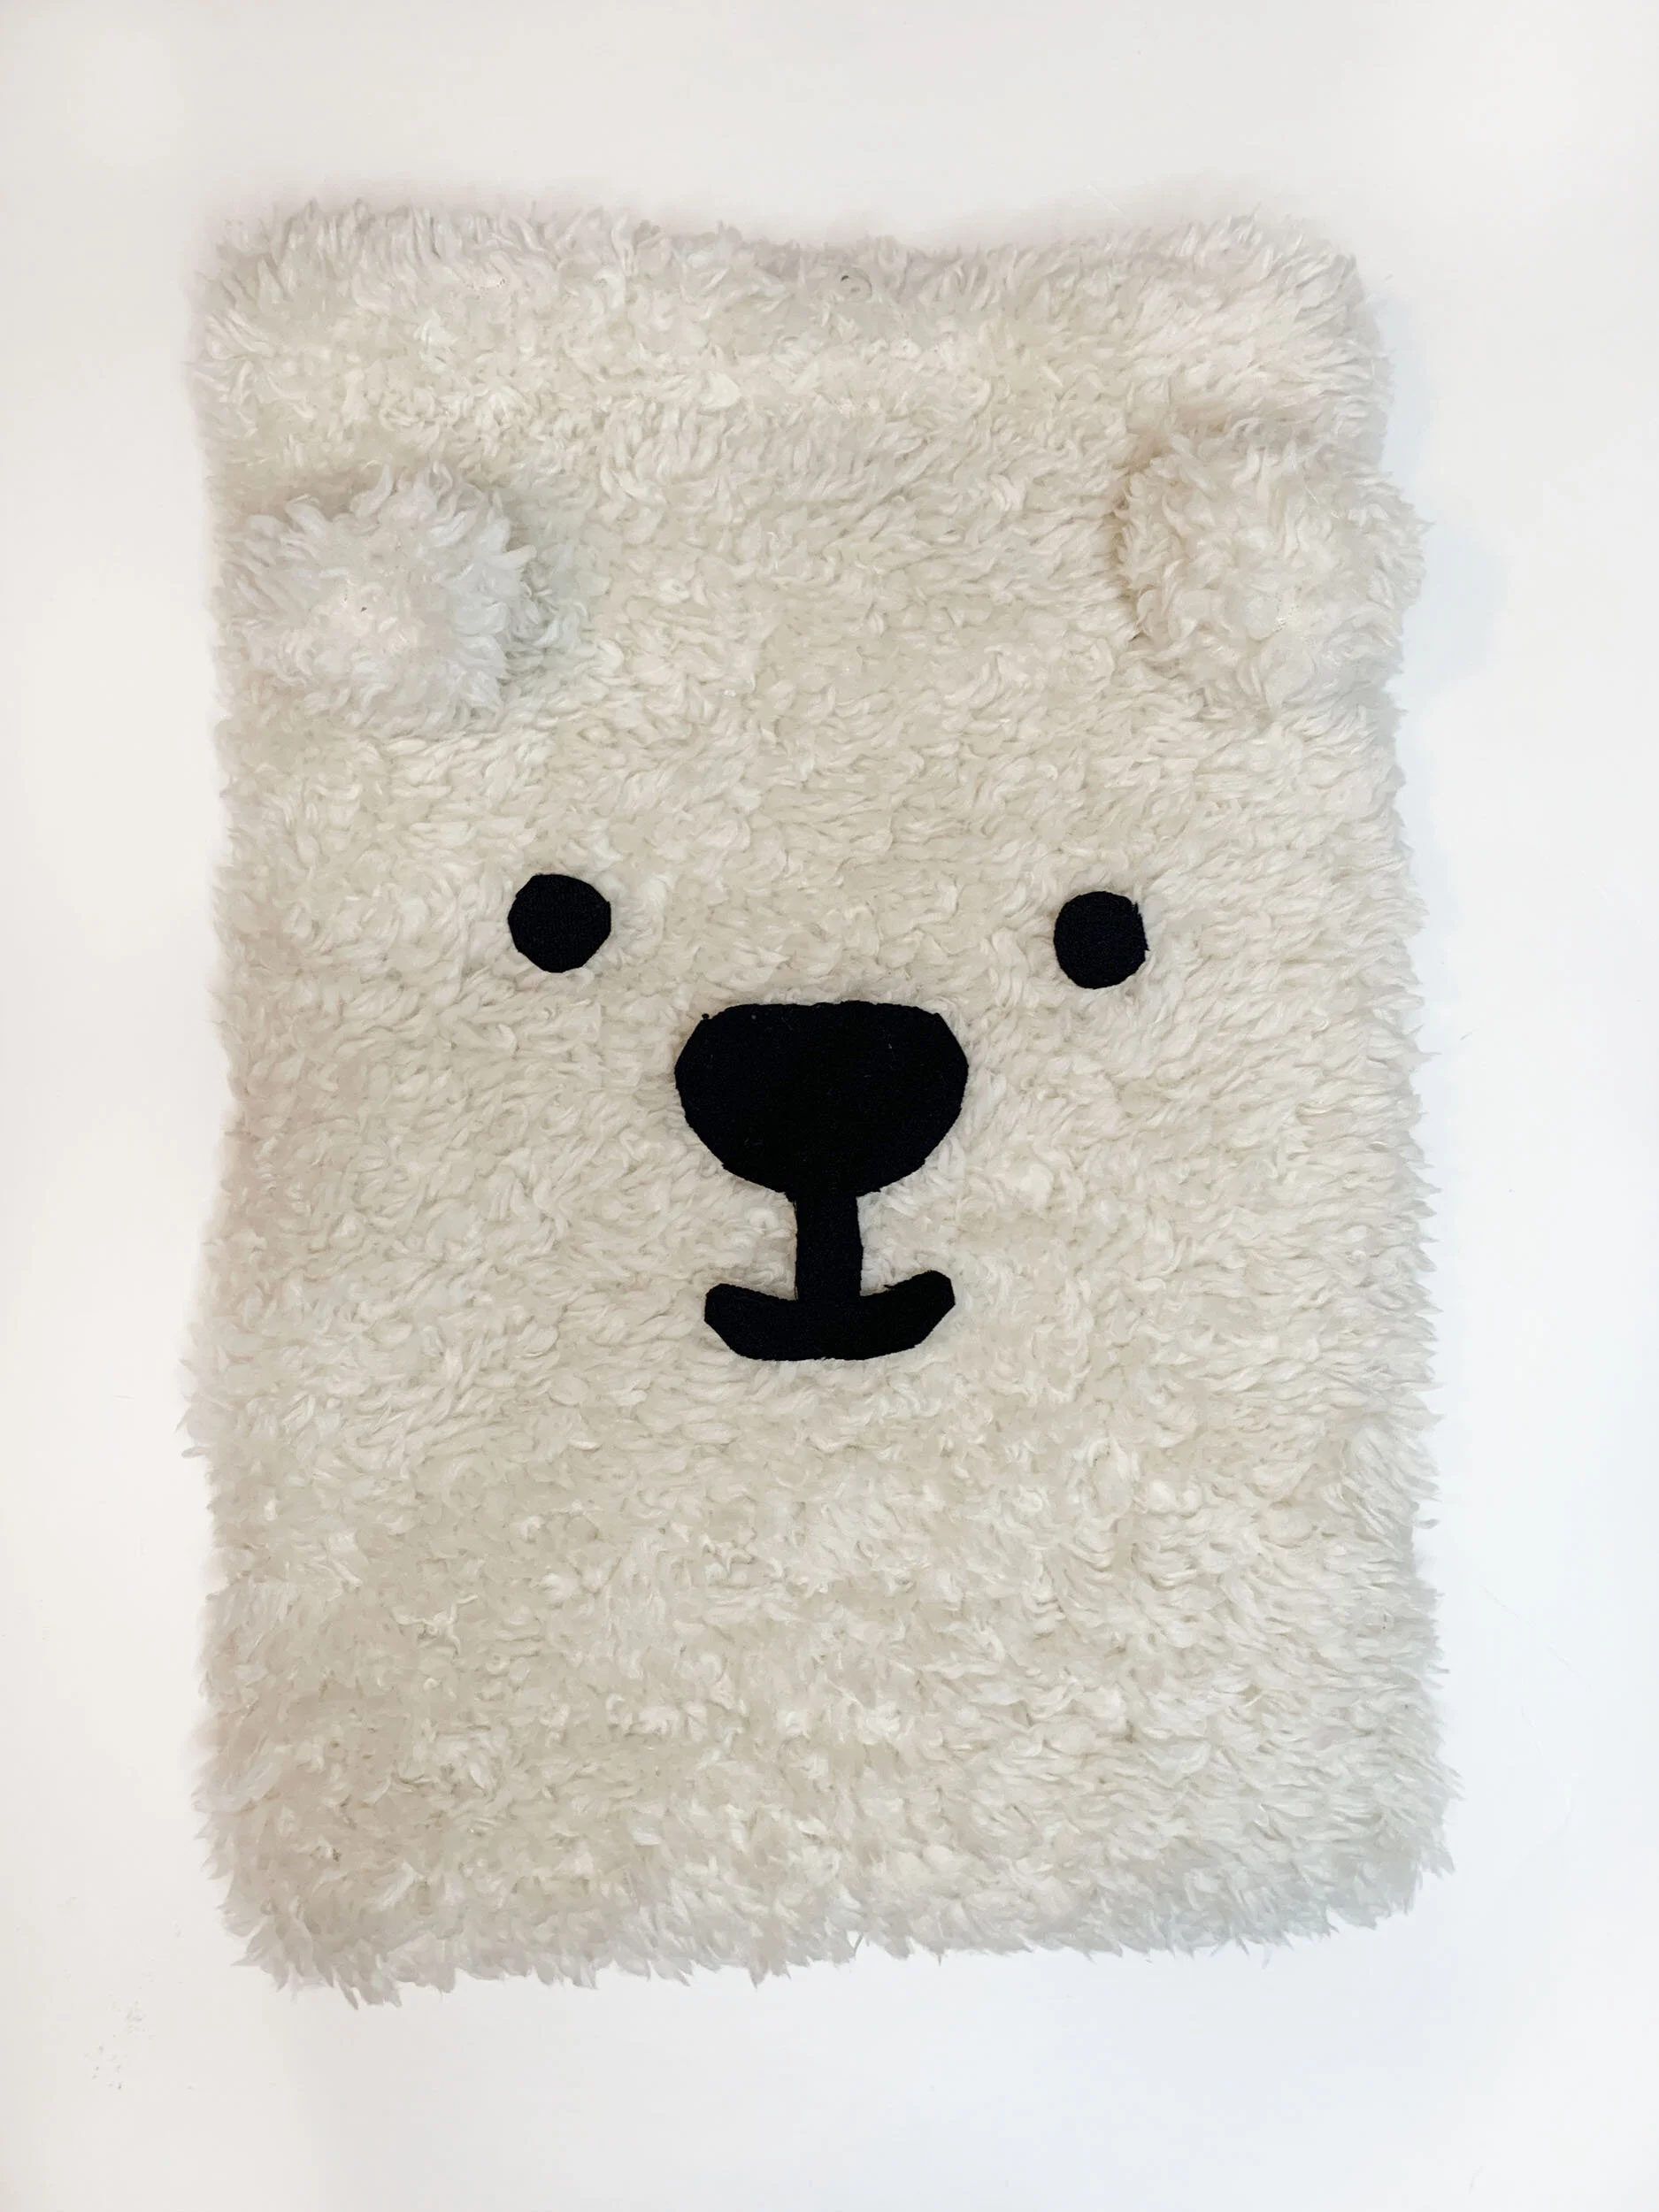
Now let’s create the face. You can either cut out the paper patterns for the face, or draw your own face design.
Pin the face pattern to the black felt and cut out. Put it to the side.
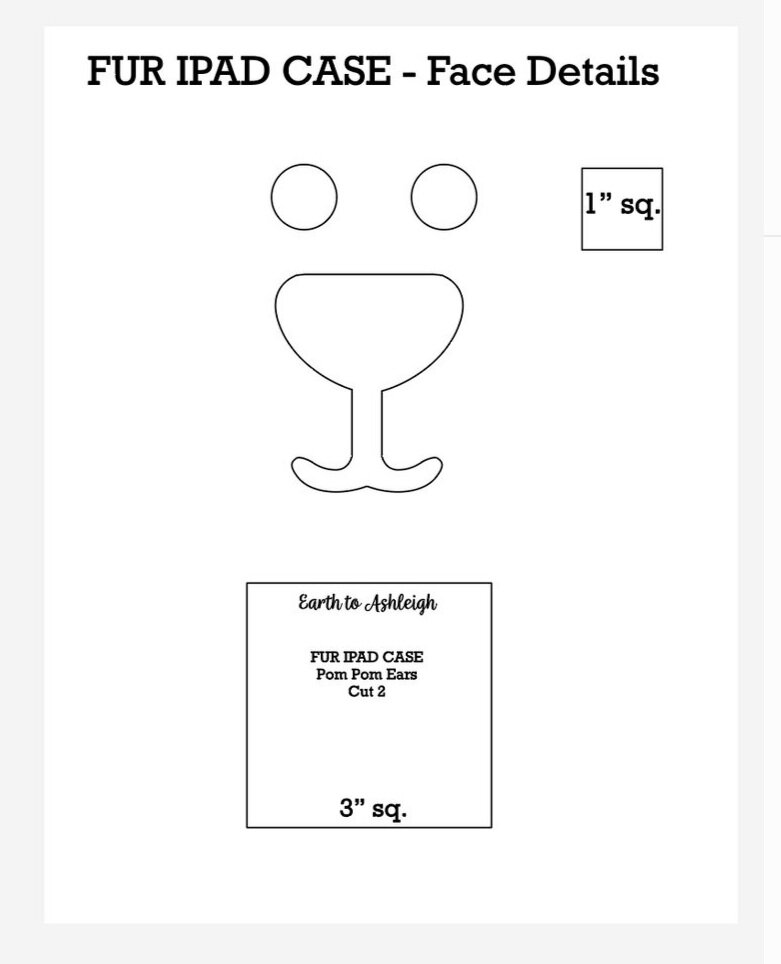
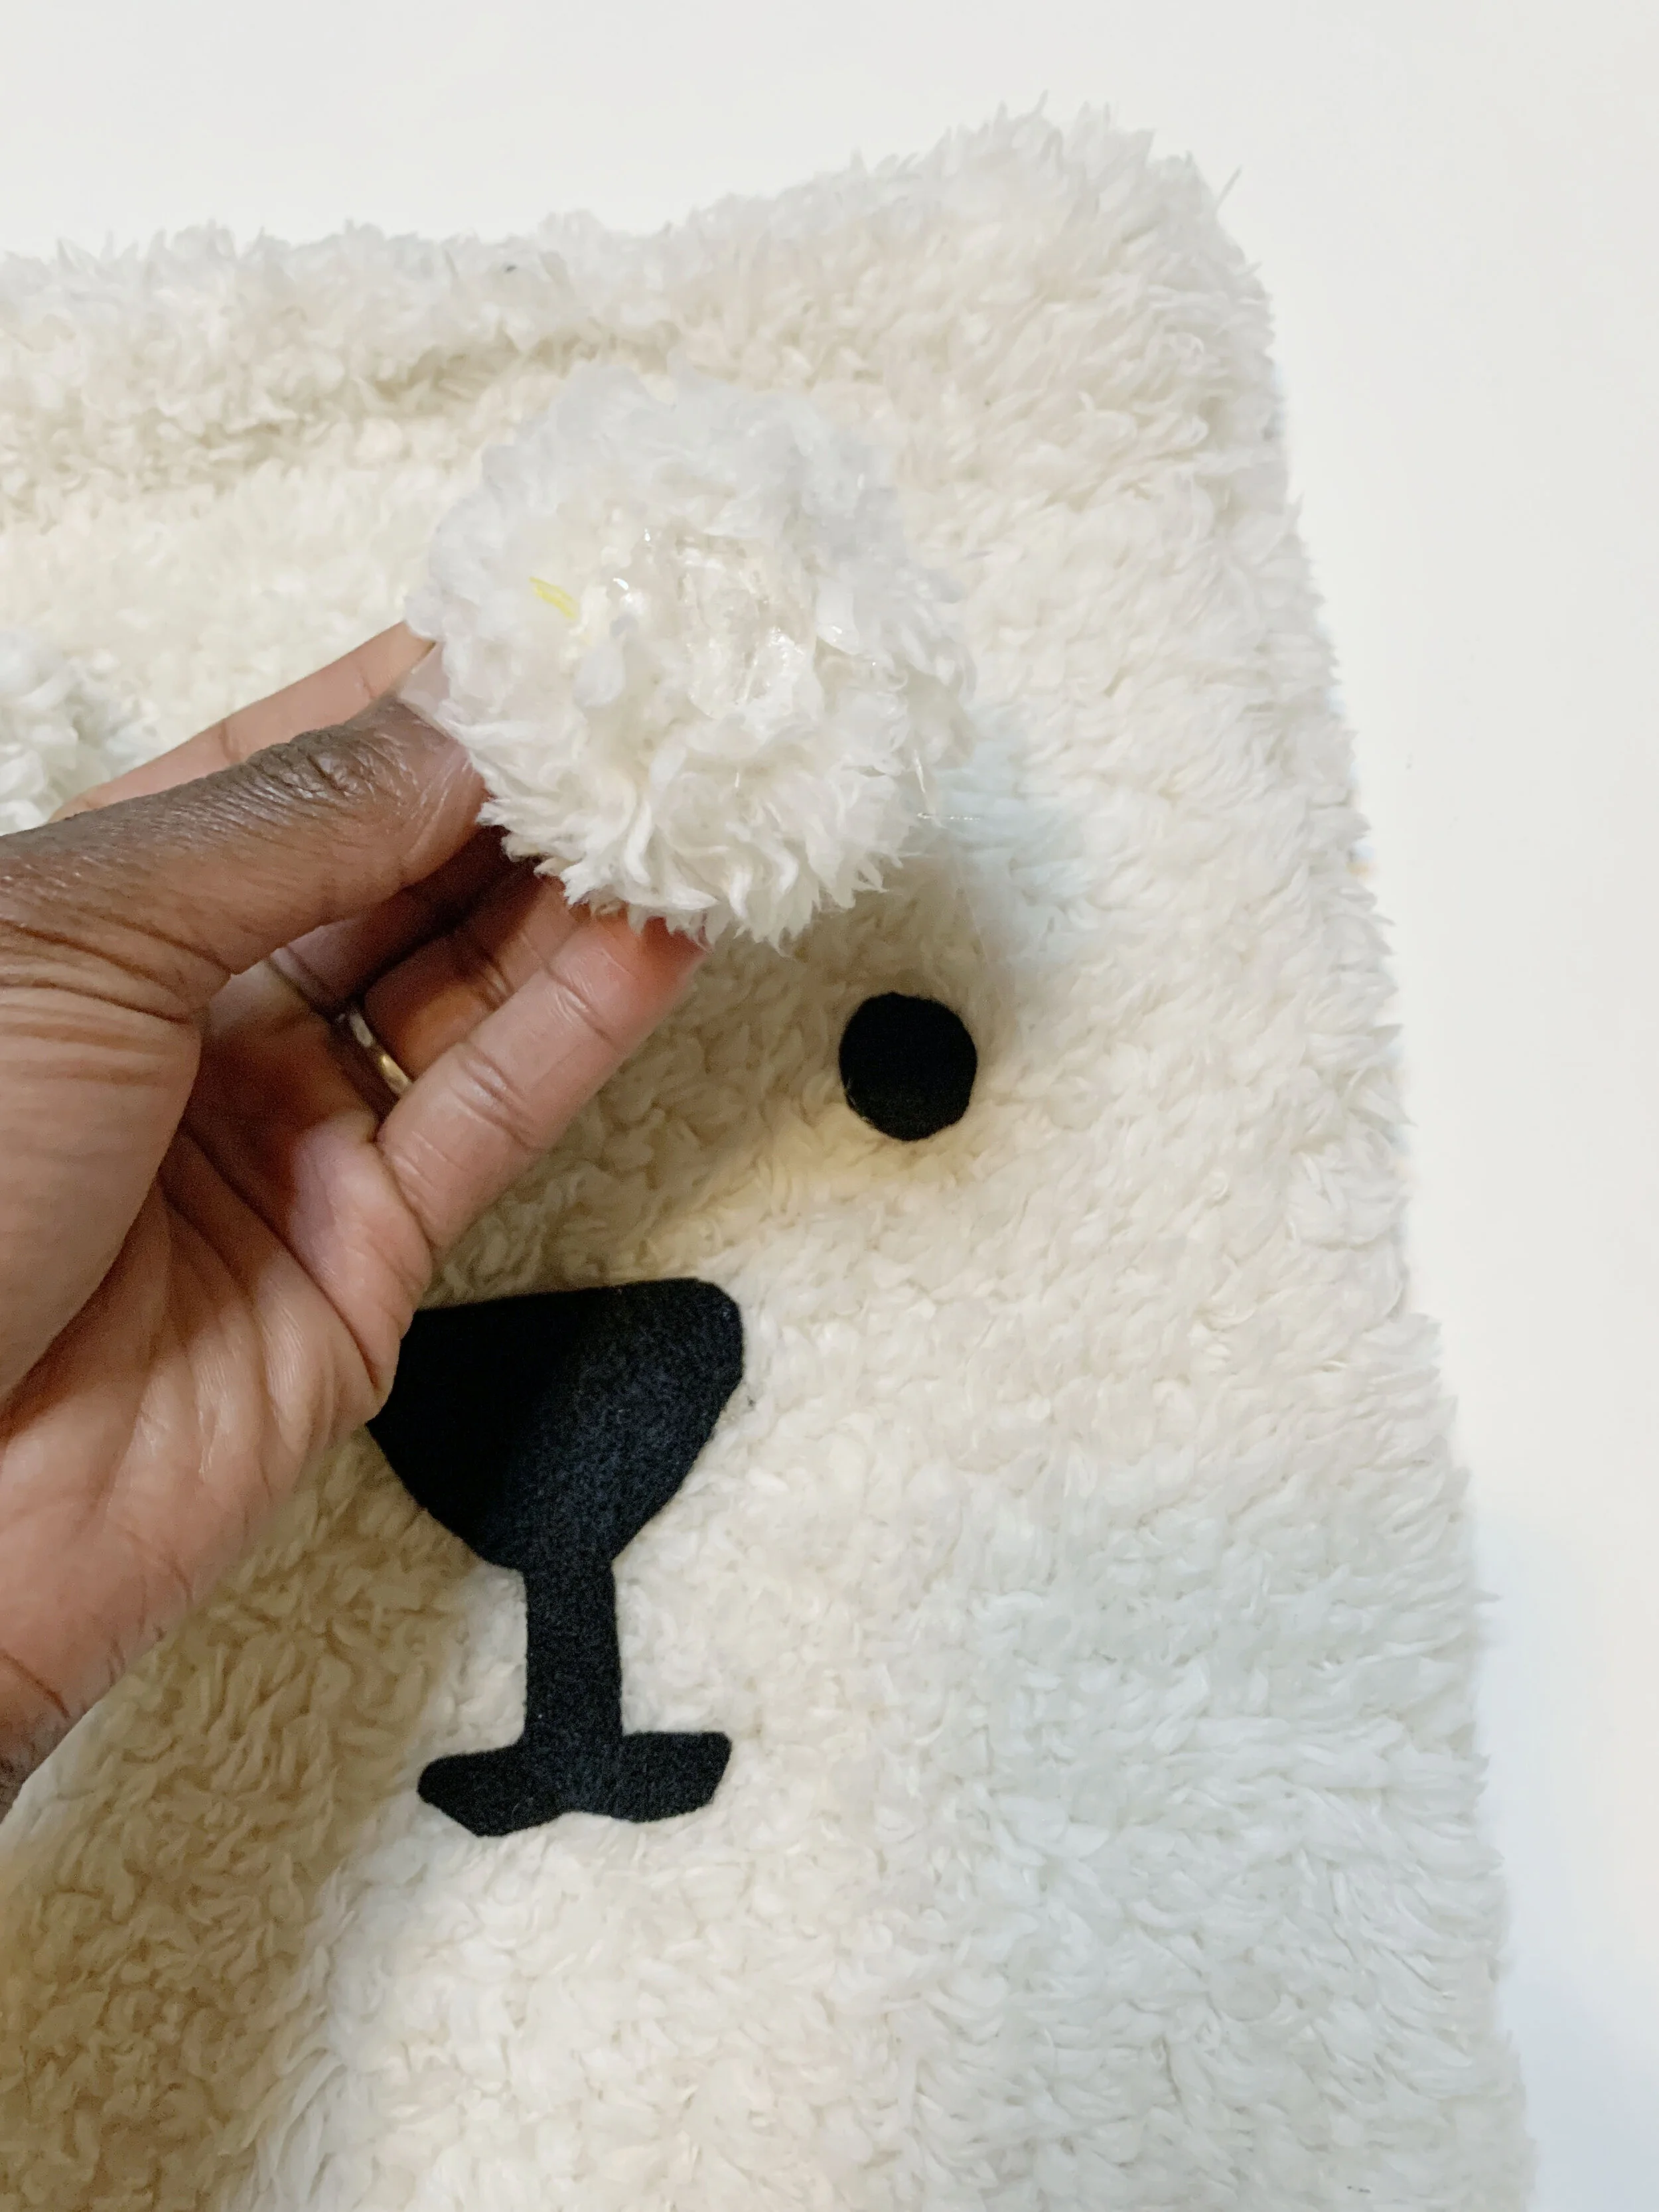
For the ears, cut two three inch squares. Take one of the squares, and place a dollop polyfill in the middle. Pull the corners in together. Use a hand needle to run 3-4 stitches back and forth through all four corners.
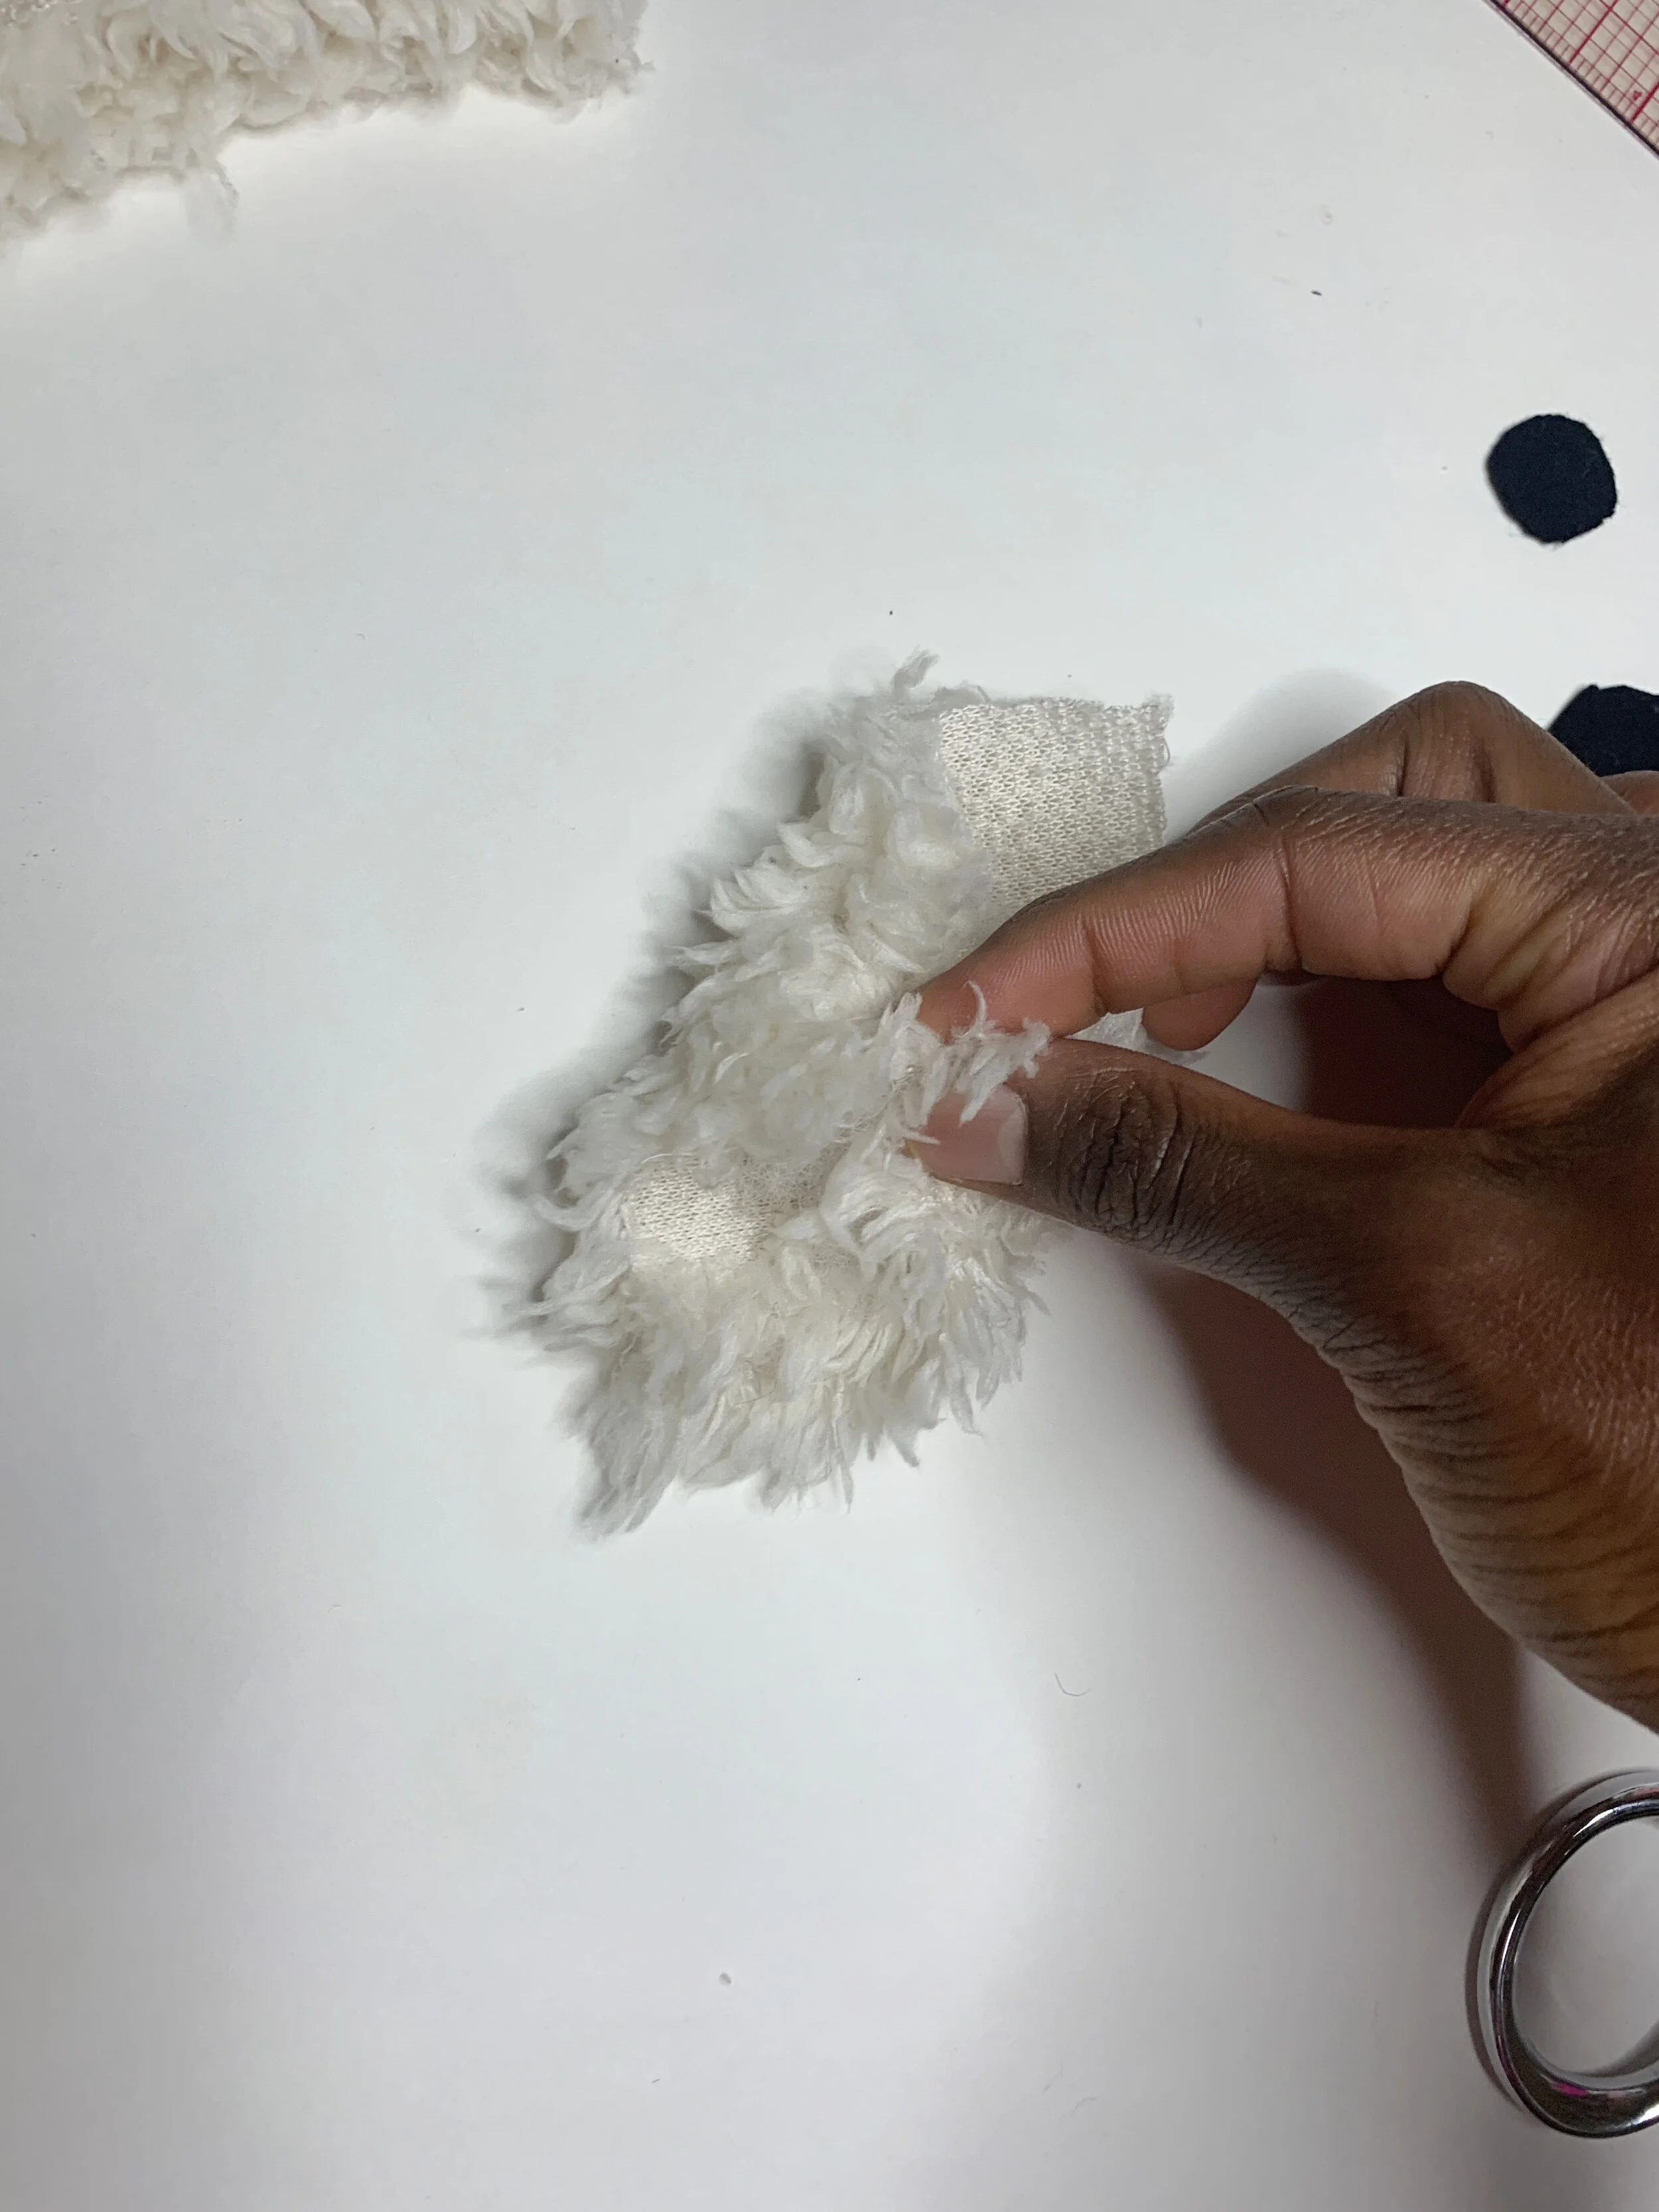
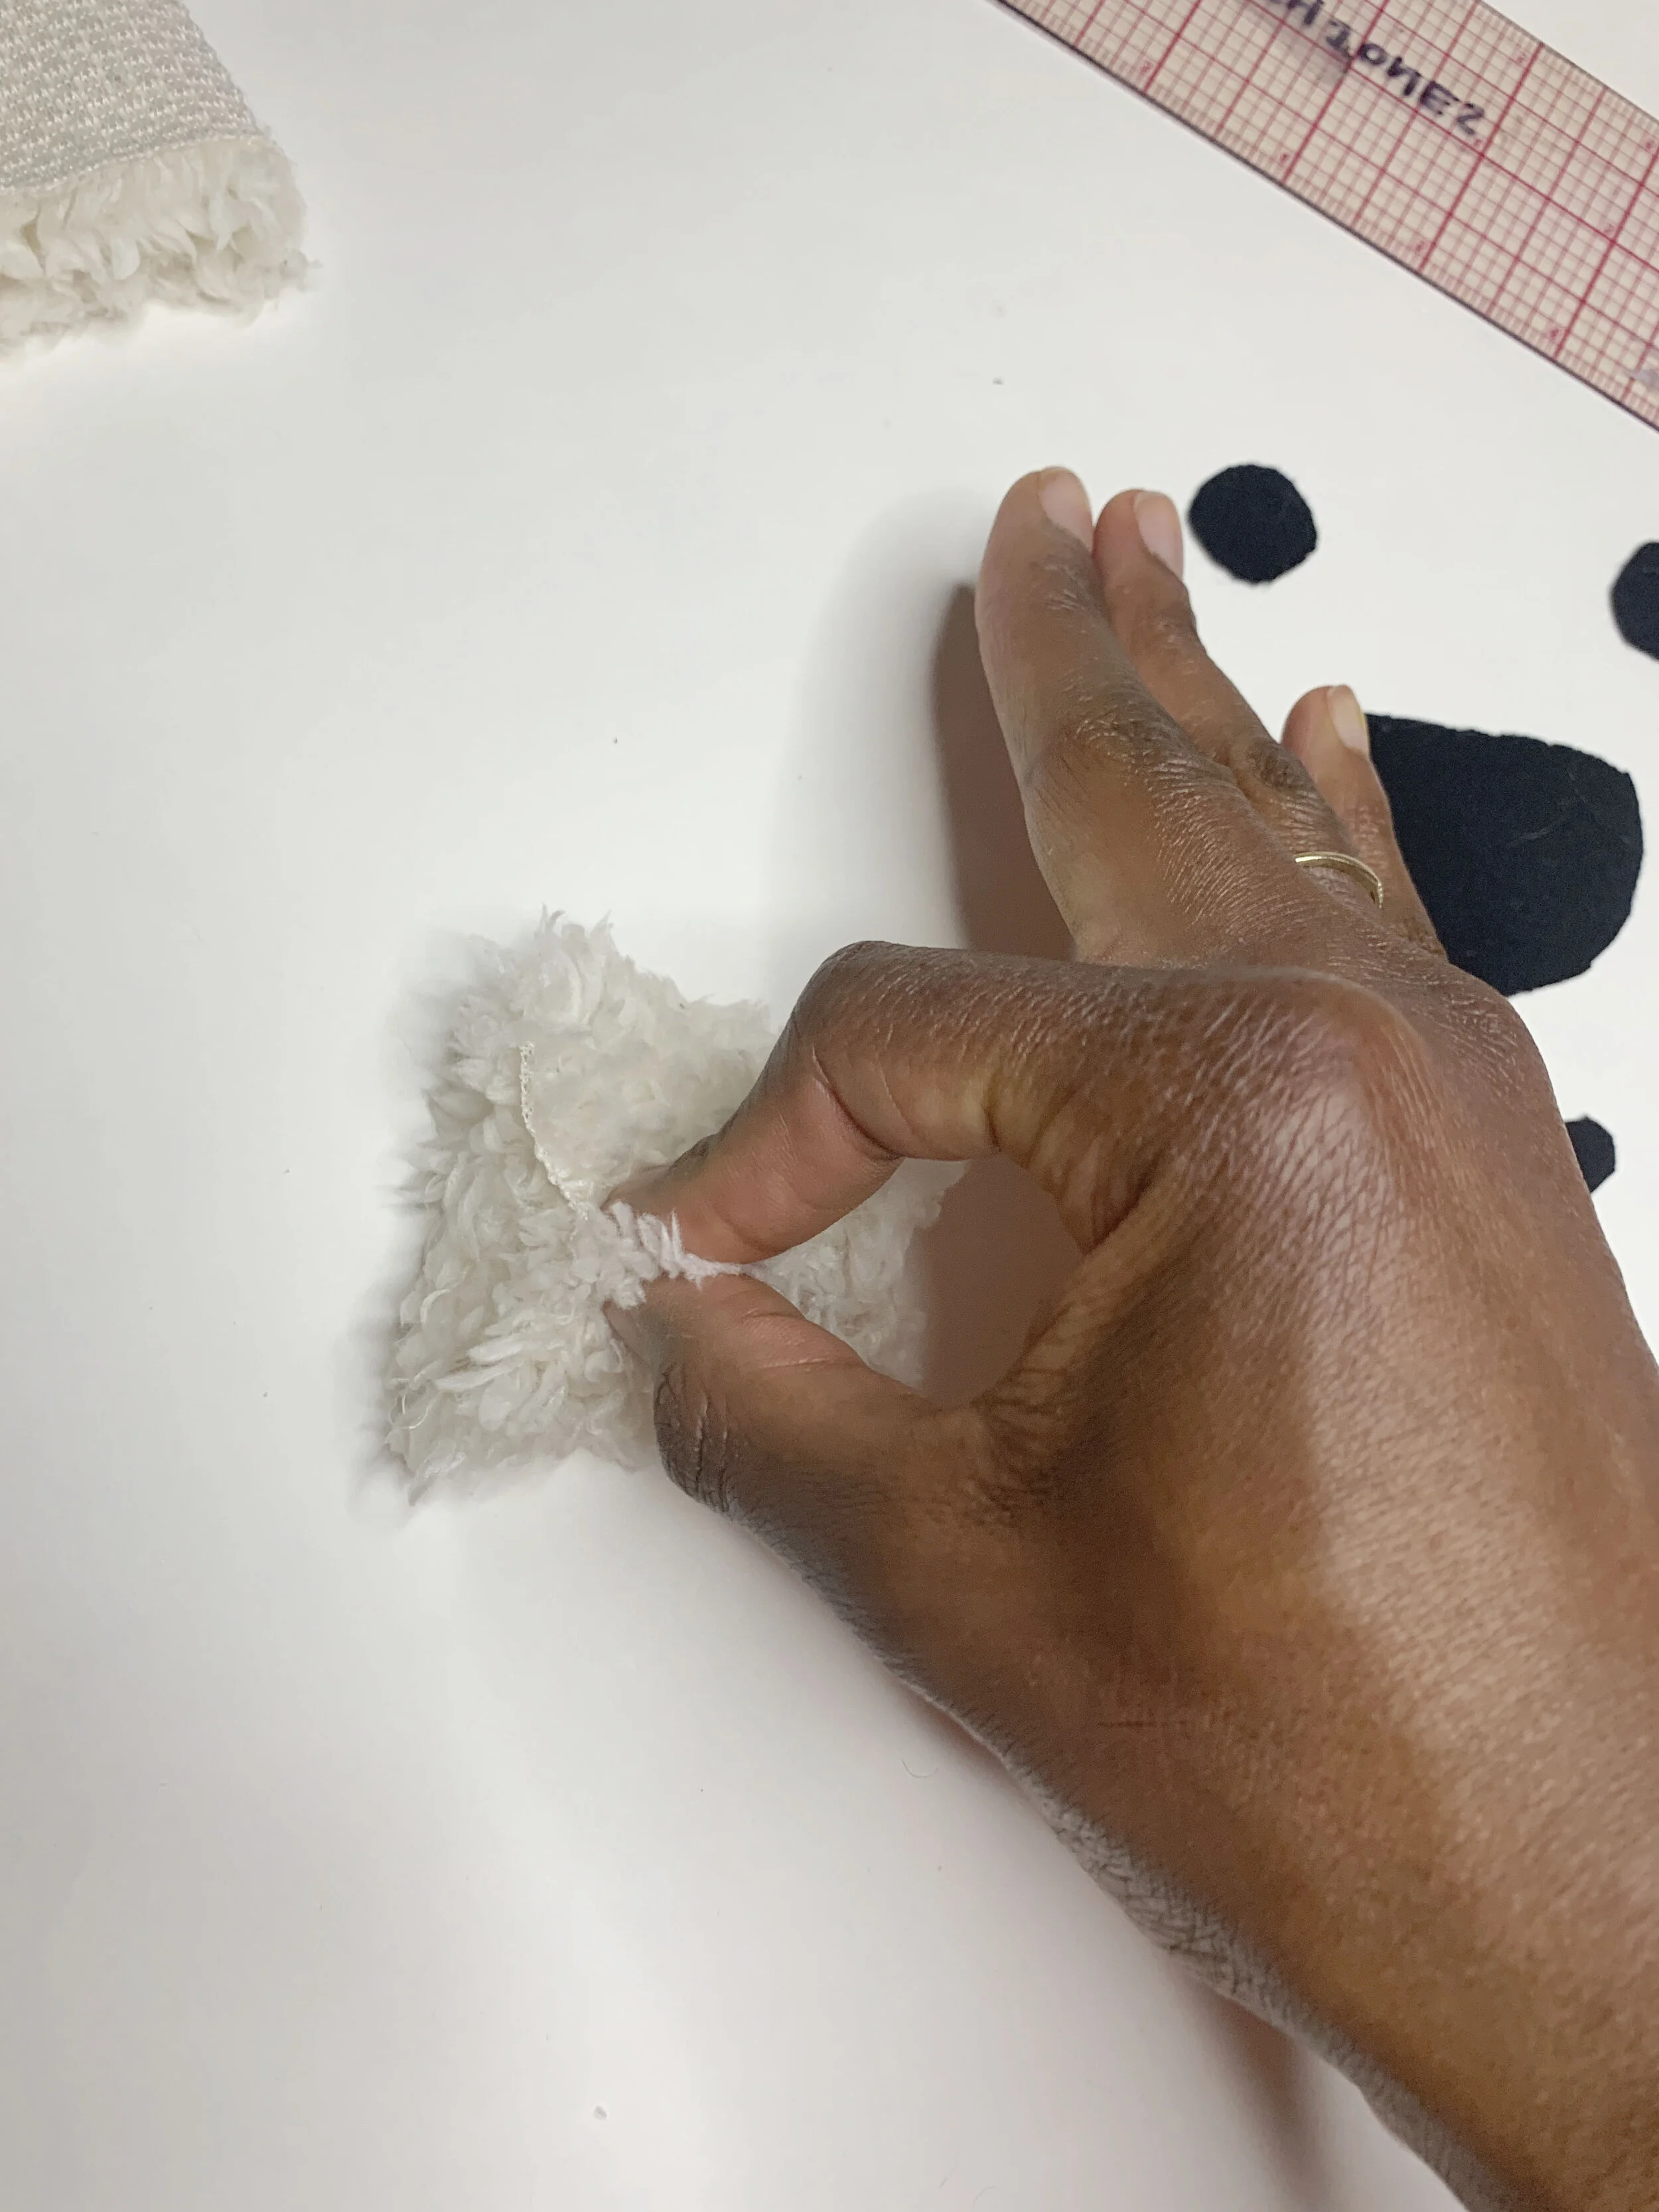
Then, gather more of the edges, and repeat the above step, making sure to catch all the edges of the square and completely hide the polyfill inside. Repeat for the second ear.
Check out the video below for added clarity.
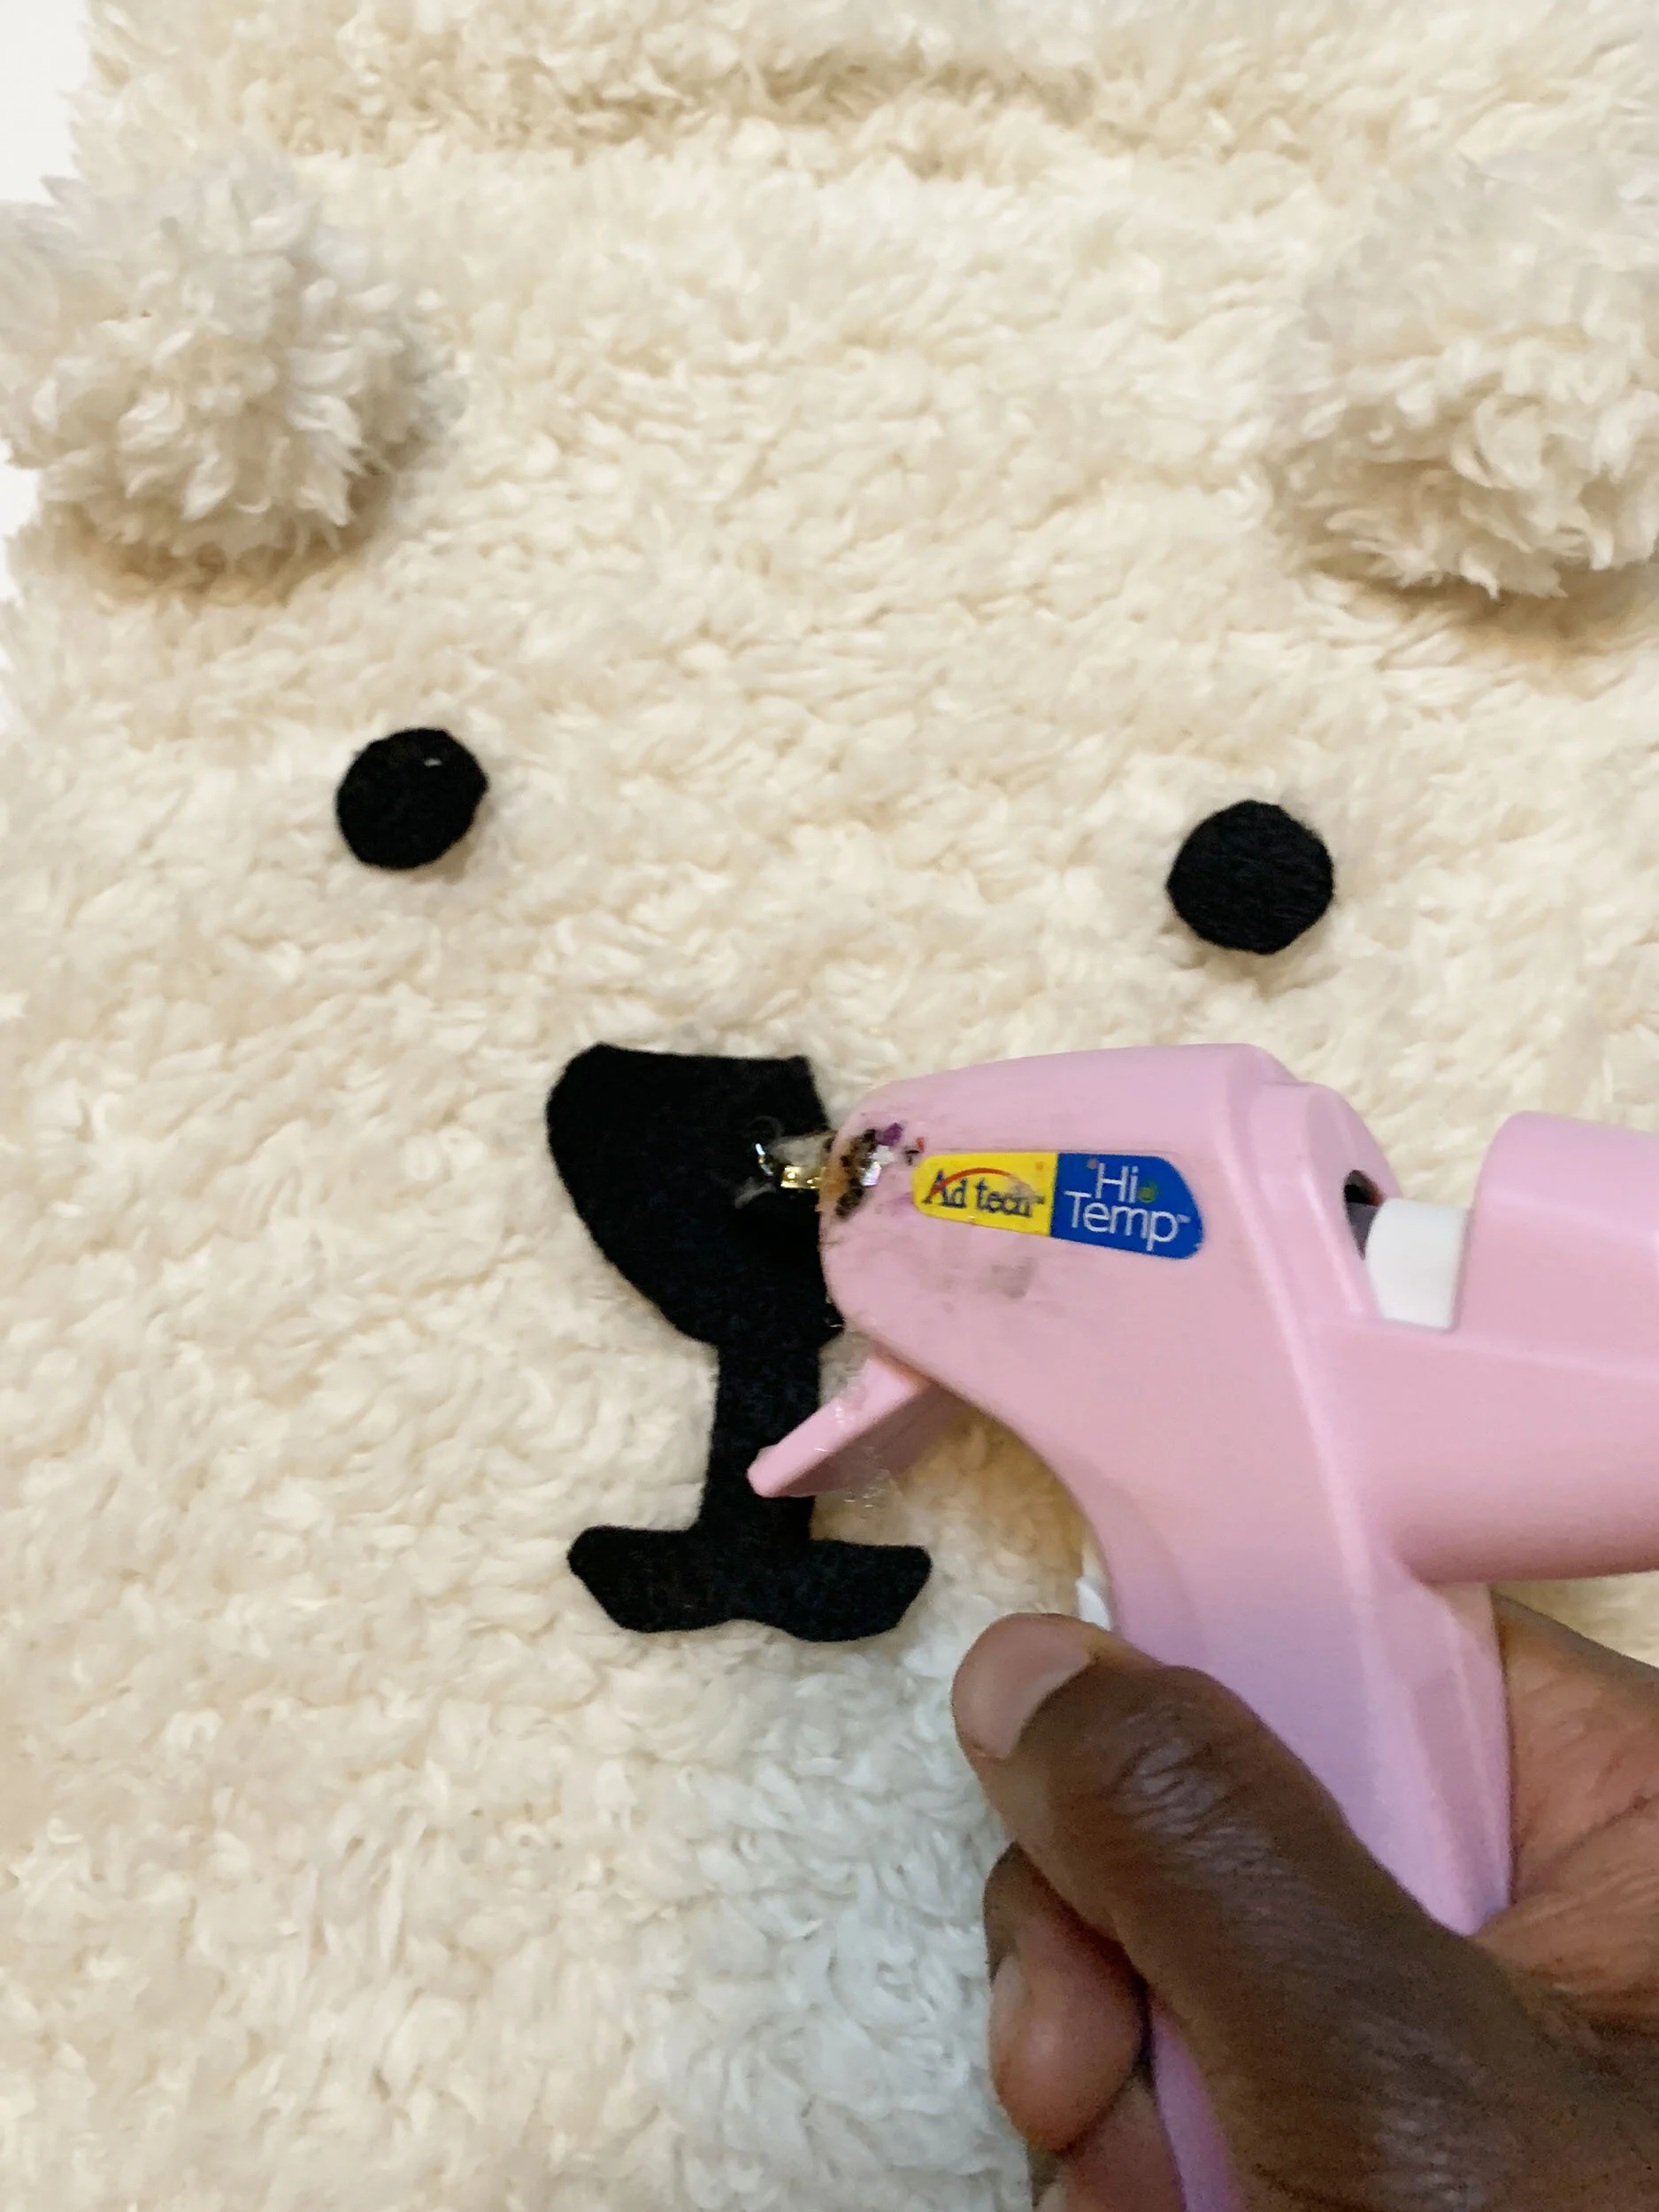
Now, we’re ready to create the bear face. The placement is totally up to you so have some fun with it.
Once you love the face placement, use your pre heated glue gun to attach the face pieces to the fur.
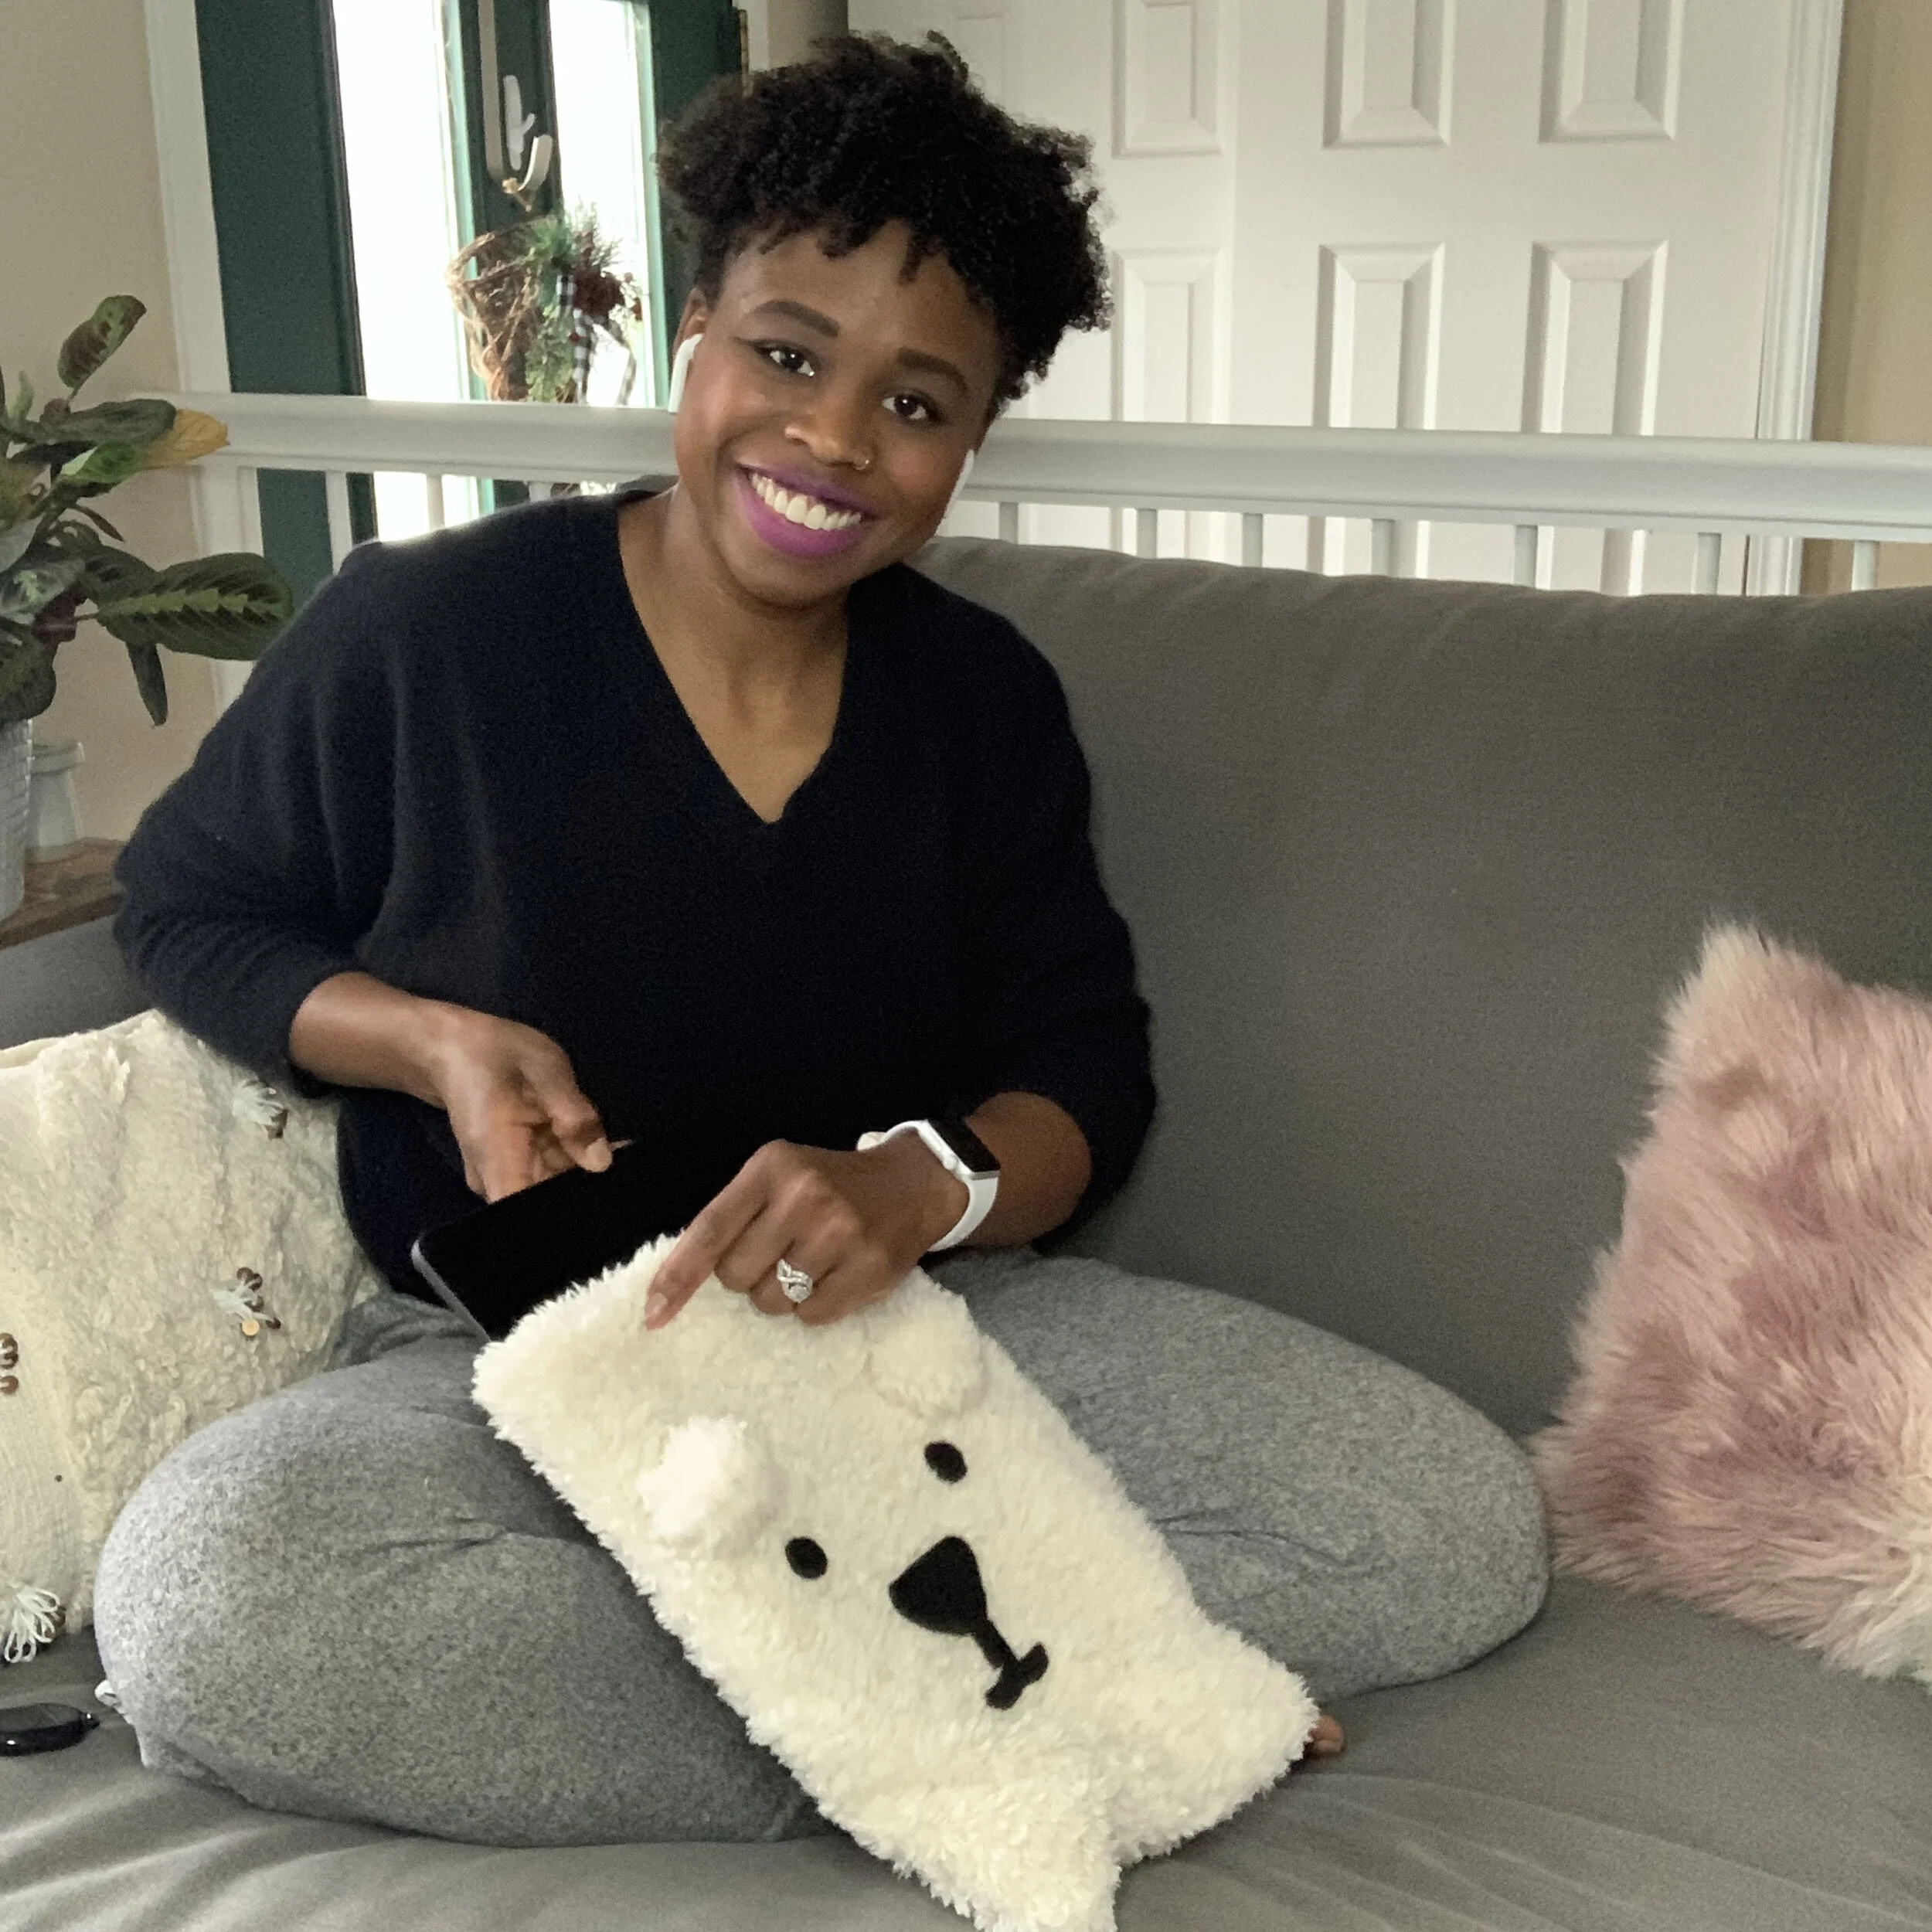
Viola’! Your sleeve is complete, and ready for its rightful place in the couch.
Please keep in mind, this sleeve is not to be used as a protective case for your iPad. It’s a decorative sleeve, and will keep your iPad from collecting dust or scratches. If you want the case to be more protective, you can add a couple layers of cotton batting between the interior and exterior linings.
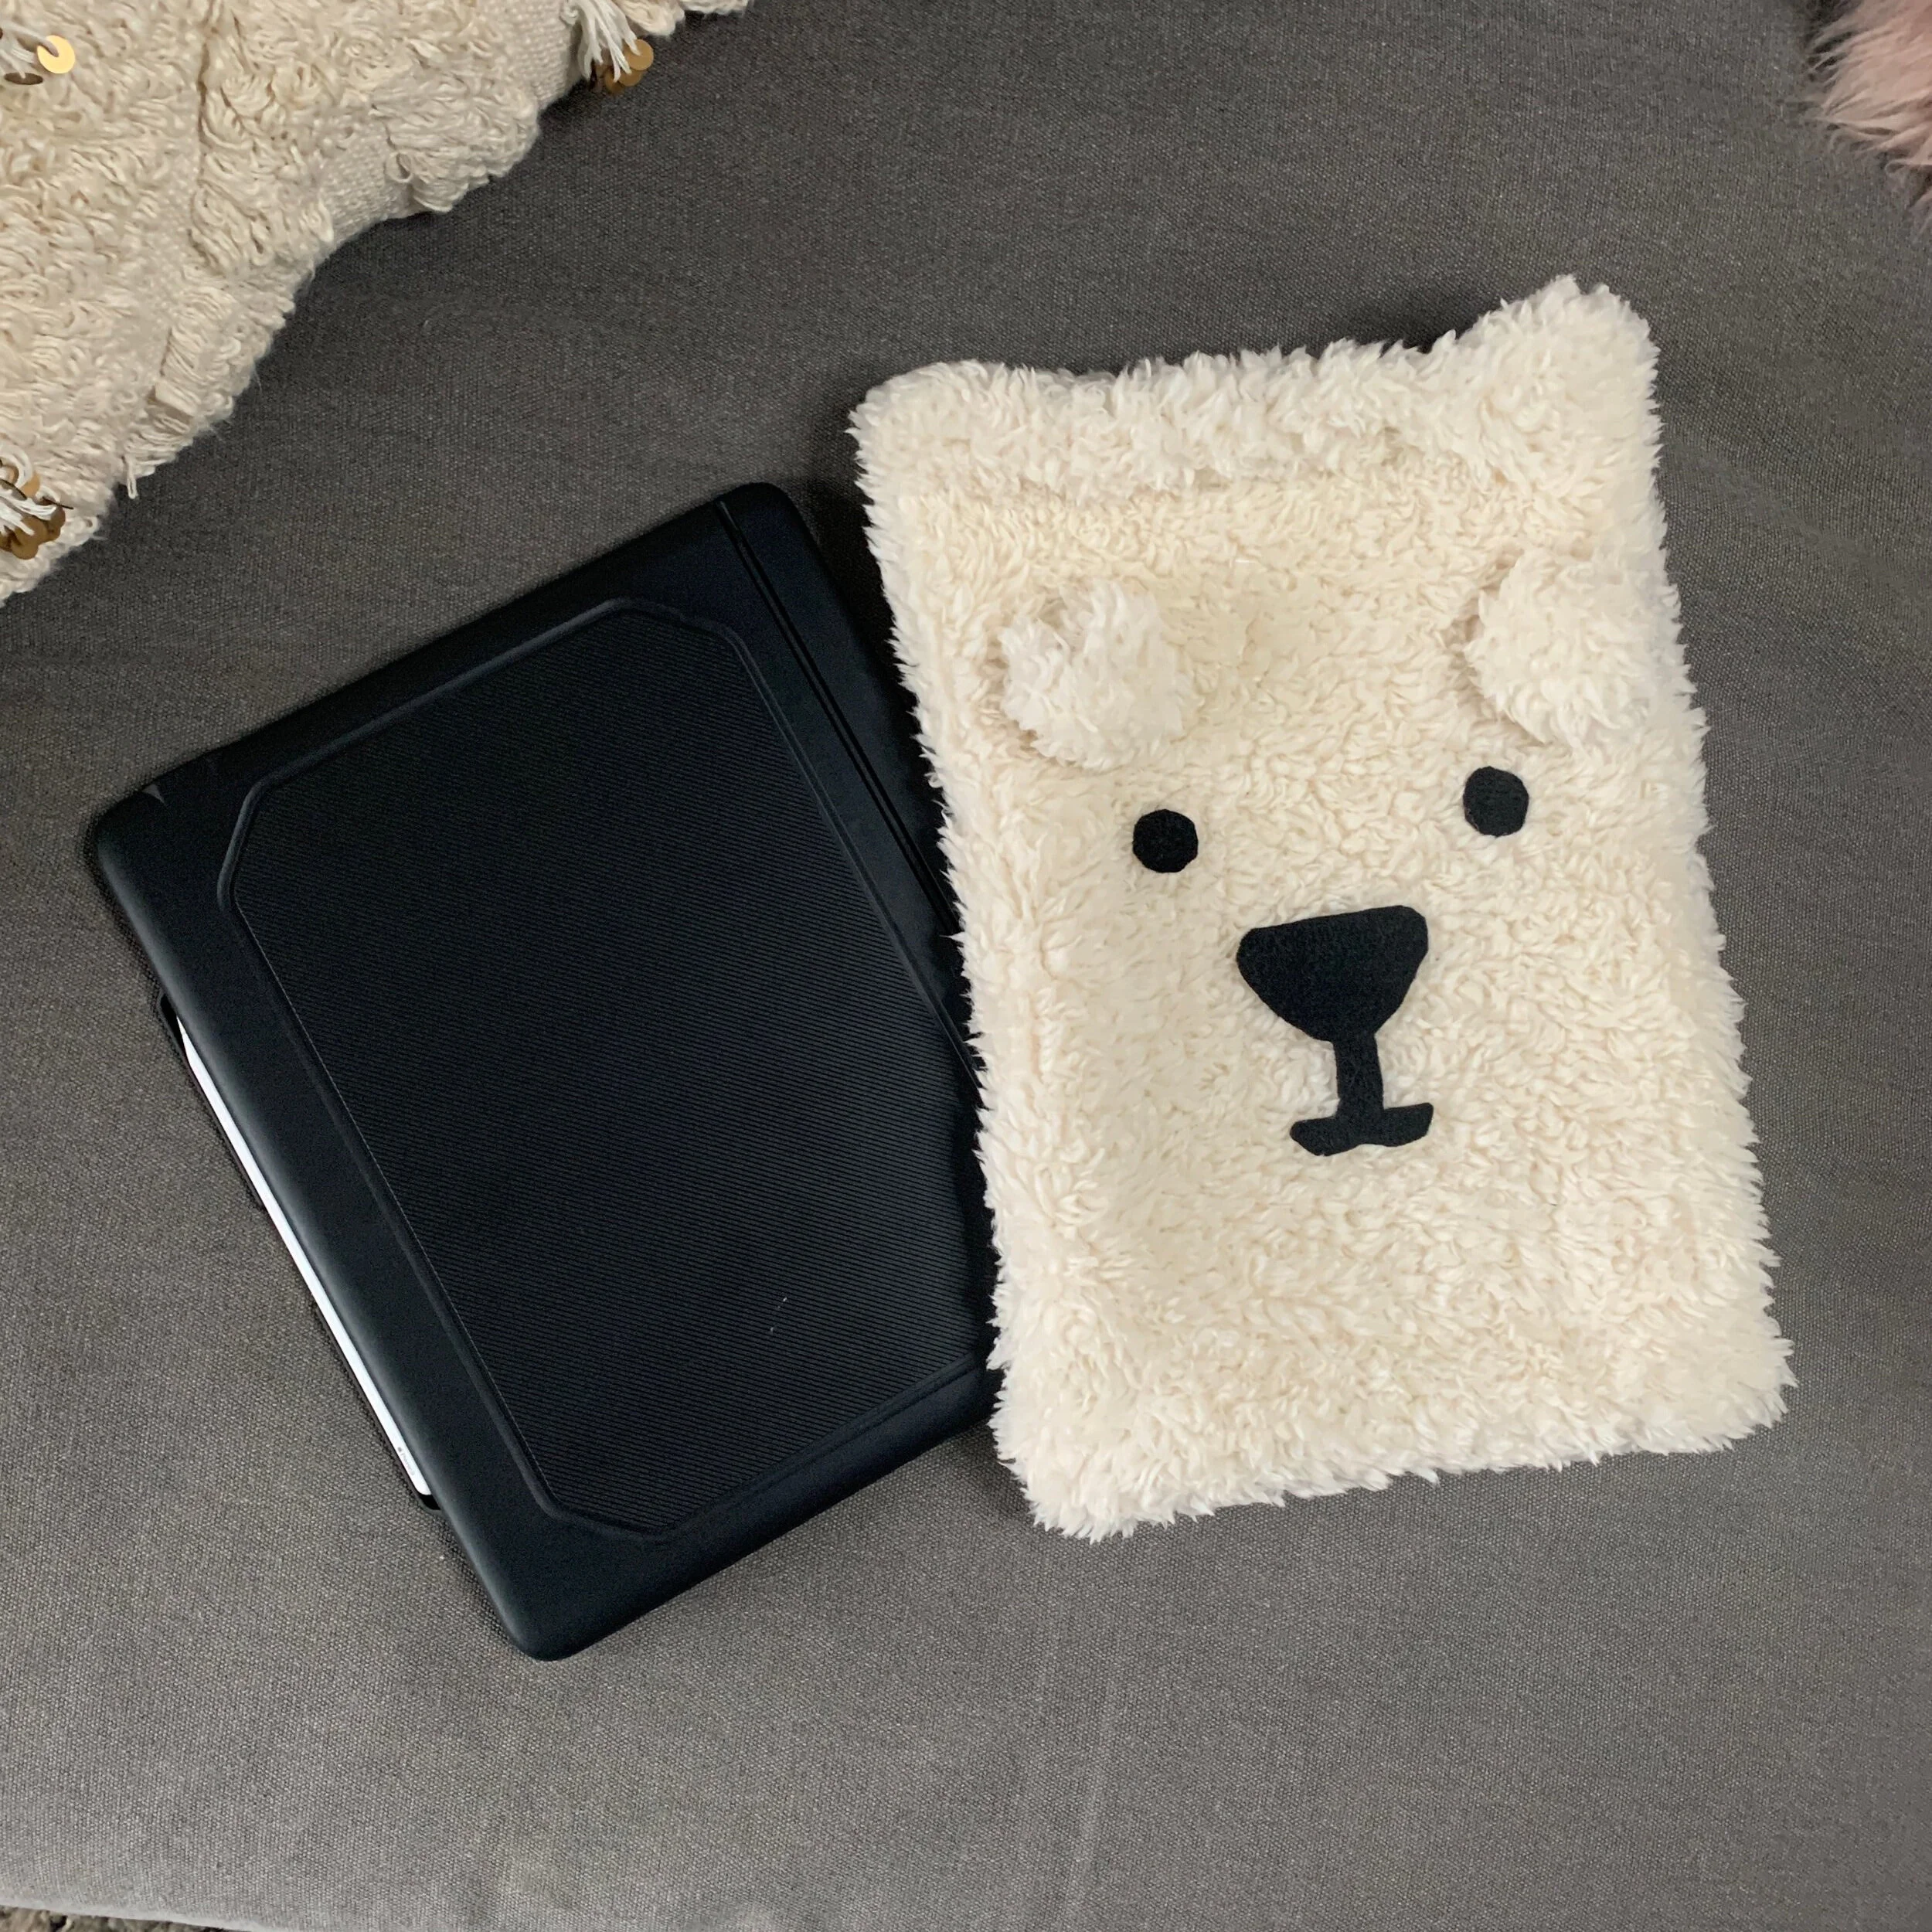
So I eventually bought a hard case for when I take my ipad outside of the house. The good news is, it still fits in the sleeve because my fur has so much stretch. So I get the best of both worlds. Huzzah!