Easy Tie Dye Sweatshirt Update
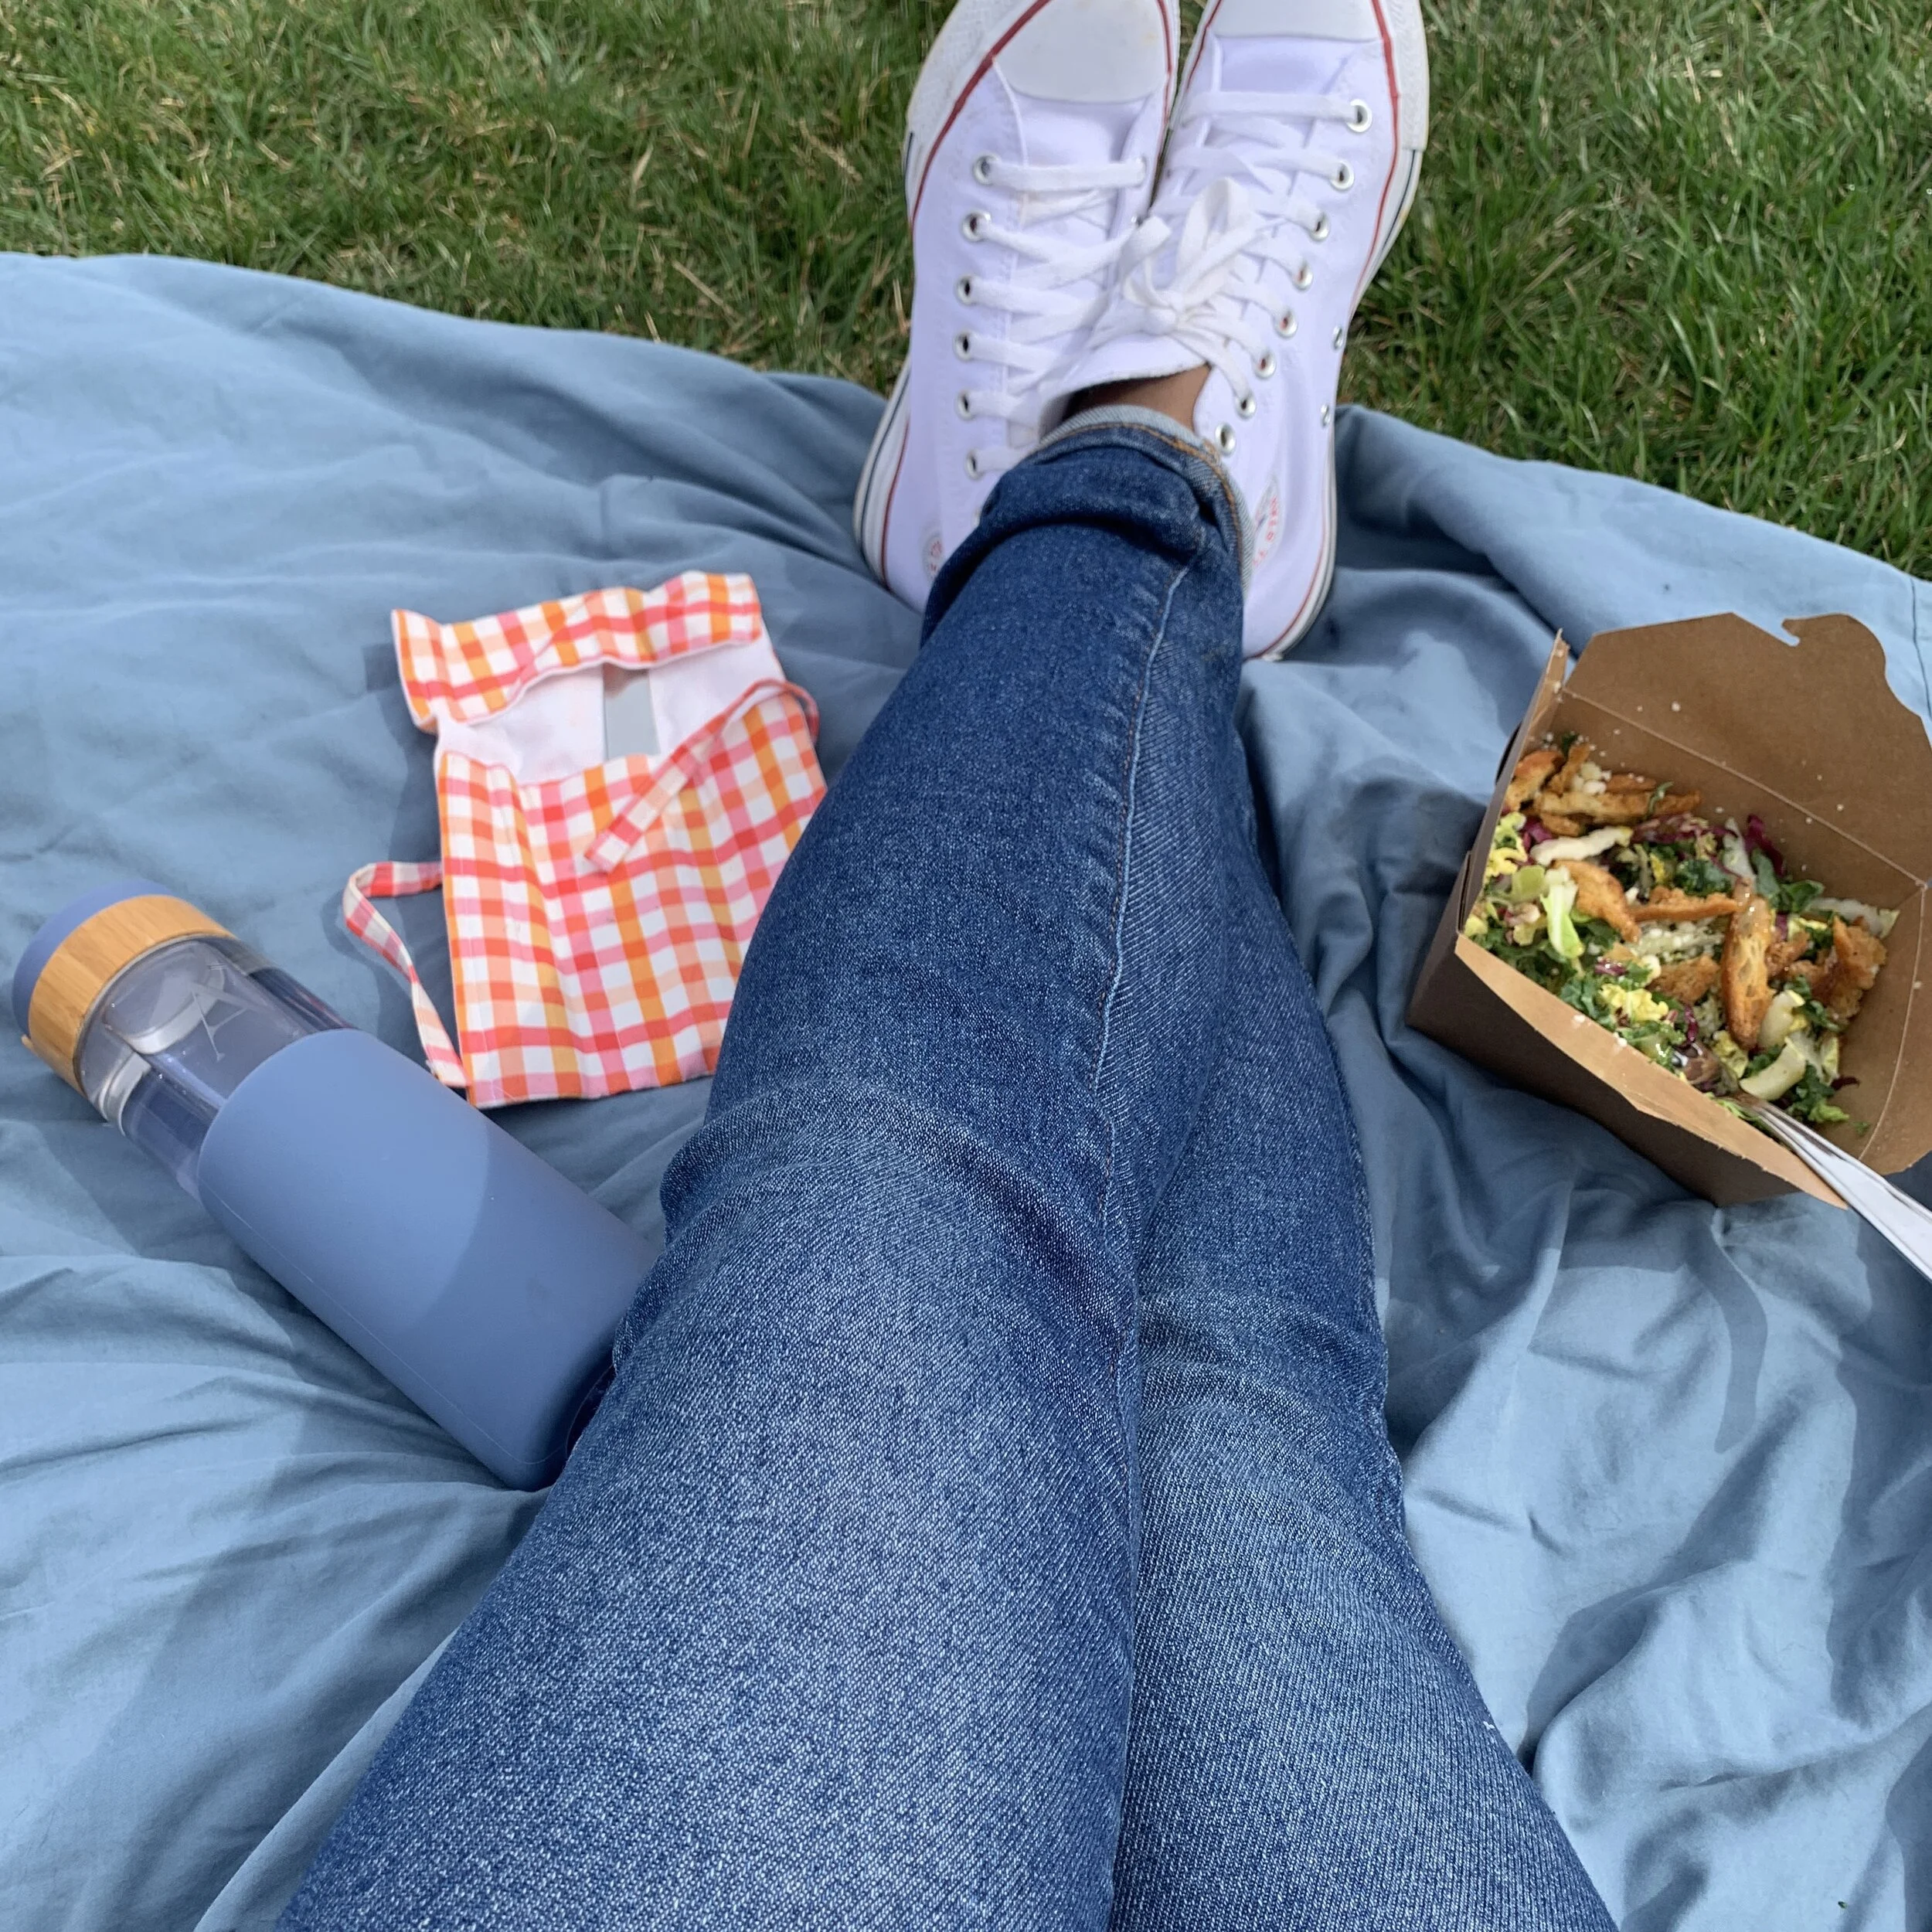
Spring is here! Bring on the picnics, fro yo runs, denim jackets, and all things outdoors! I love this time of year because so much growth is taking place all around us.
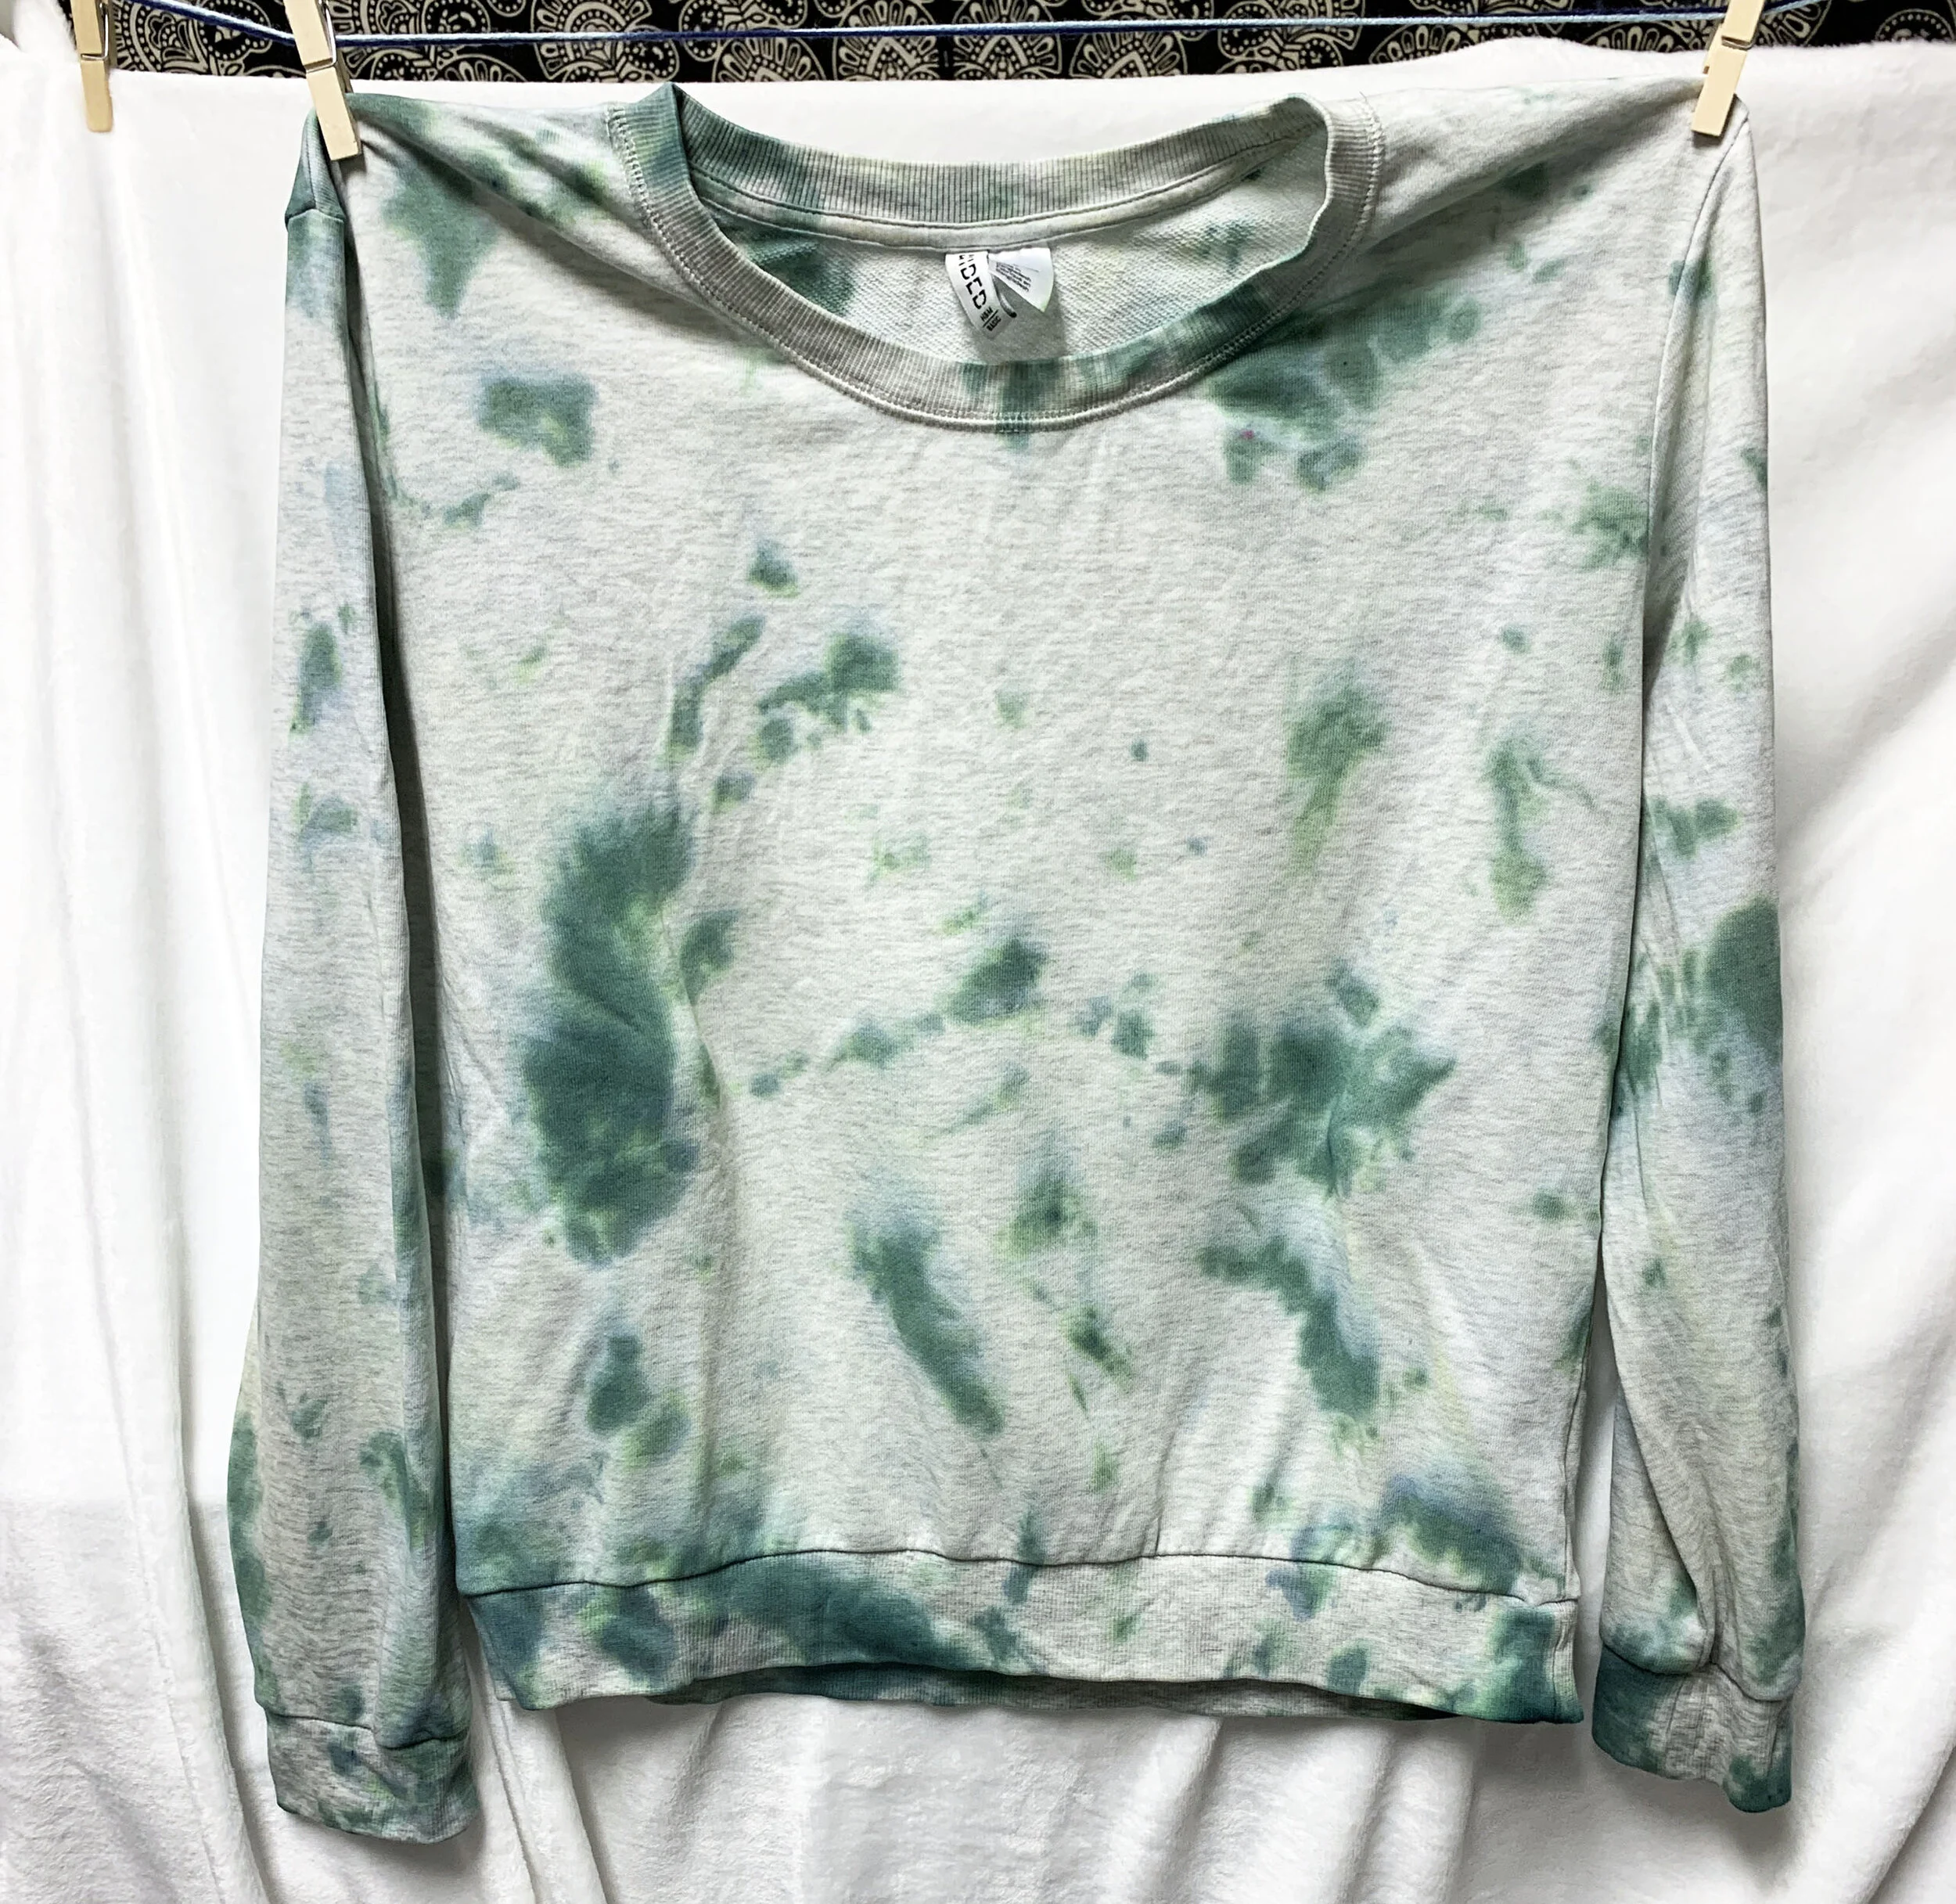
Lately, I’ve been craving something new, and spring inspired to wear. That’s where this project comes in. Out with the neutral and in with the color. I’ve had this sweatshirt for years because it looks great layered under jackets with pleated skirts. Recently, I noticed the pretty pearl heather texture has shifted to vintage beige if you catch my drift.
I thought updating it with tie dye would be more fun than shopping for something new. Repurposing, check. Making with my hands, check. New to me sweatshirt, check. Sounds like my kind of project.
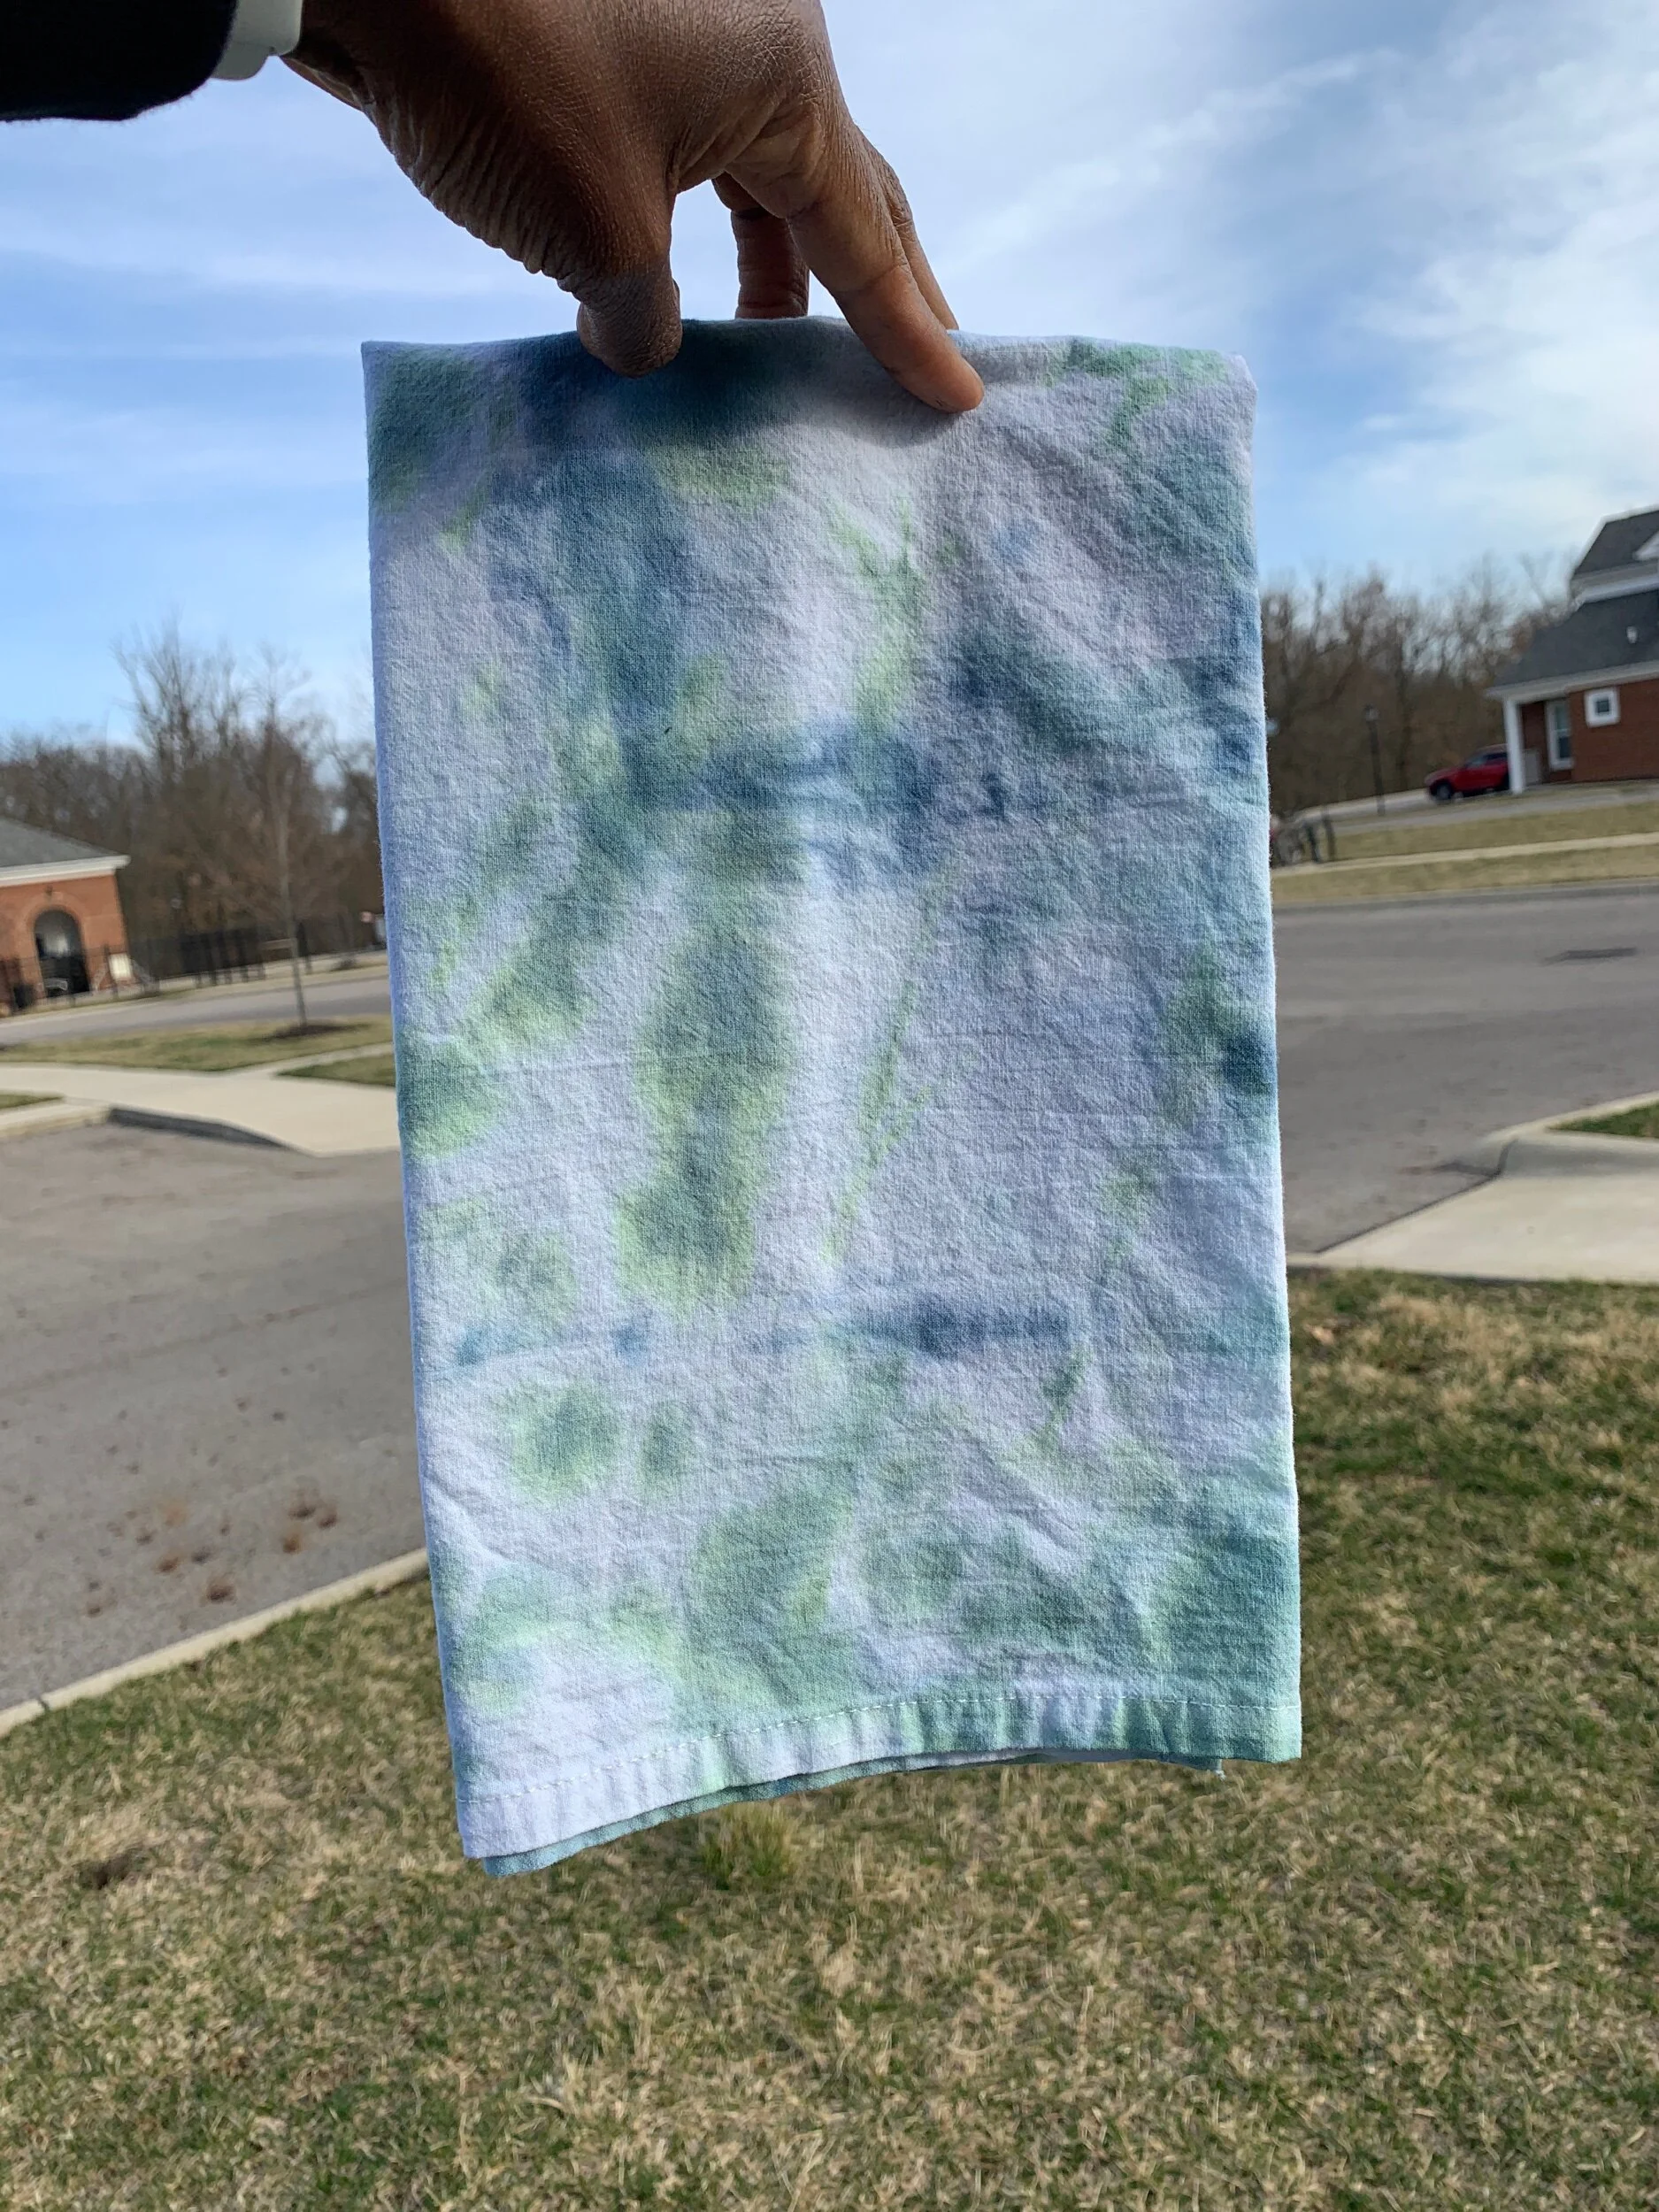
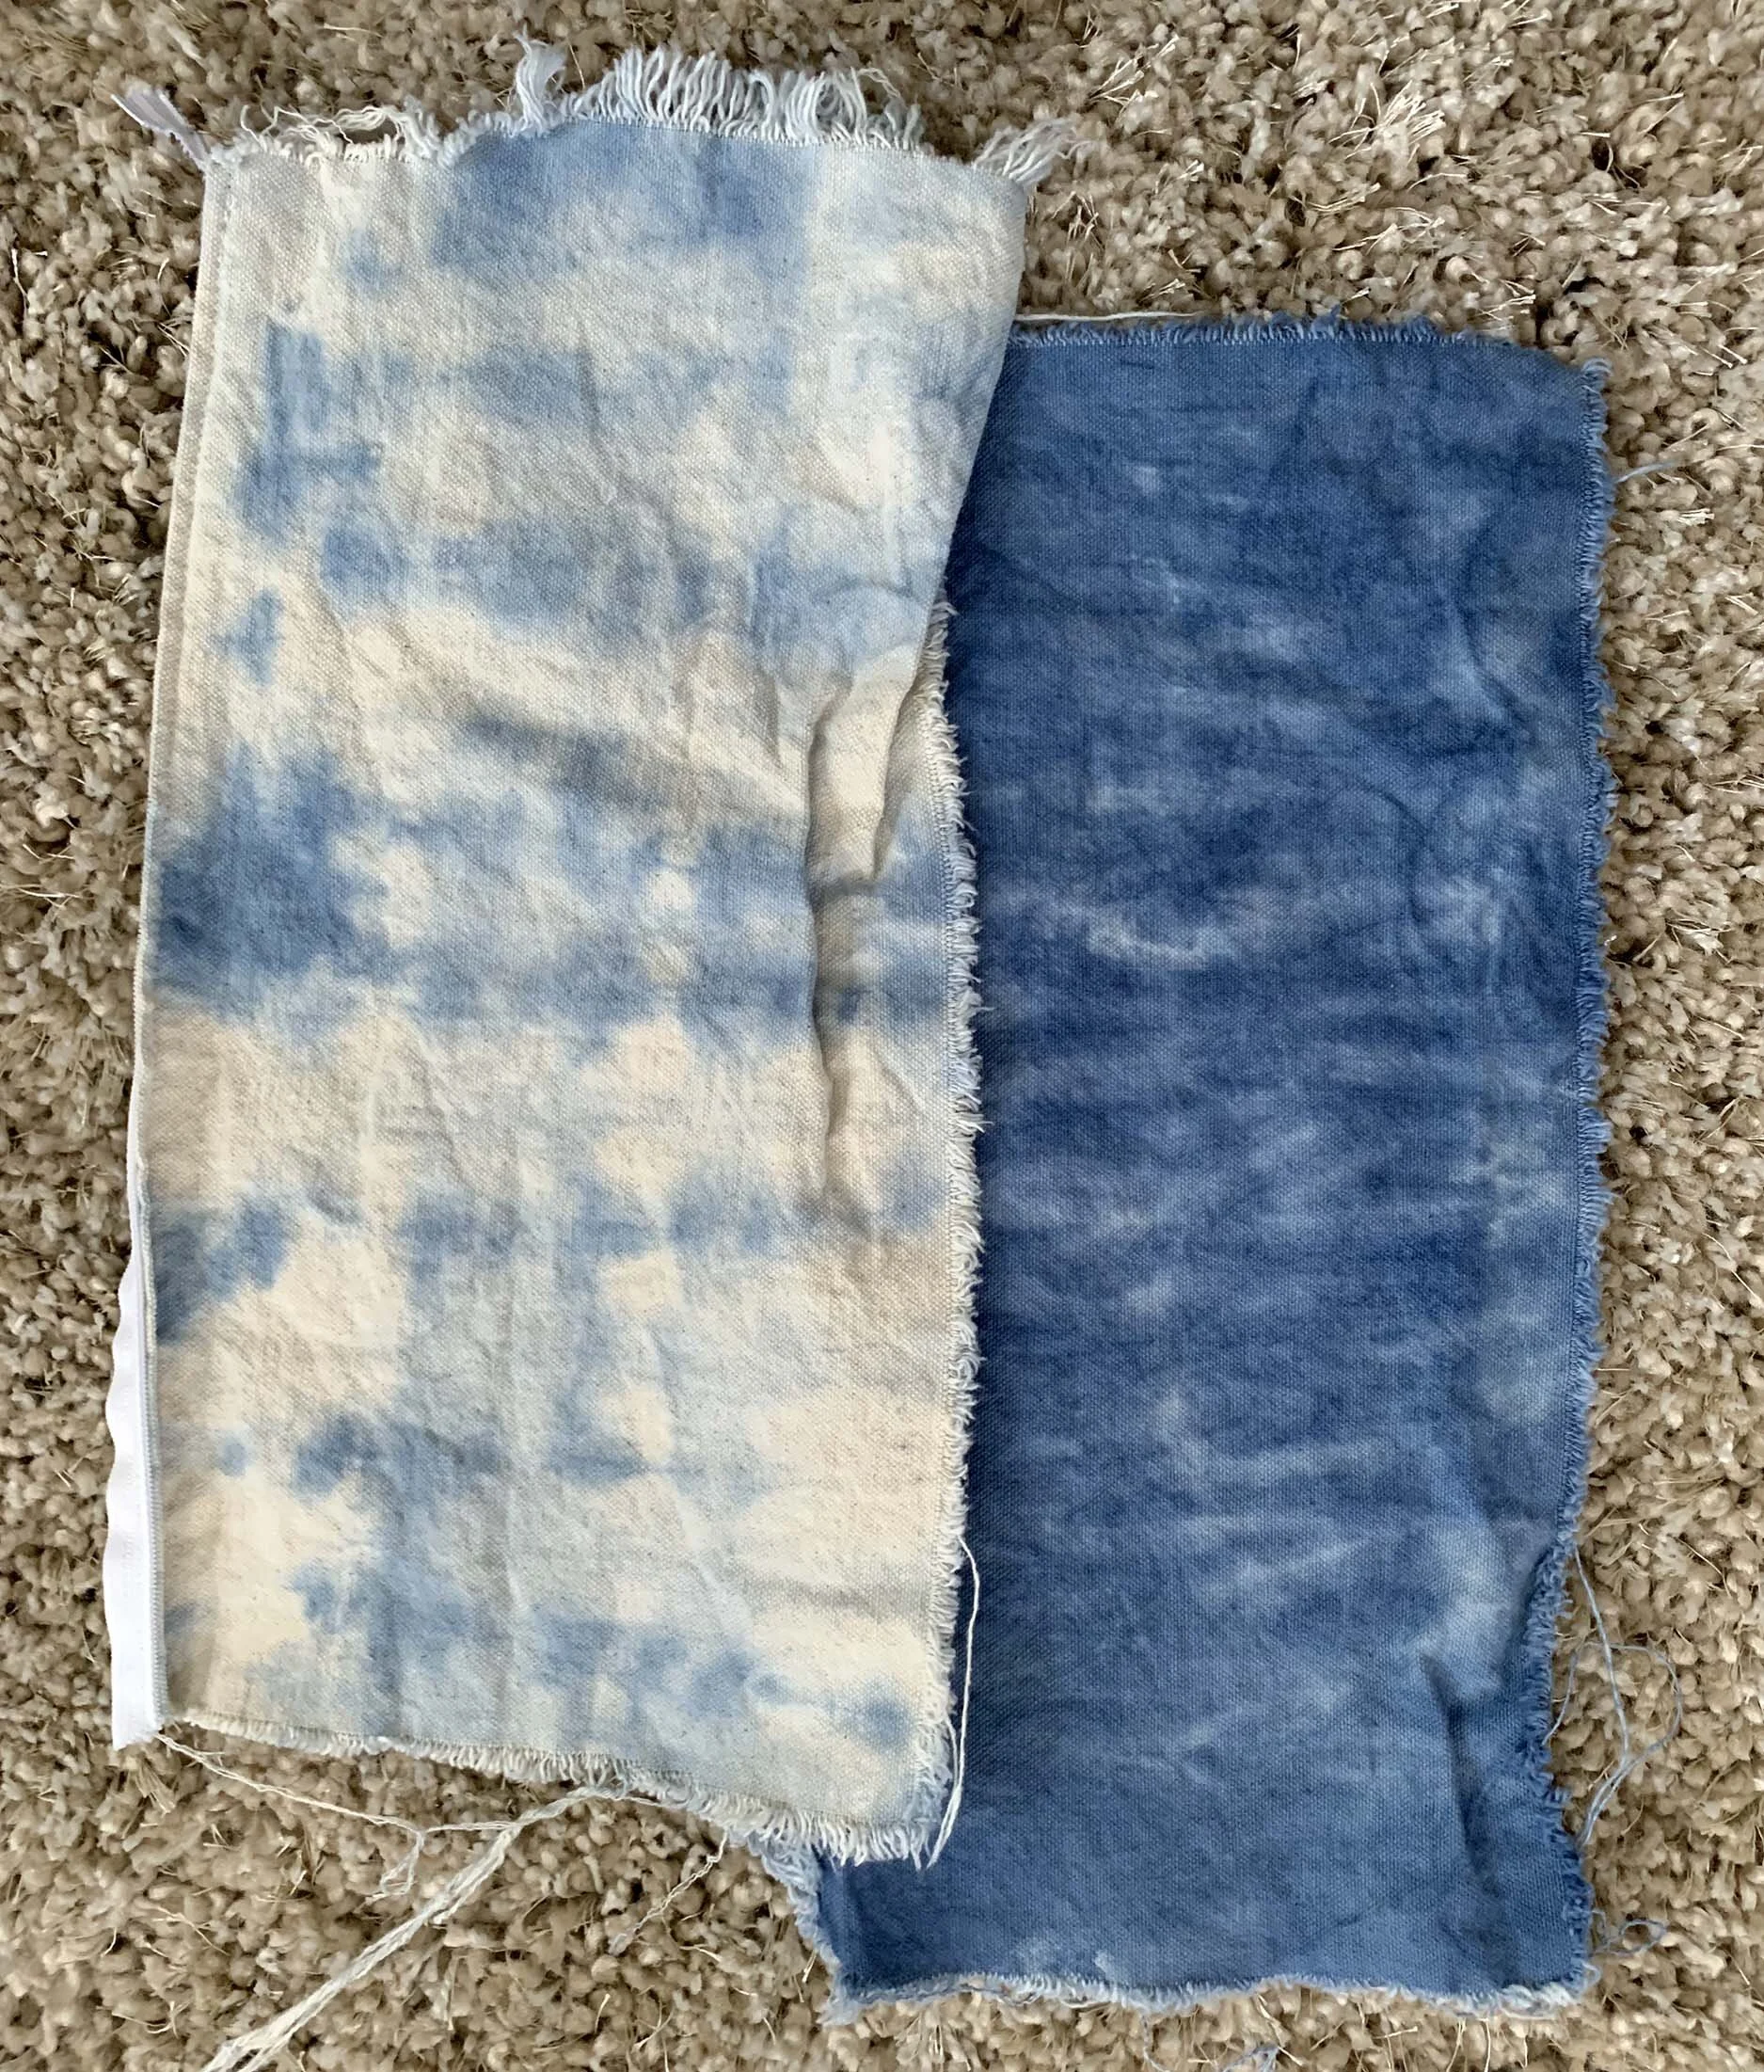
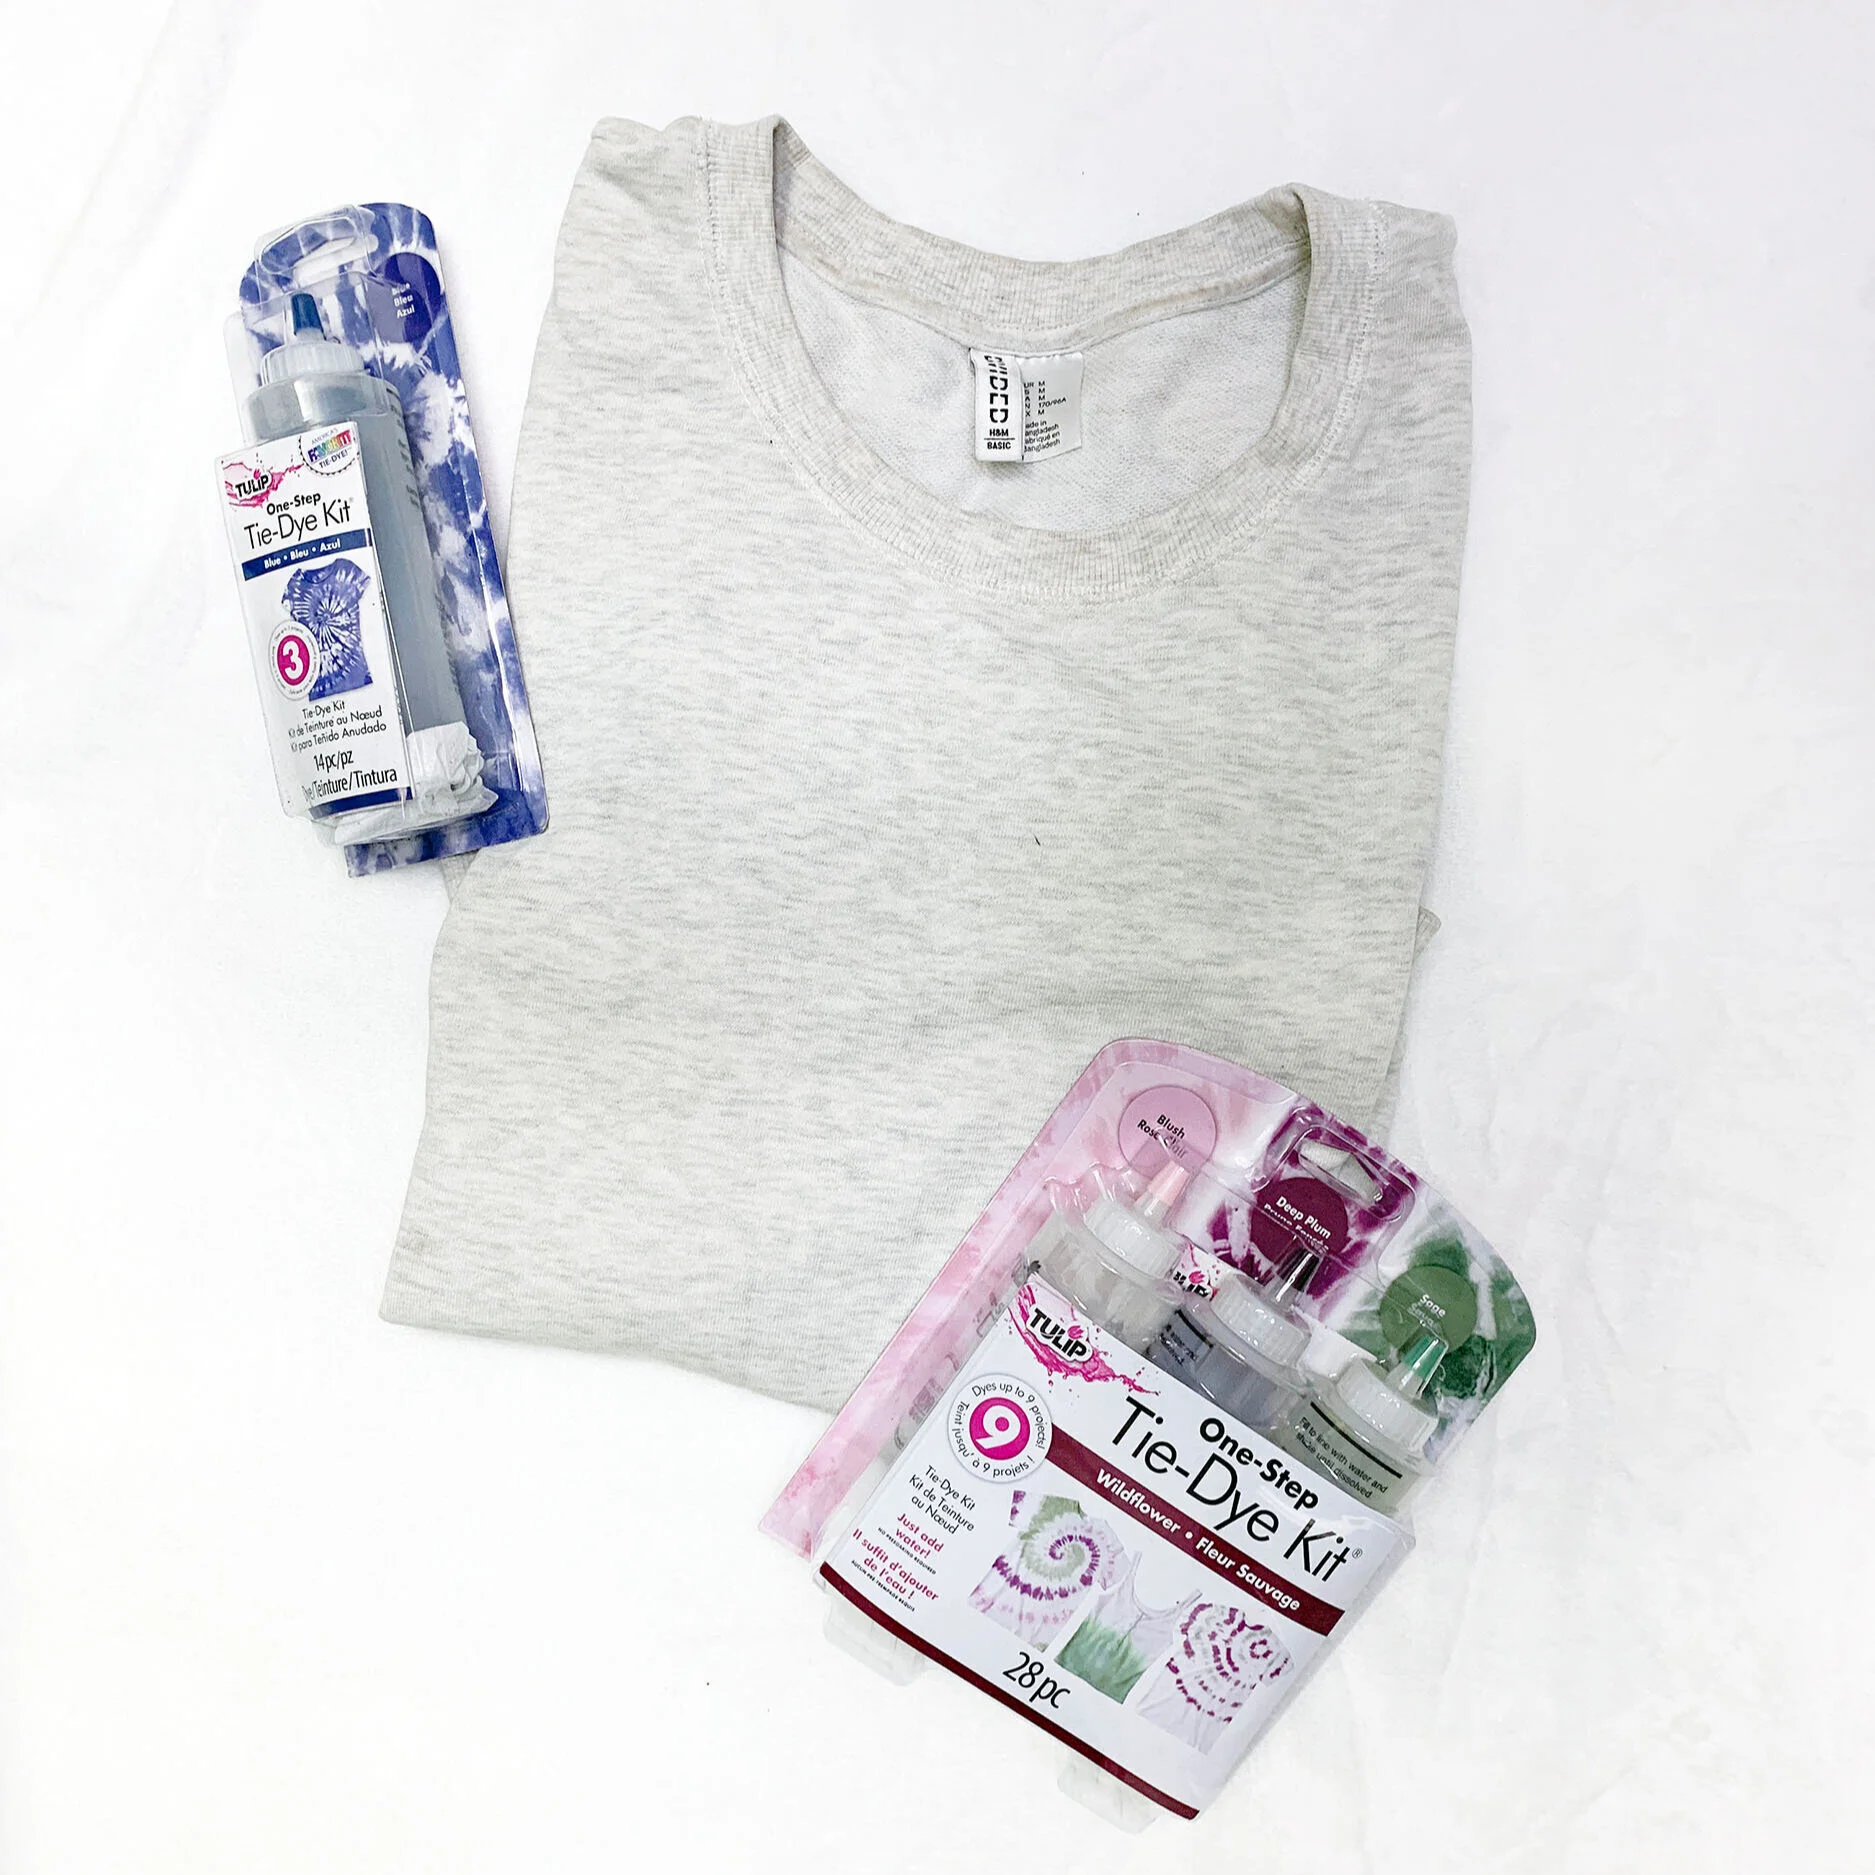
Now that I had something to dye, I headed over to Joann Fabrics to decide what kind dye kit to purchase. I’ve been seeing all kinds of soft, pastel and tonal tie dye styles that feel so fresh. Joann’s was having a sale so I picked up a couple kits for cotton fabric, which gave me the option to experiment. I tested the colors out on some cotton canvas swatches and a tea towel.
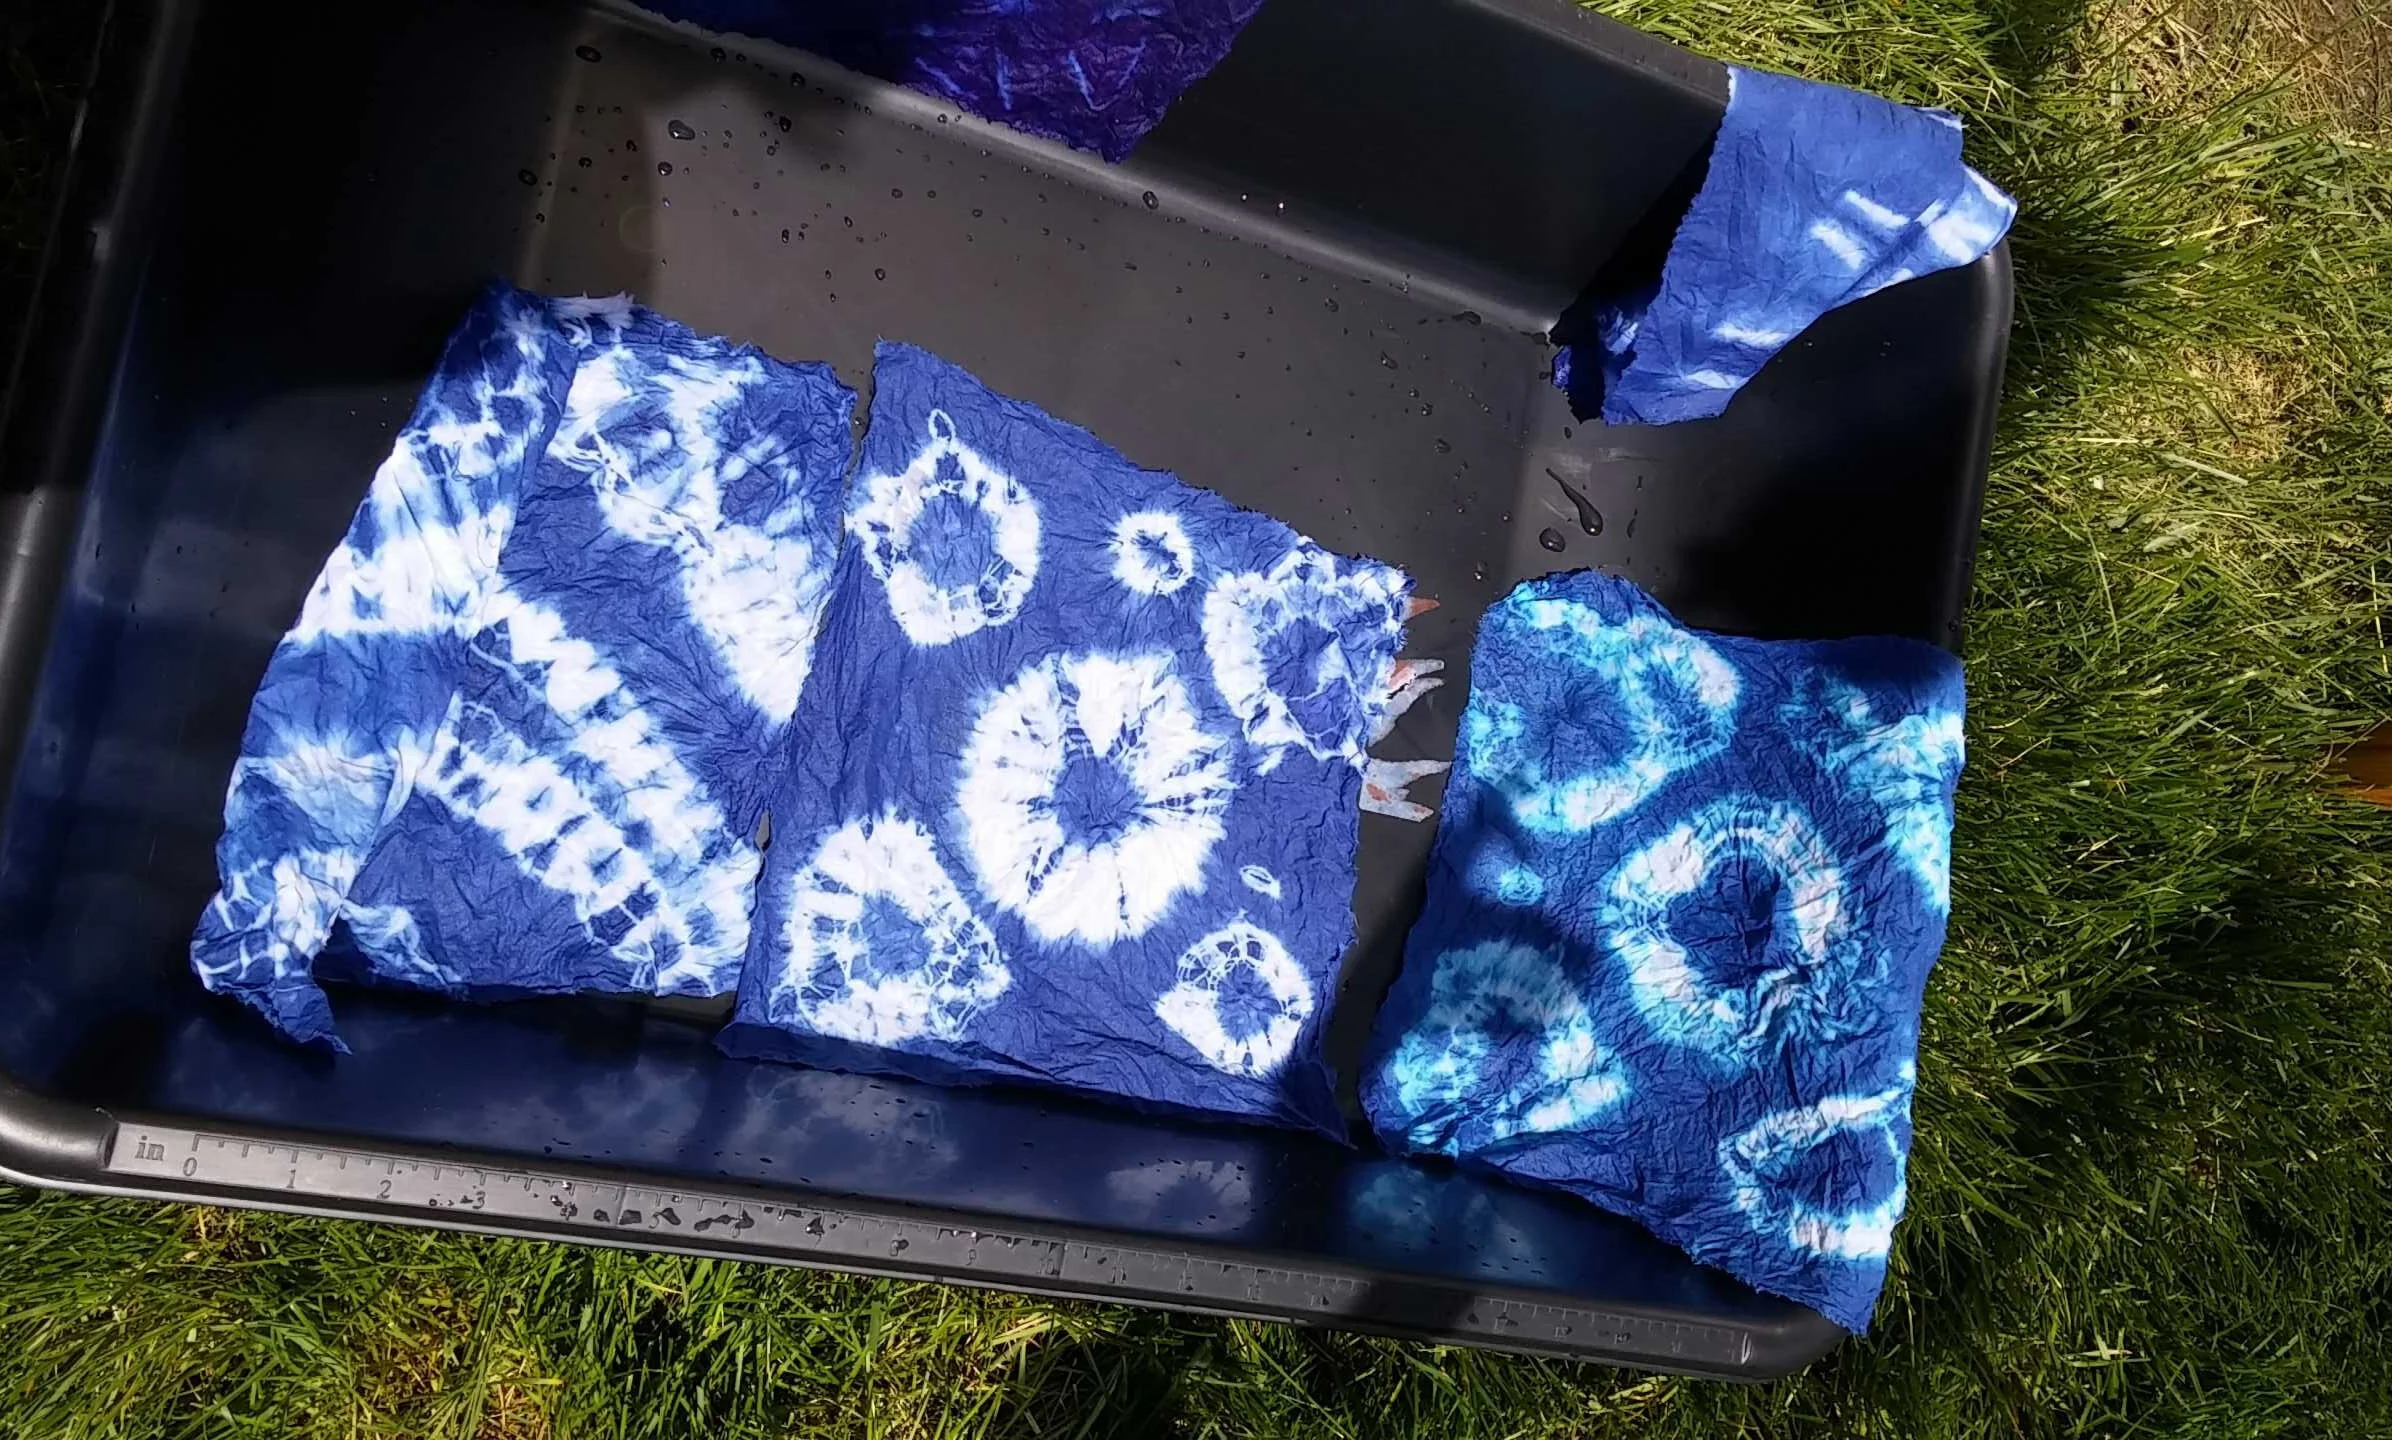
I dyed my projects in my studio space where it’s okay to be messy. But if you are working out of your home, I would suggest dyeing in a bucket outdoors.
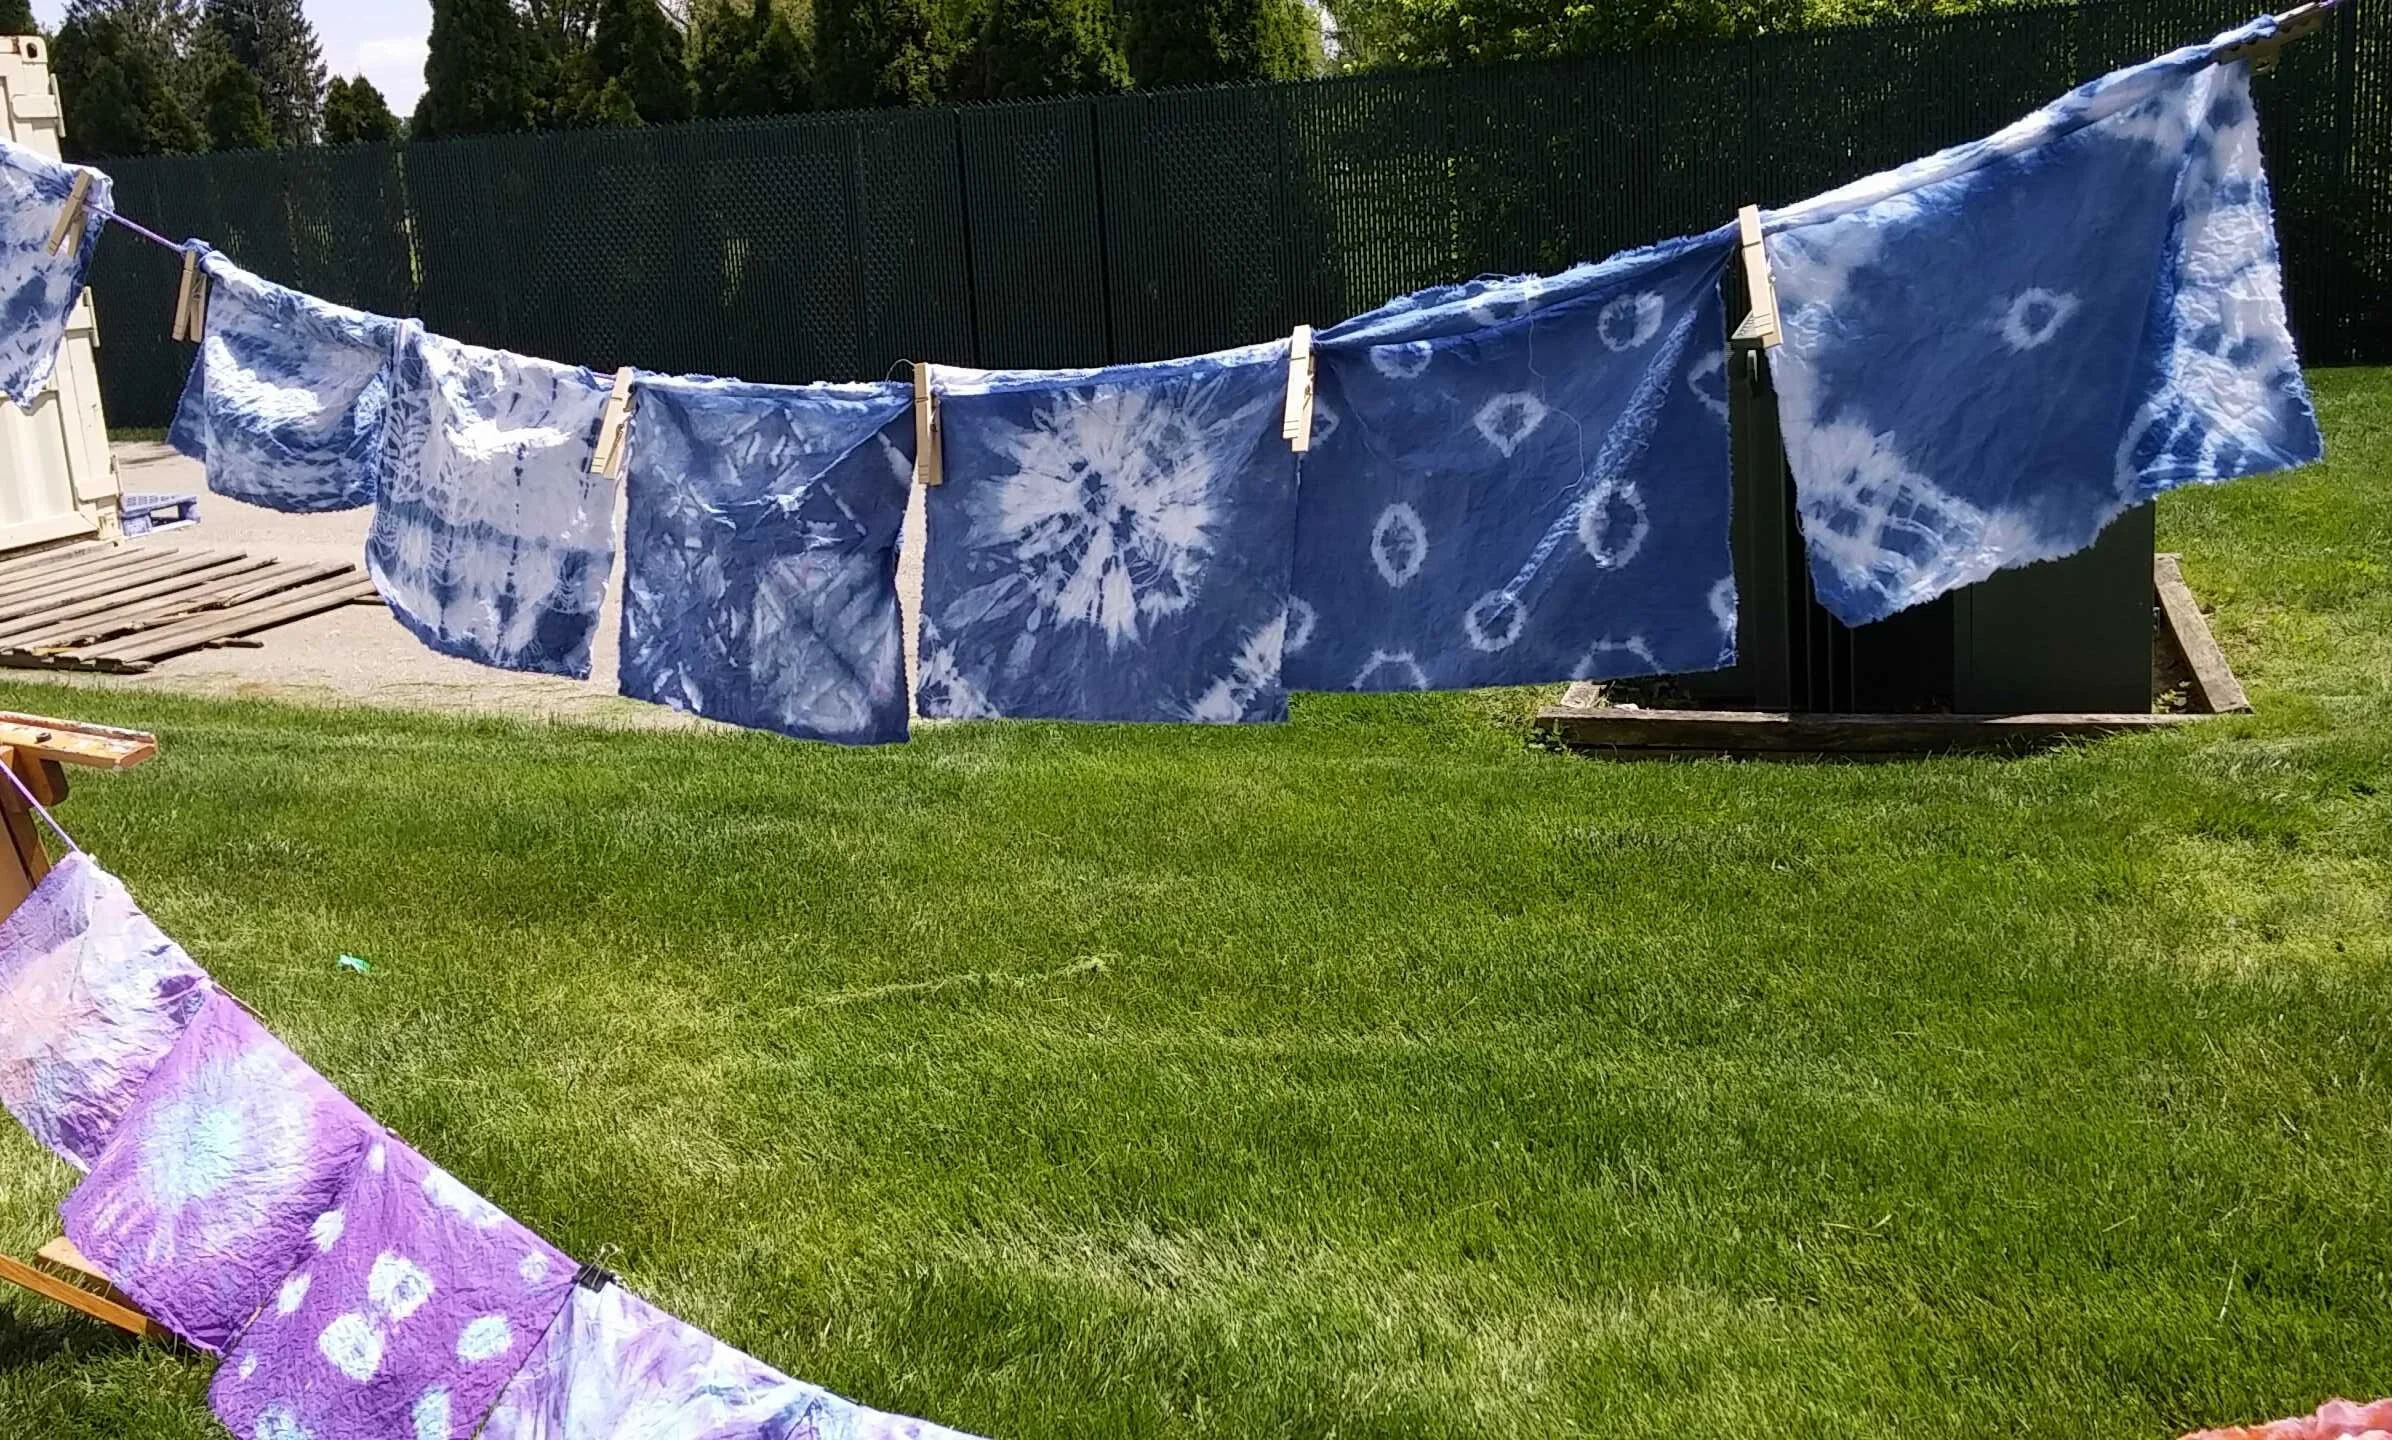
Make a weekend out of it. My sister and I led a dye workshop a few years ago as for some students at a local high school. It was so much fun! We created a make shift clothes line anchored by easel ans what ever else we could get our hands on. We let the sun dry your projects after we hand washed them.
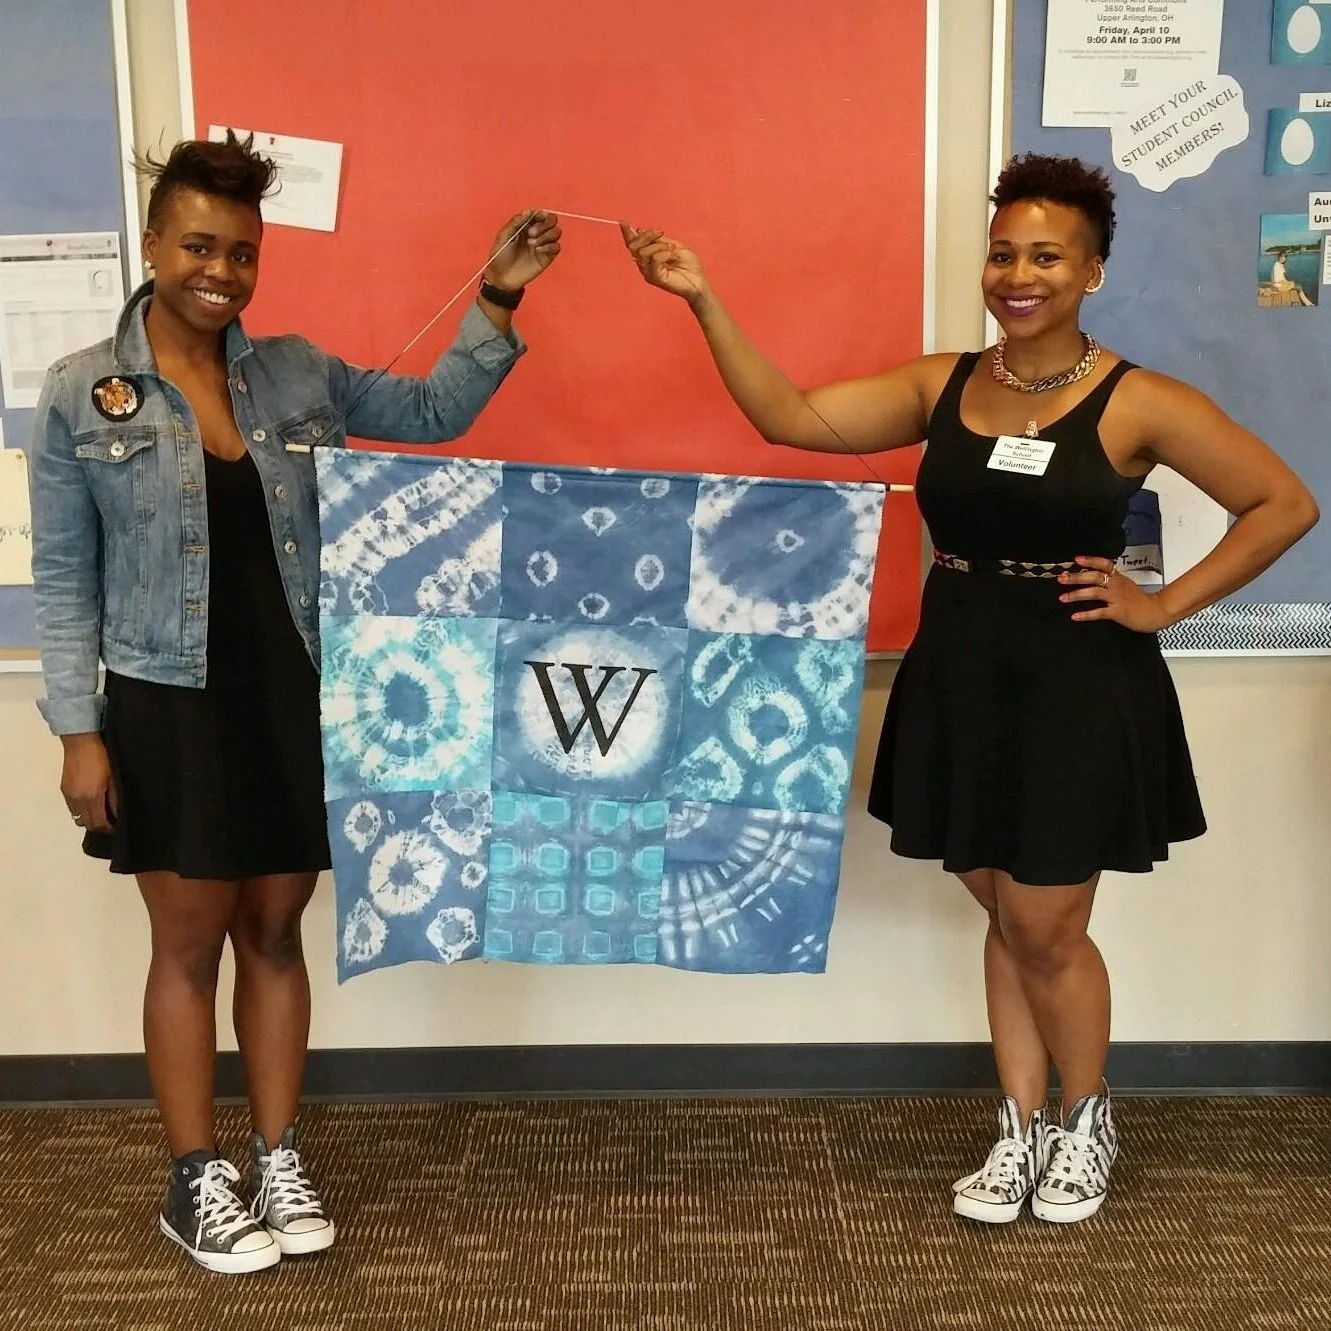
It’s so fun to remember experiences like this one. Side by side with my sister doing something we both love was euphoric. The day was filled with laughs!
Now back to this project. What you’ll need is listed below.
Materials
Sweatshirt
Tie Dye Kit
Old sink or bucket
Start with mixing the dye solution by following instructions that came with your kit.
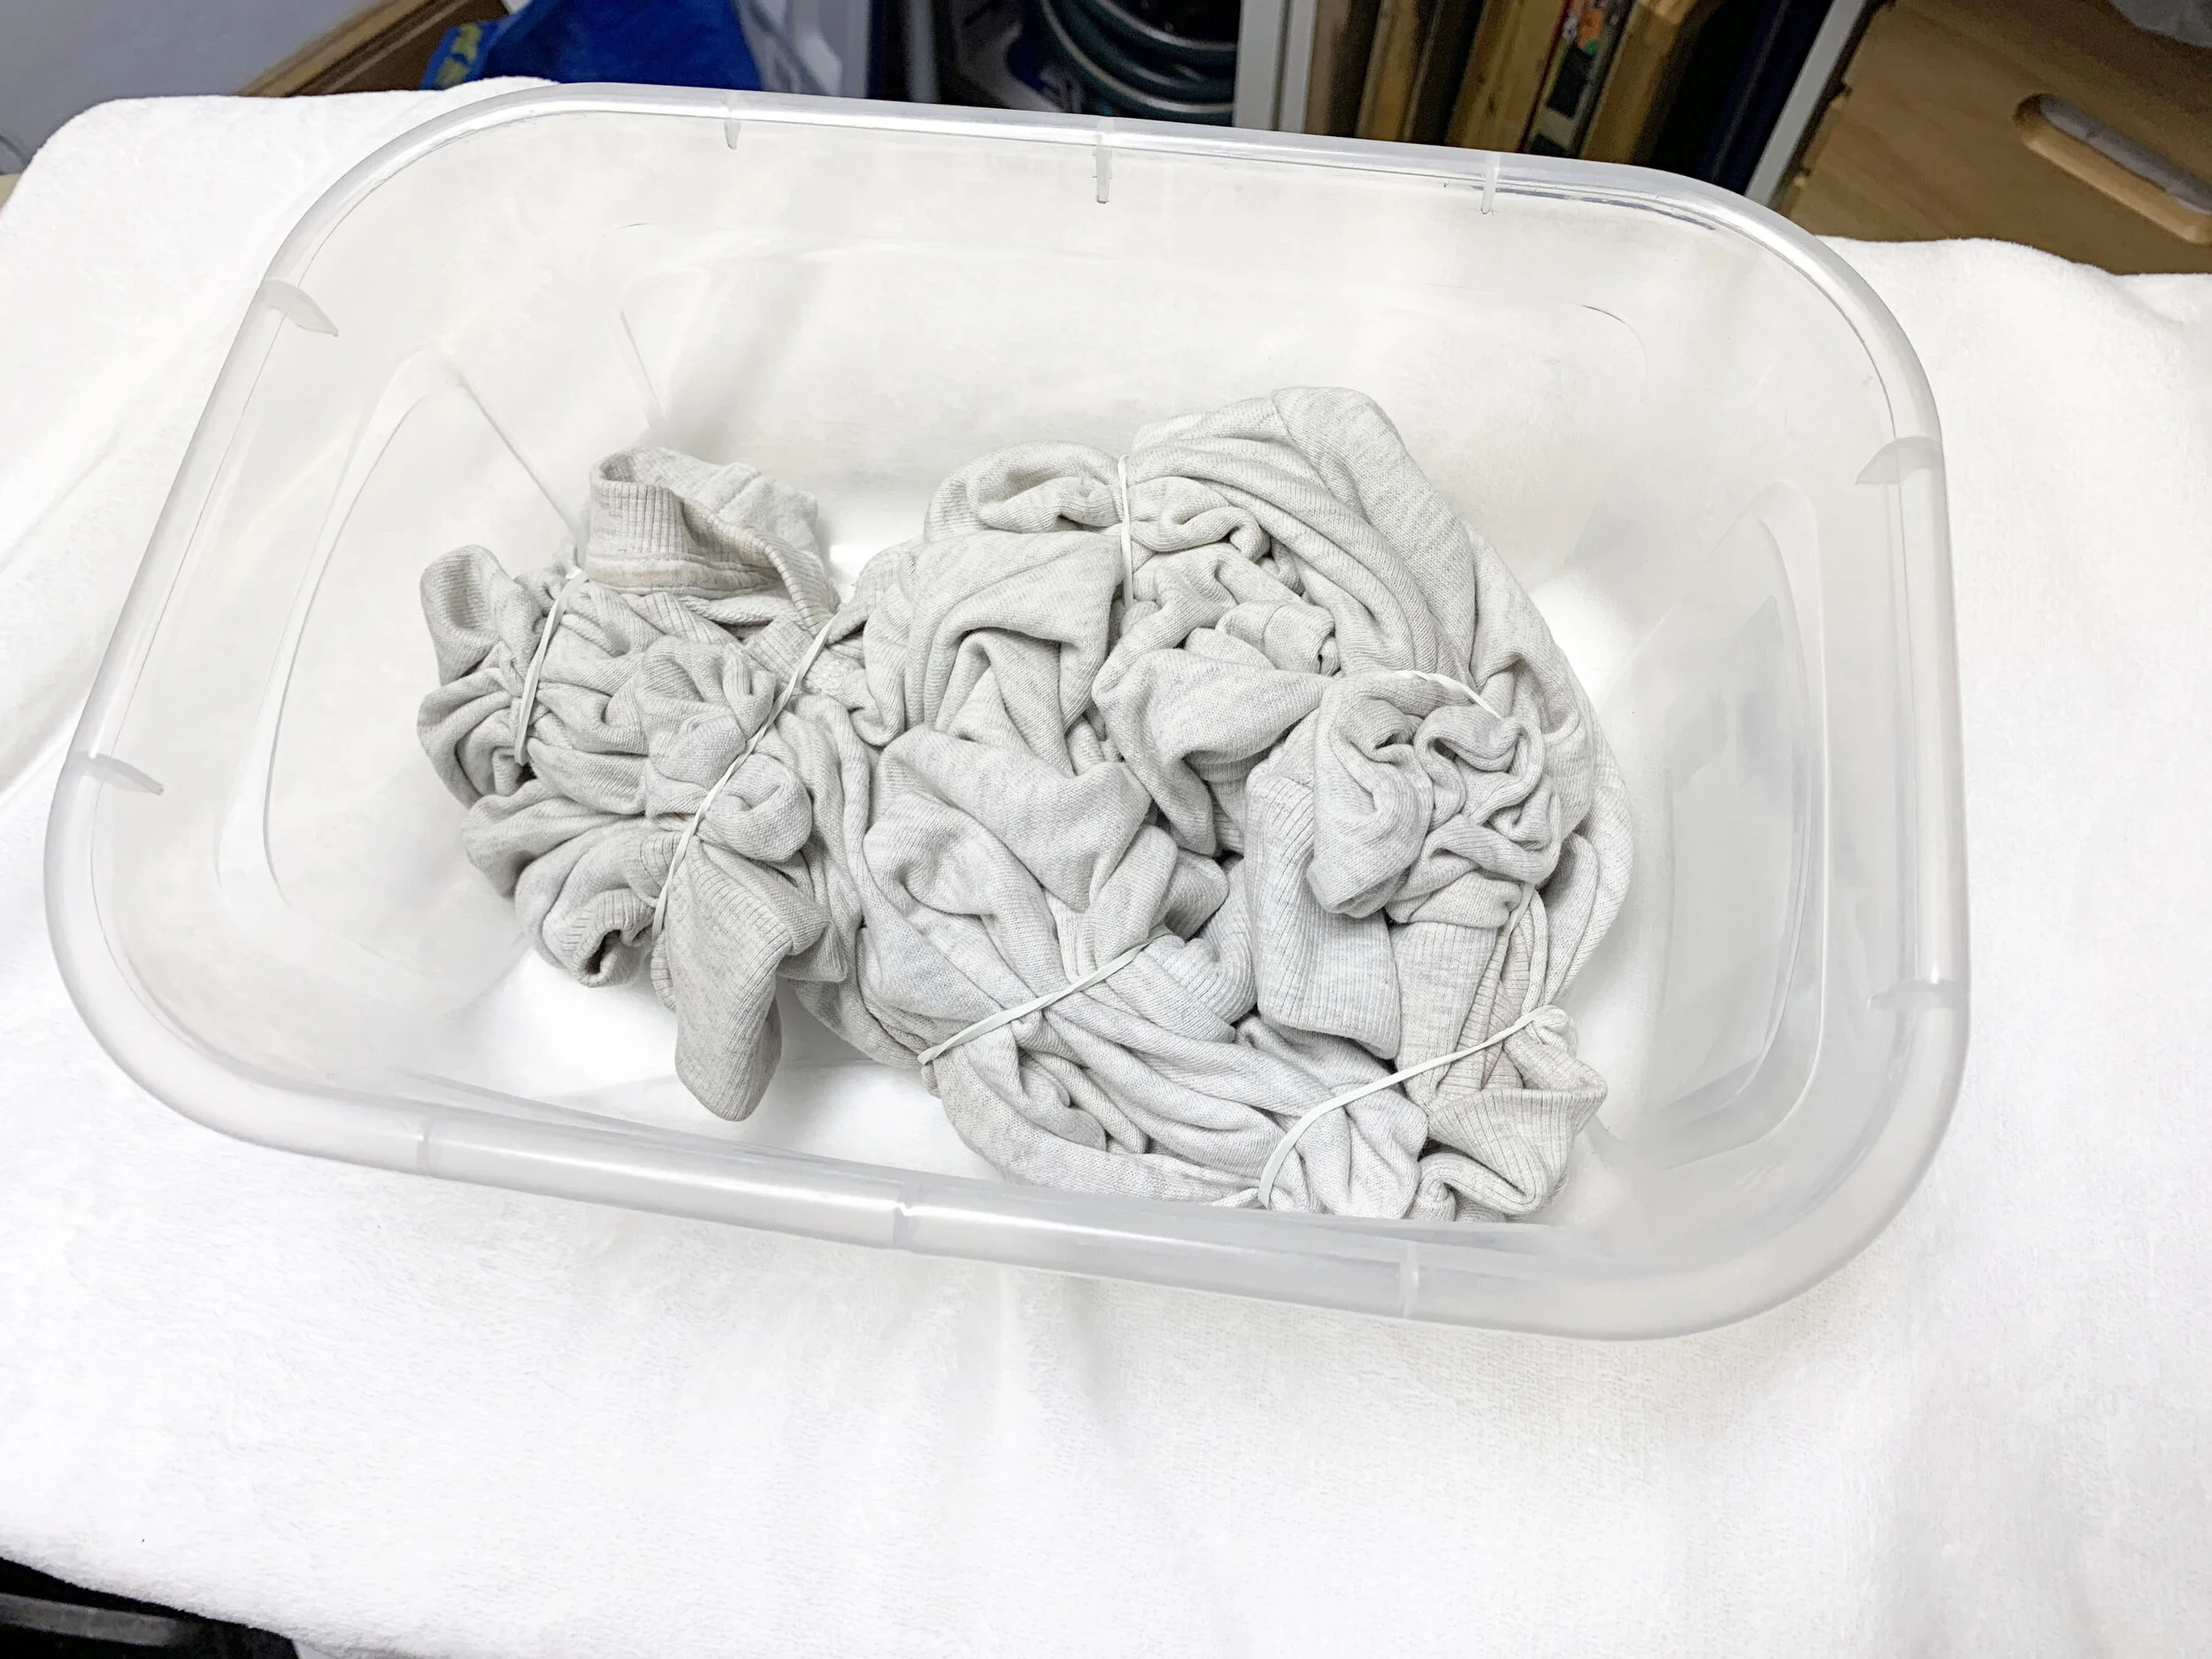
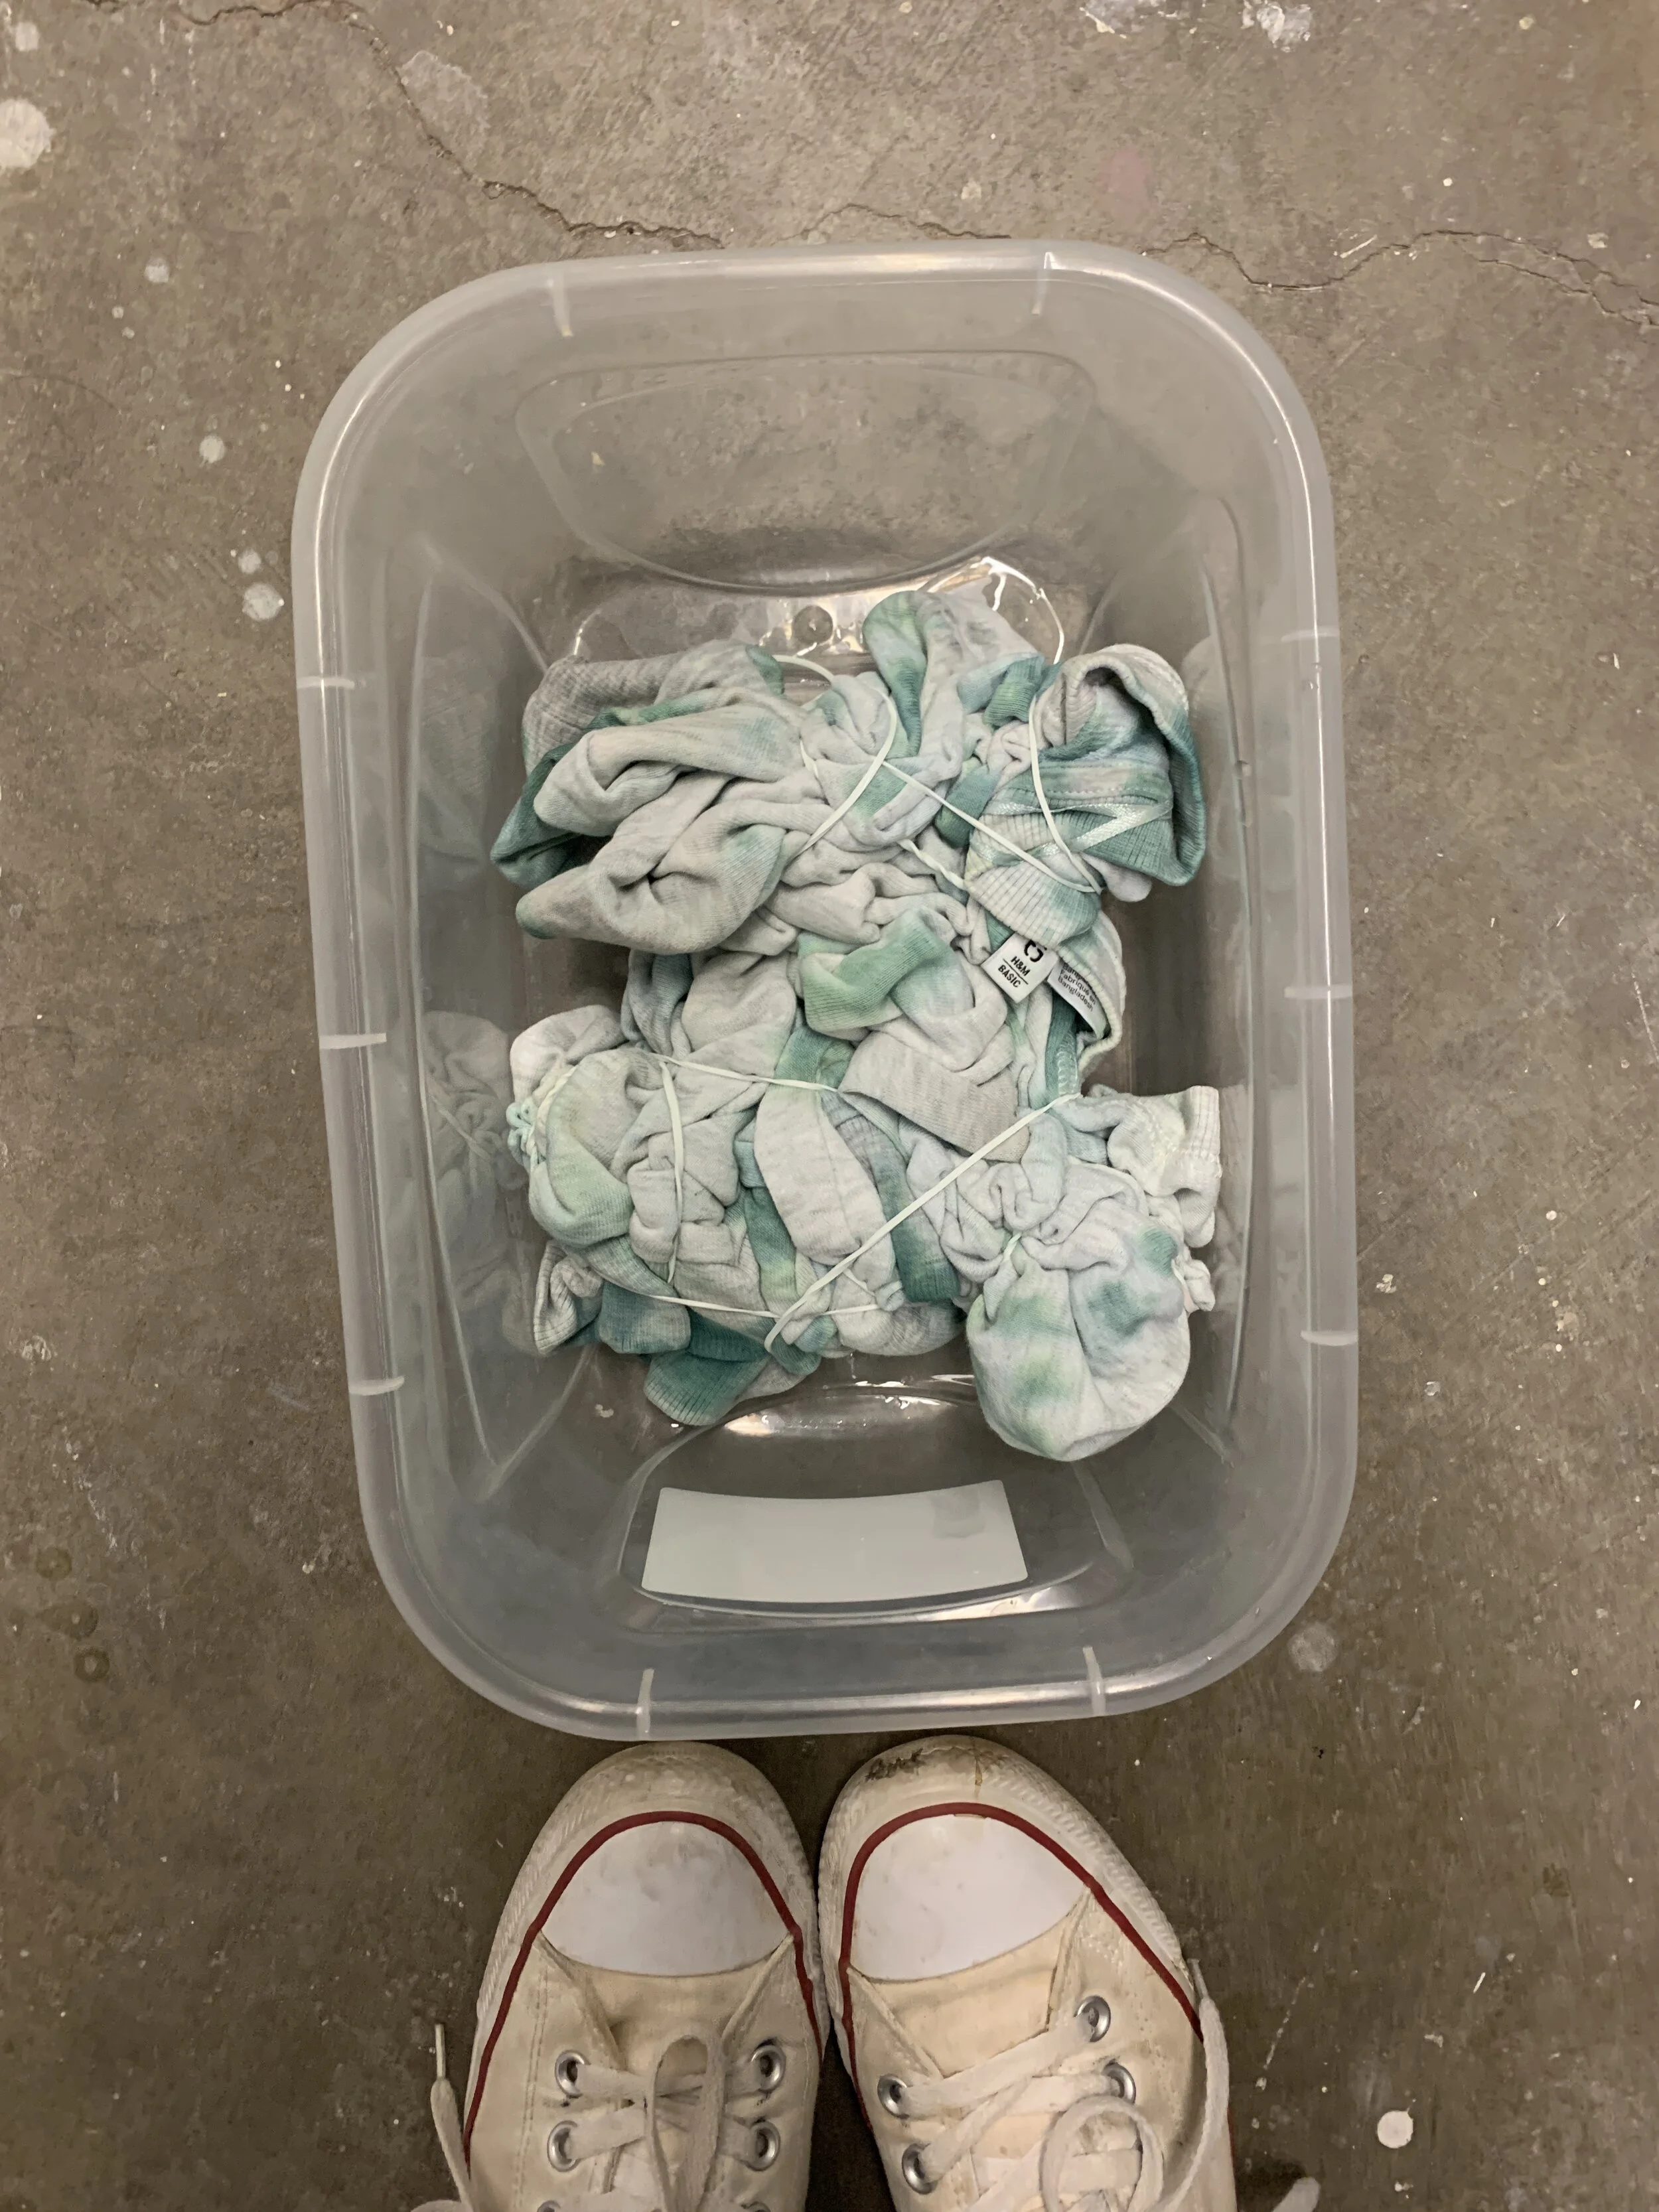
Use rubber bands to tie up your sweatshirt. My Tulip kit came with a technique booklet on how to create different patterns. I went with the “scrunched”, all over method.

I placed my sweatshirt in a plastic bin so I could easily dye it.
Optional: I like to get my fabric wet first so the dye absorbs better. You can skip this step.
Use dye solution you previously mixed, and go to town covering your sweatshirt. The coverage is up to you. The more dye you use, the more saturated your colors, and the more coverage you will have (less white showing).
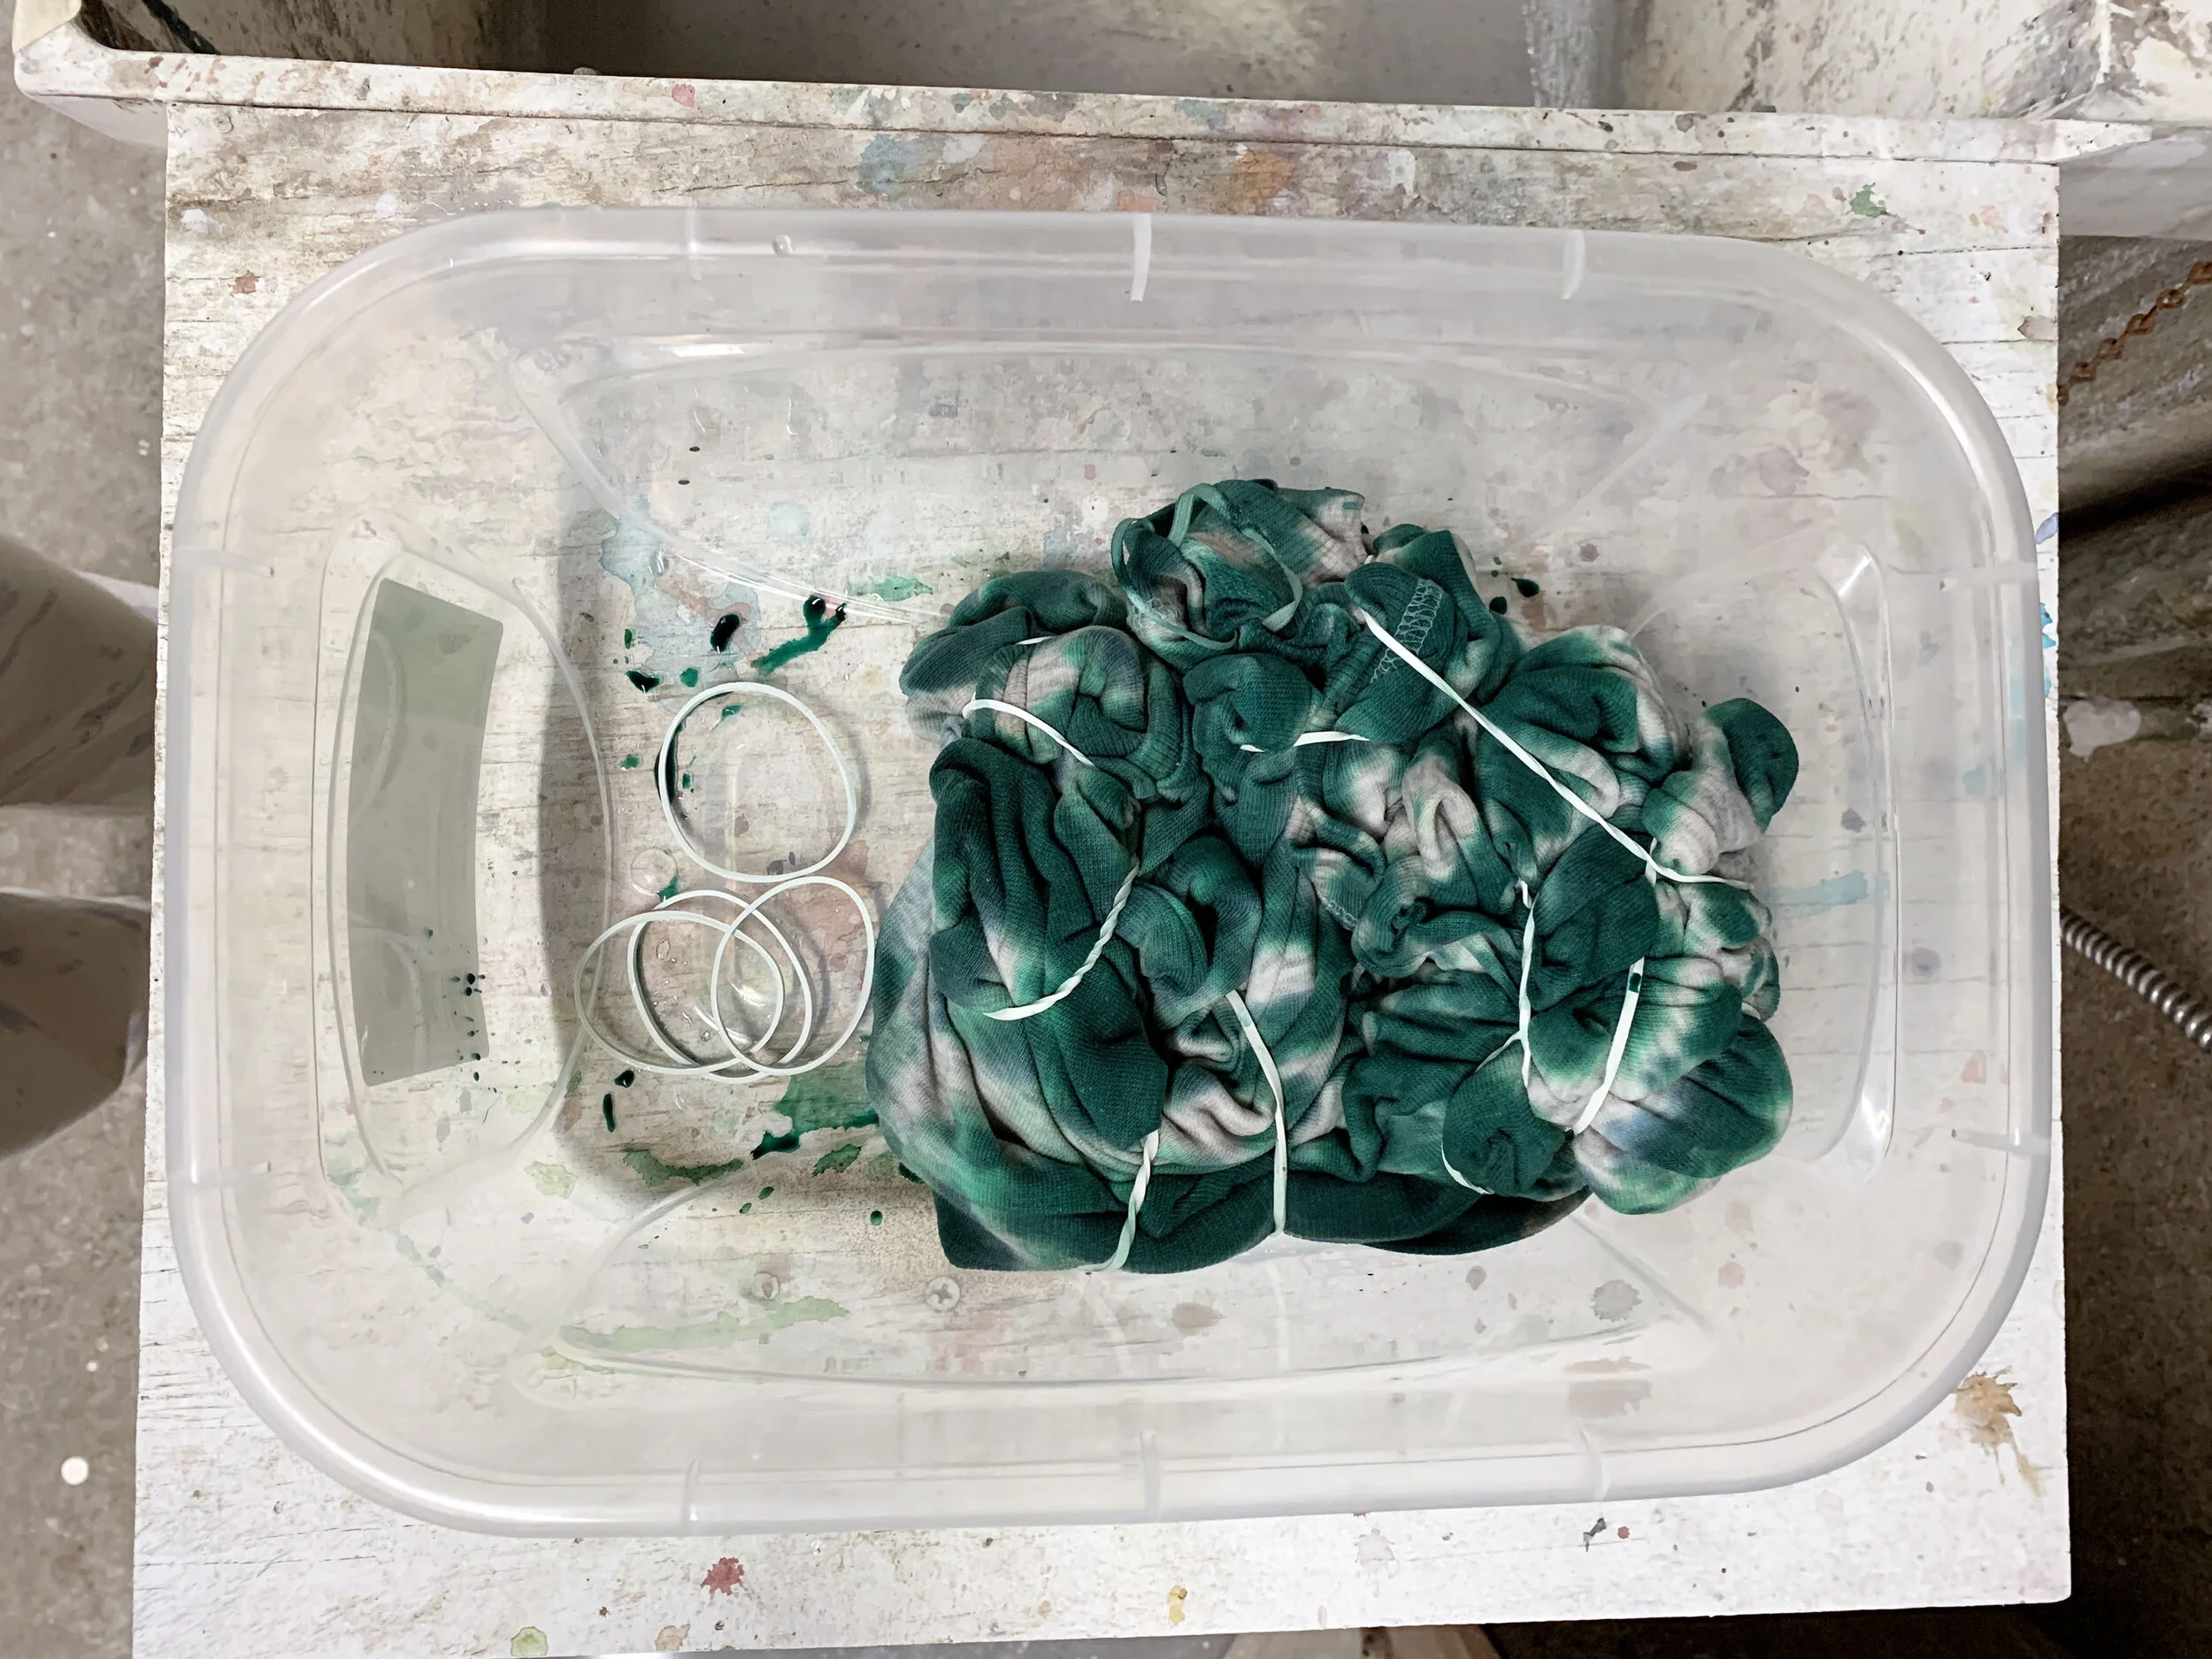
Follow the directions on your kits for how long to leave dye in. I didn’t want it too dark, so I only let it sit for a couple hours. This is totally up to you.
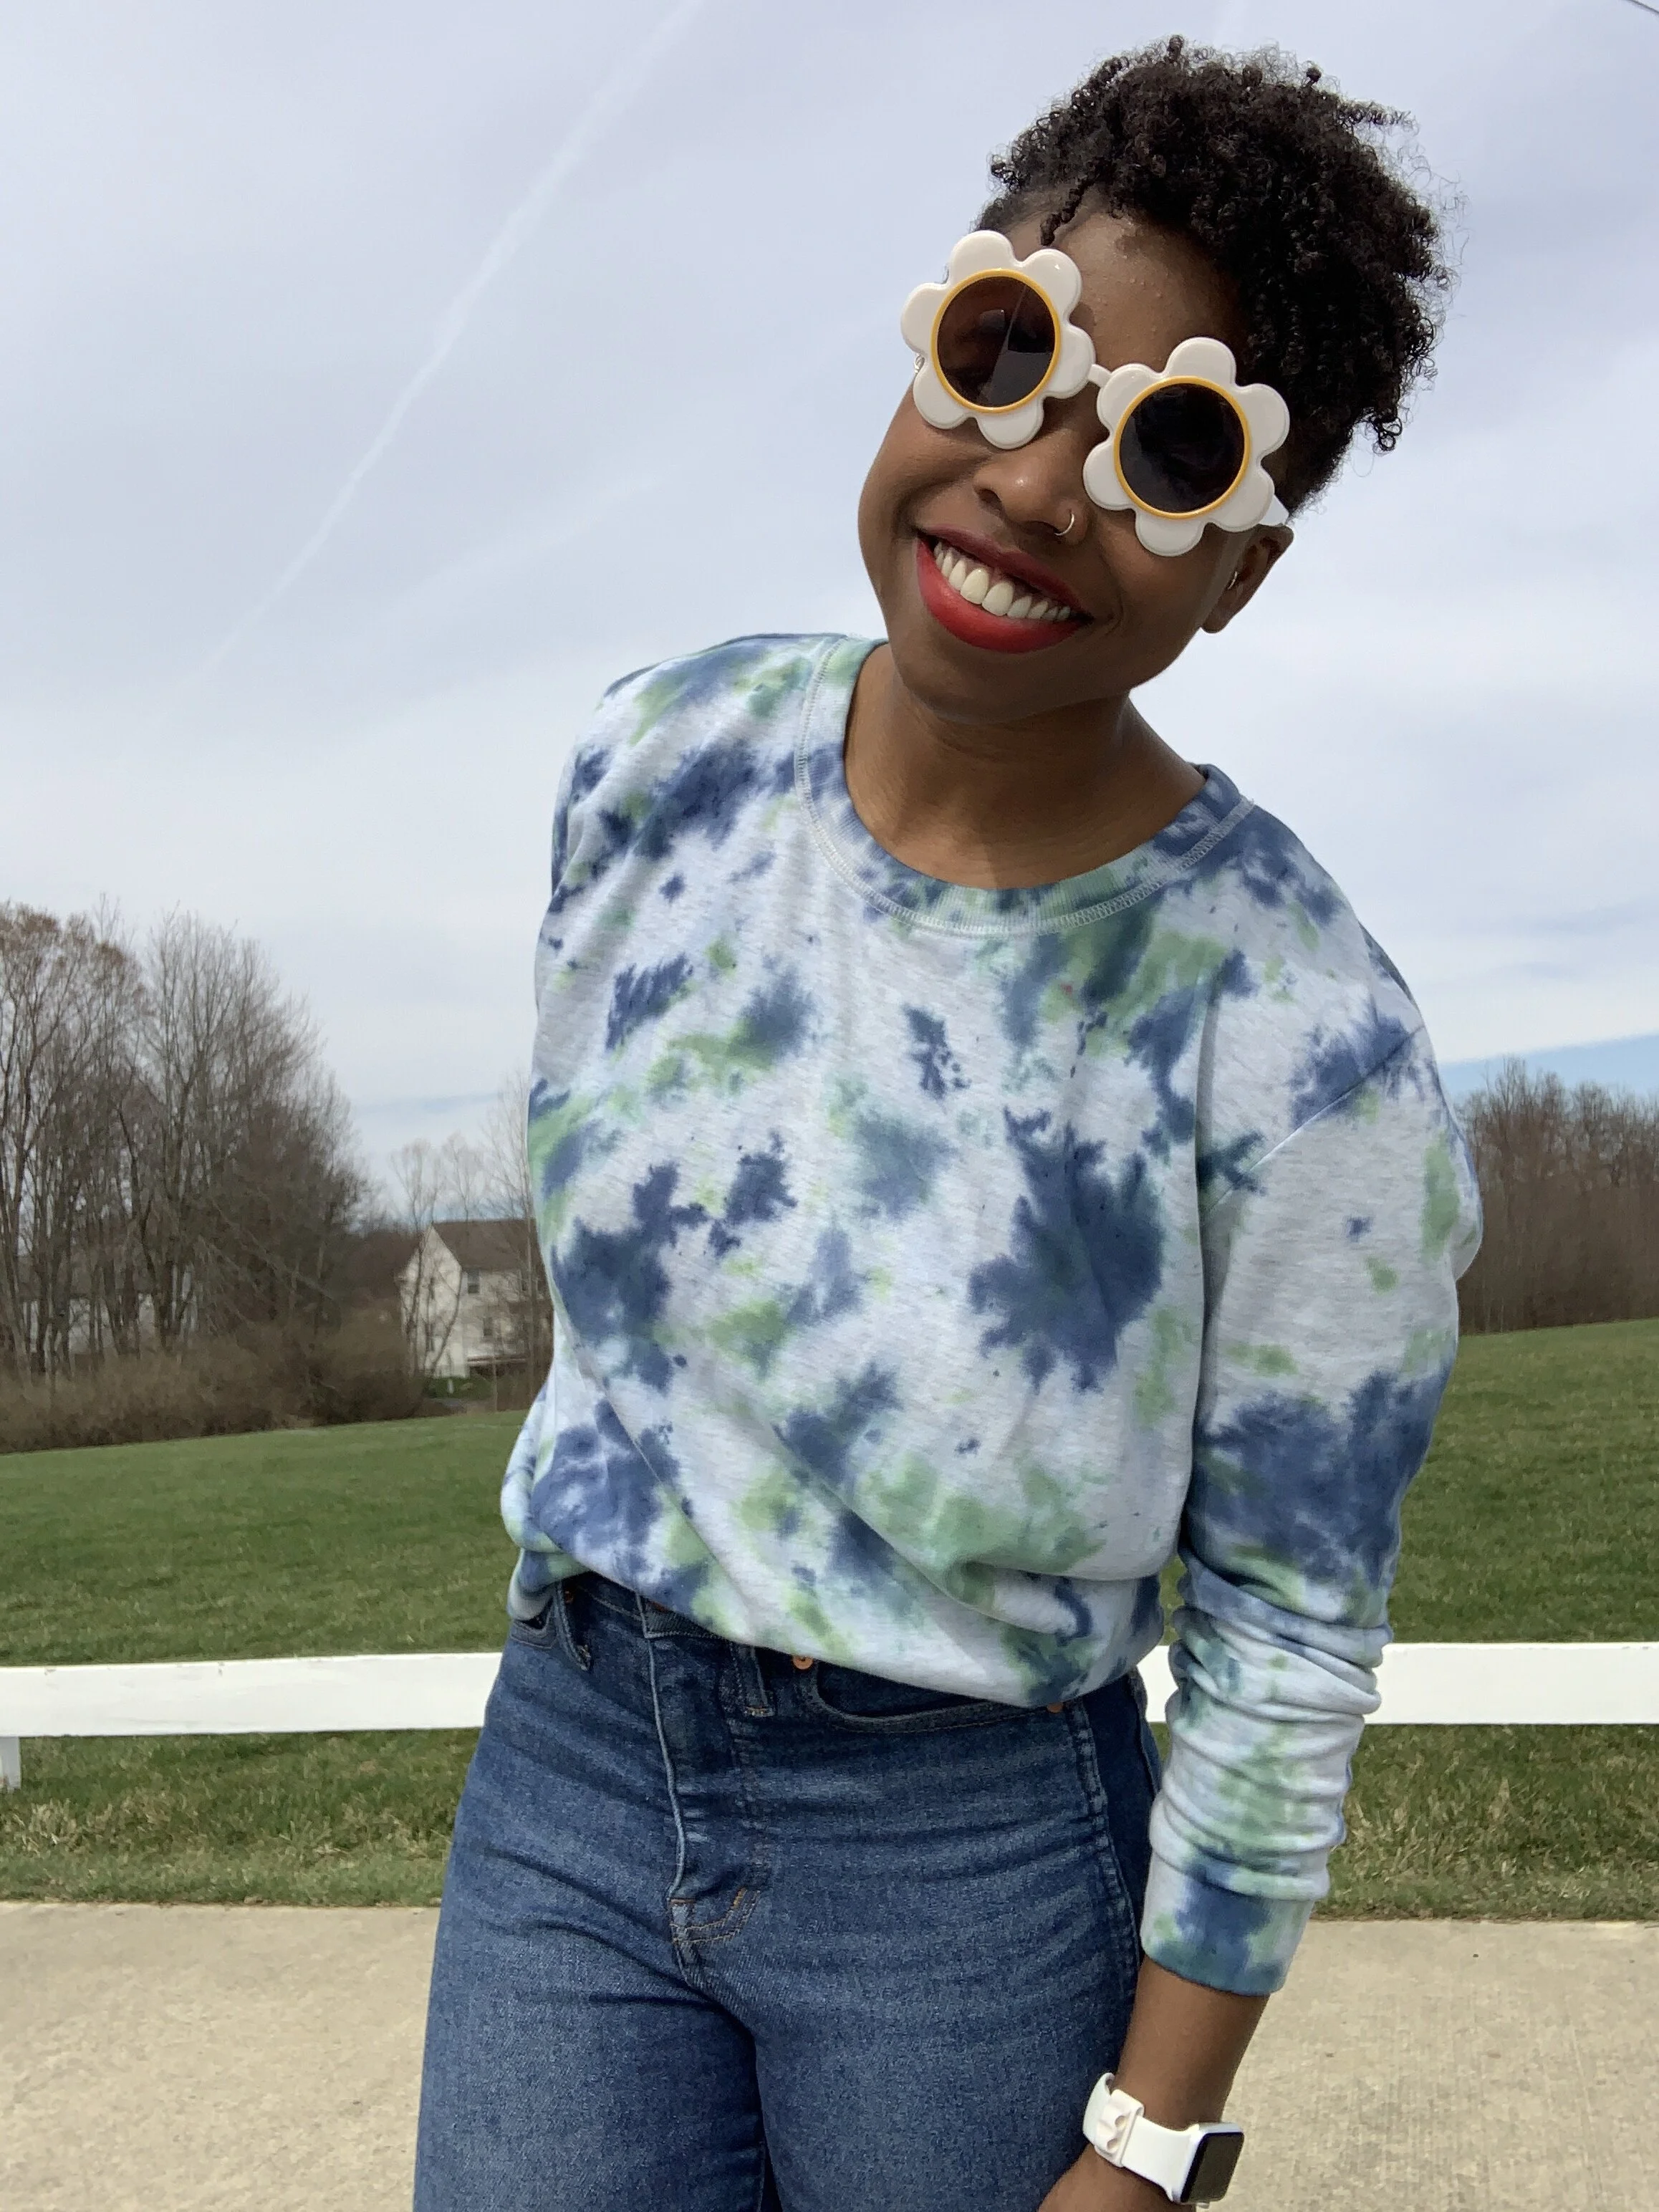
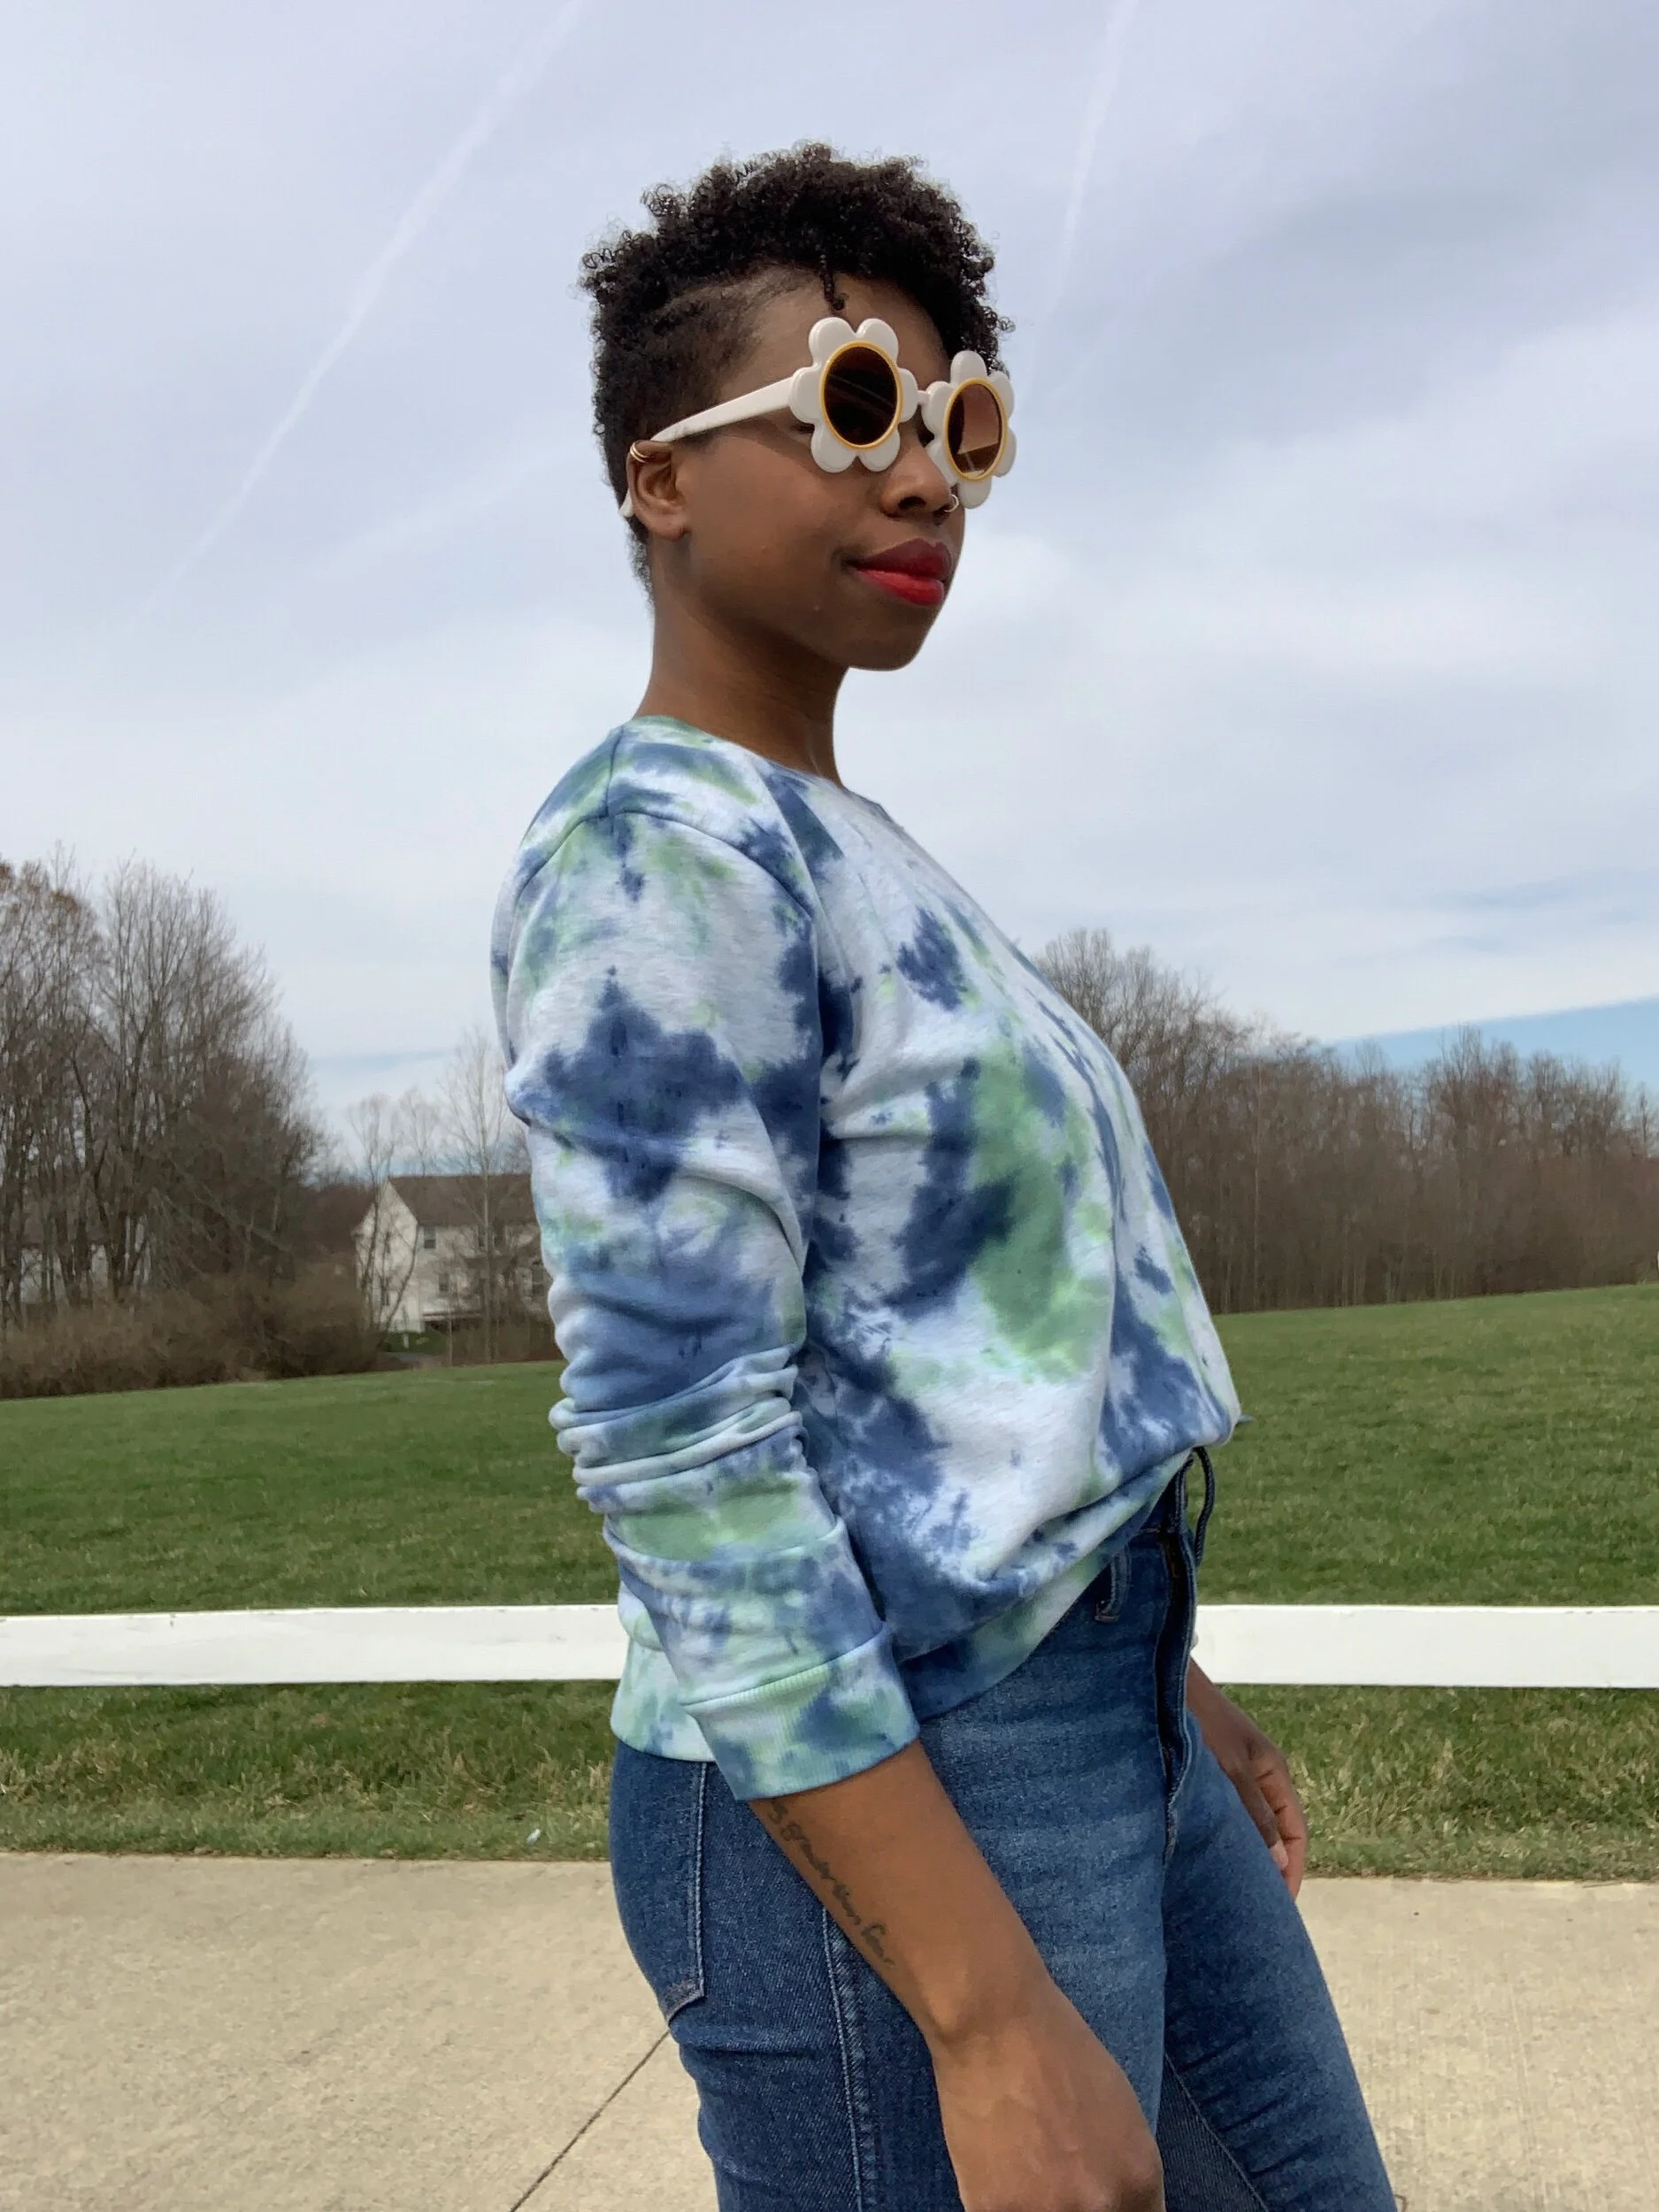
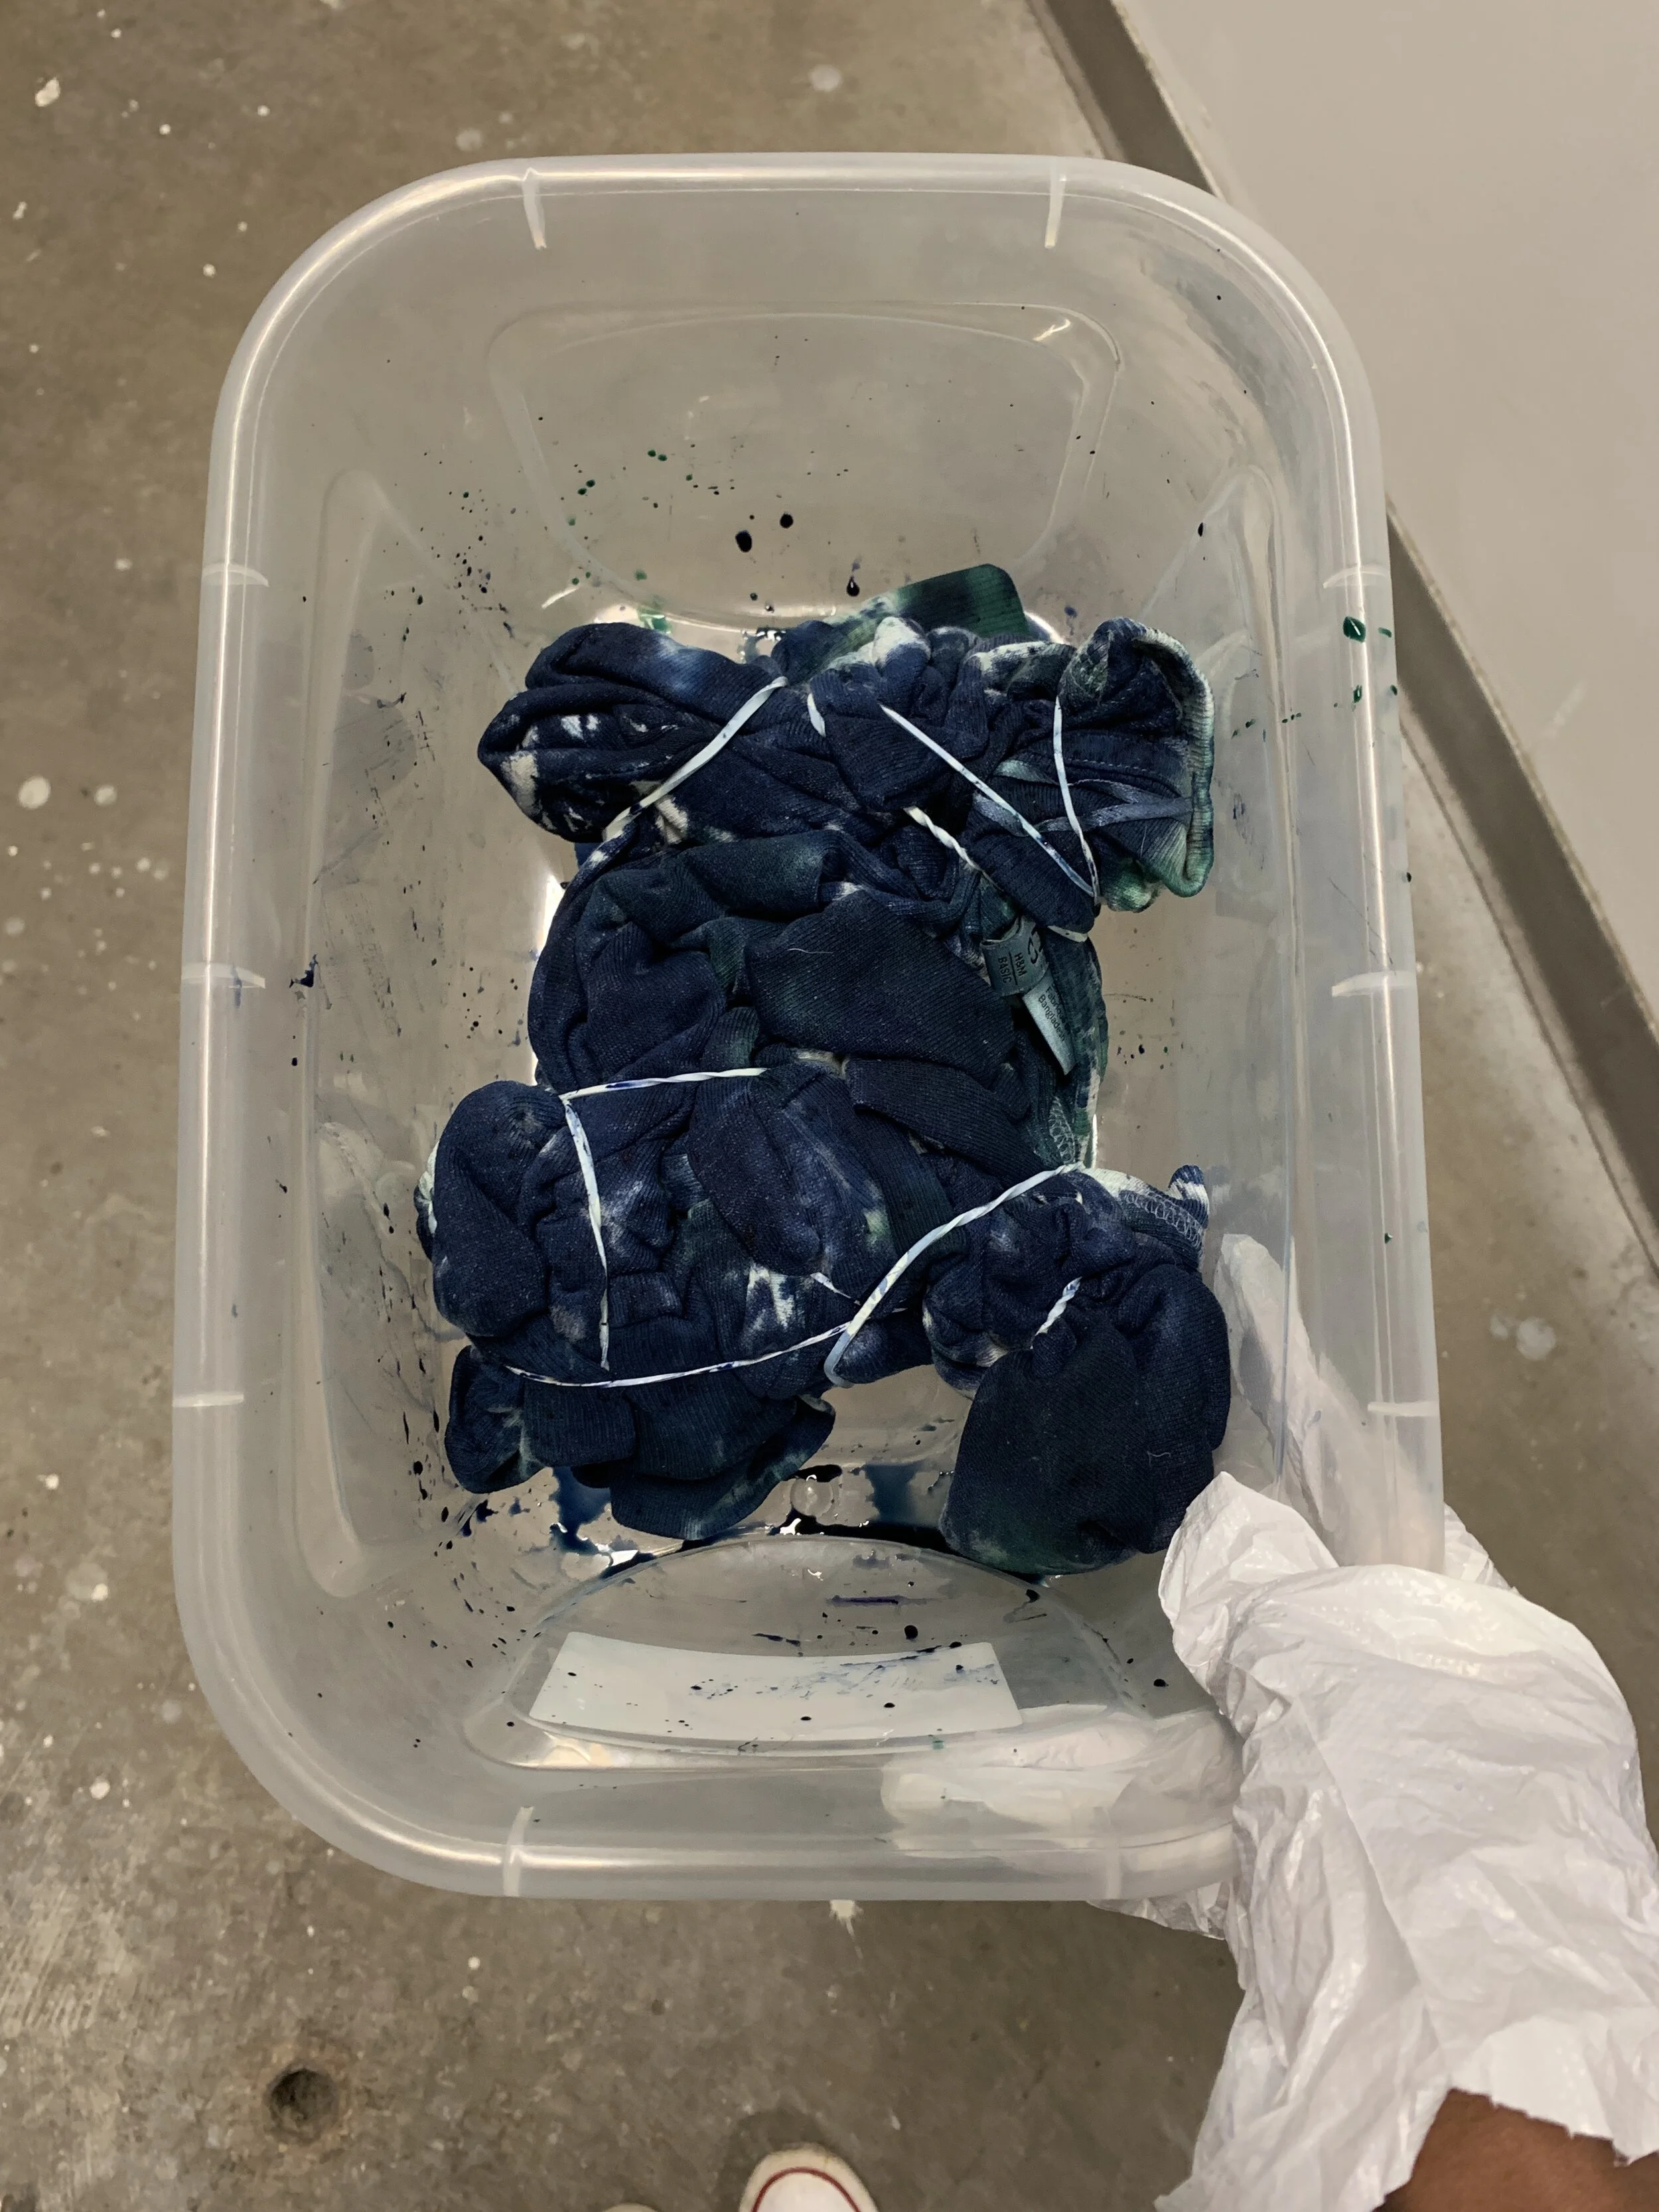
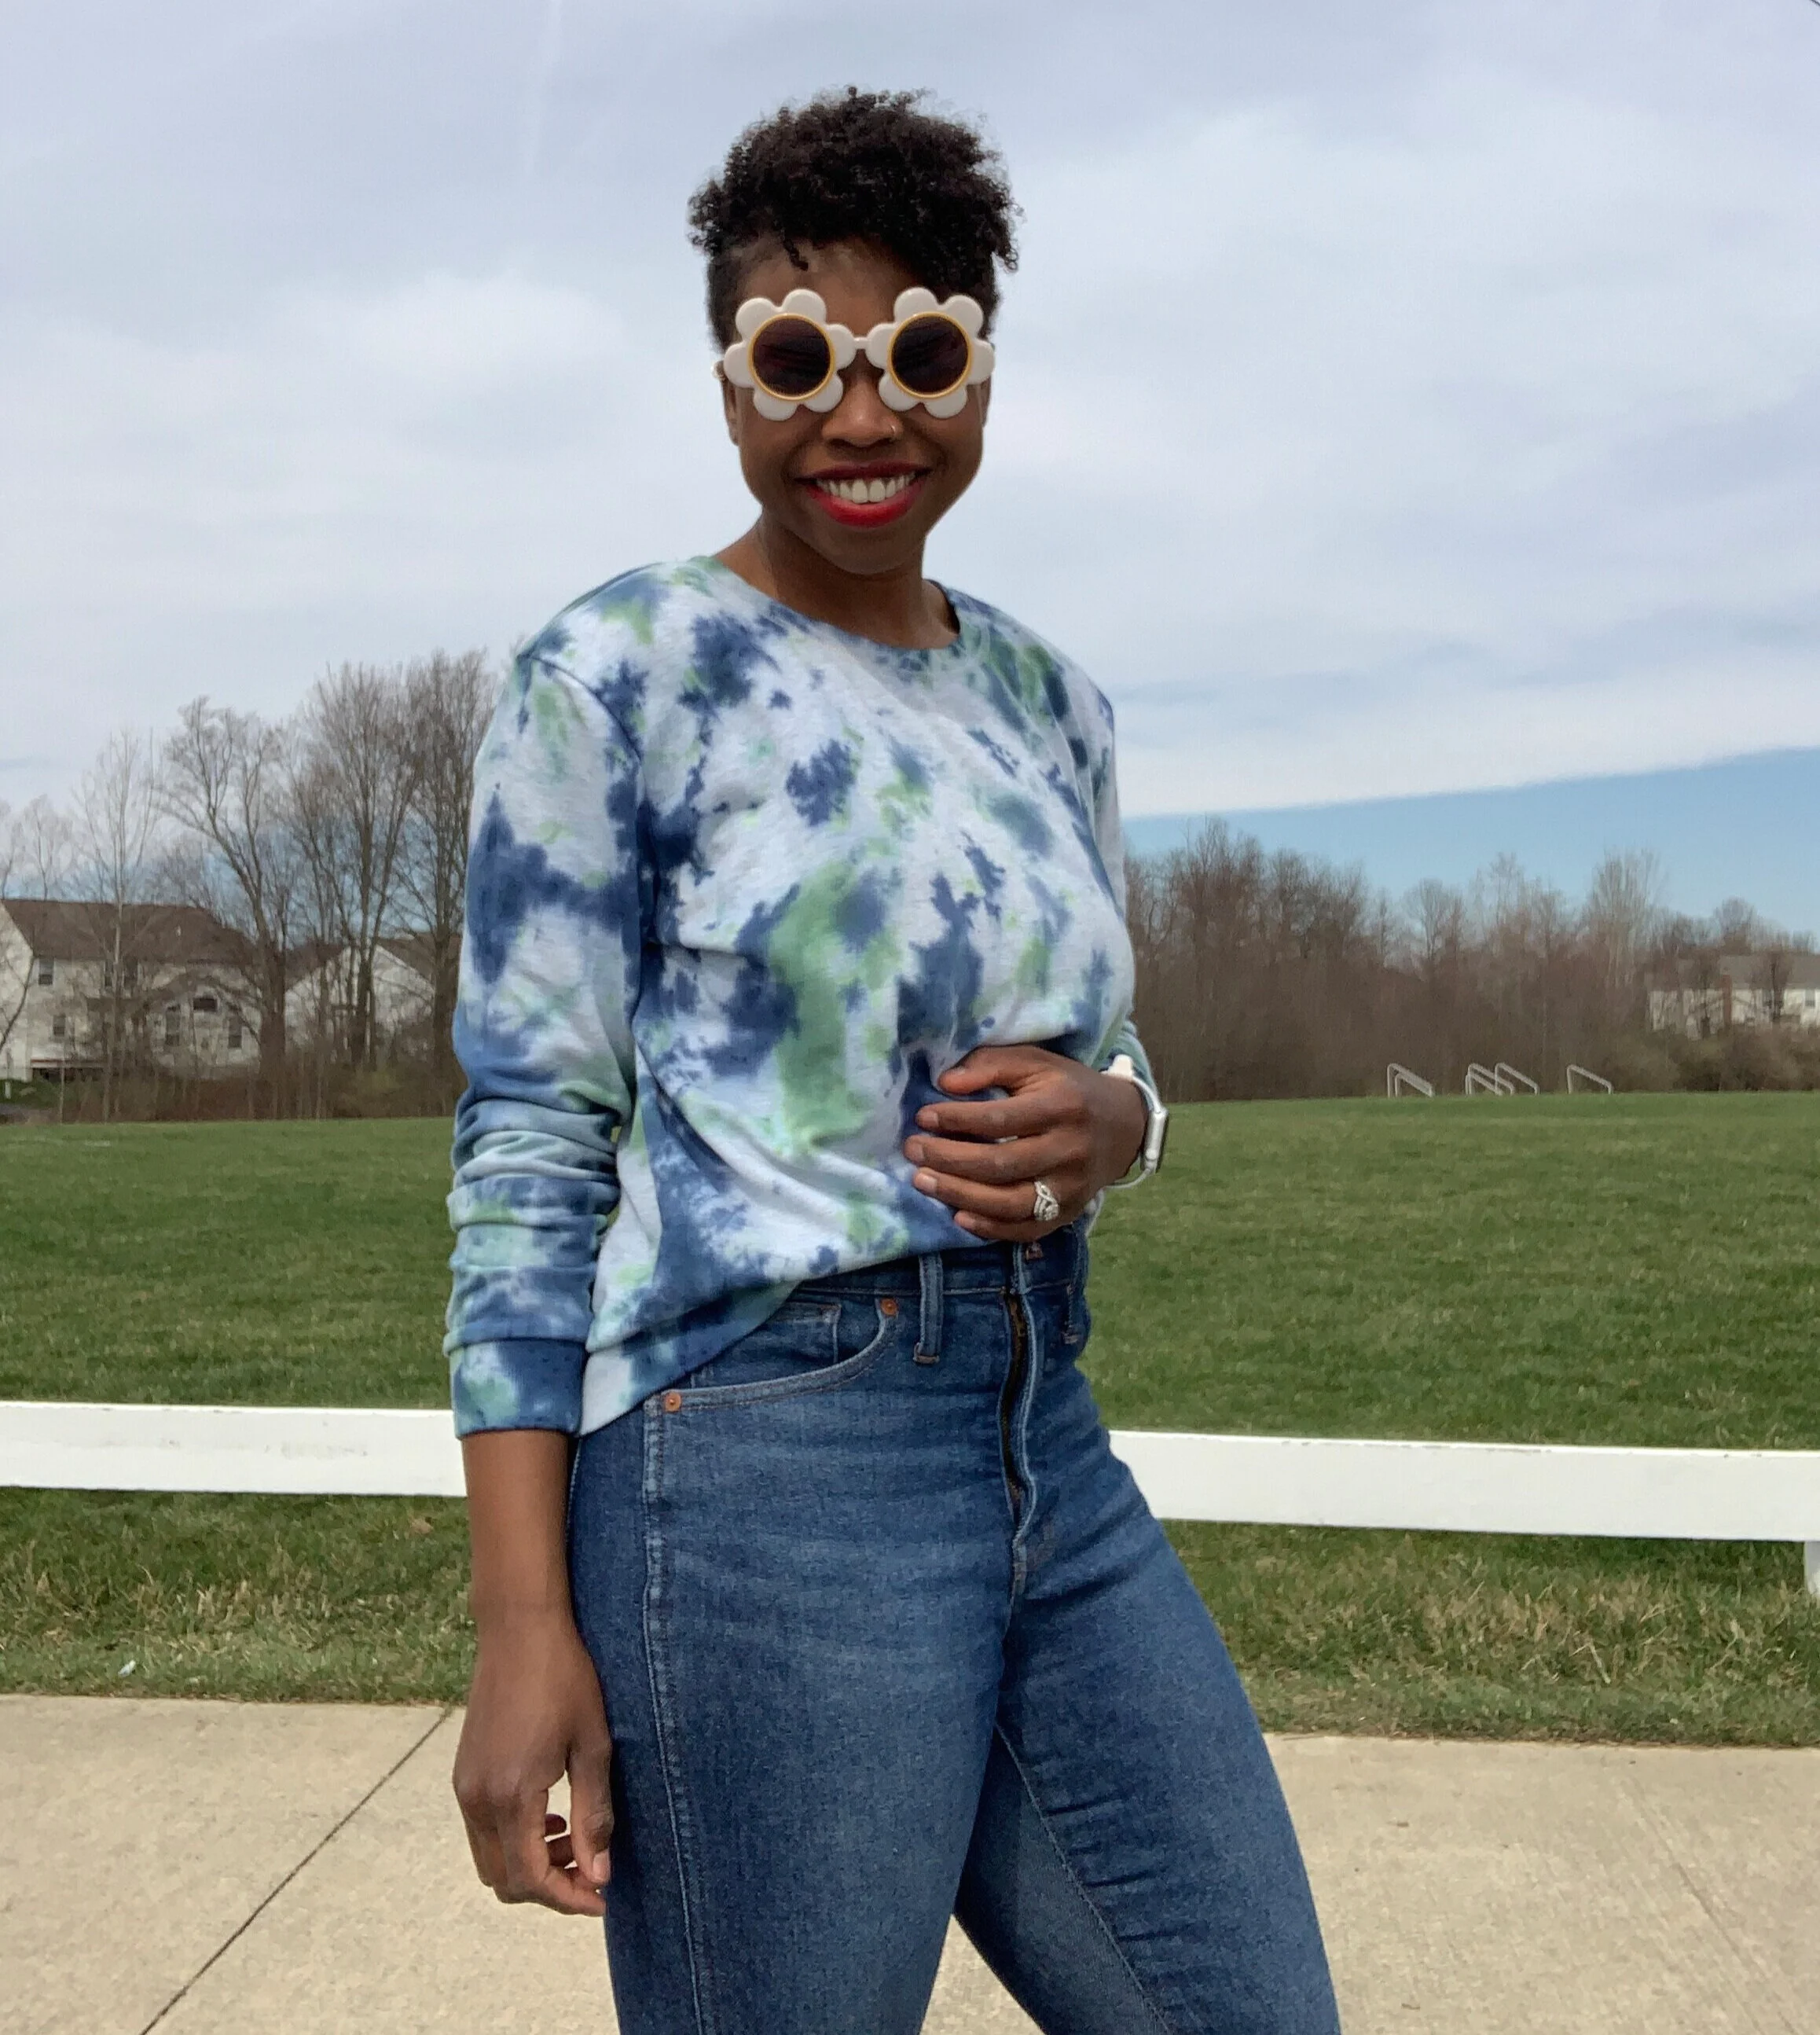
Spoiler alert: Keep in mind you can always overdye your sweatshirt if you don’t like how it turns out. That’s what I ended up doing for this project, and I love the navy and green.
Rinse the dye out until the water runs mostly clear.
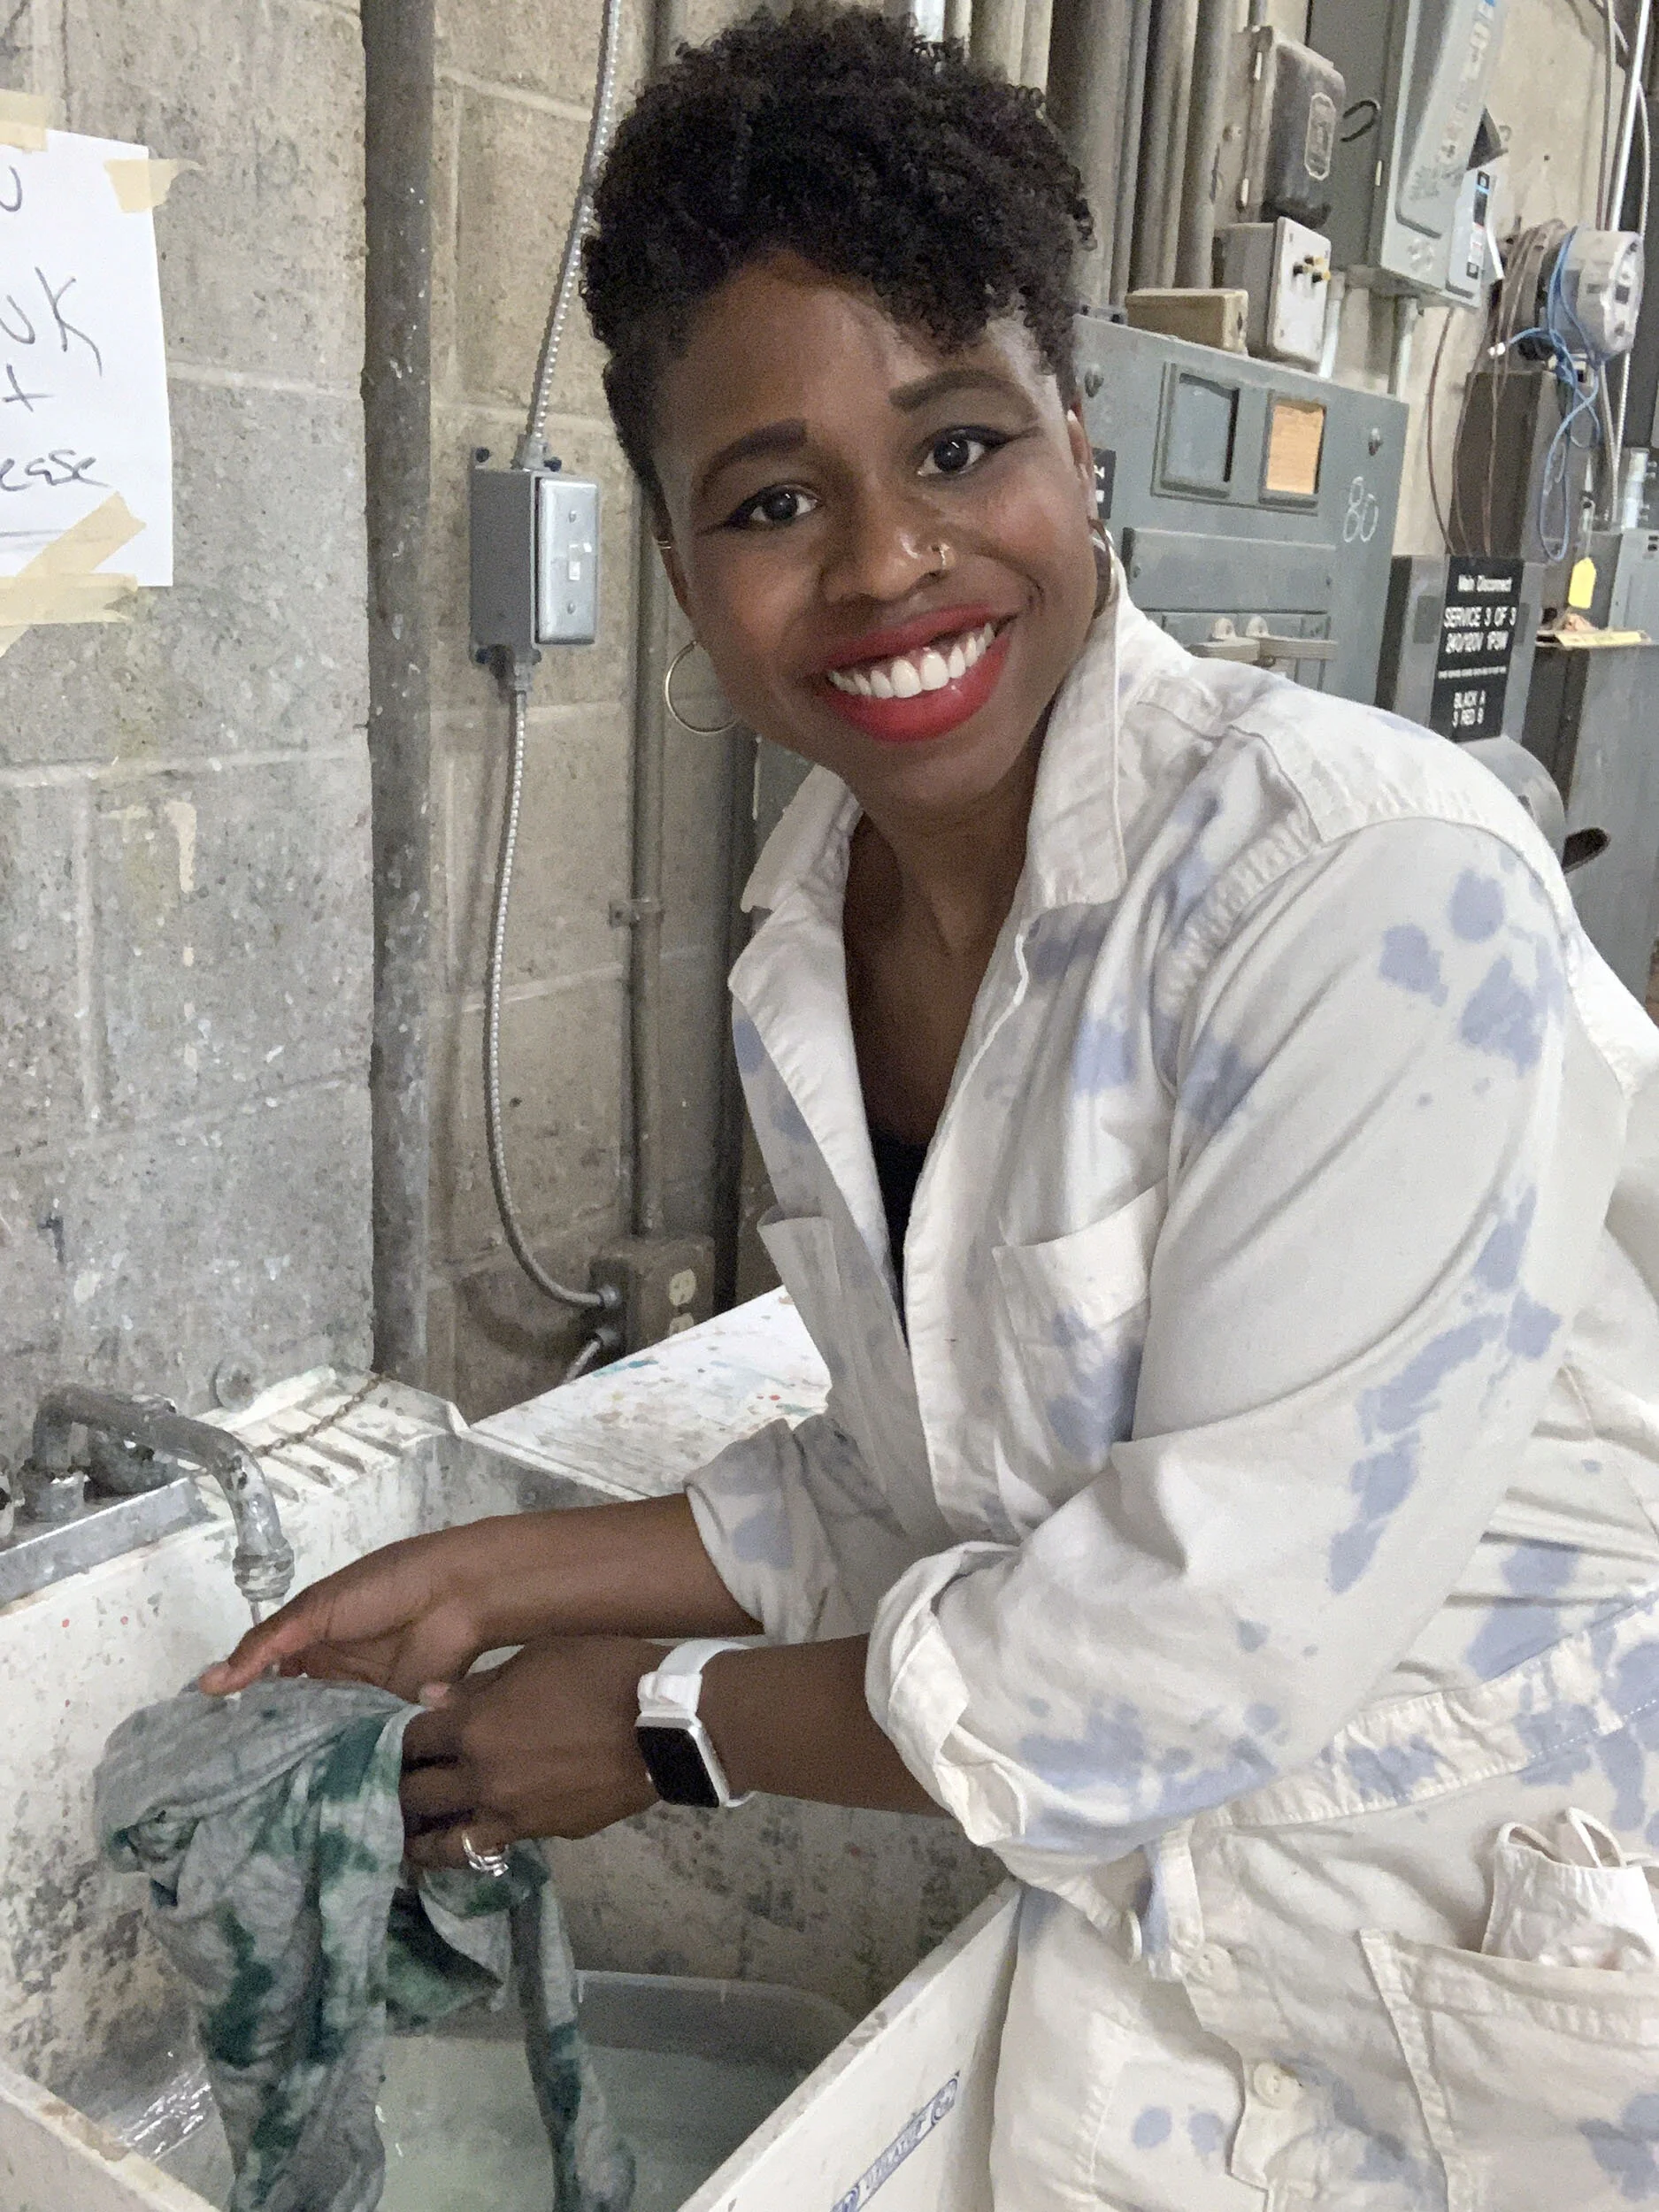
After you’ve hand washed it out, toss the sweatshirt in washer alone (or with other dyed projects). Next, toss your item in the dryer on high.
Success, you’ve just dyed your new favorite sweatshirt. But the fun doesn’t have to stop here. Grab something else and repeat the steps above. You can never have too many dyed items.
If you’re not completely happy with how your first item came out, you can over dye to add more color or coverage. That’s what I did because tonal green wasn’t as happy looking as I’d hoped. Repeat the steps above until you’re satisfied with the colors.
Let me know how your project turned out in the comments below!
Before you get started, read the tips below:
-If you buy the Tulip Kids, they come with gloves and rubber bands. If you don’t buy a kit, make sure to pick up a set of gloves and some rubber bands. Also check to make sure the dye you are buying matches the content of the item you are dyeing (ie cotton vs synthetic)
-The dye can stain tubs, sinks, rugs. So please be careful, and lay down towels if you dye inside.
-The colors will appear darker when wet. Wait for item to dry completely for true representation of color.