Easy, 10 Minute Drawstring Bag
I truly love giving gifts. With Valentine’s Day around the corner, it’s just another excuse to love on those around me. These giftable drawstring bags were designed with that in mind.
However, being in the middle of a move, surrounded by several bags of donations and trash, has given me a new mindset toward gifts. My is to try and give more more heartfelt, reusable, or experiential gifts when I can. It’s not always possible and I get that too.
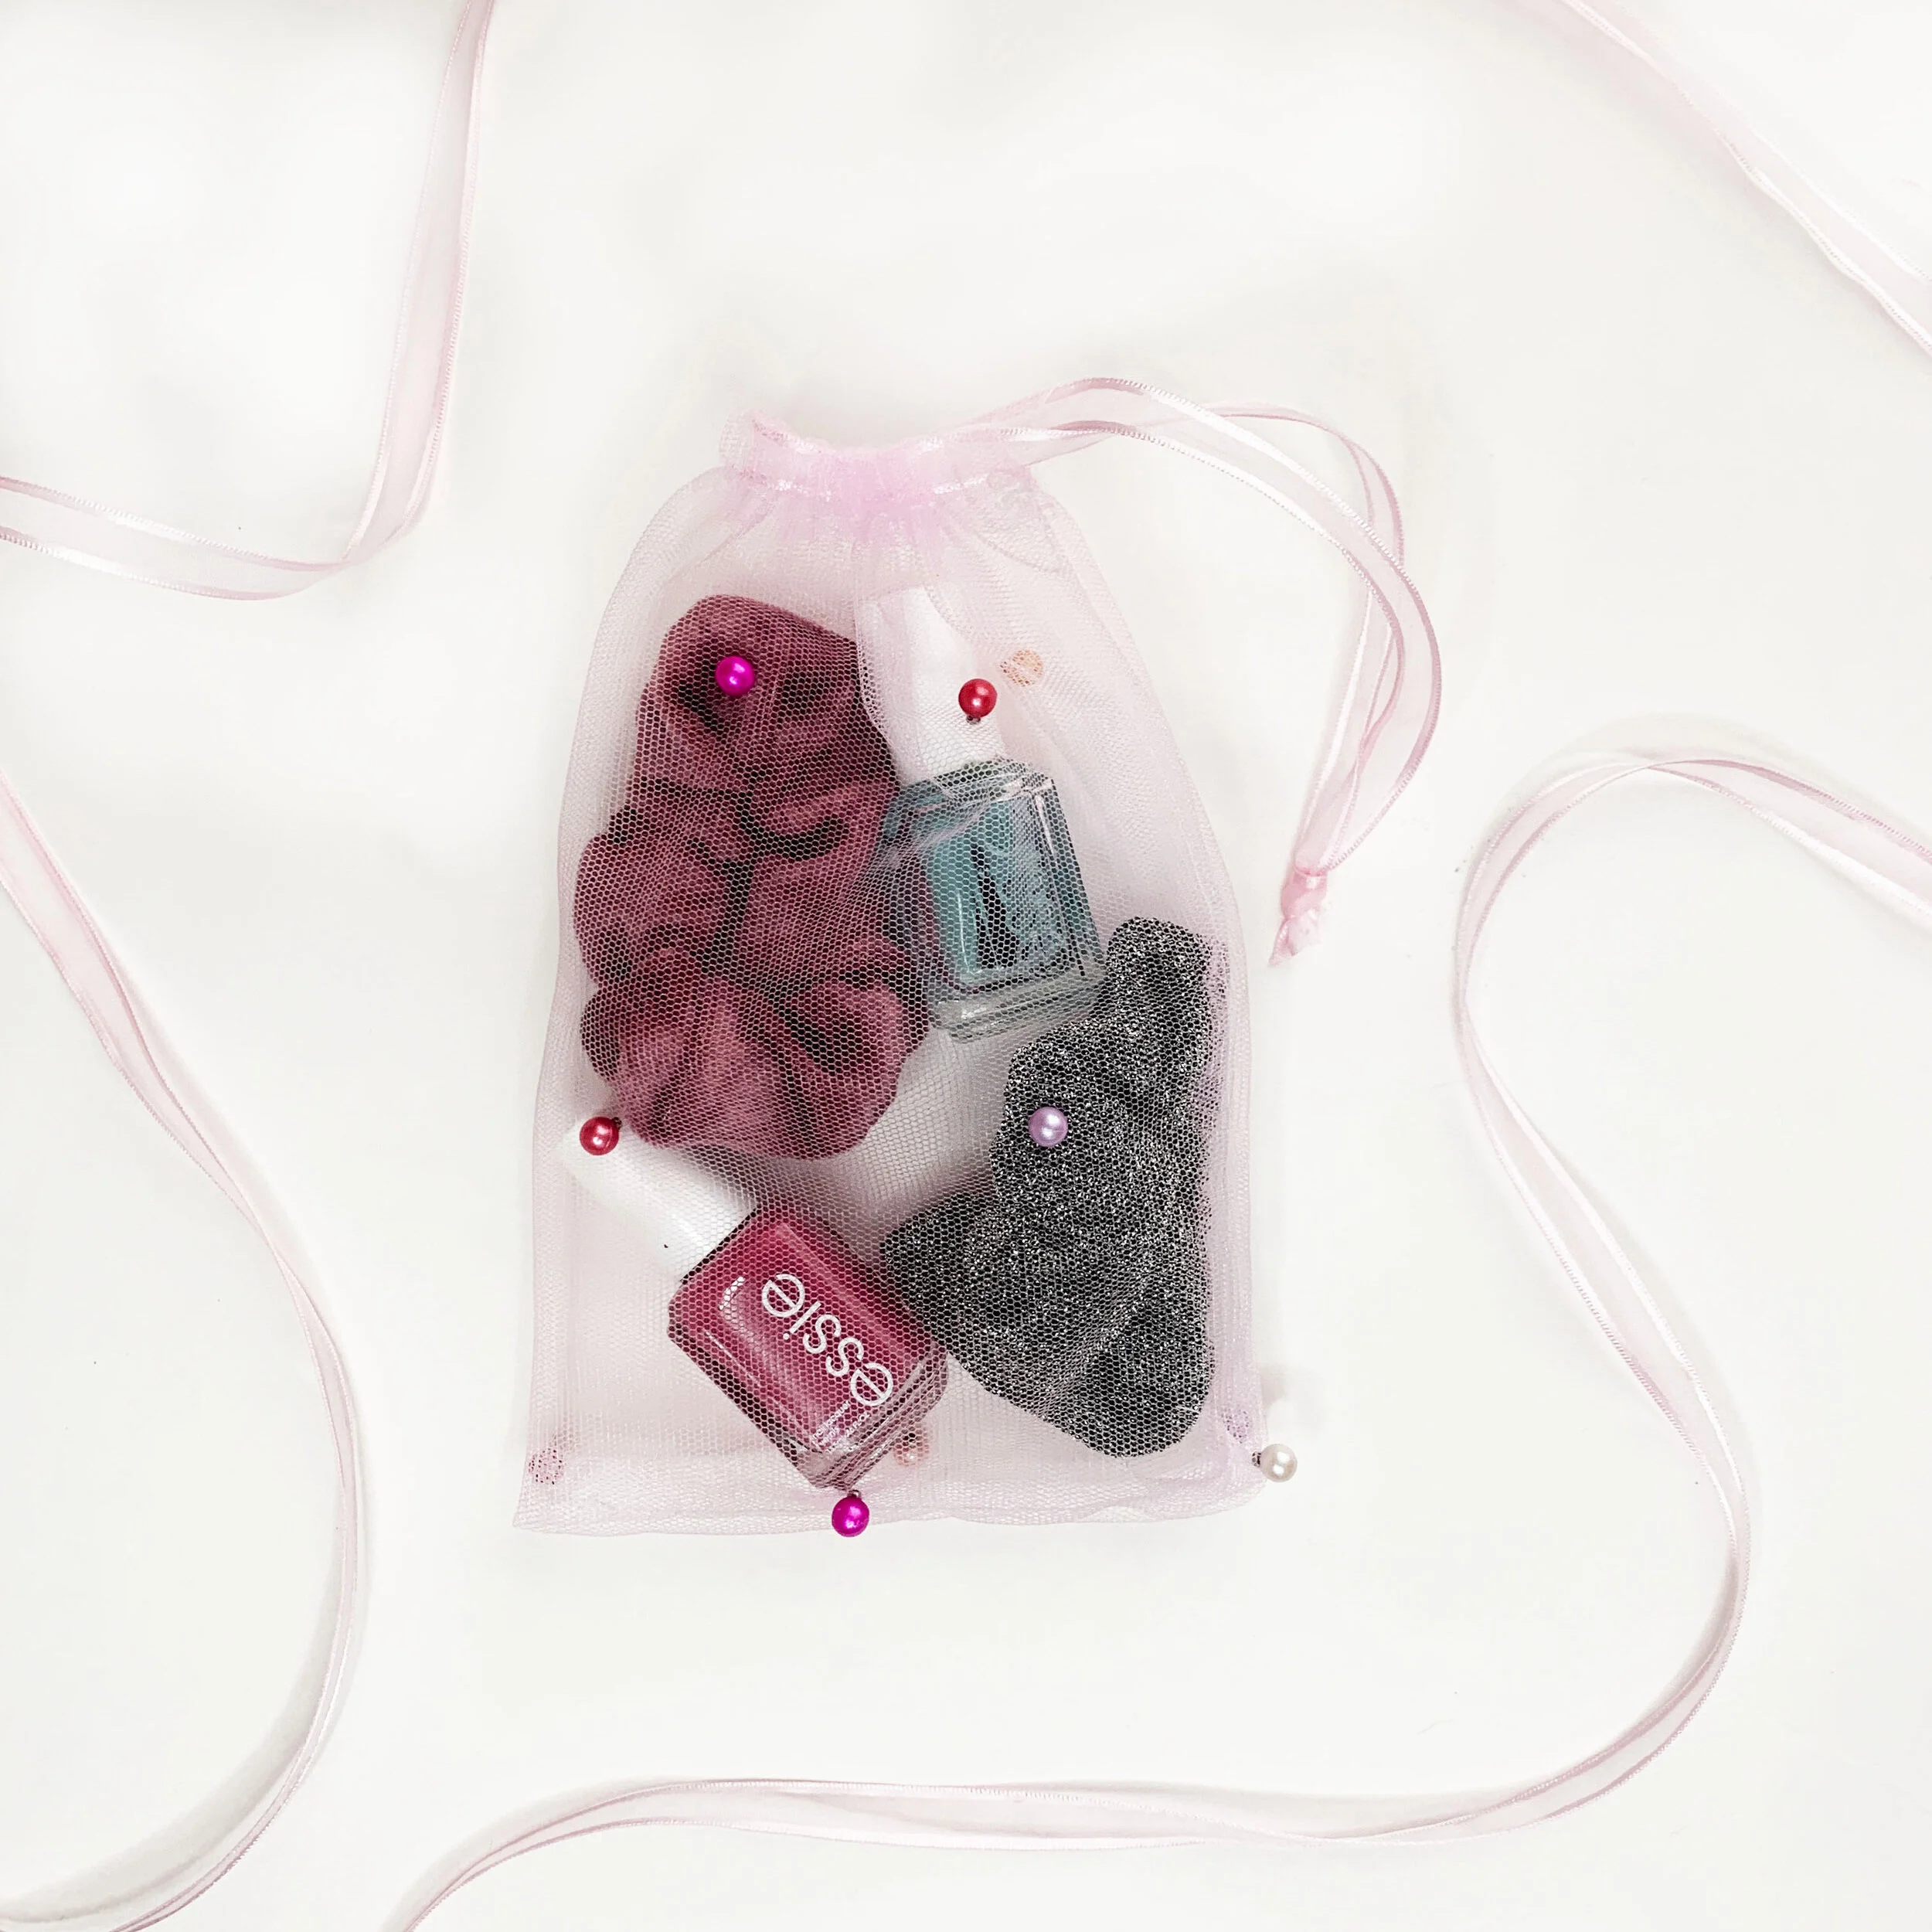
This project is perfect for beginners or experienced sewists alike. It’s a simple drawstring bag that can be executed in a number of fabric varieties. In celebration of the holiday, I decided to gift little bottles of perfume in mine. However, they could easily hold hair ties, cute hair pins, or even mini hand sanitizers.
So let’s get started on these bags.
Materials and Equipment
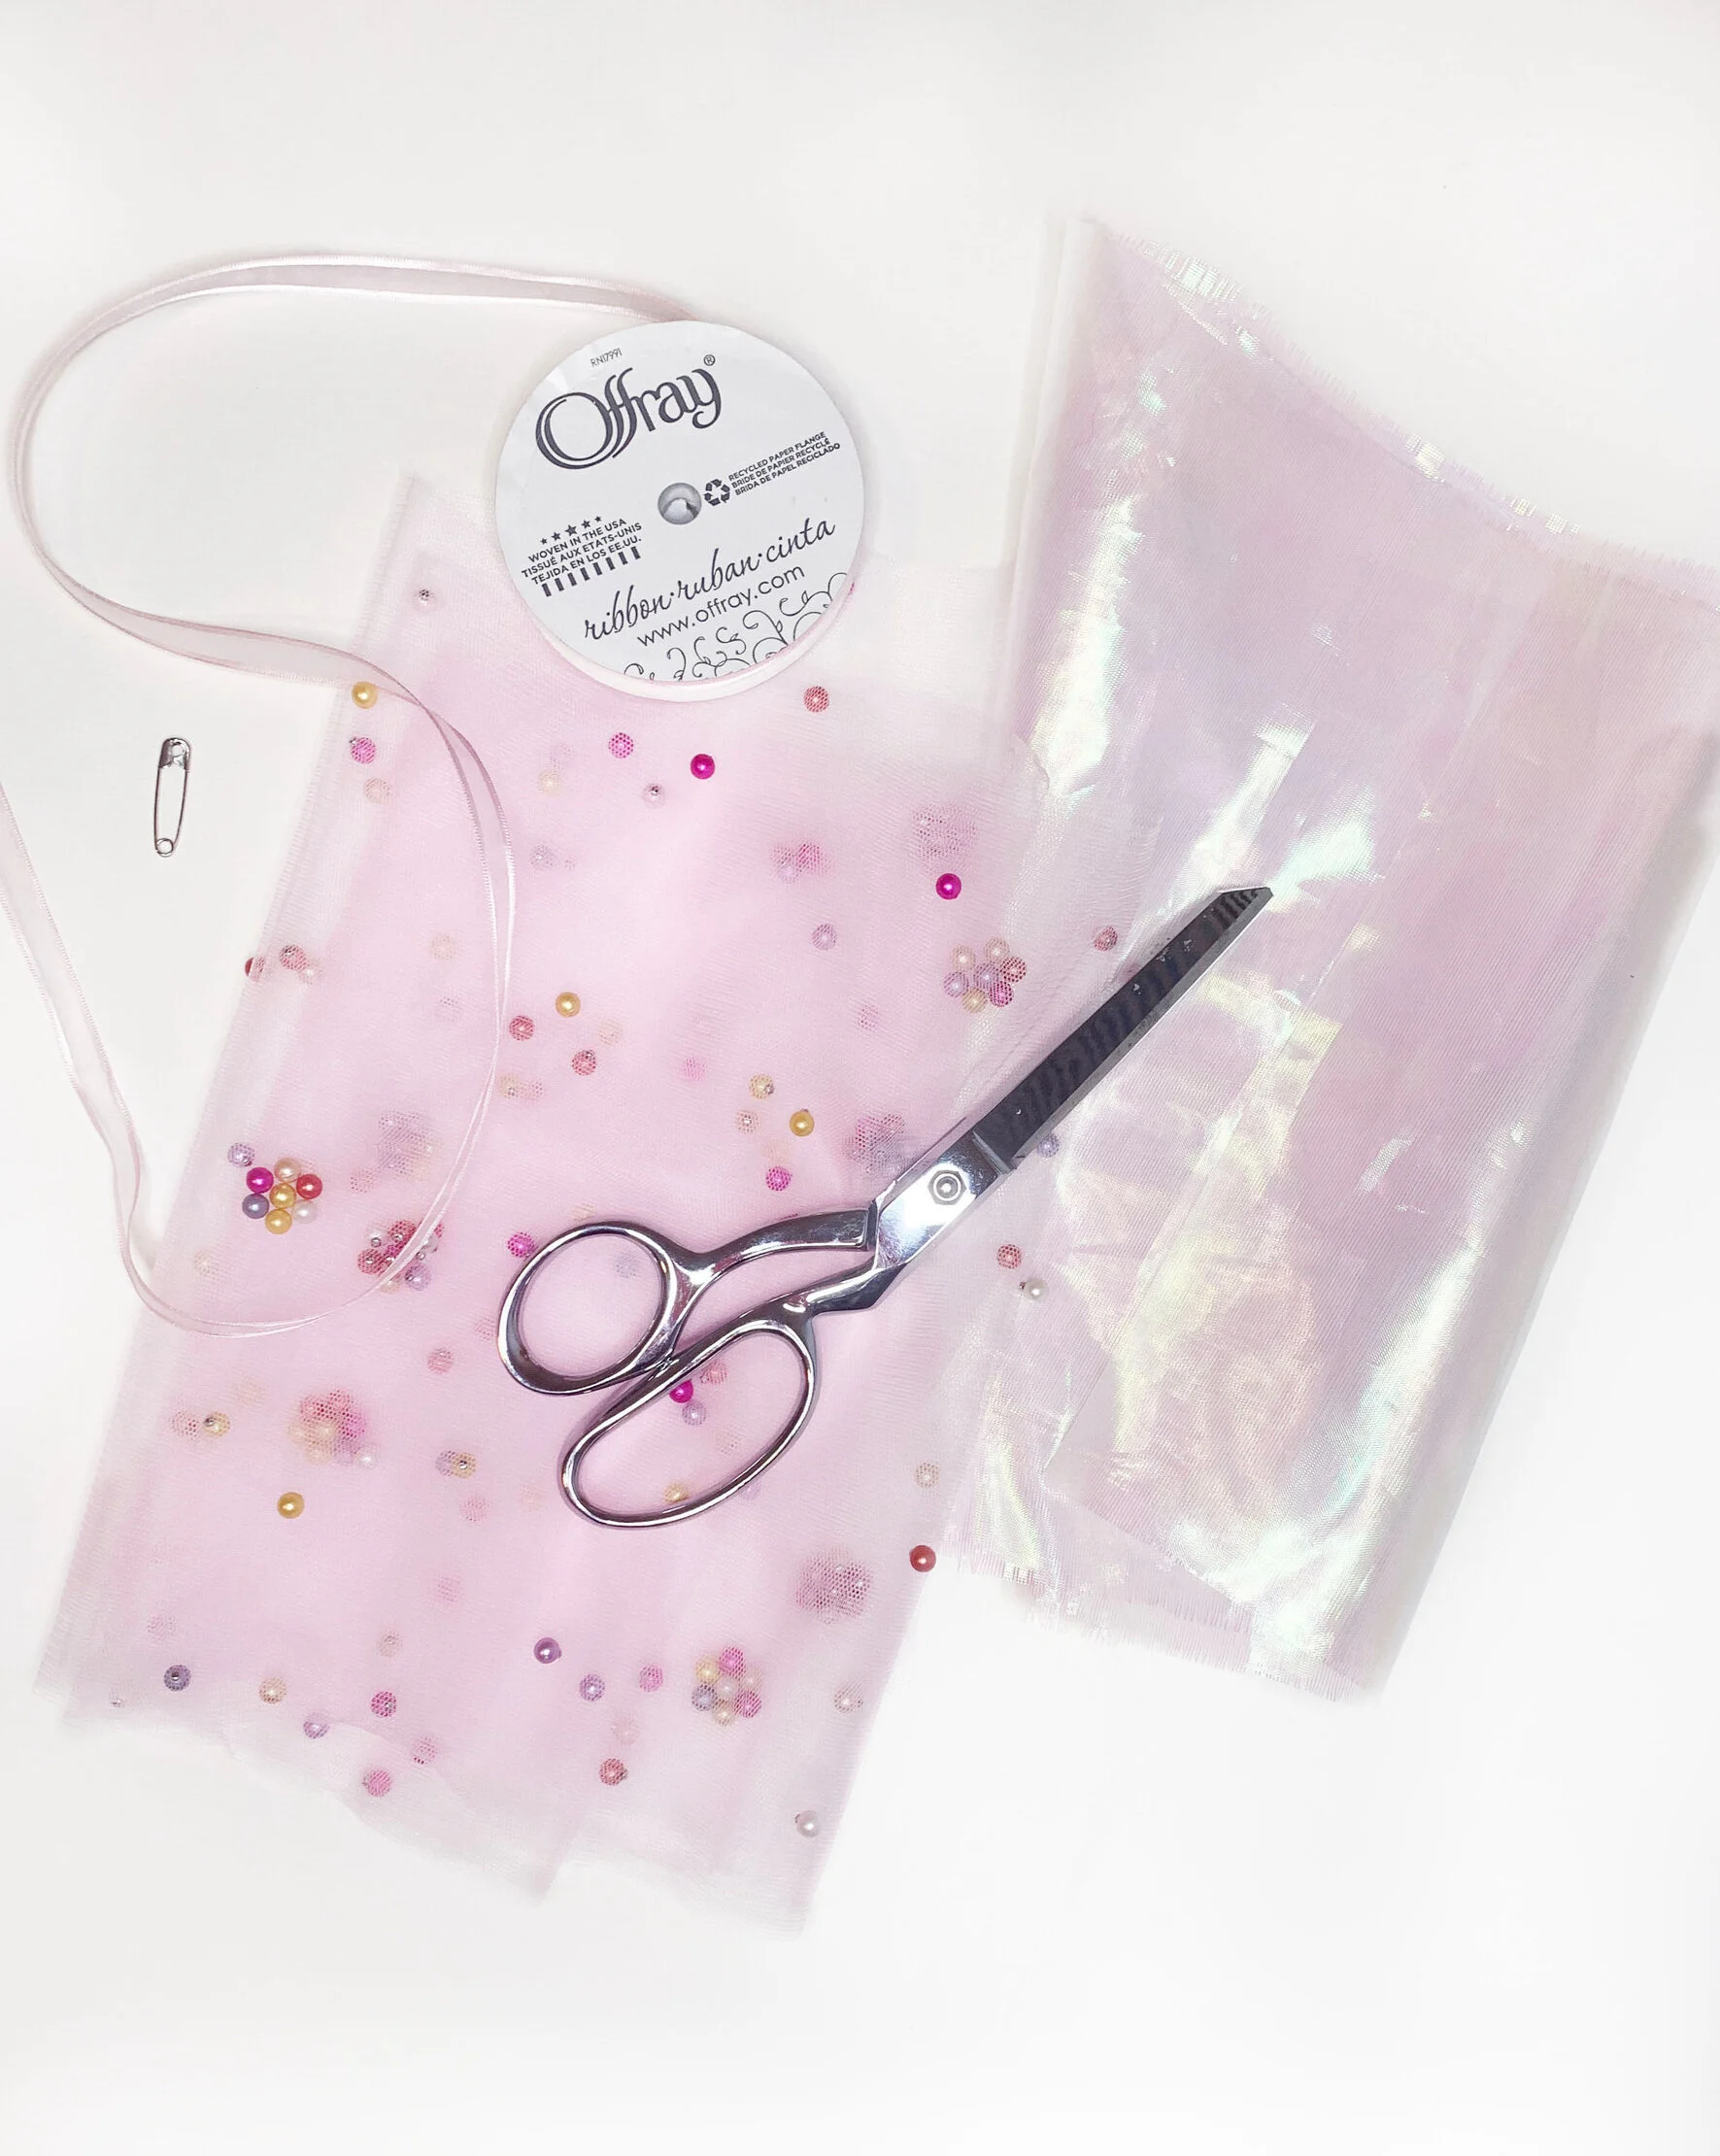
5/8 yard of fabric
coordinating thread
Ribbon (one spool will be more than enough)
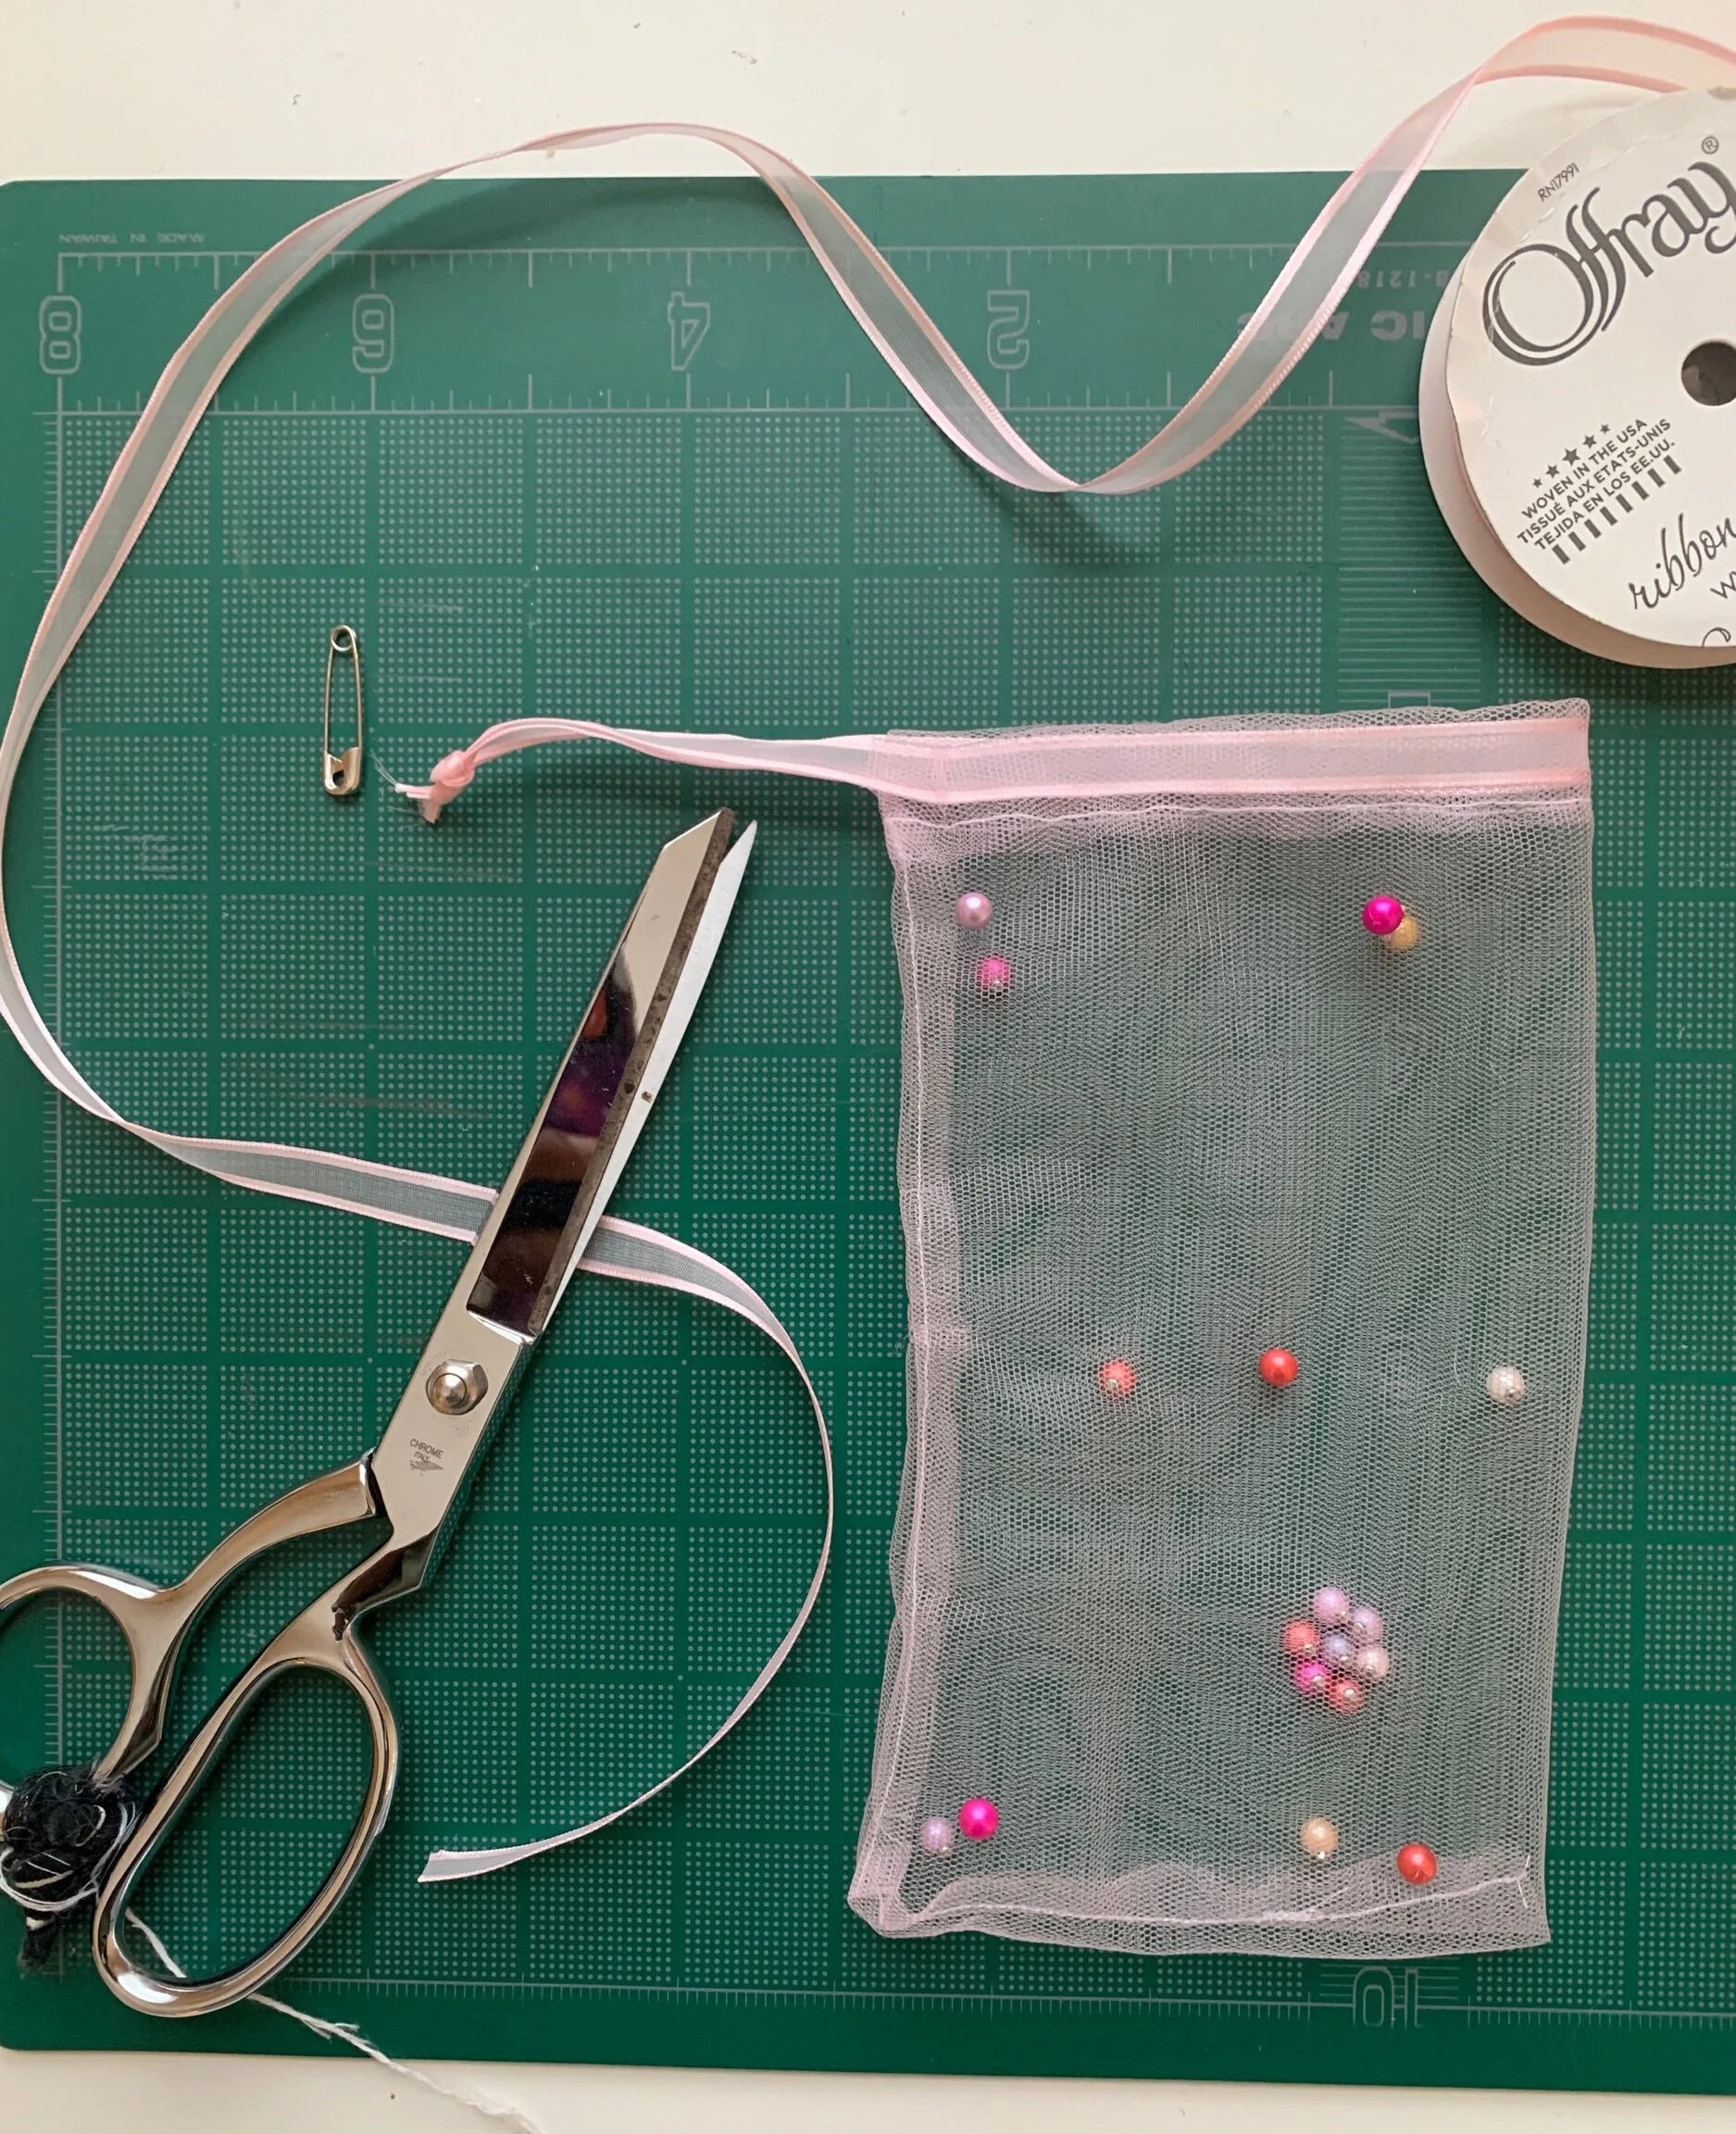
Scissors
Sewing Machine
Safety Pin
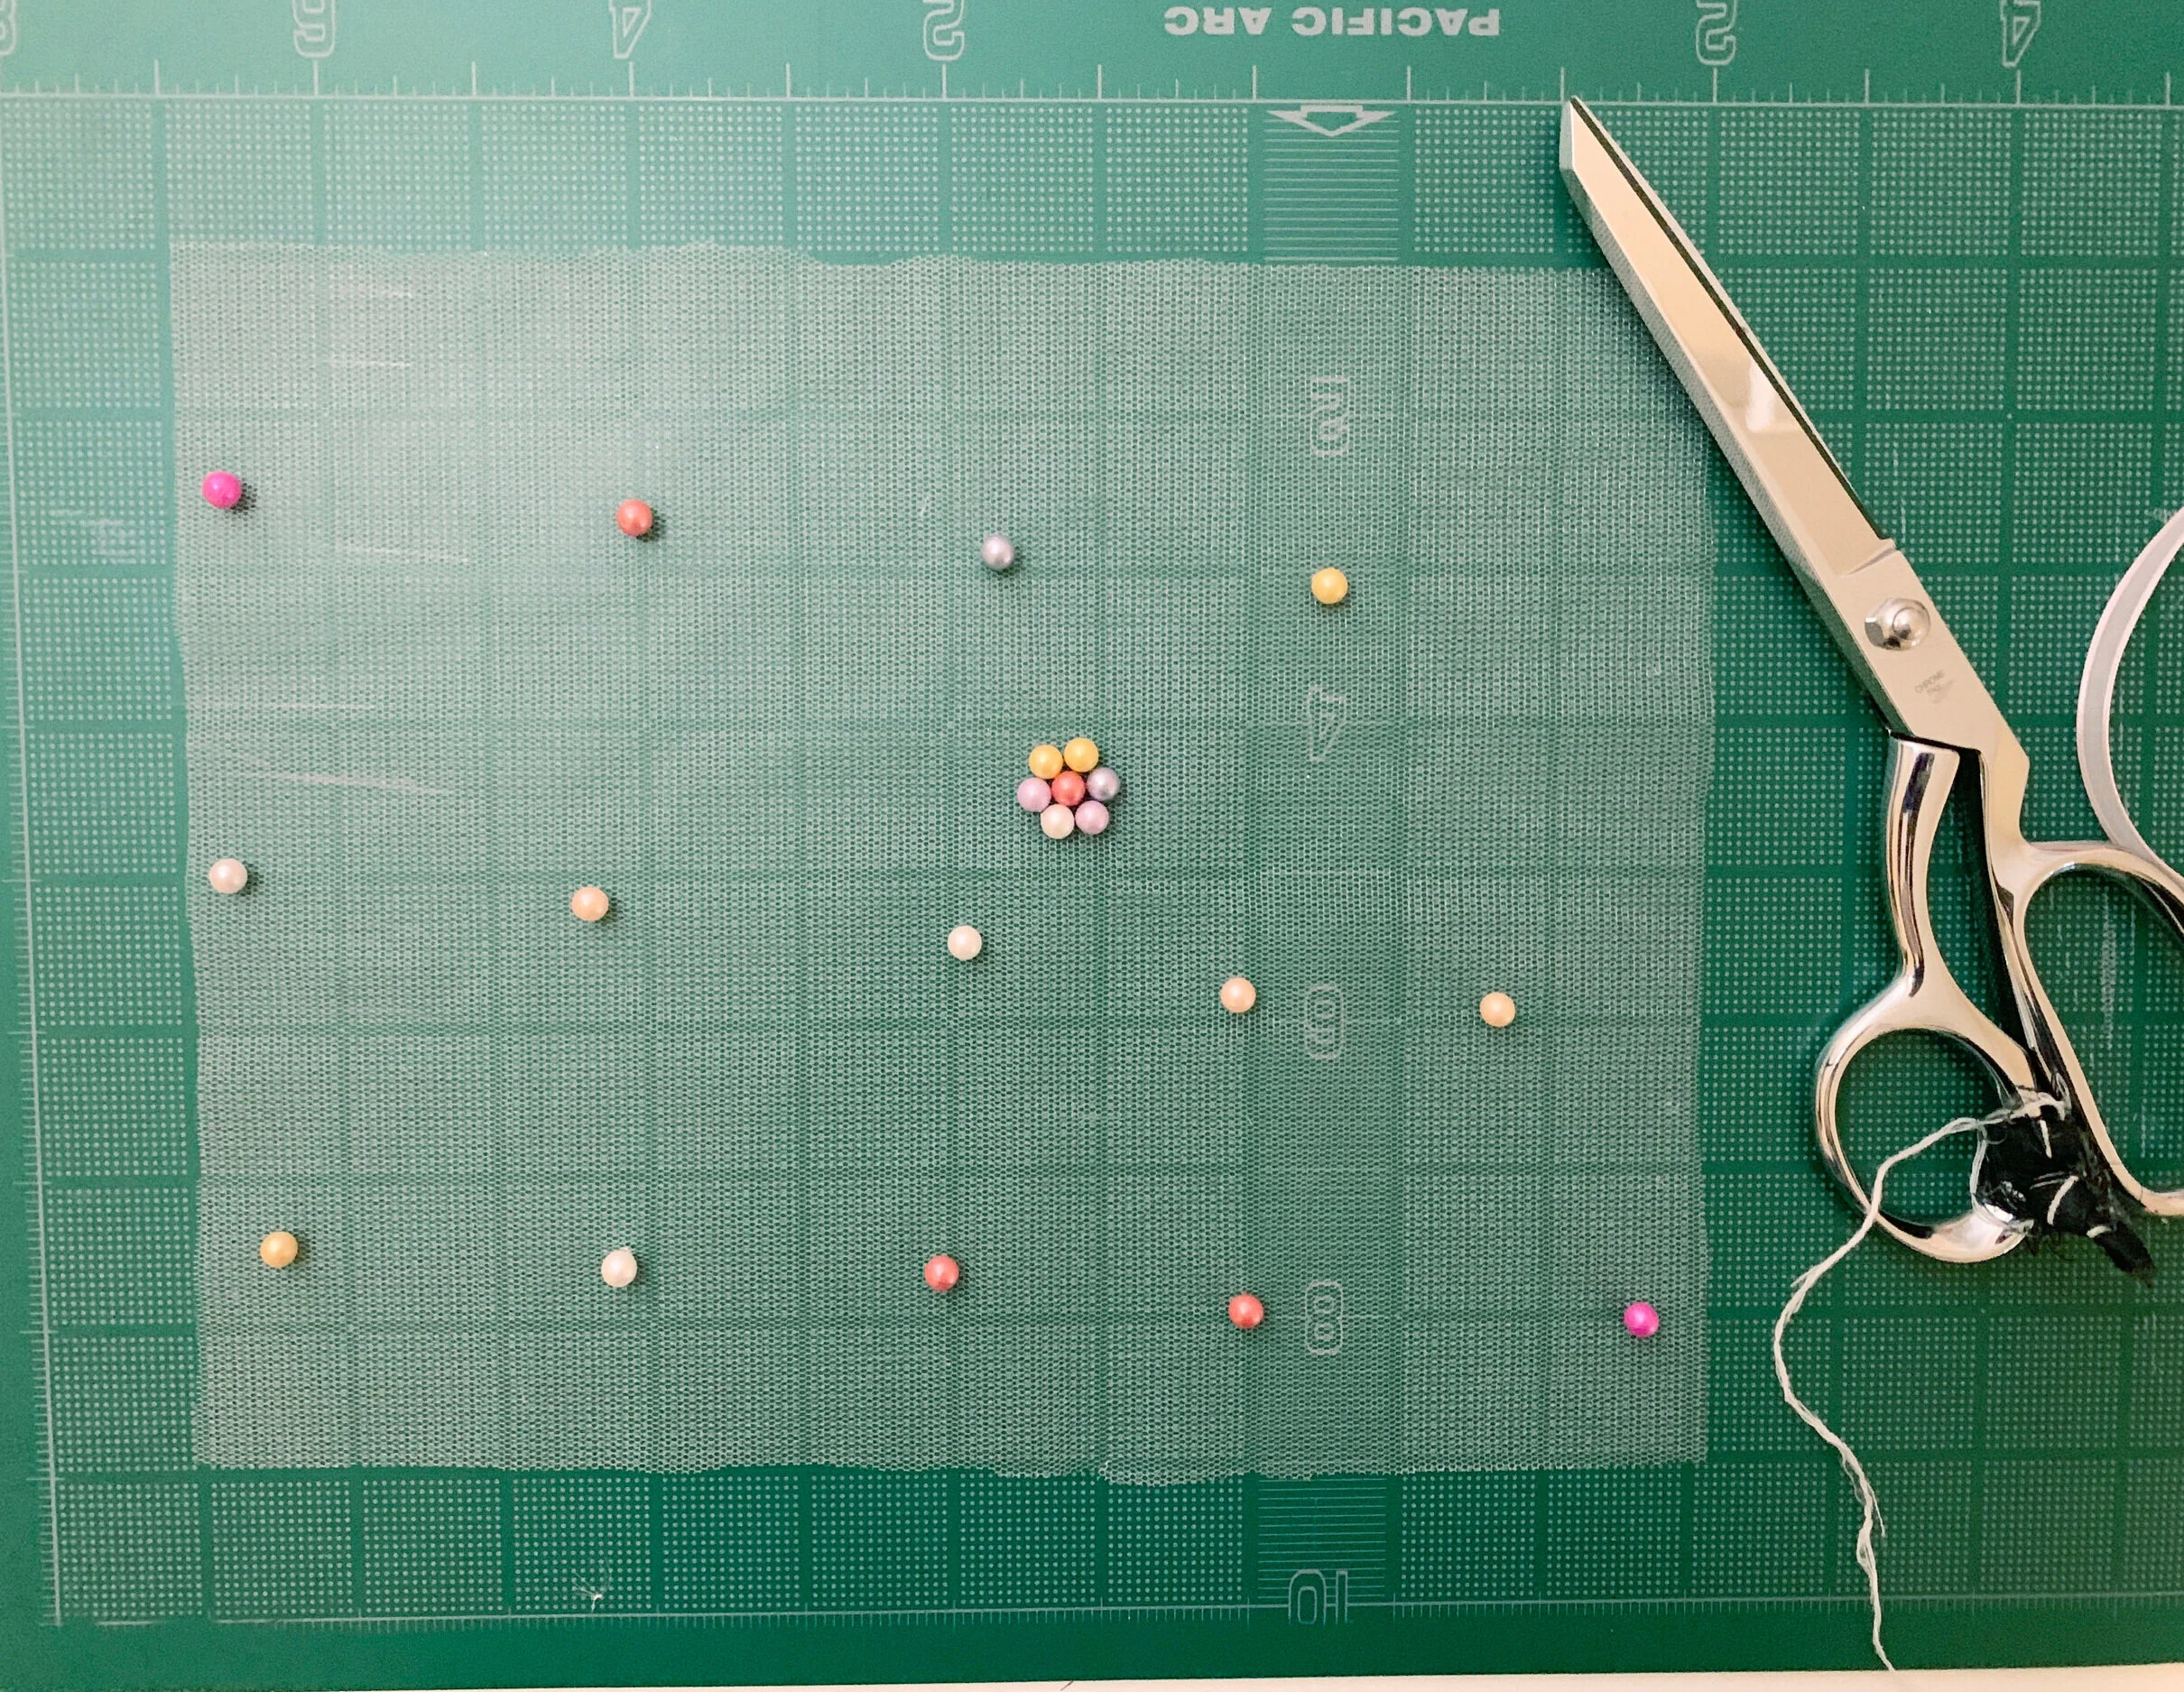
Decide the size you want for your bags. I only started with 5/8” yard of fabric, so I let that guide my width.
The height was guided by what I was putting inside.
The dimensions of my bags were 10”wide x 8” tall. Cut your fabric to your bag size.
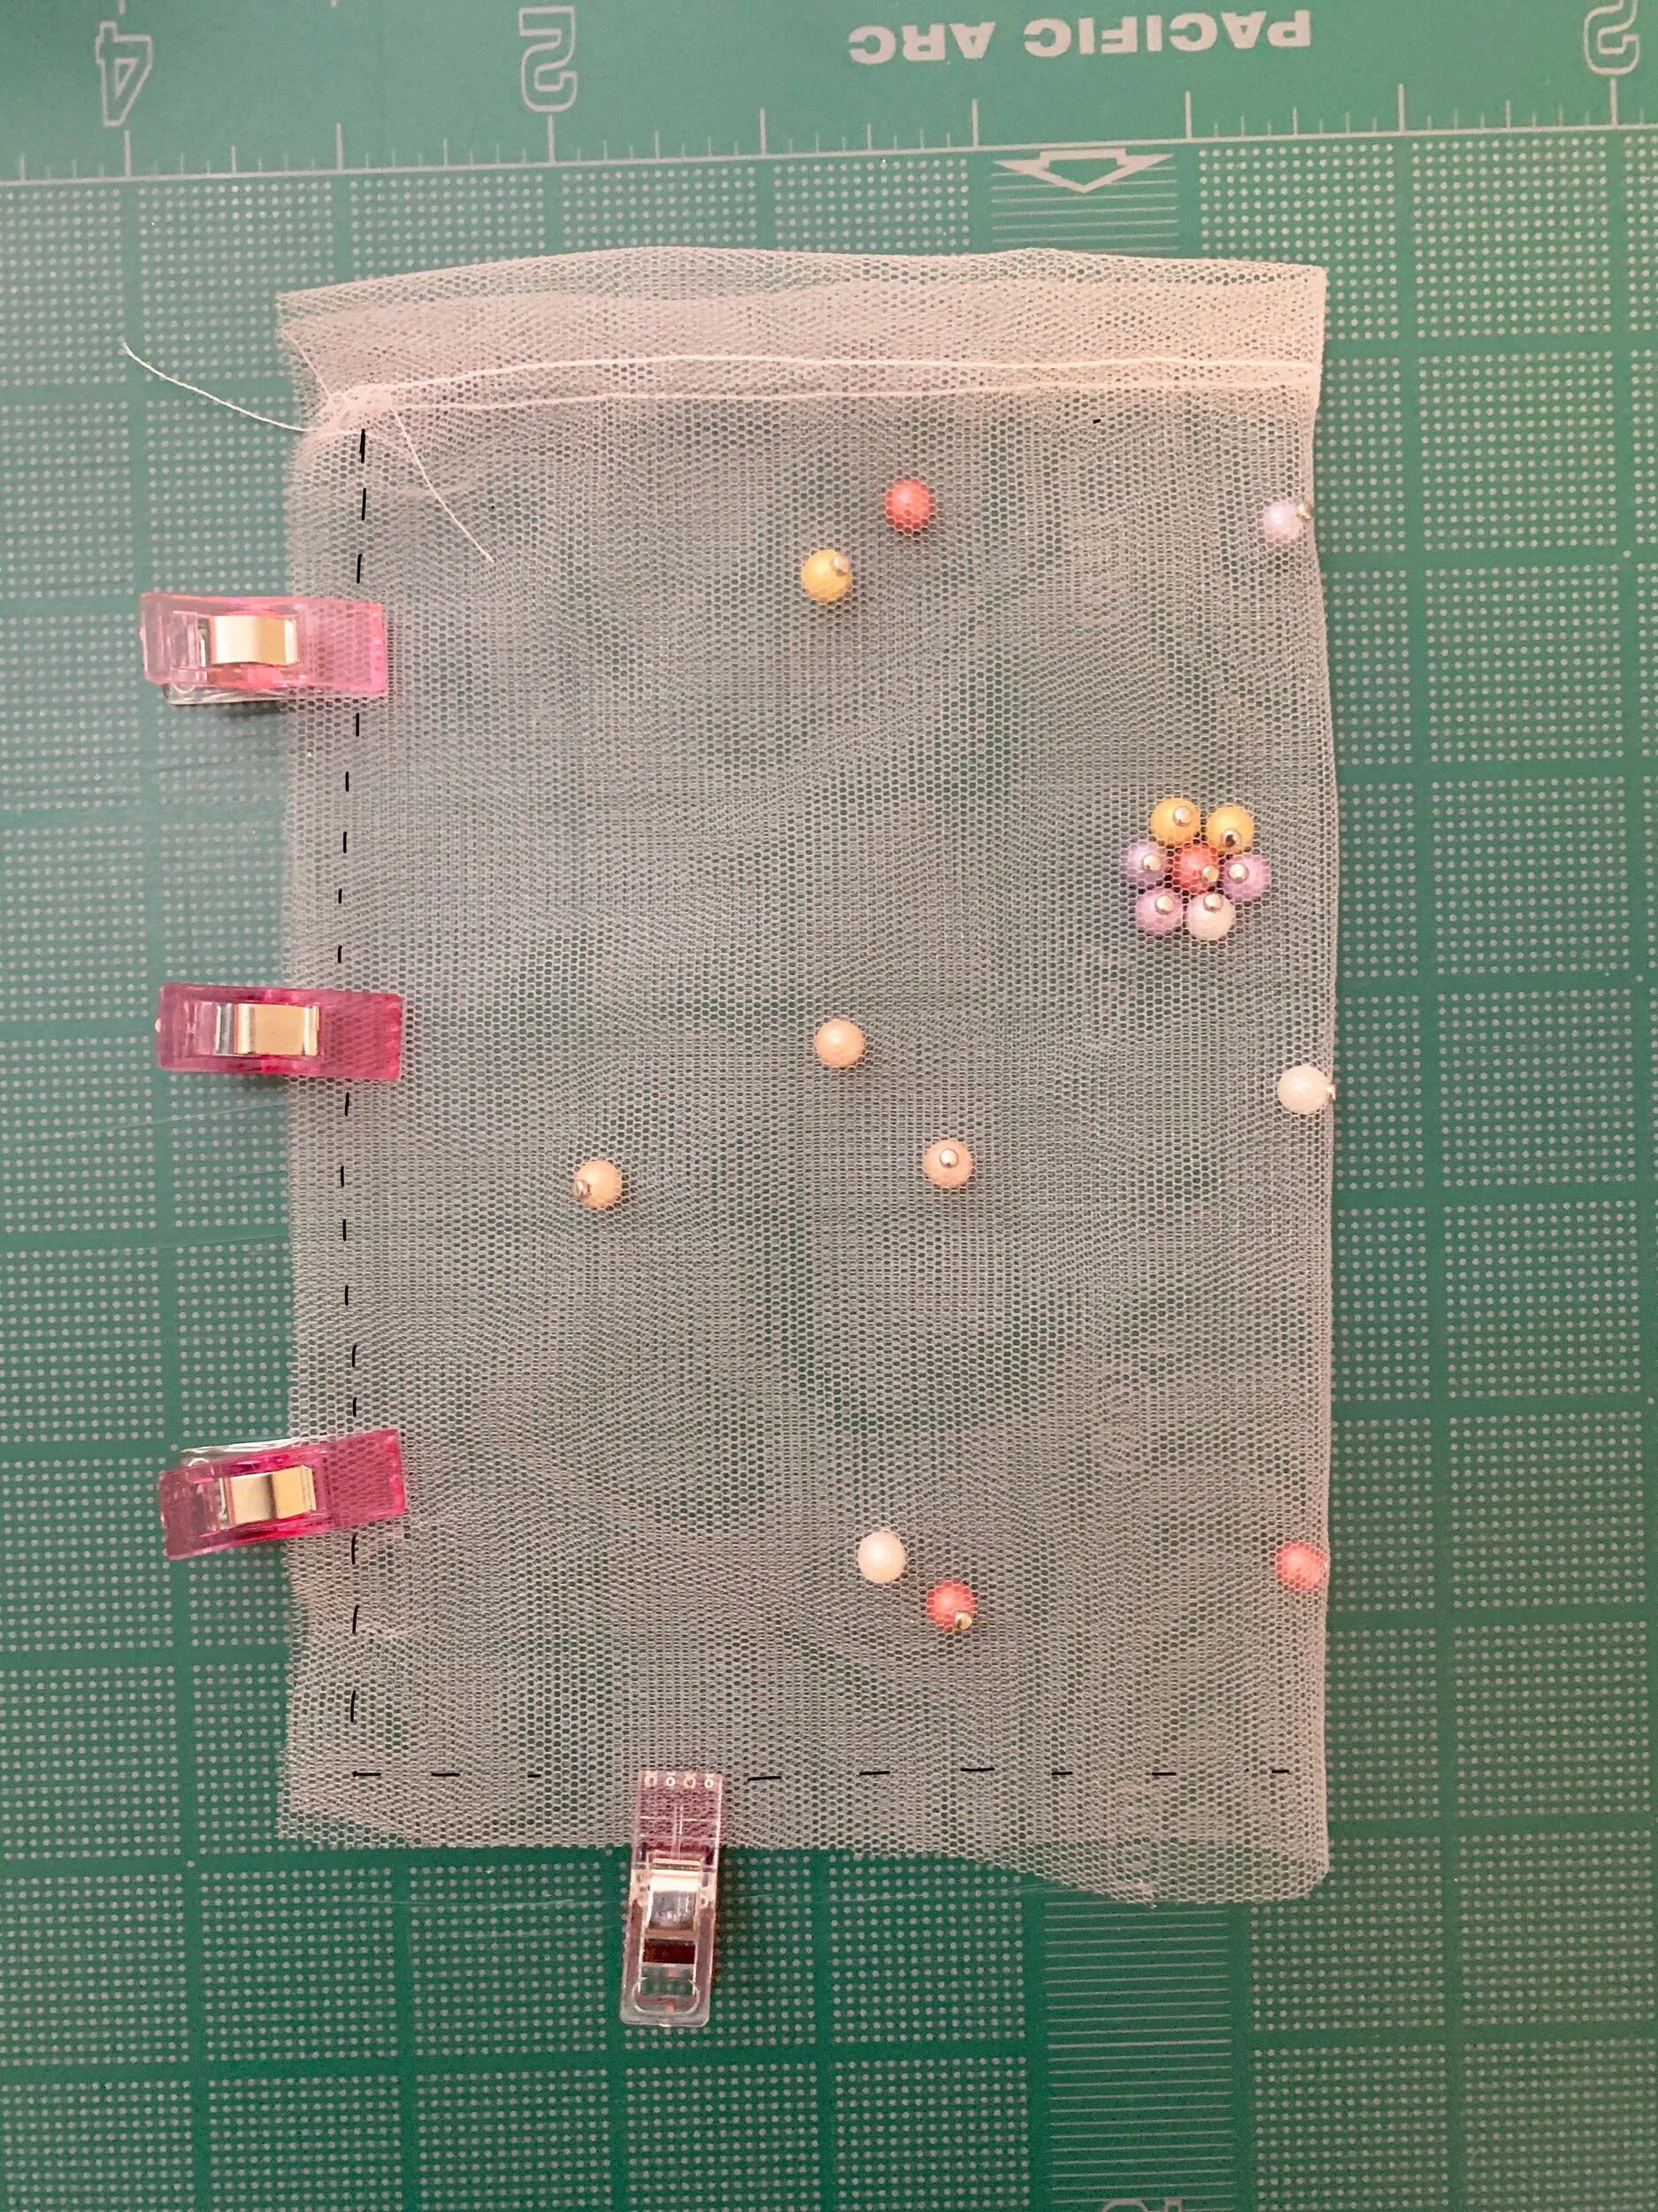
Fold down the top edge (long side) about 1/2”. Use pins or clips to keep the fabric in place.
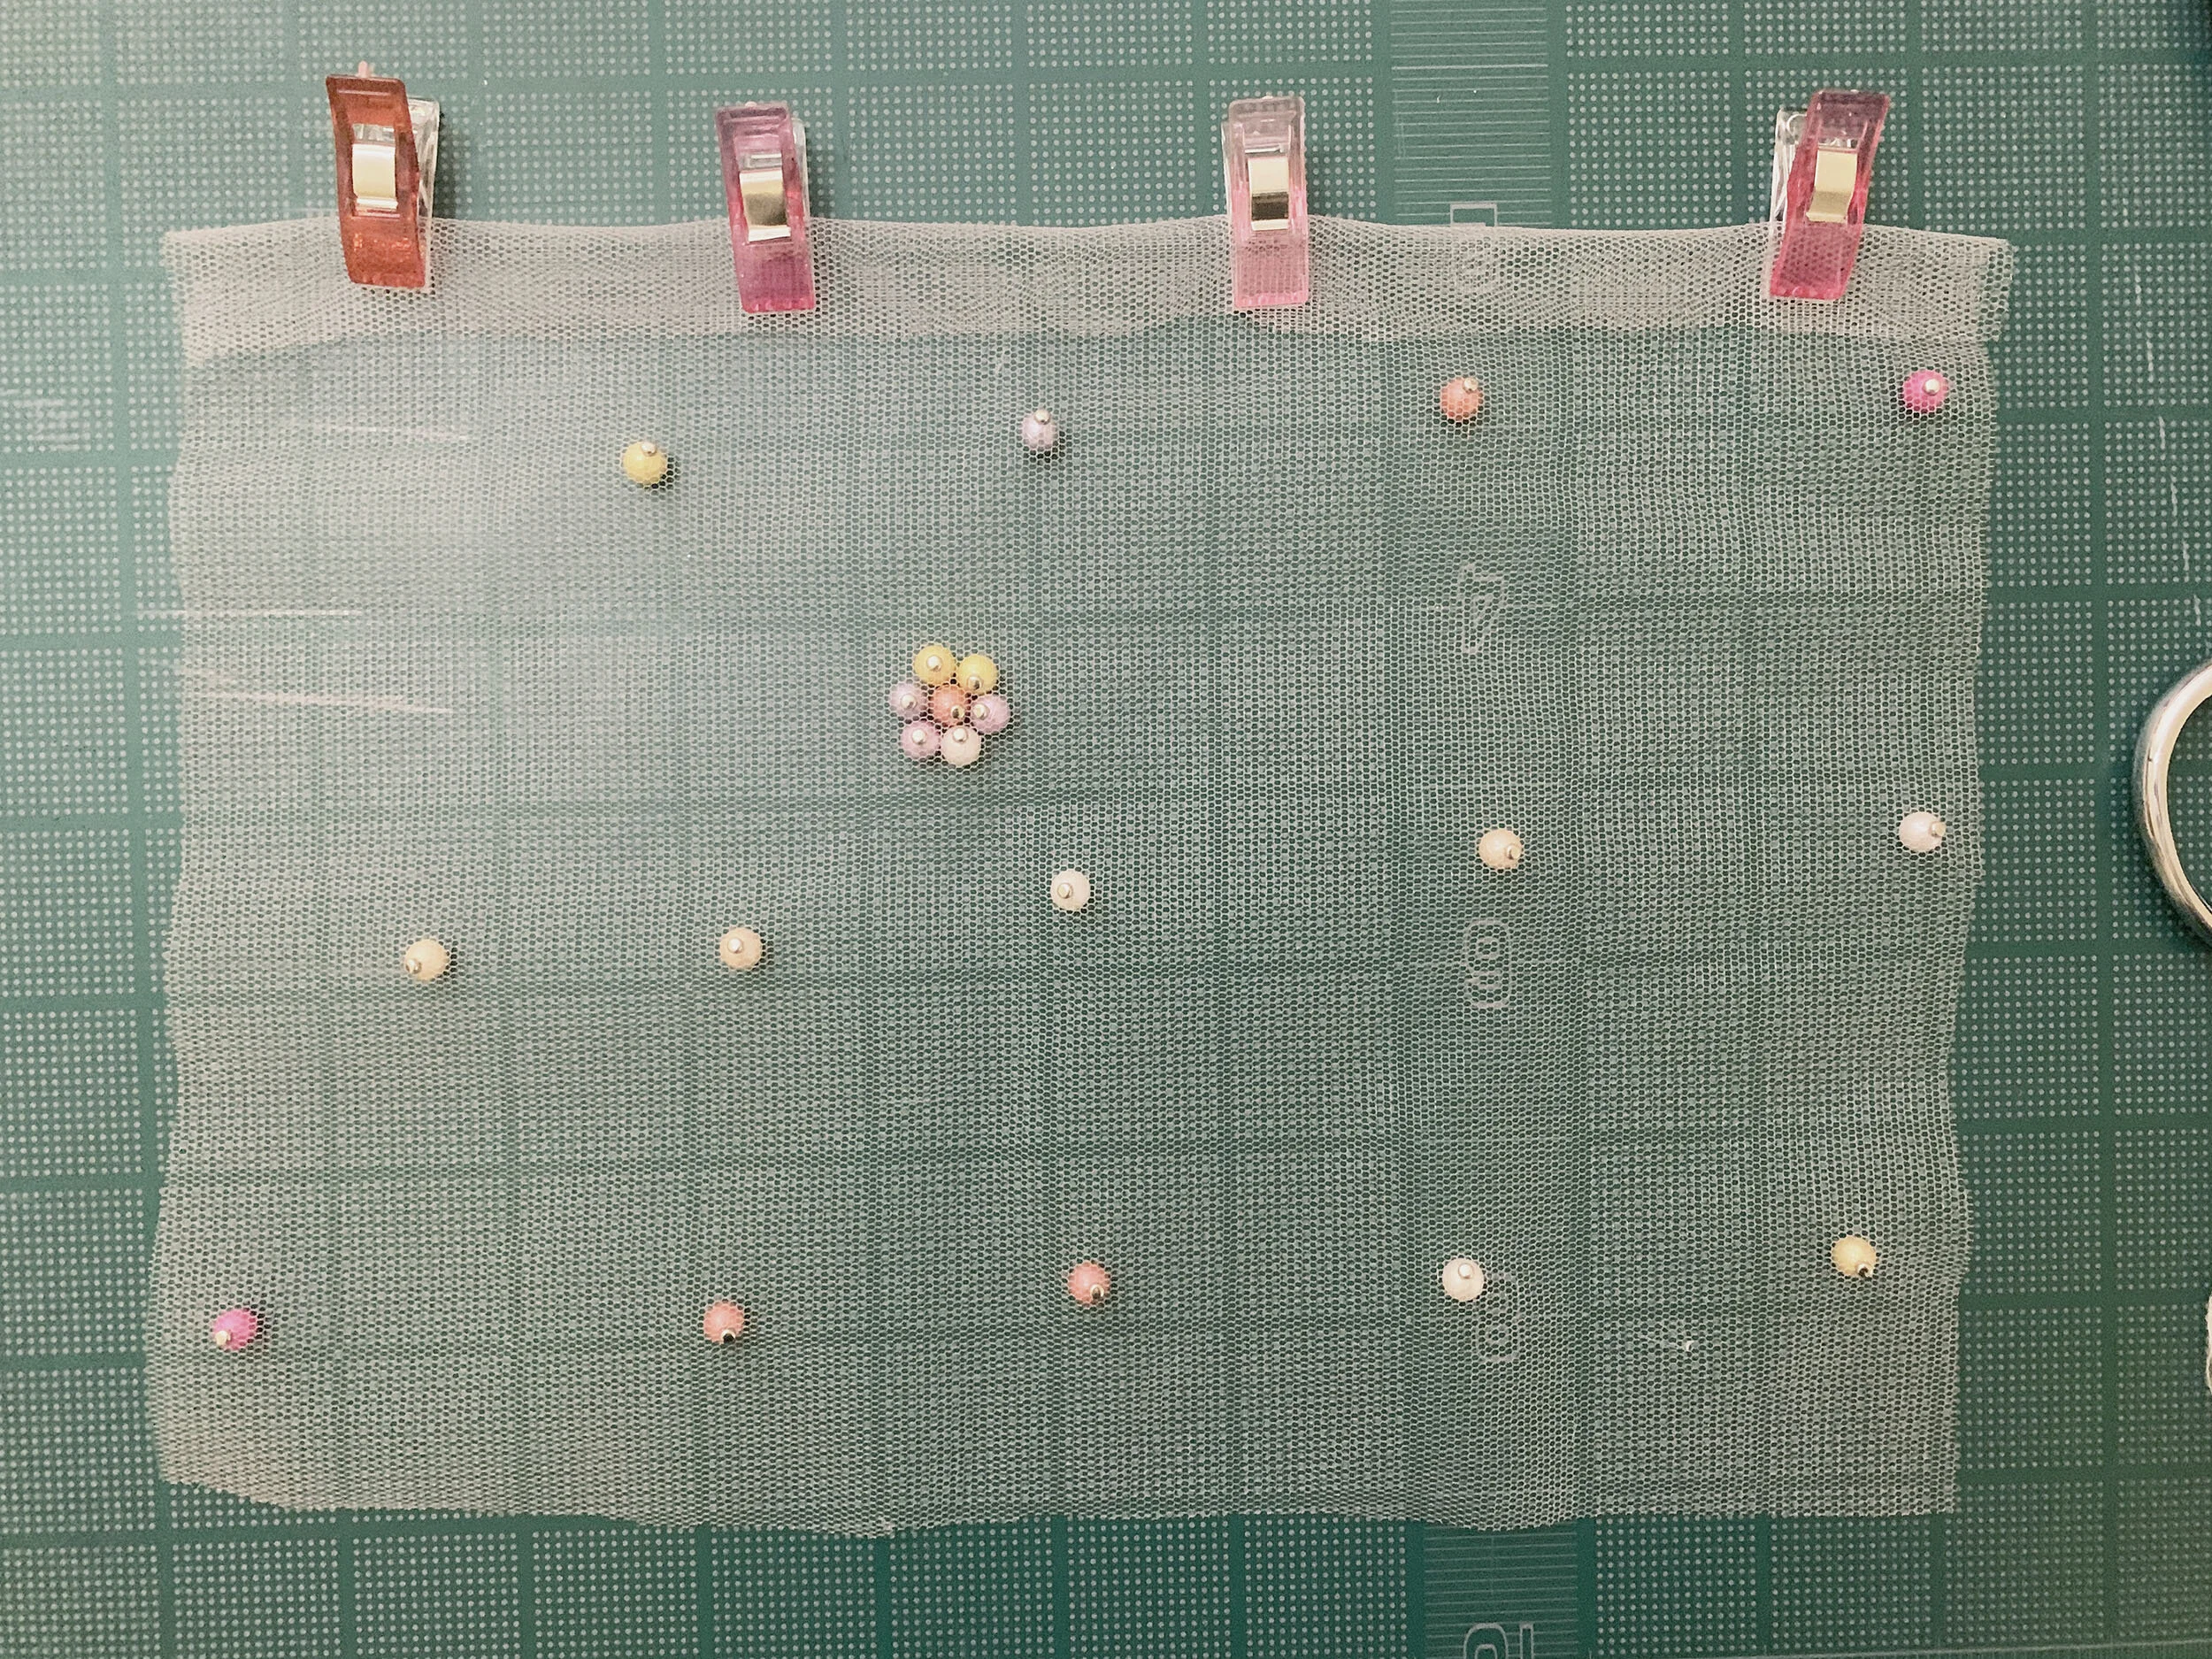
Stitch along the edge of fold. This forms a channel to our ribbon for the drawstring.
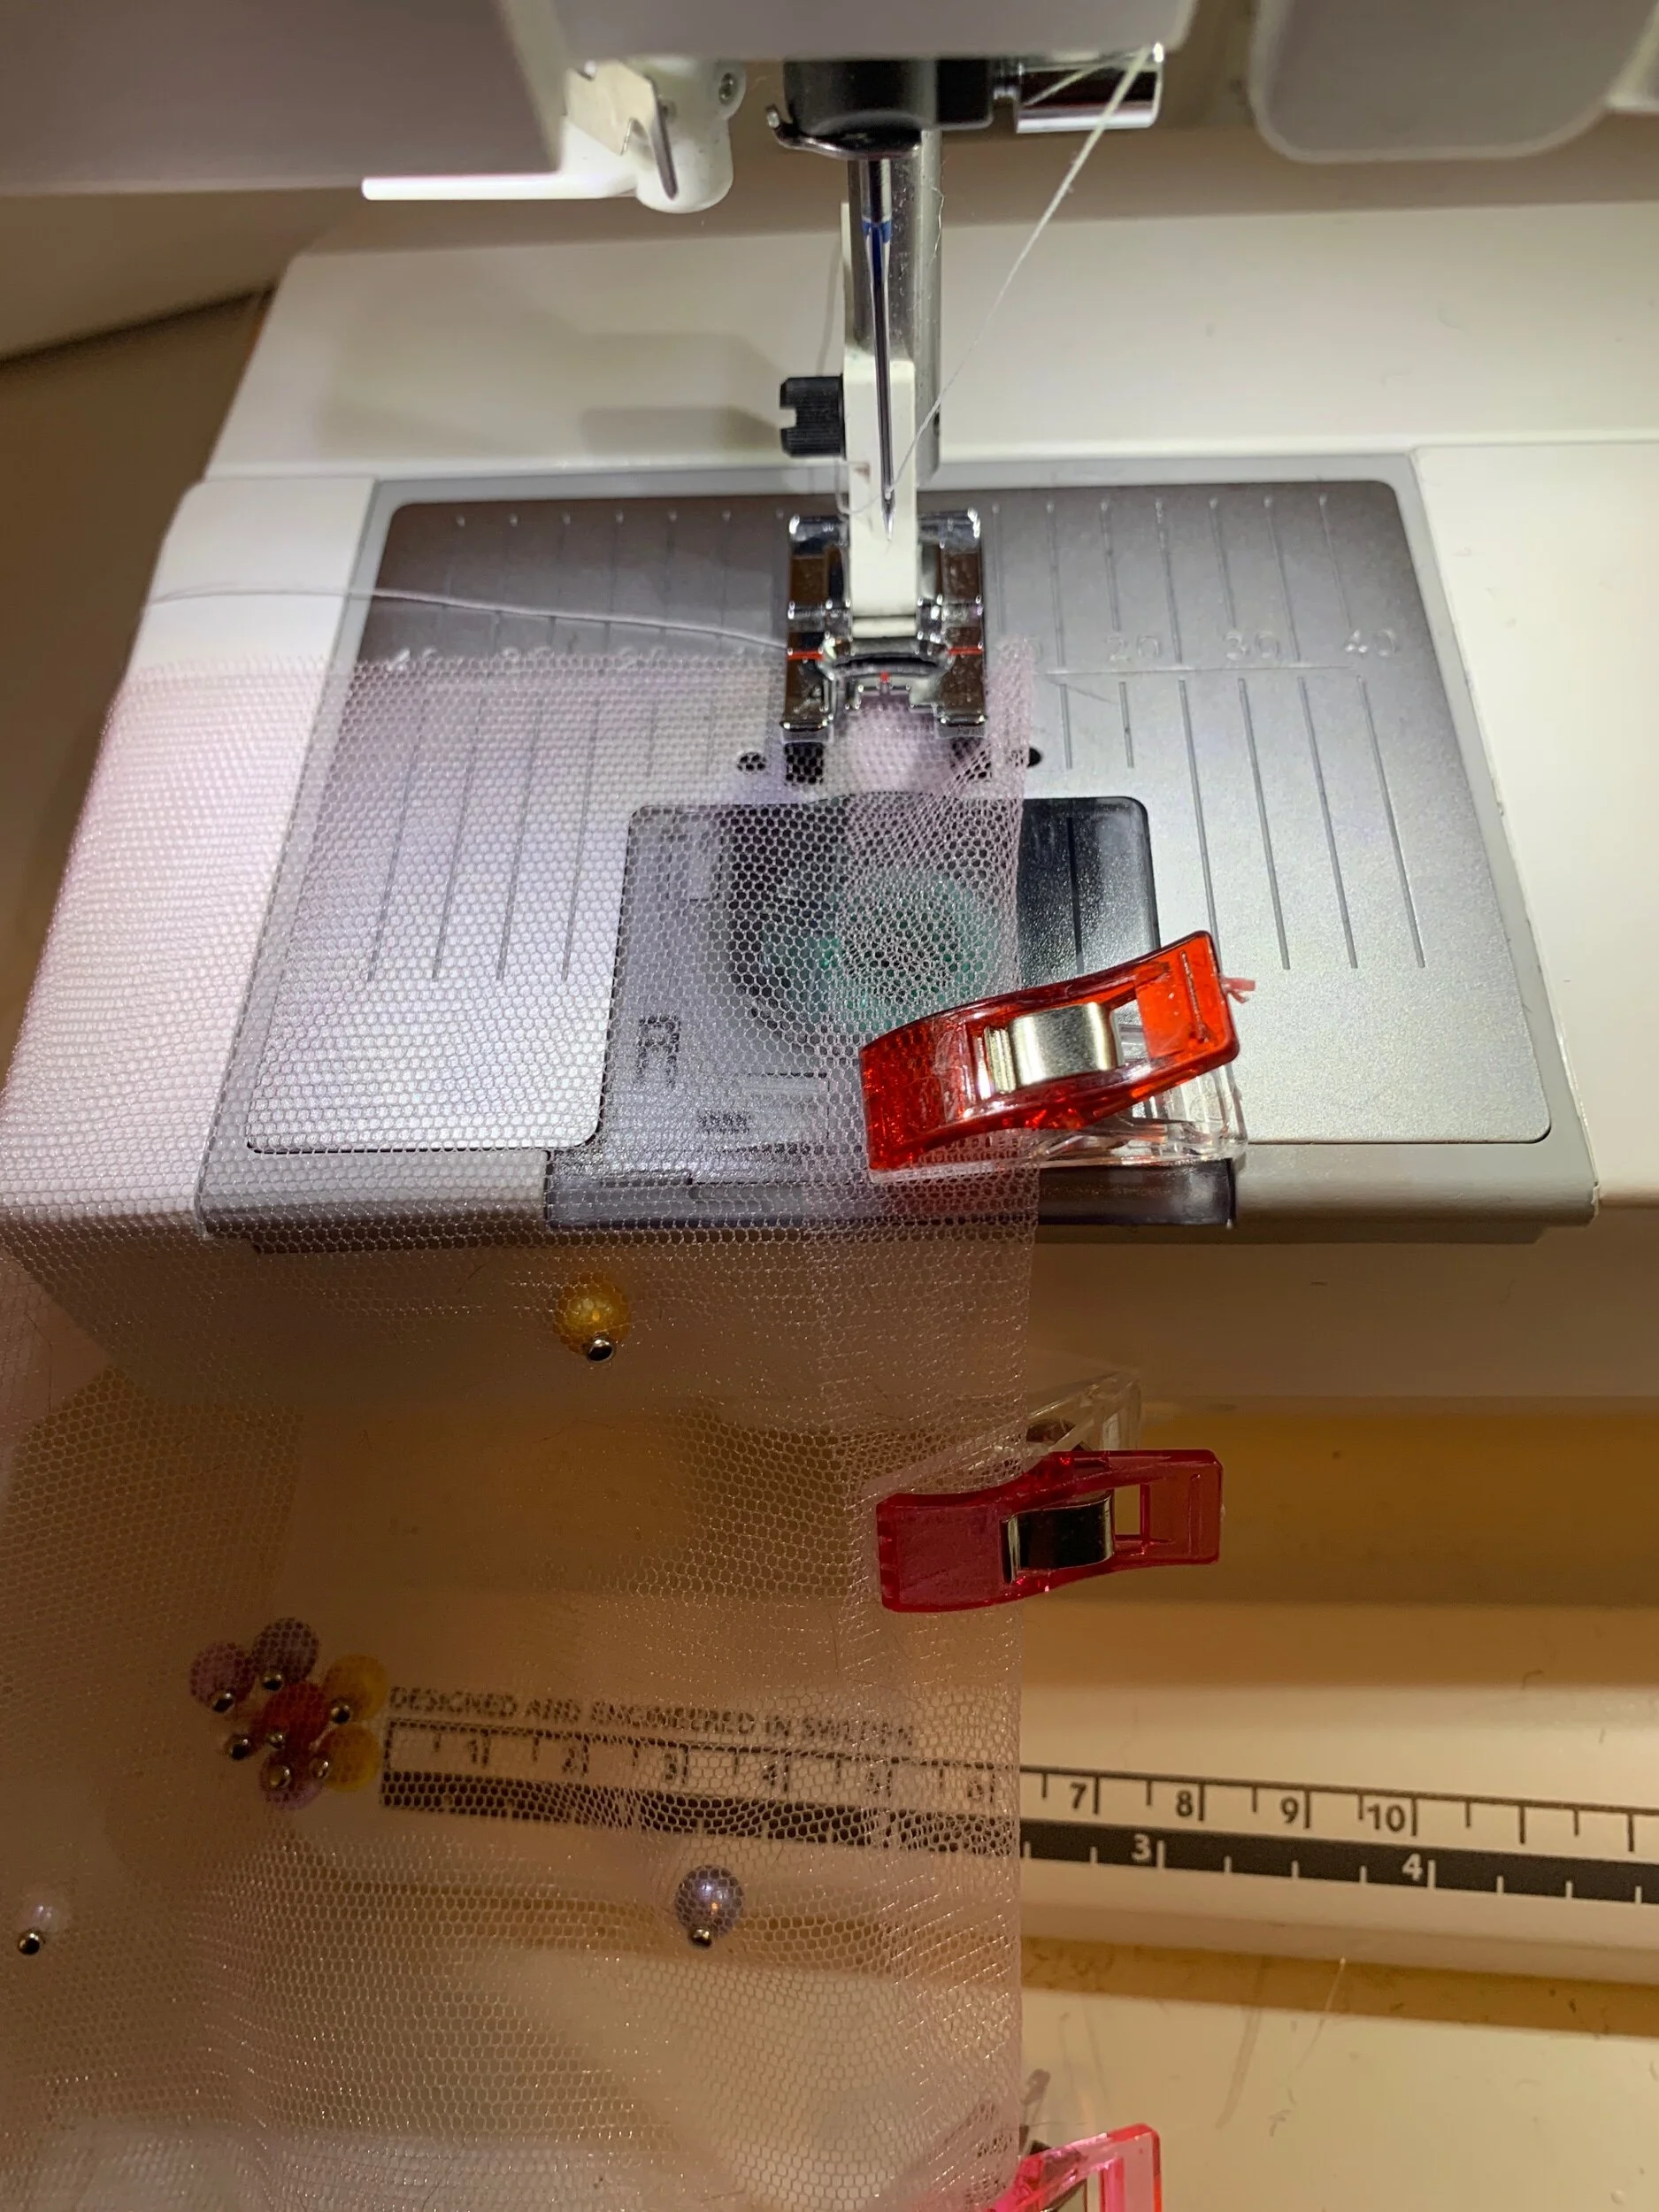
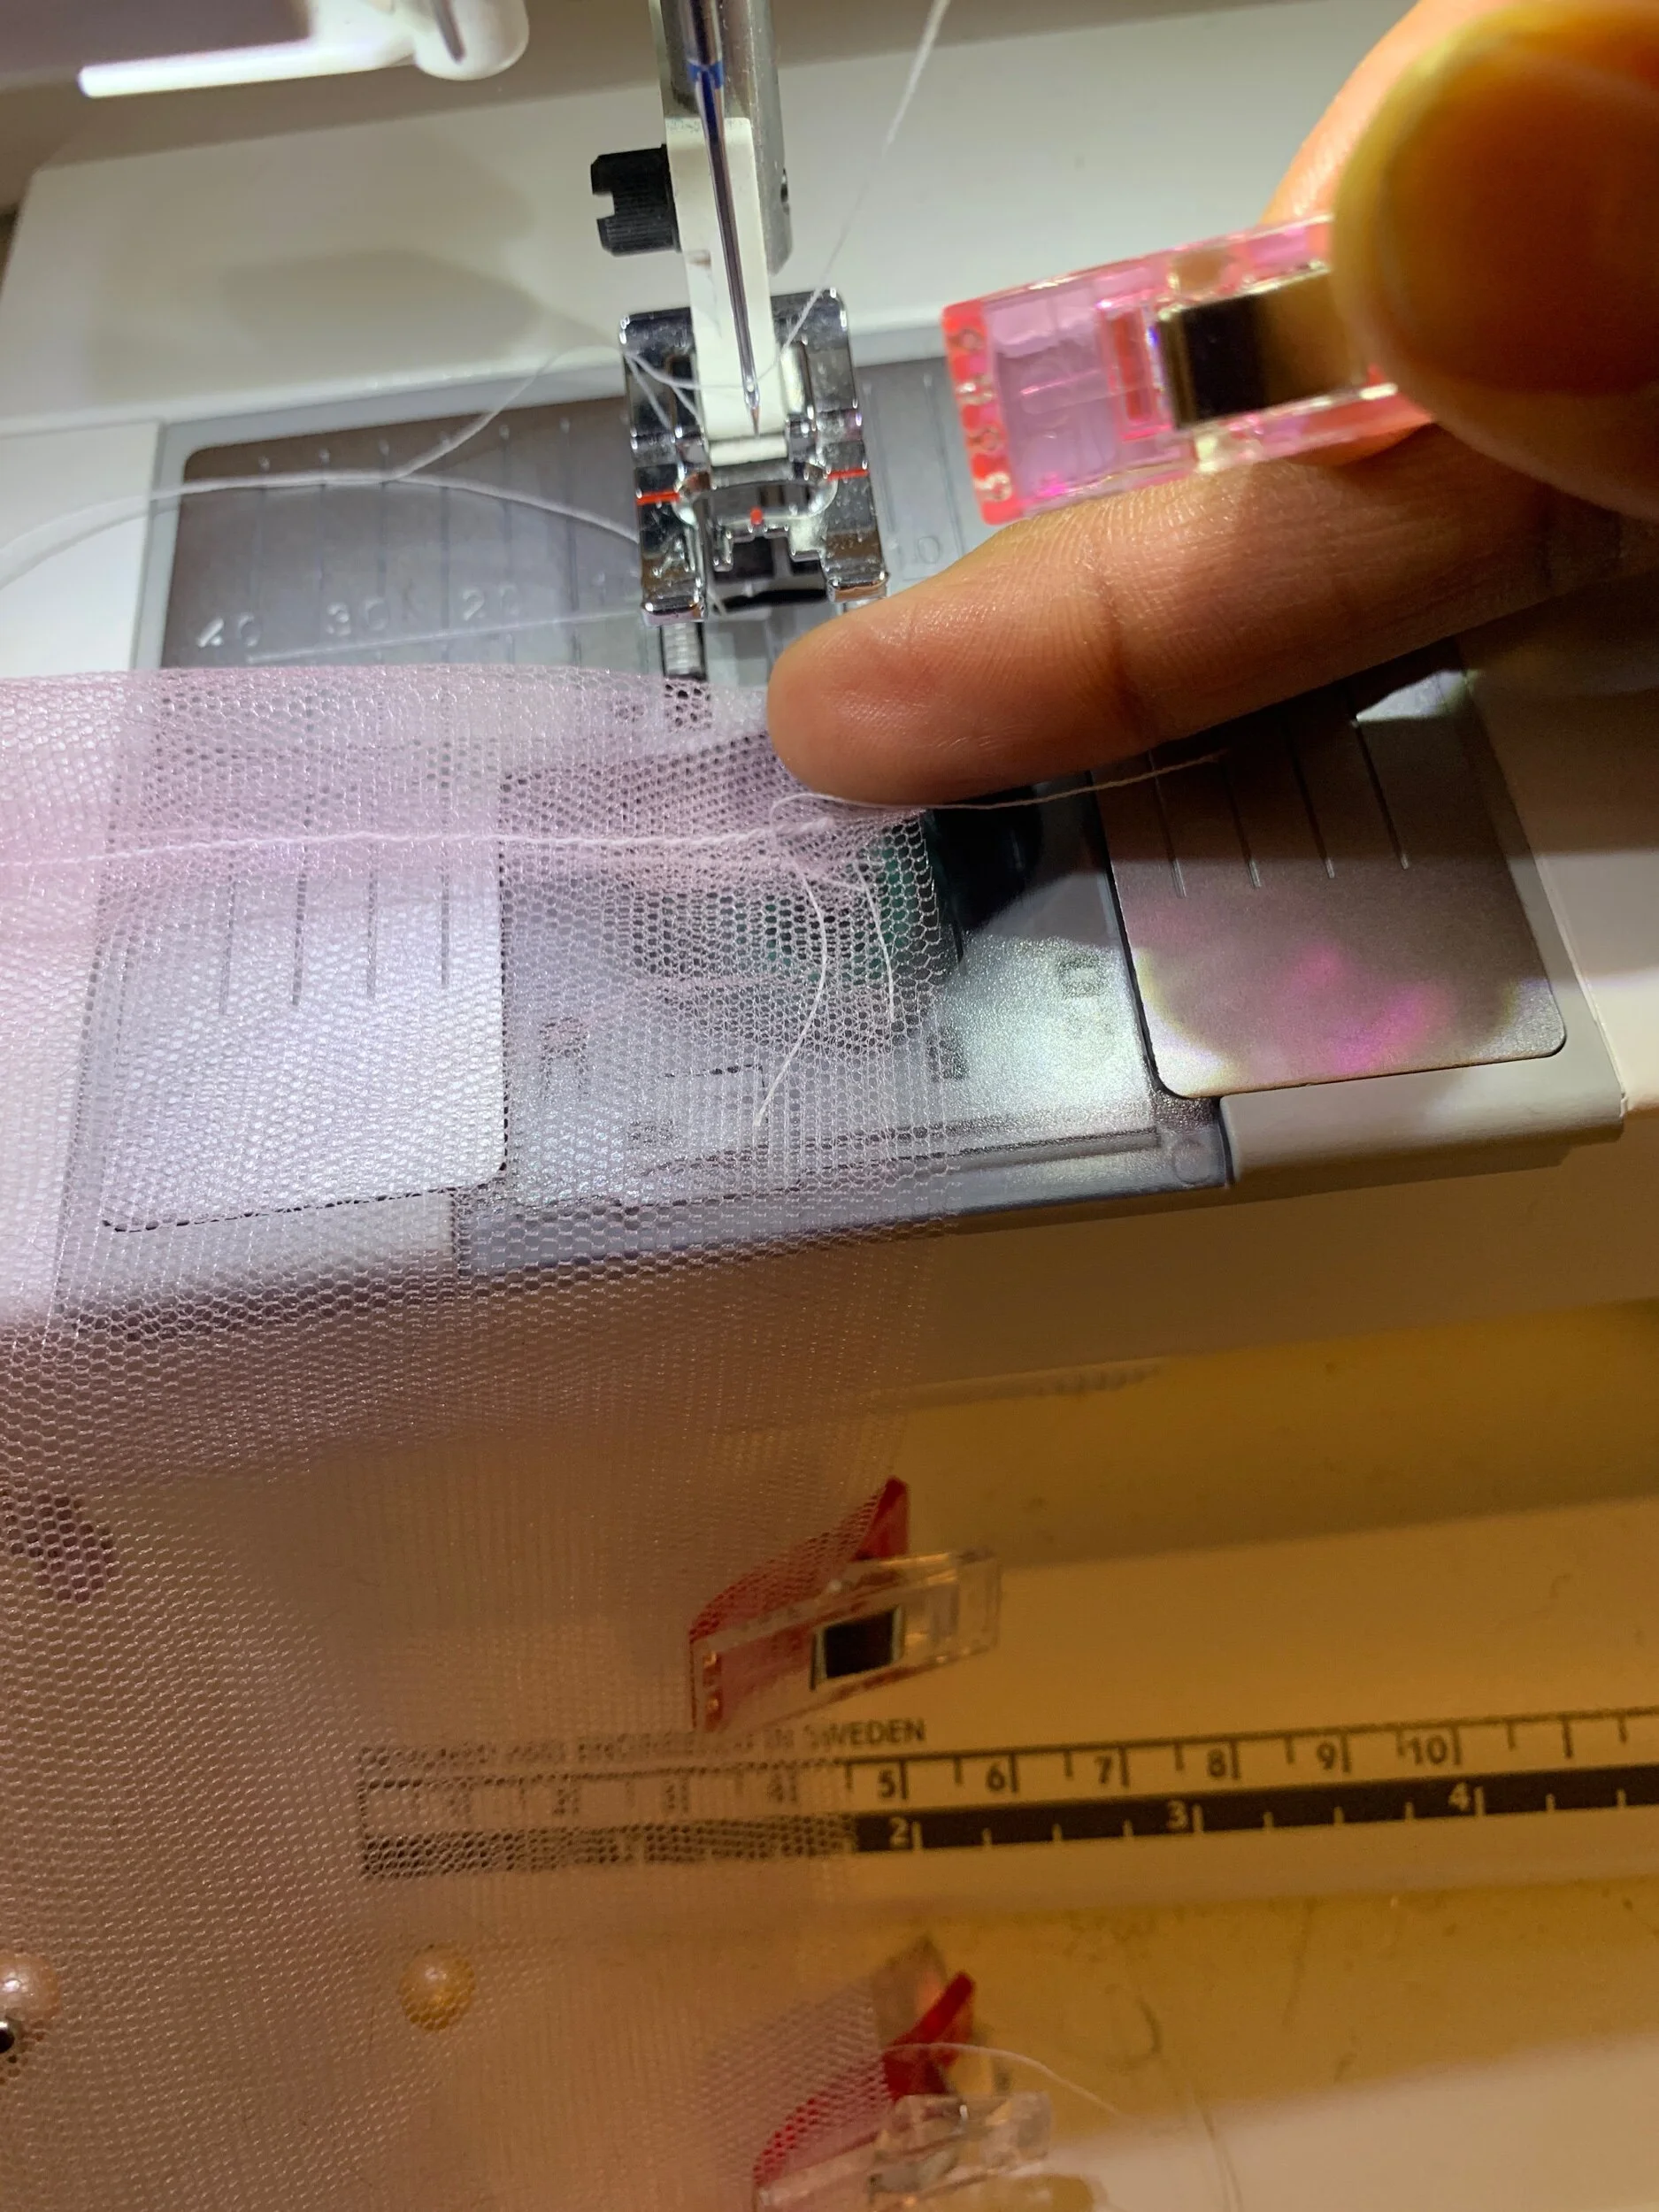
Next, fold the fabric in half with pretty sides touching. Use pins or clips to secure the fabric. Stitch 1/4” from edge starting at the bottom edge of channeling and going around the corner. Remove the clips as you go.
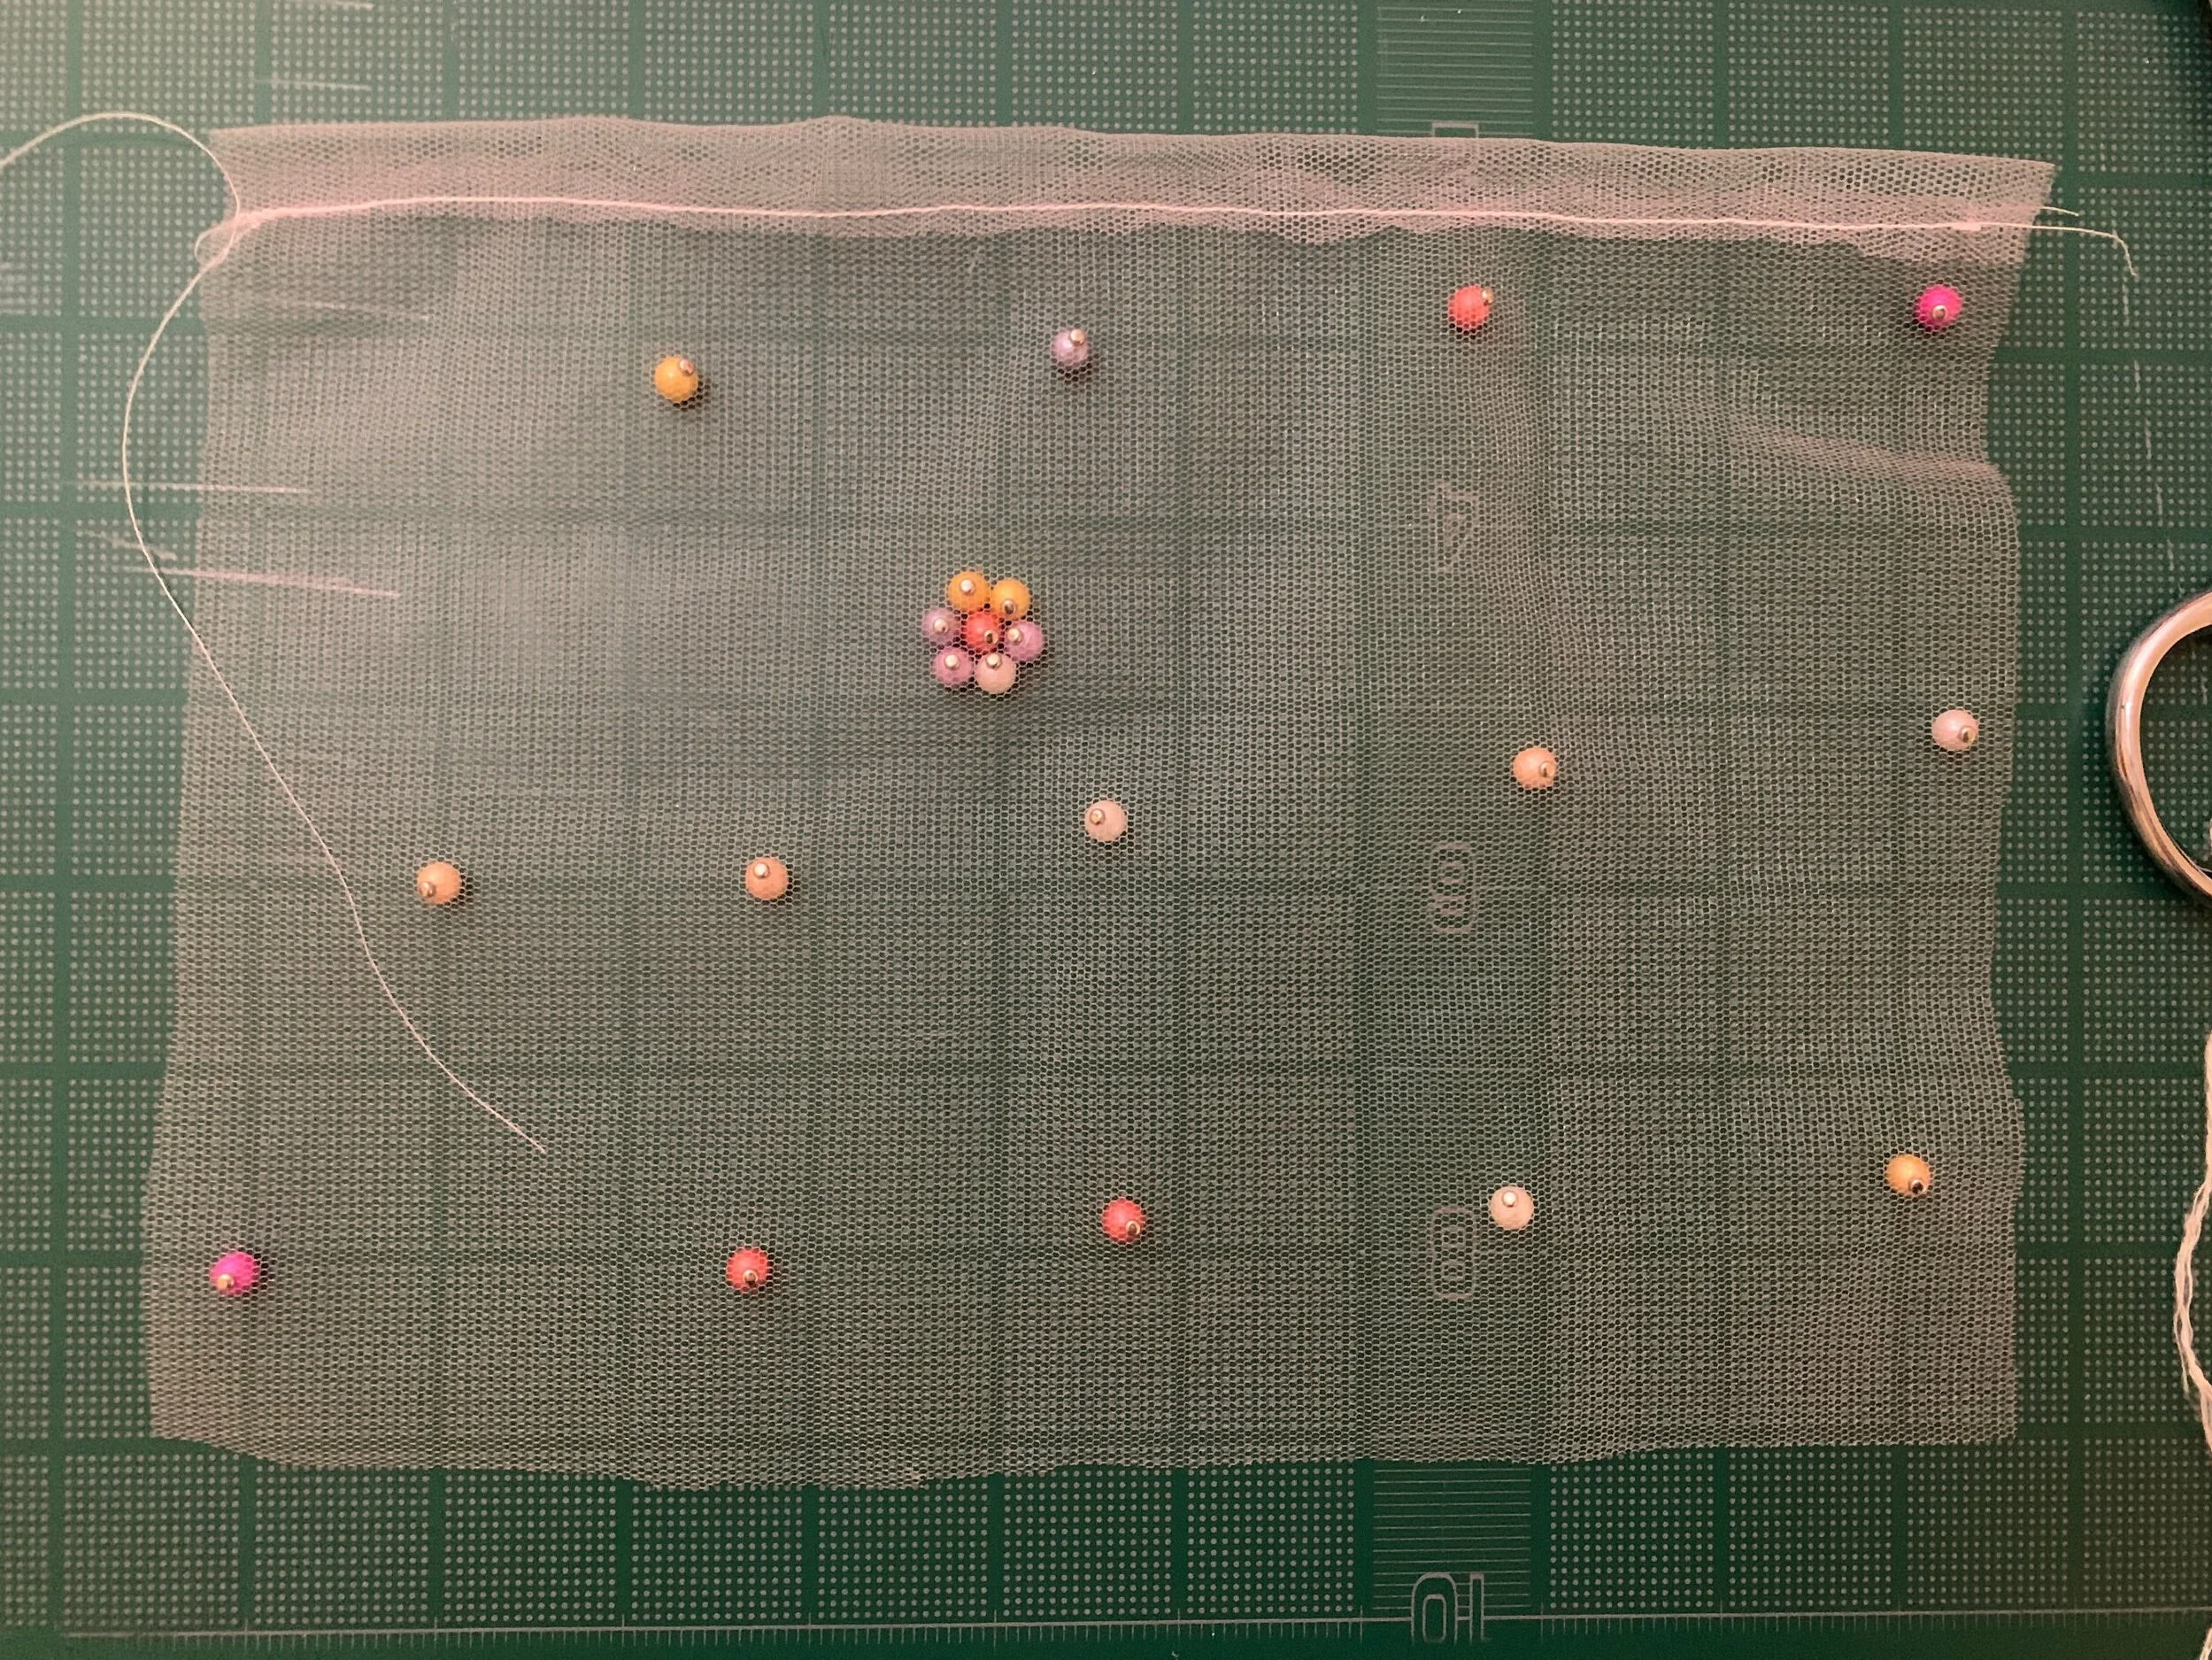
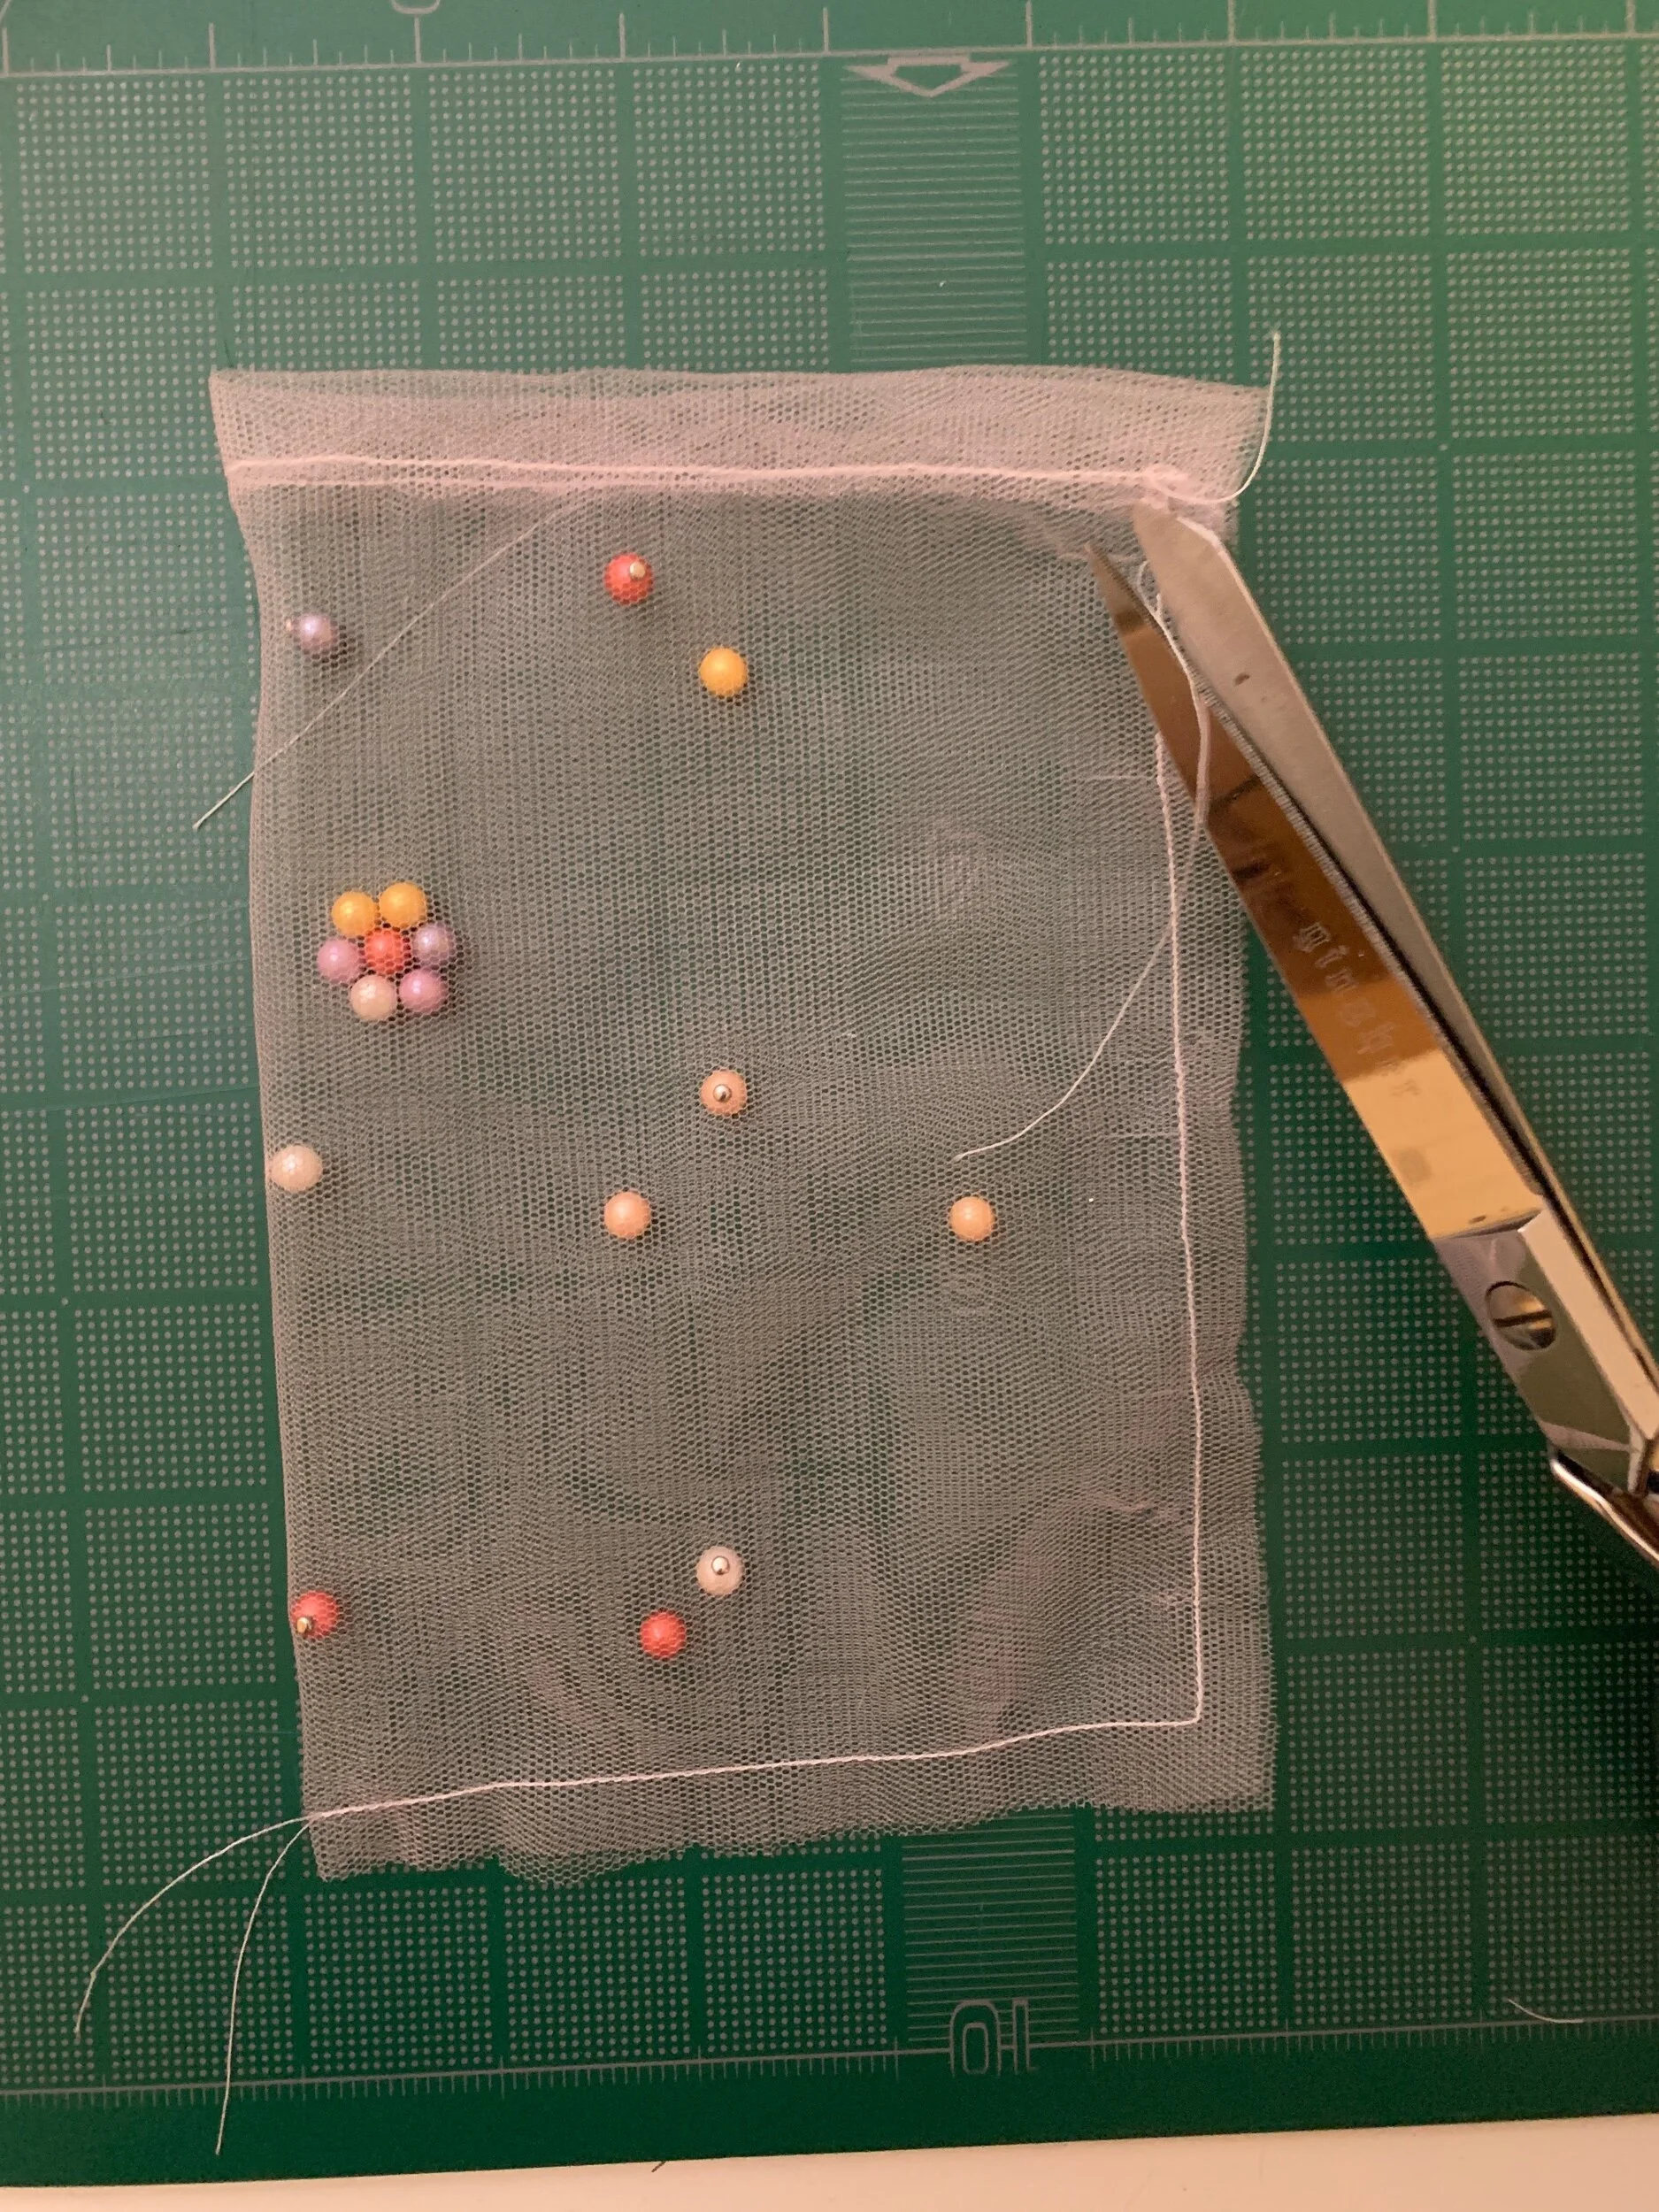
Trim the excess thread.
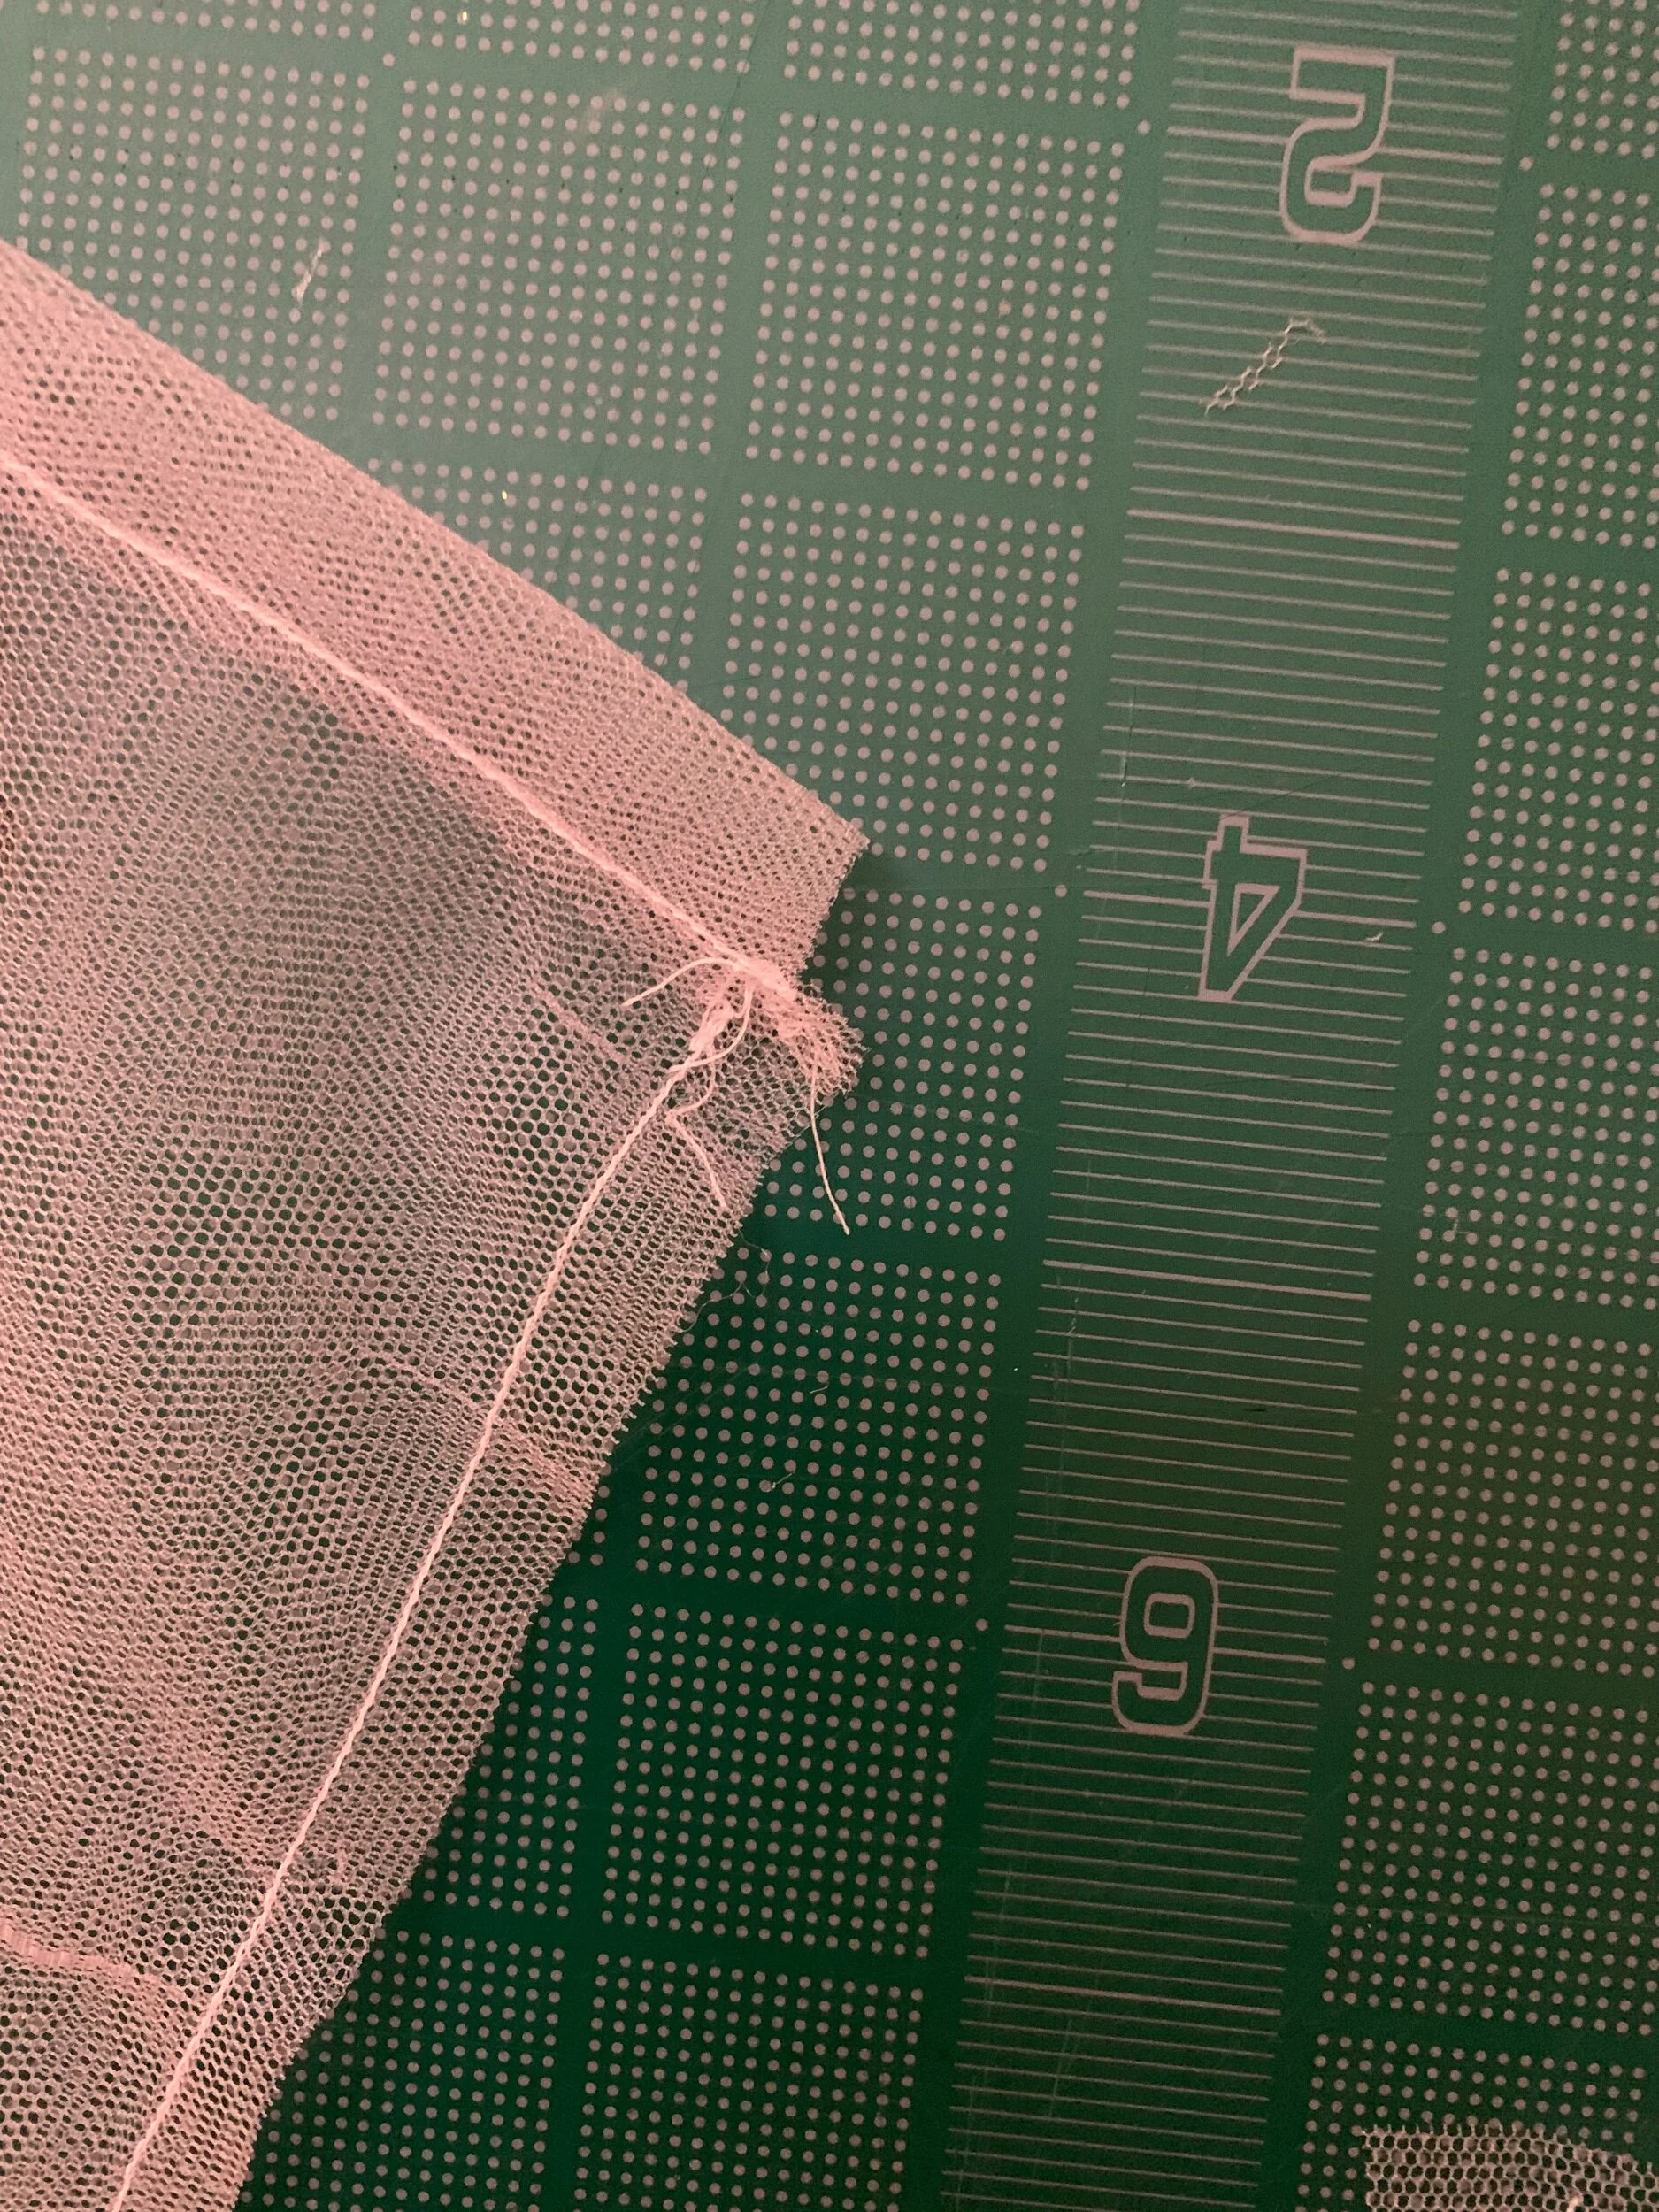
With the bag still on the wrong side, cut a square out of the corner (left image).
Then turn bag to the pretty side out (right image).
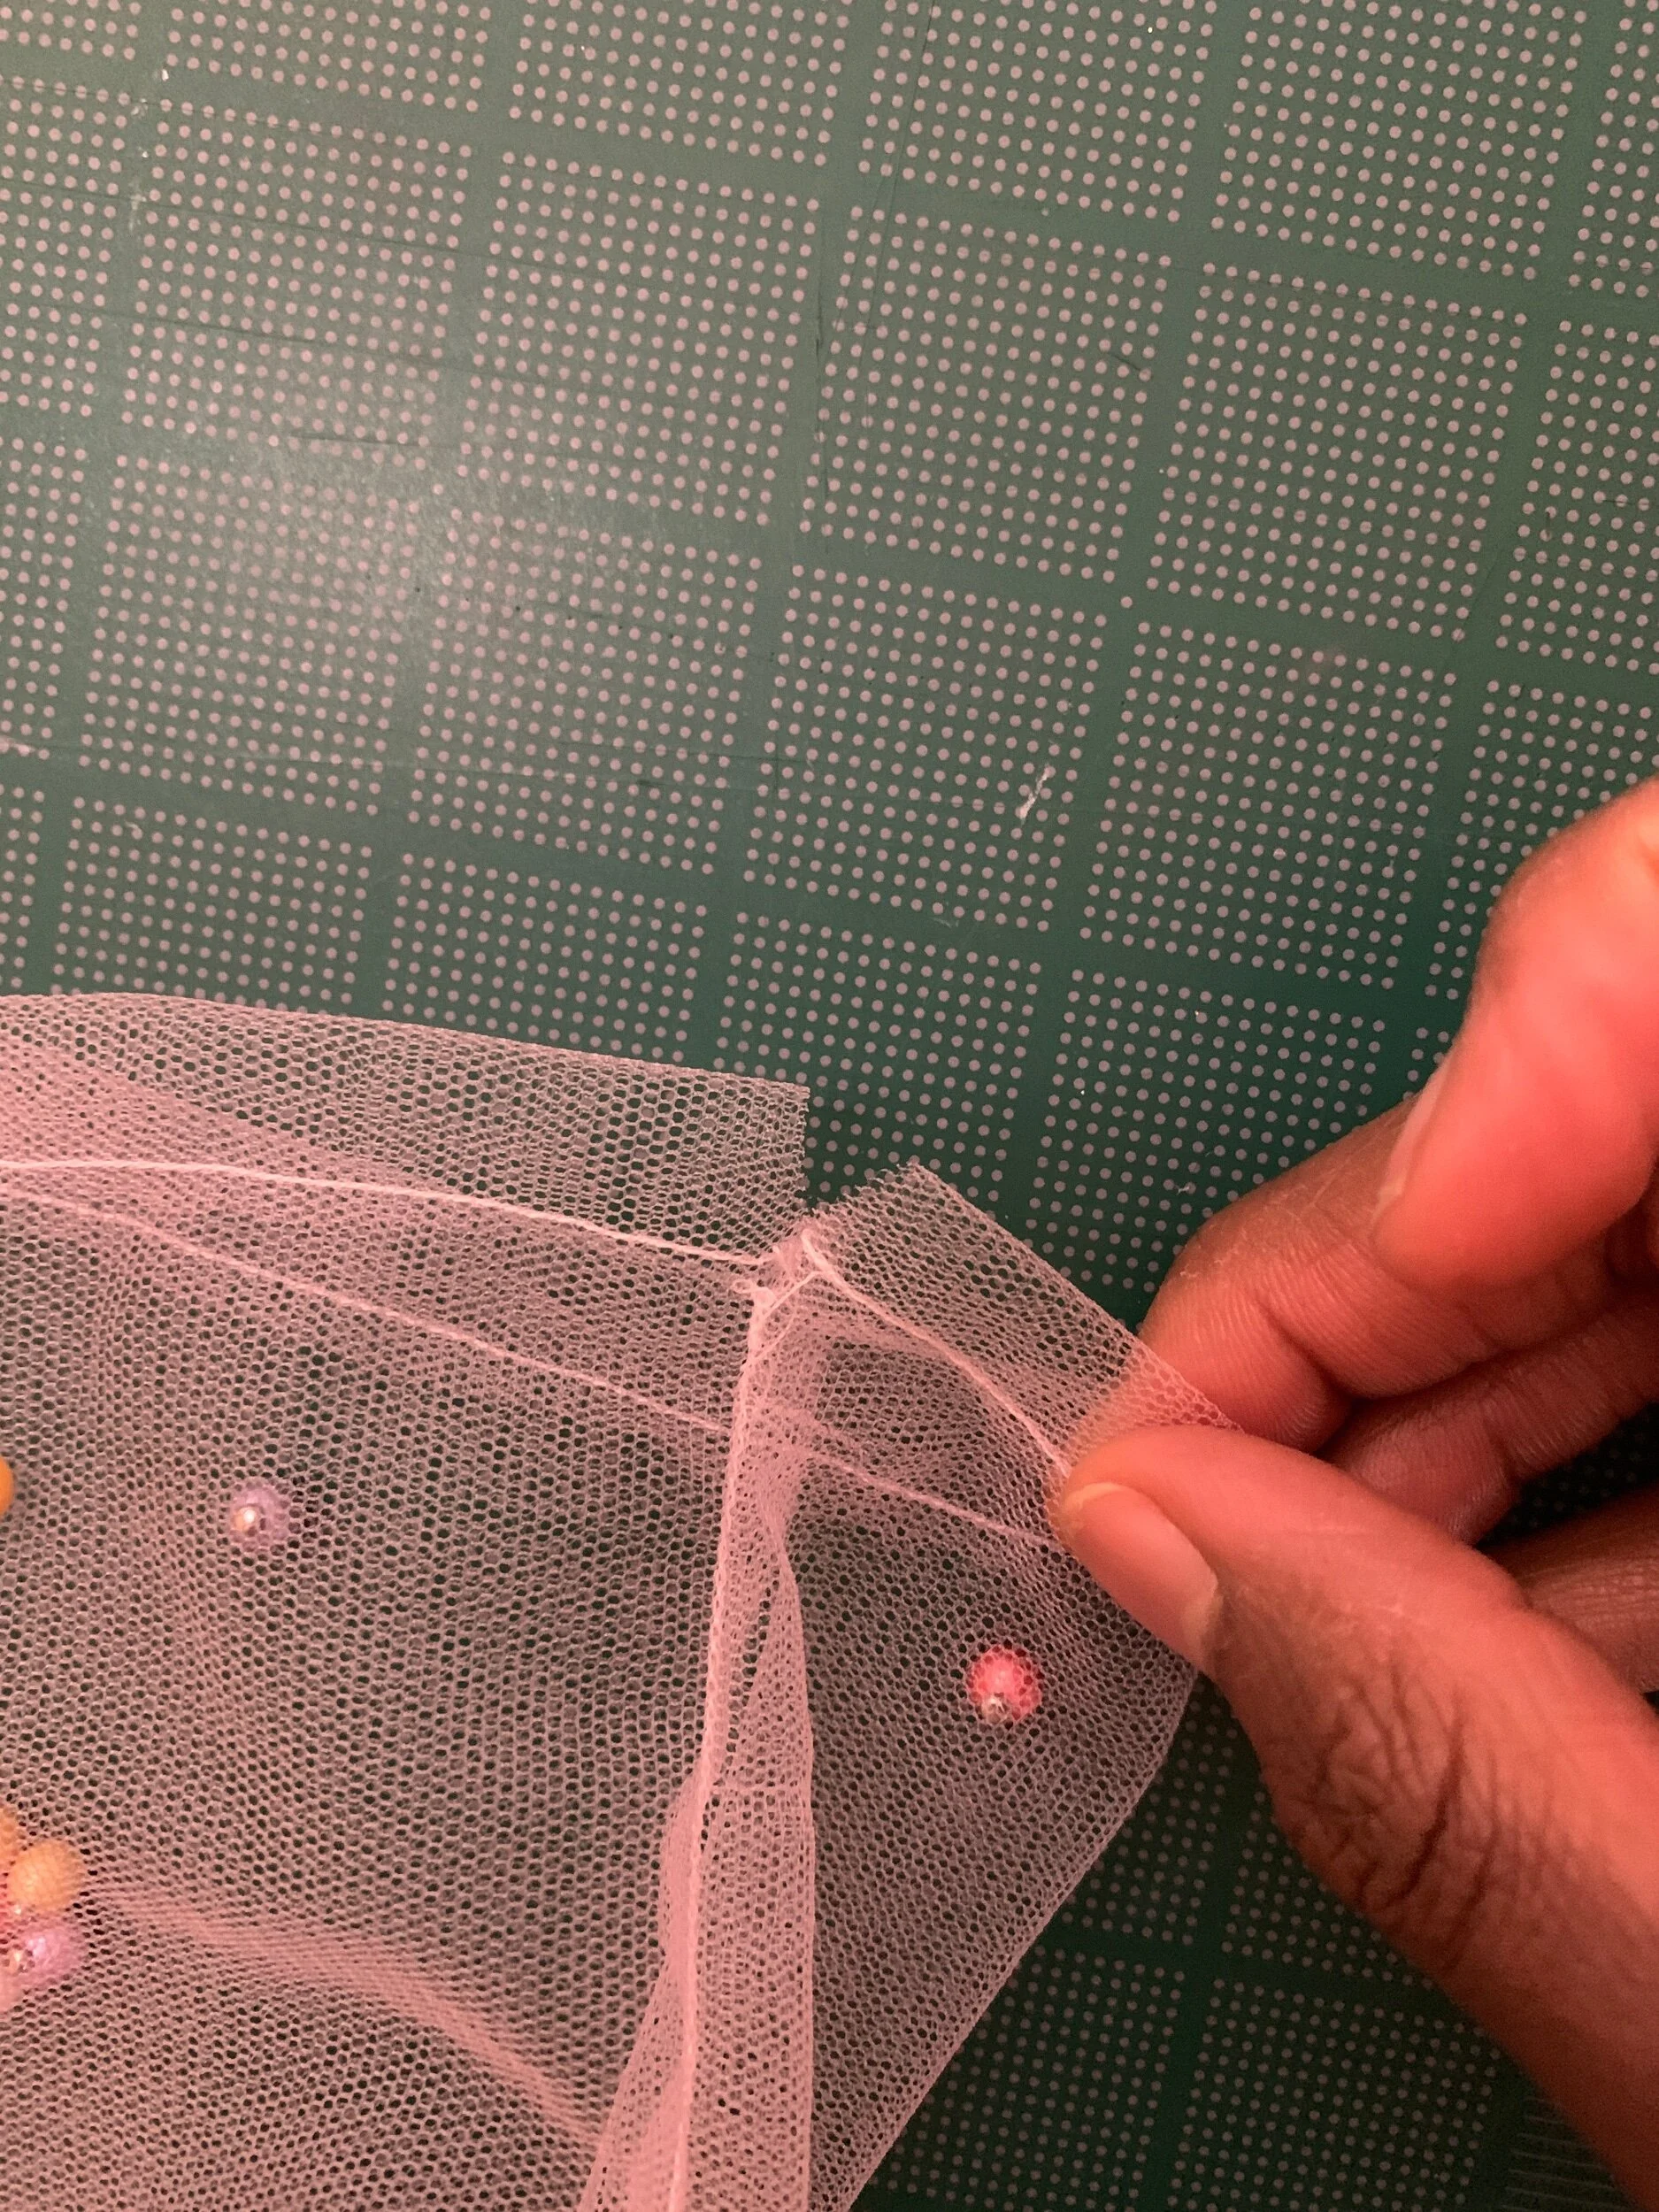
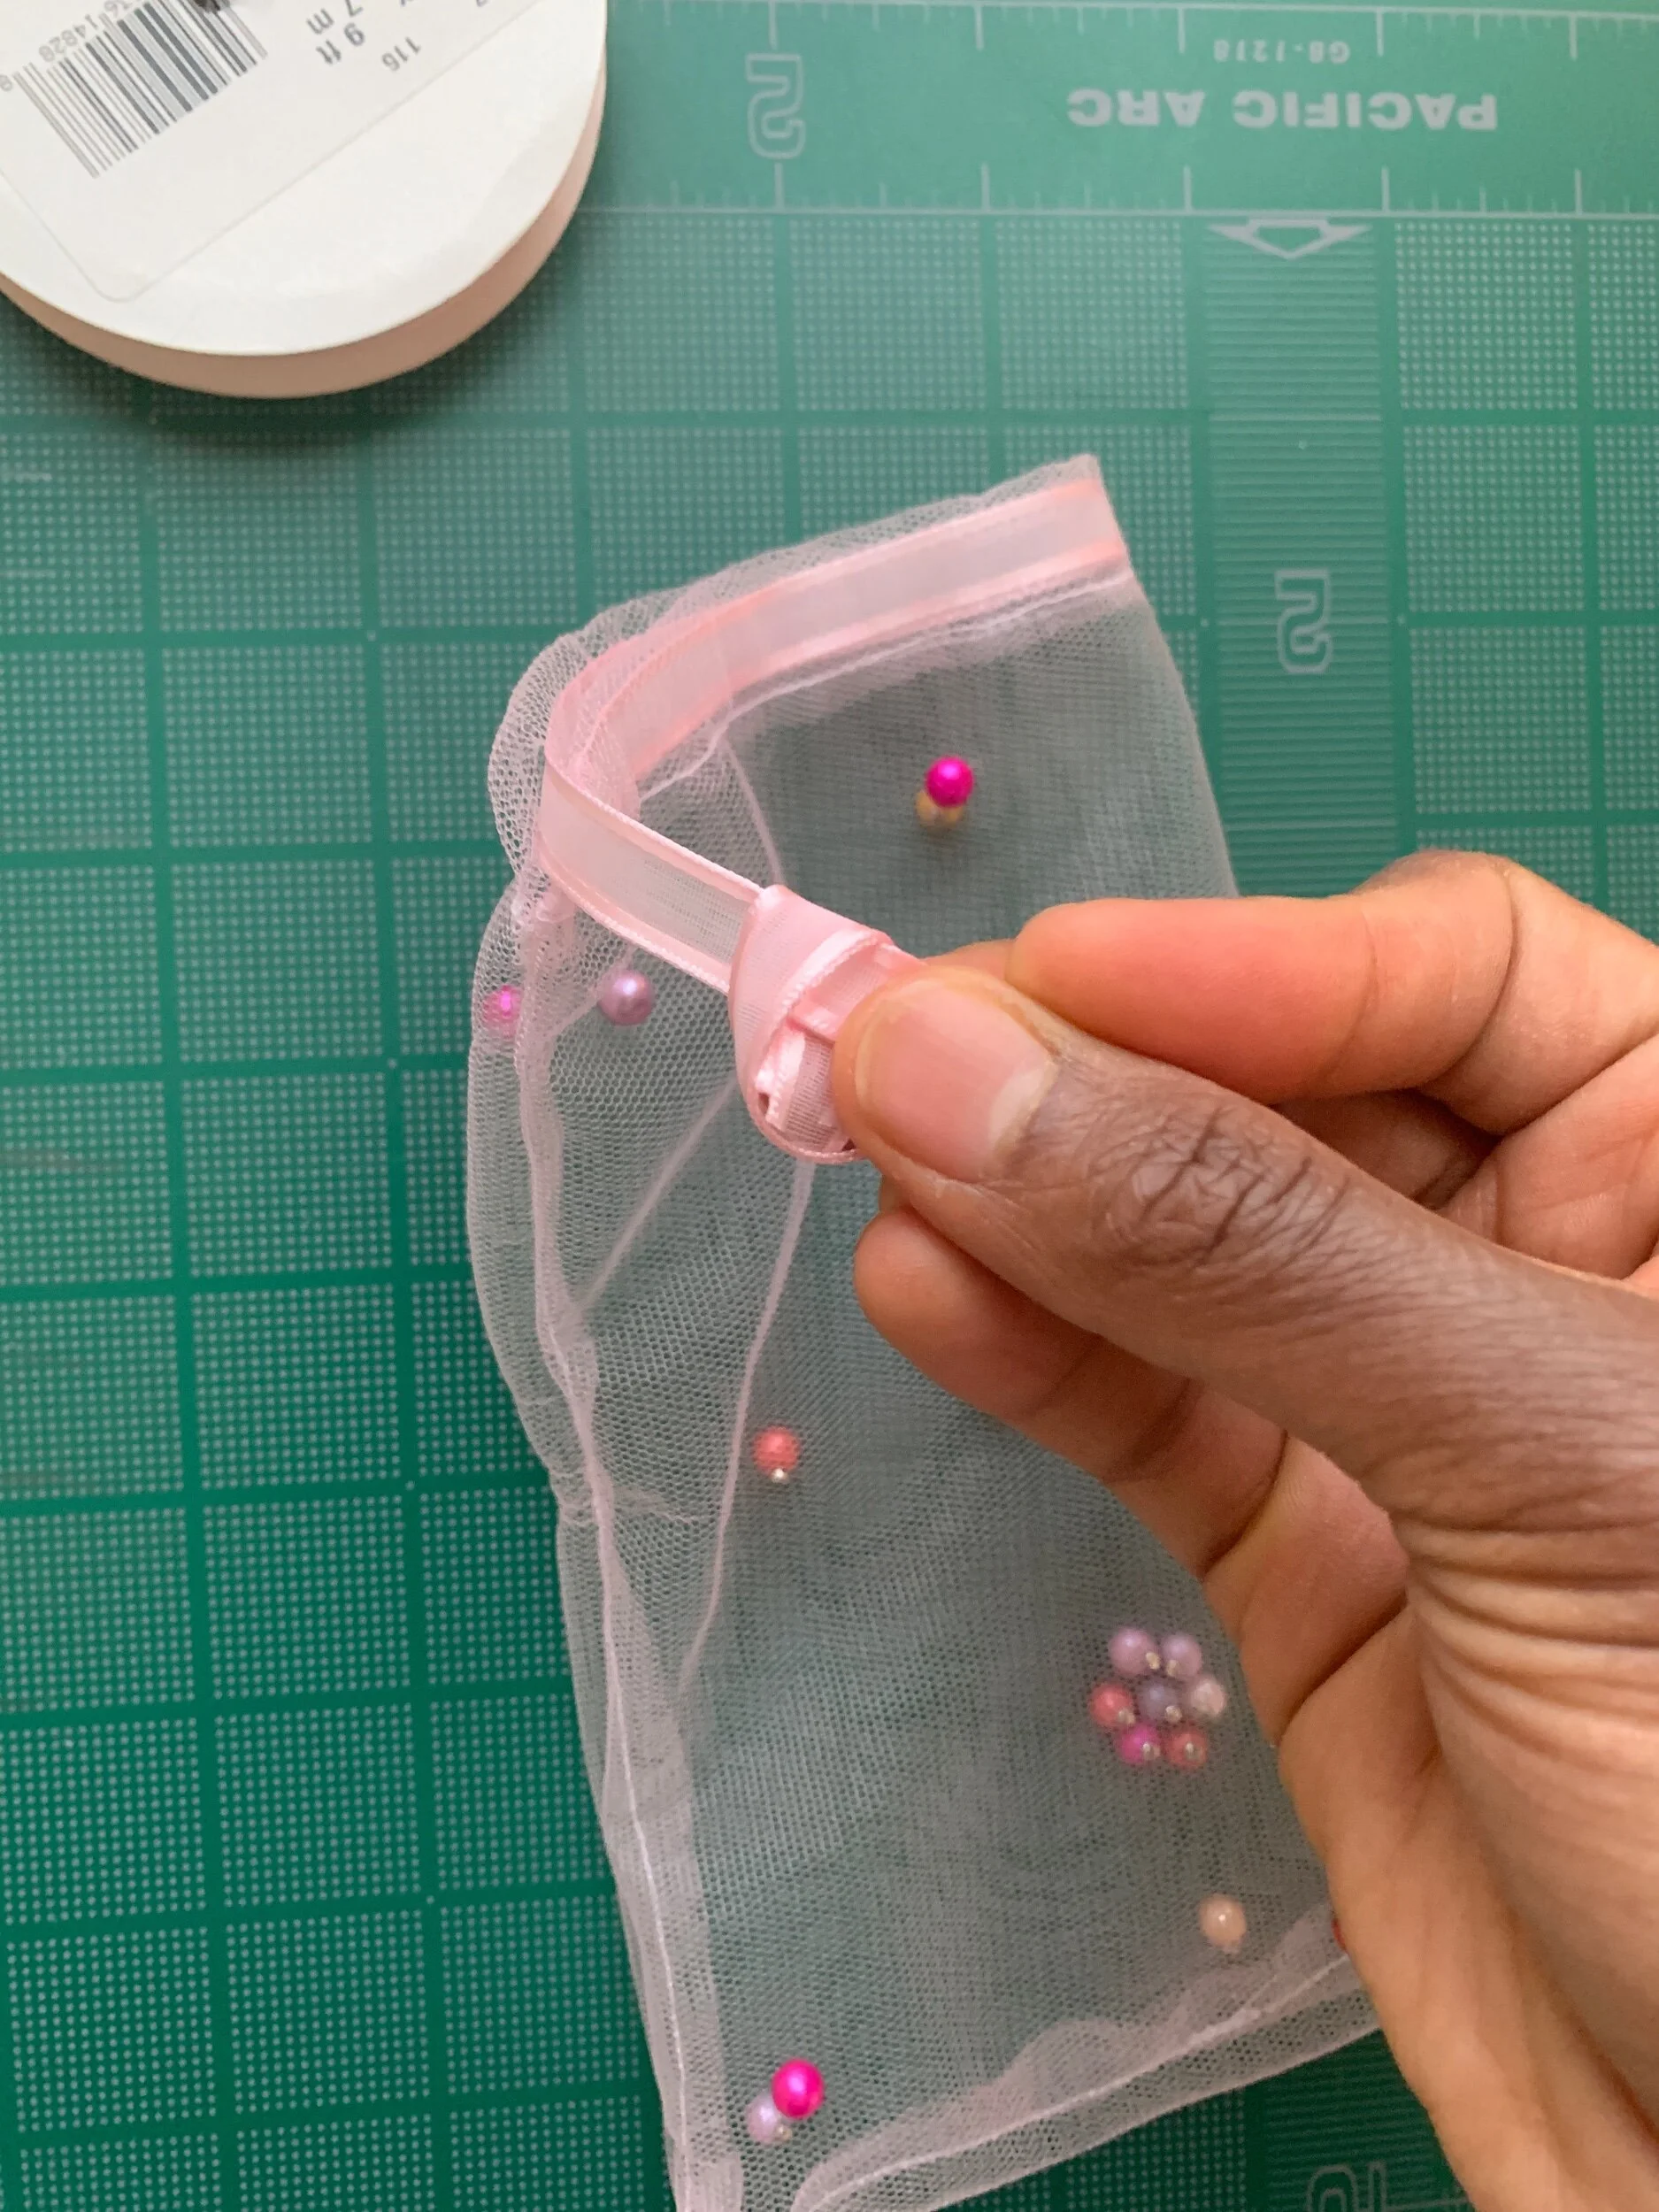
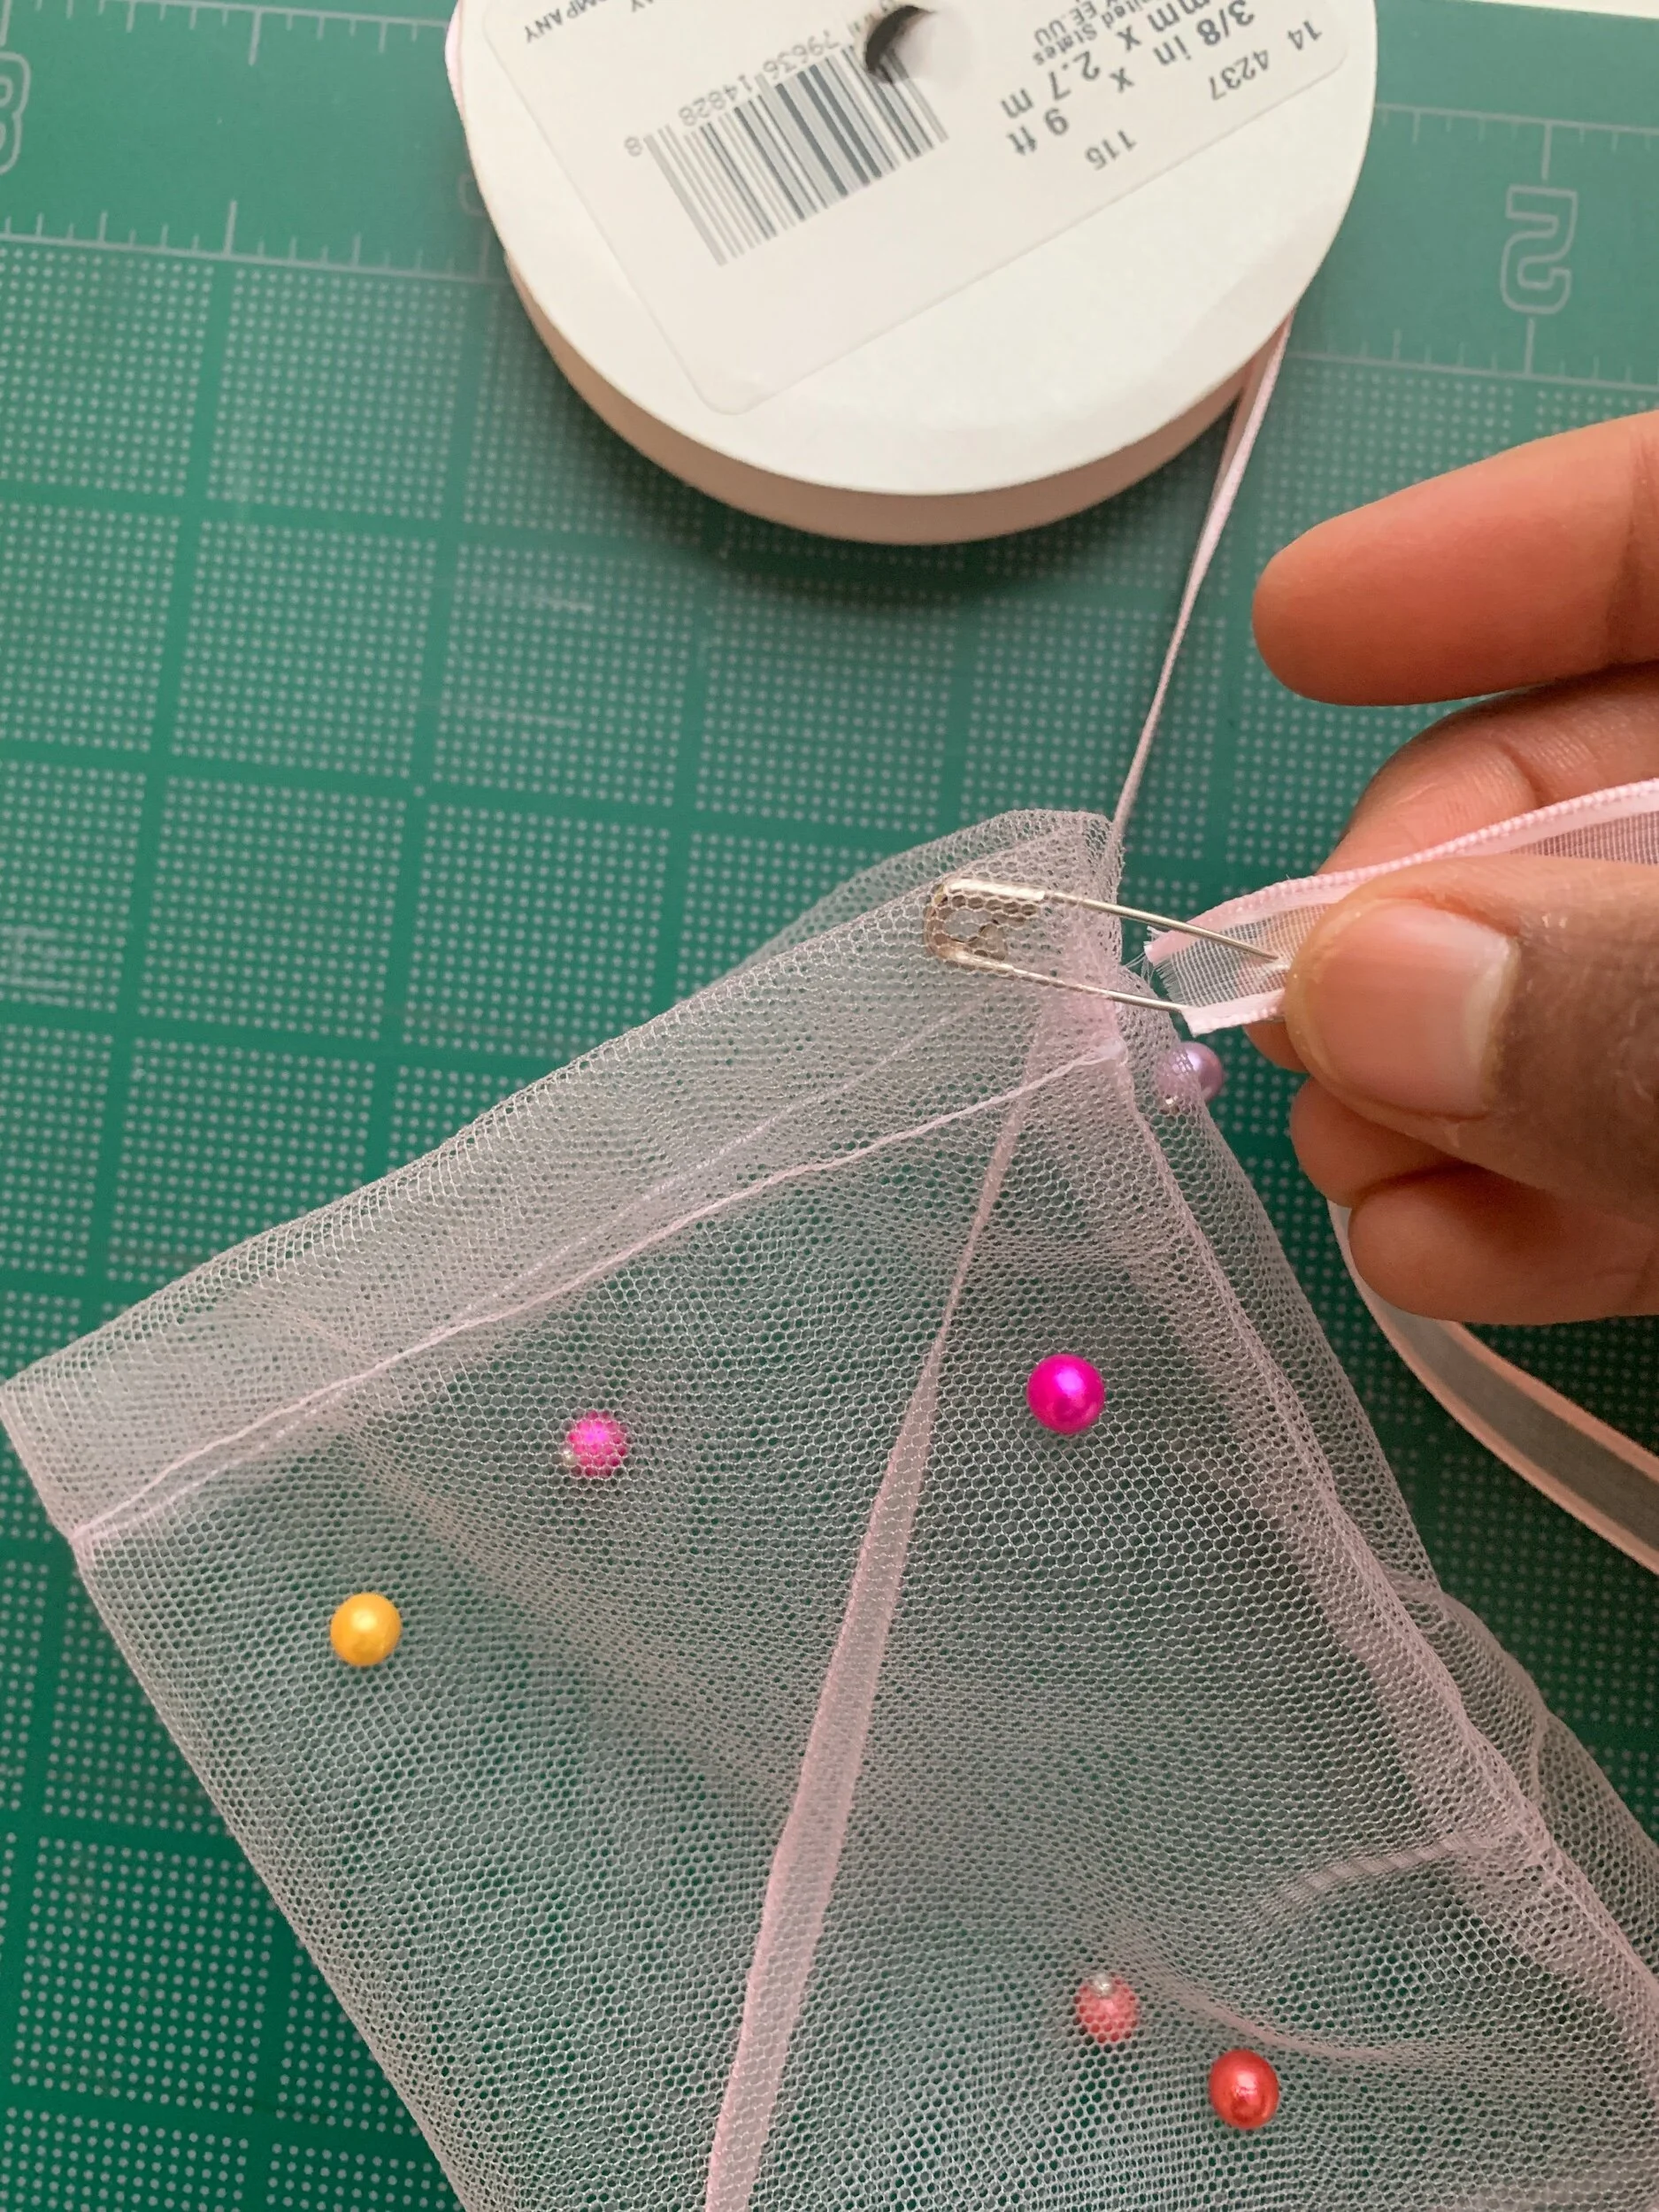
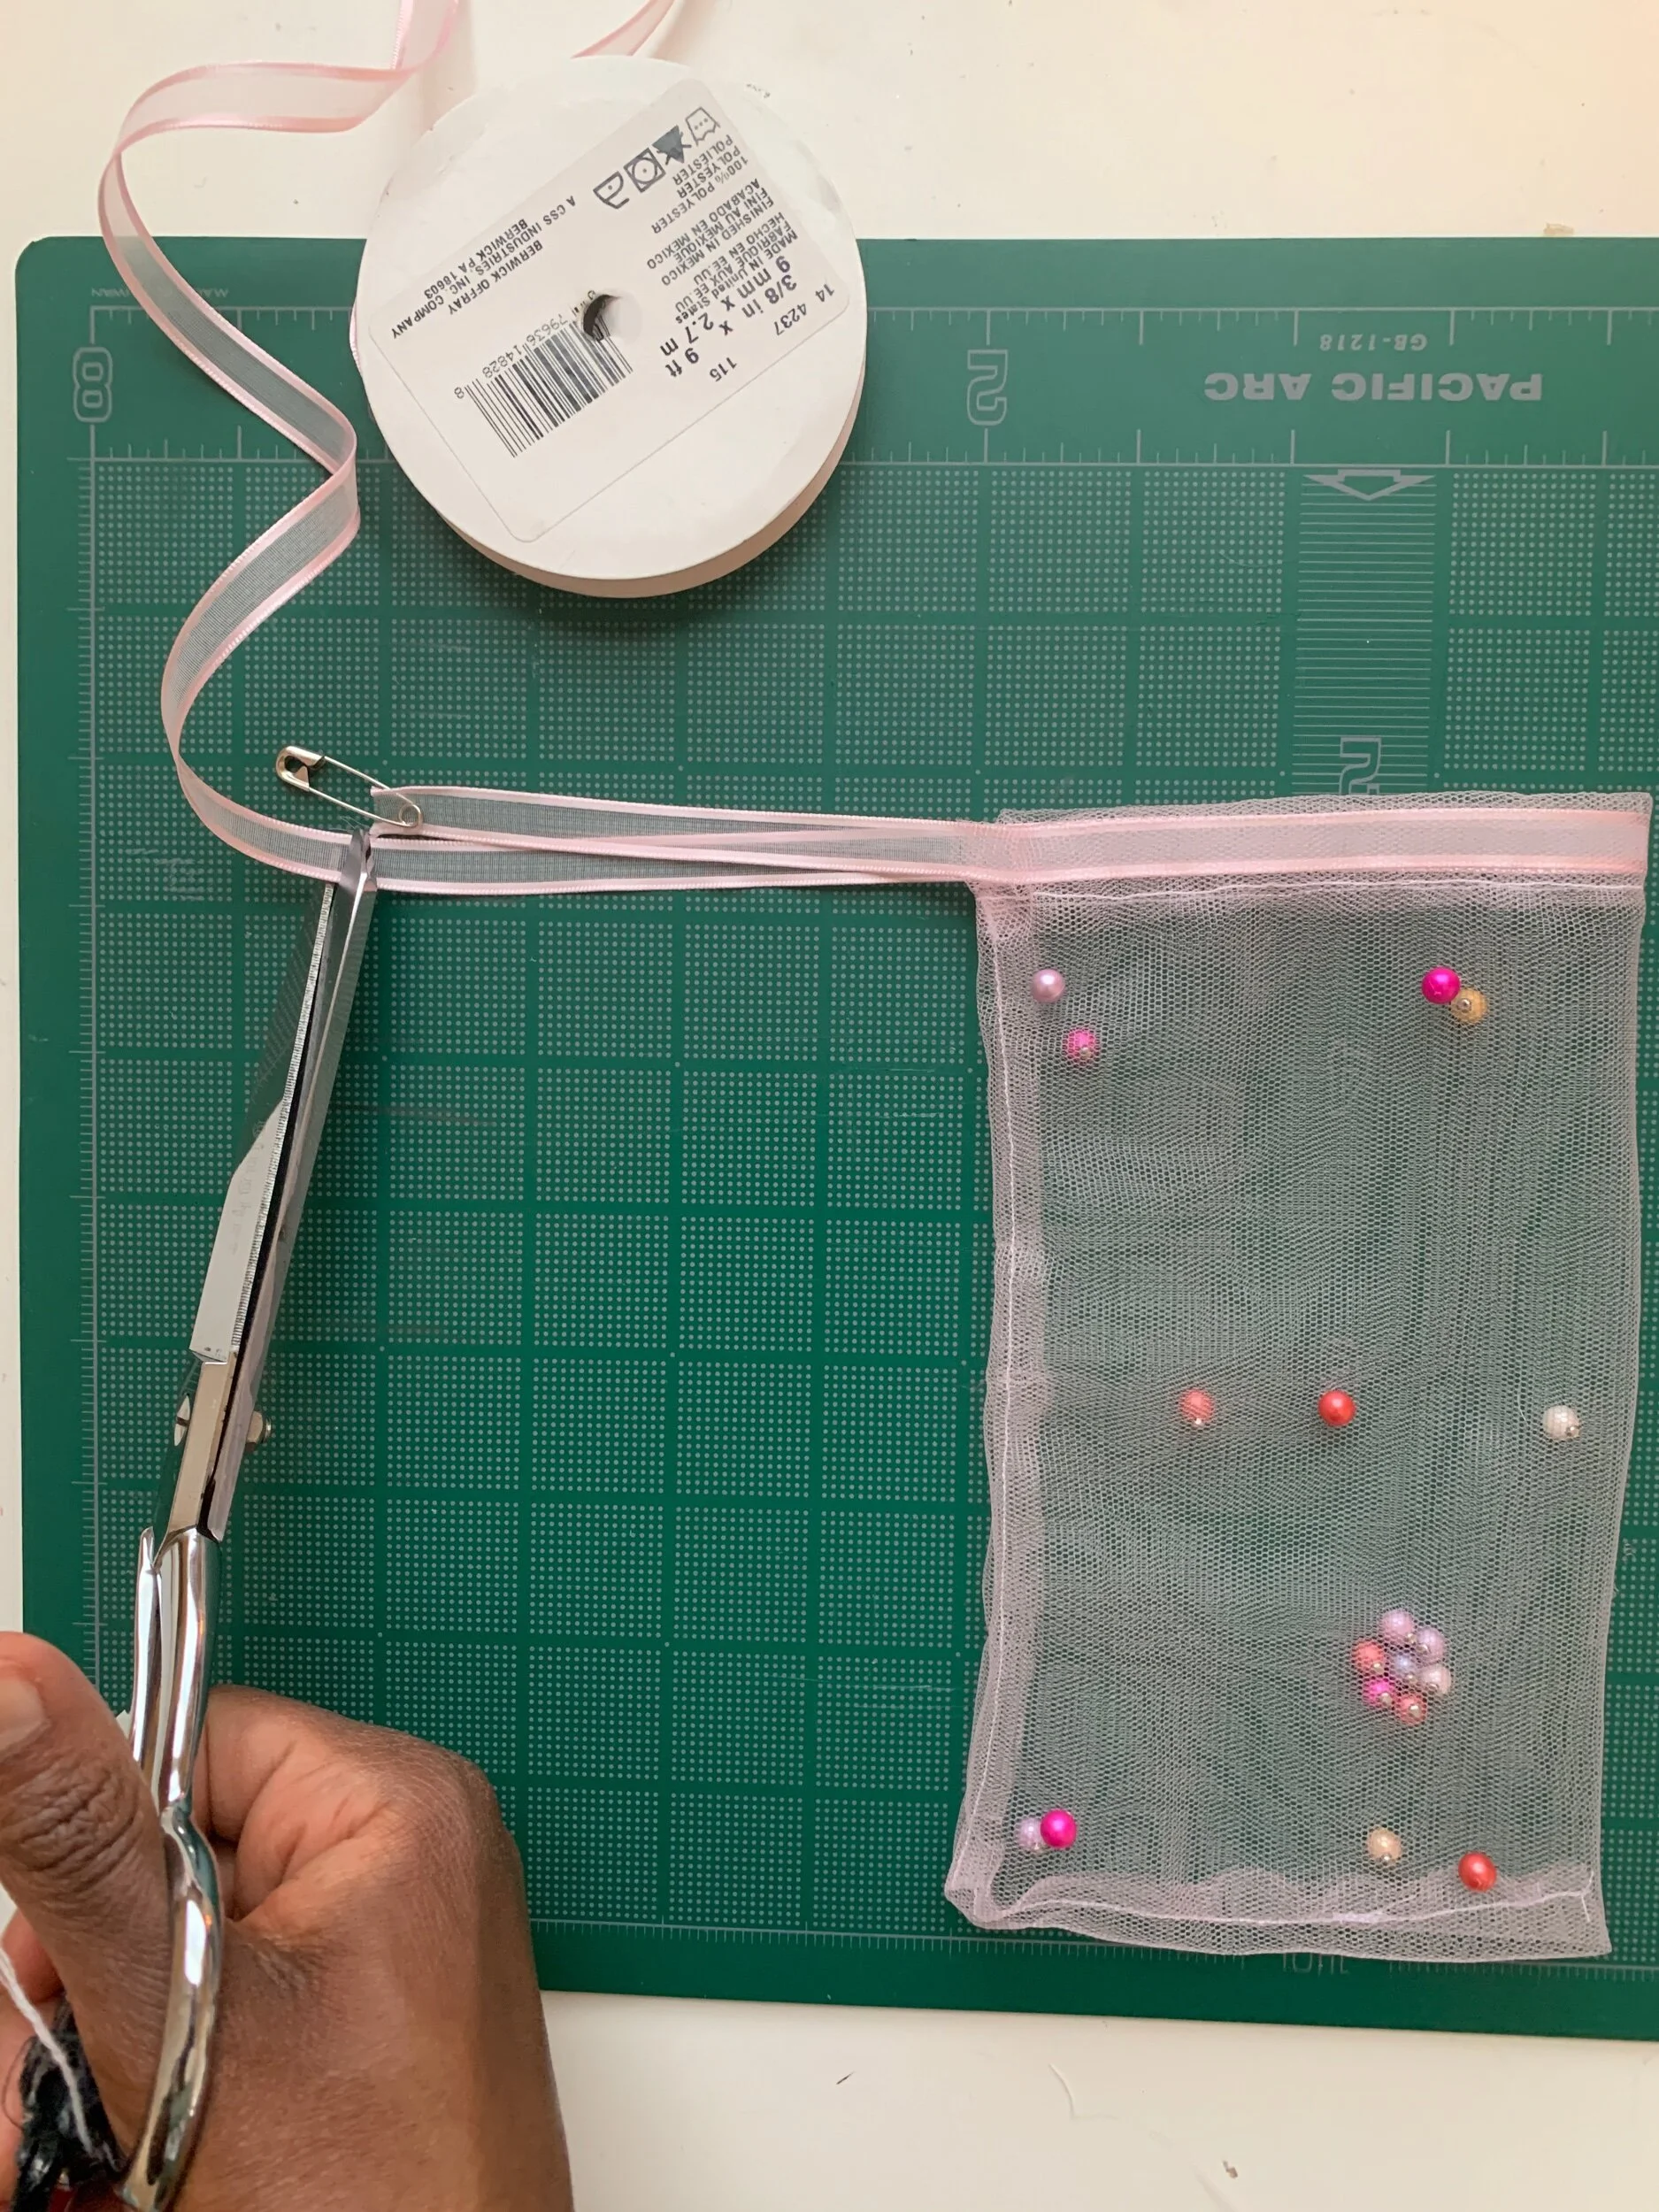
Now onto the drawstring. Attach a safety pin to one end of your ribbon. Thread it through your channel along top edge.
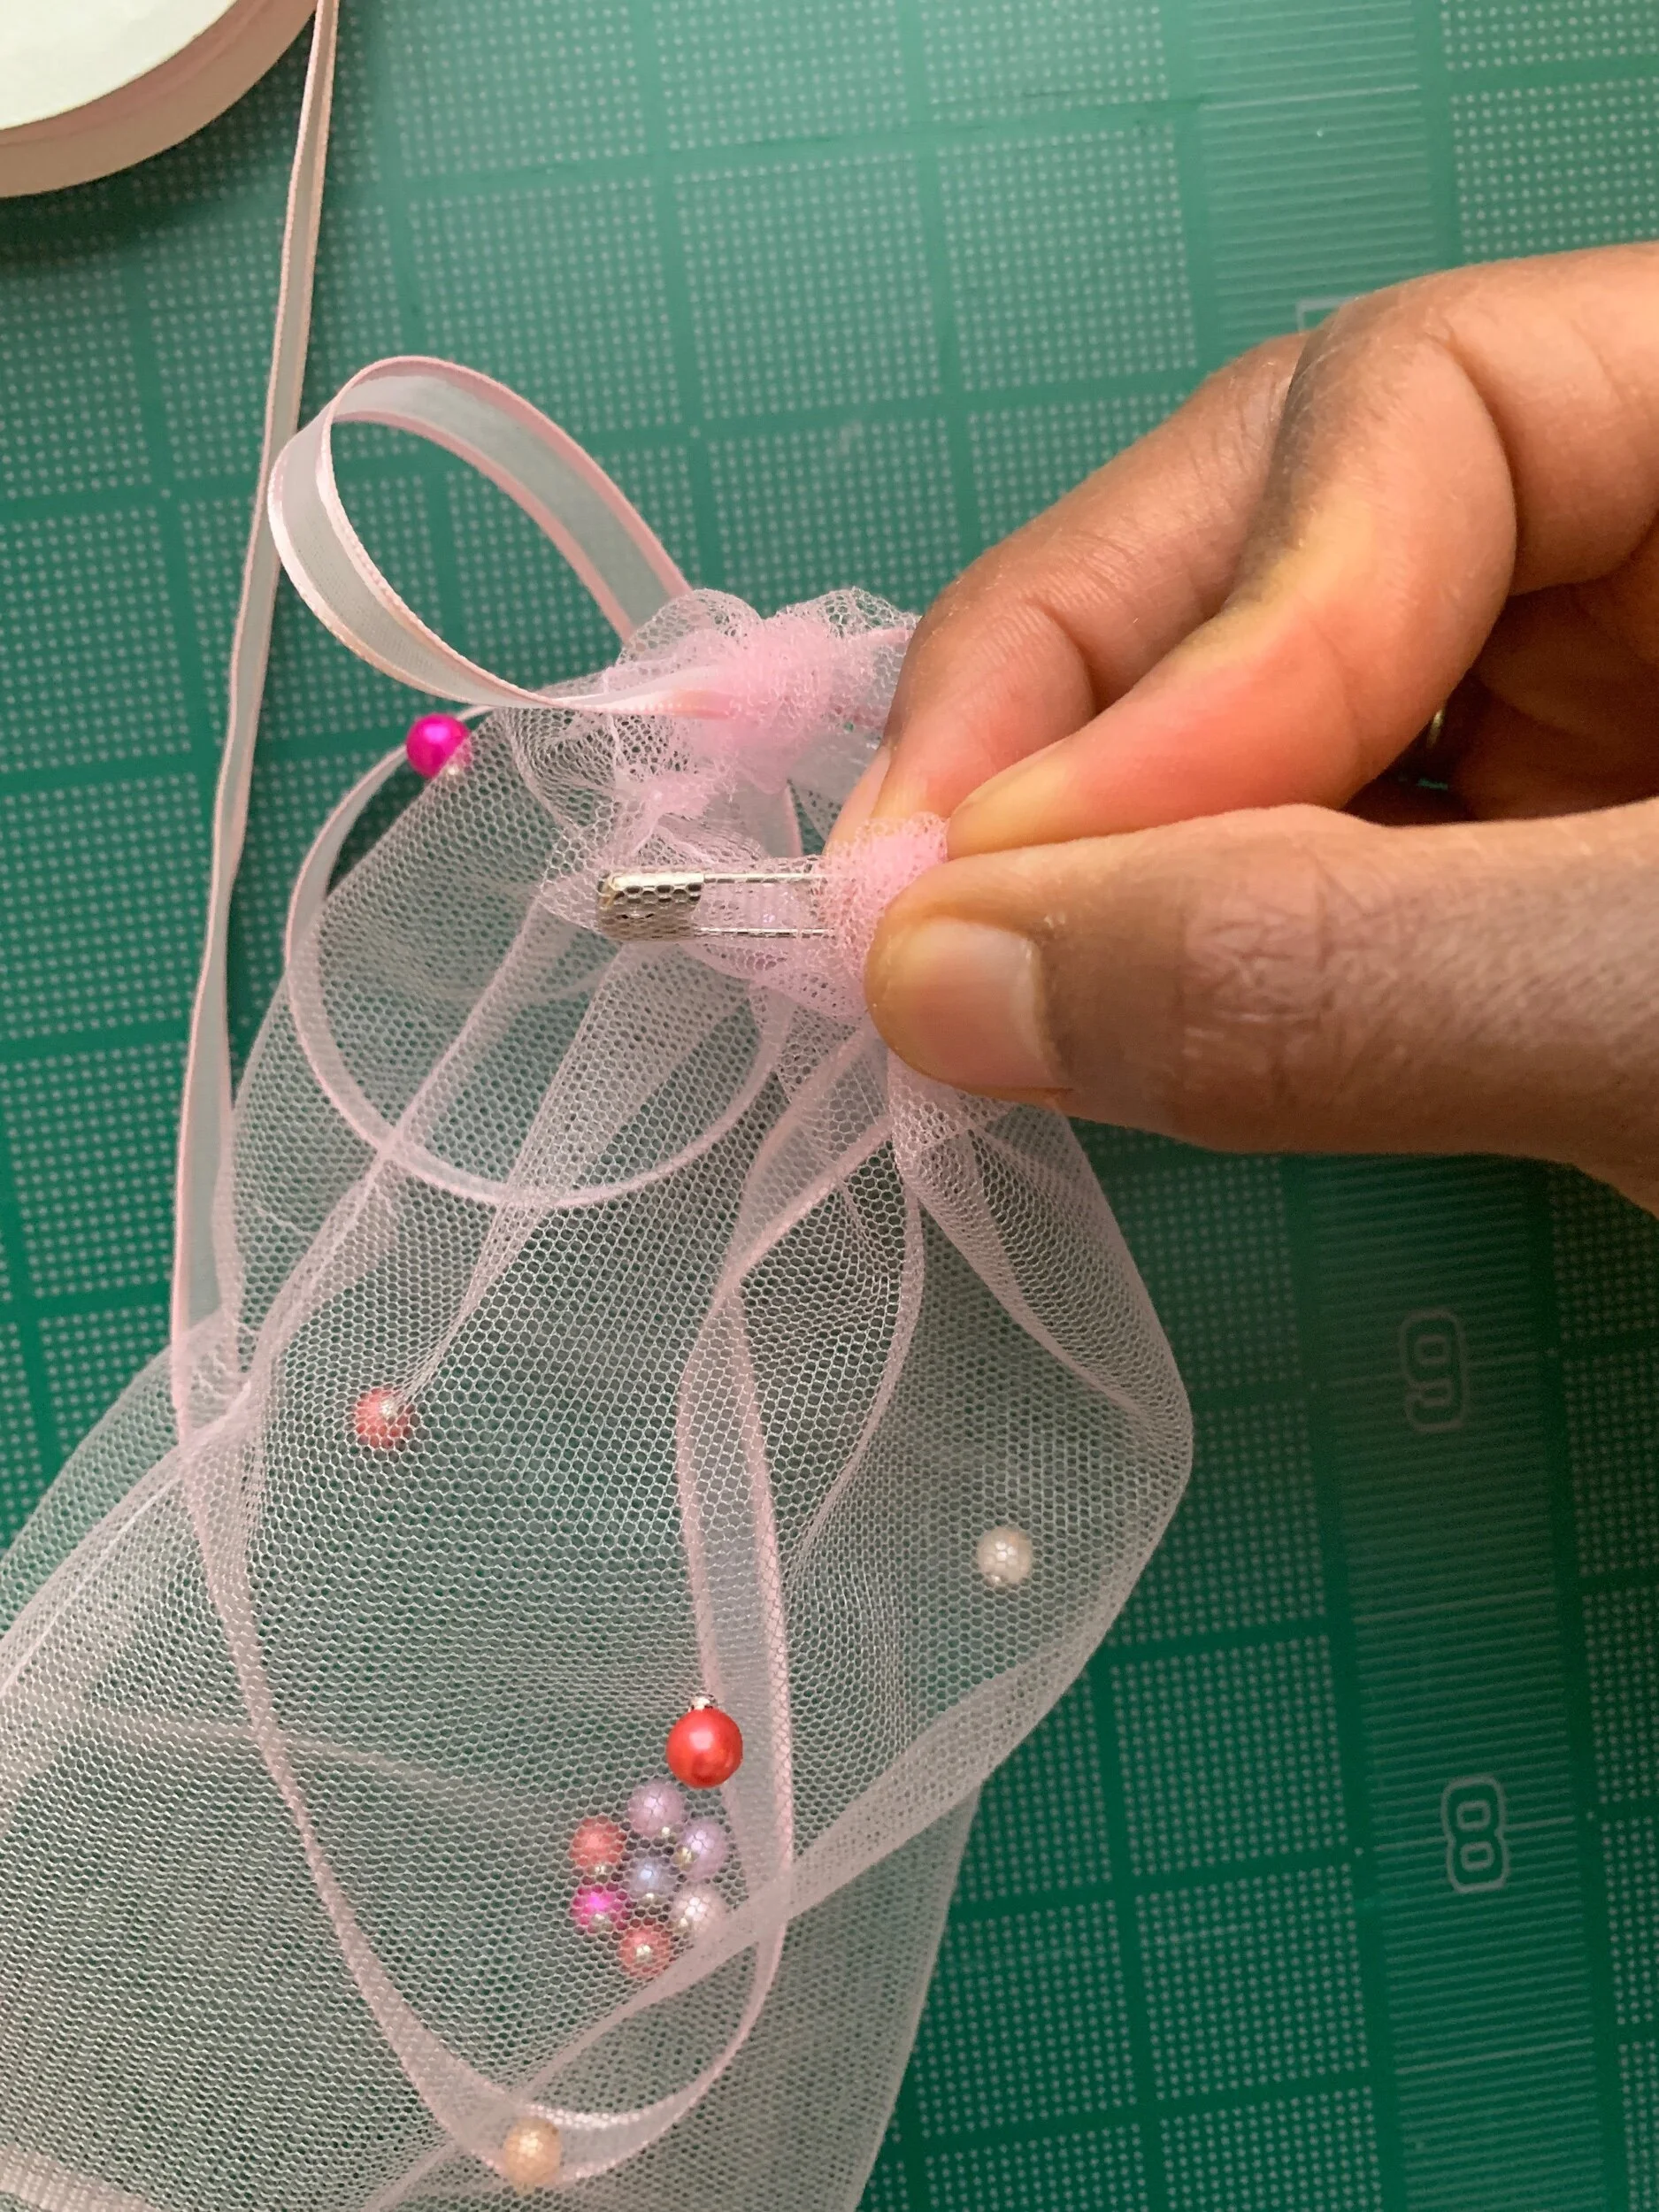
Pull it through so you have about 4” extra on each side. Cut the ends.
Remove the safety pin. Then tie the ends of ribbon into a knot.
Viola’! You’re all finished.