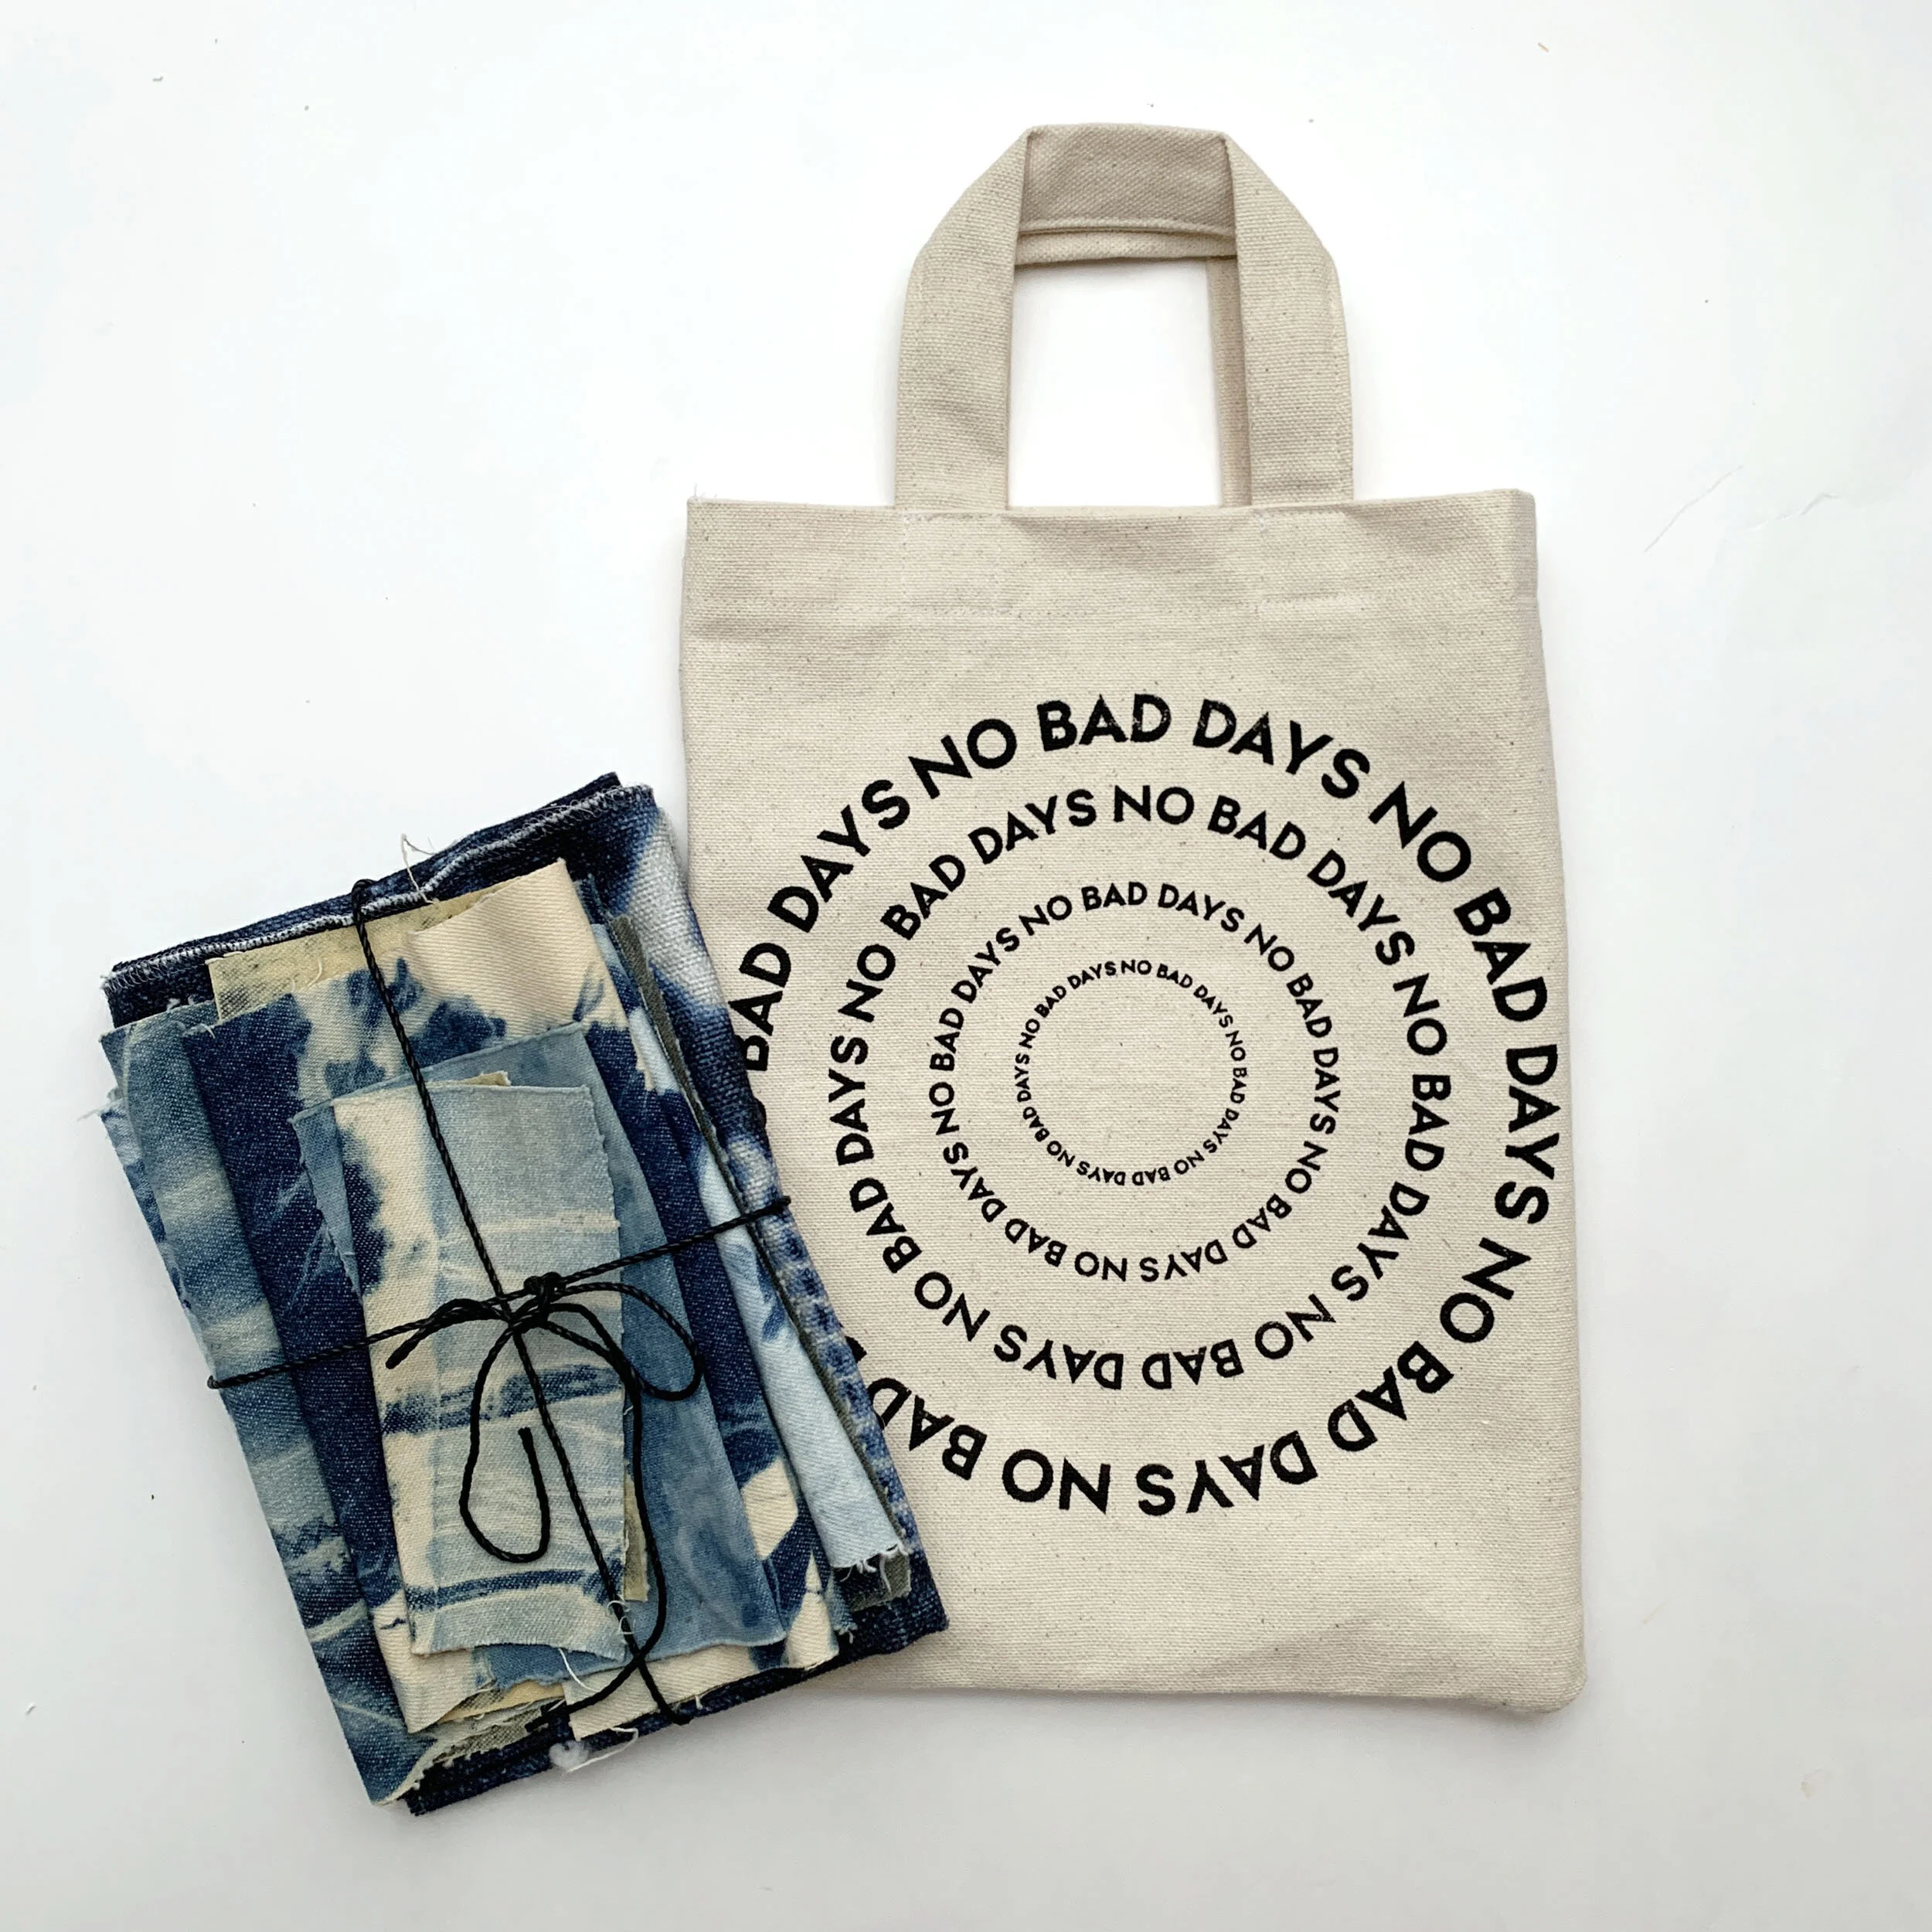
Reusable Mini Tote Gift Bag
I love all things tiny! For some reason, normal items that are made mini always bring a smile to my face. It could be because I grew up during the Honey I Shrank the Kids era, or just because mini things are cute. Have you seen mini mason jars, ice cream cones, or tiny modeling furniture and not smiled? Honestly, the list goes on, and now I’m adding this mini tote bag to the list!
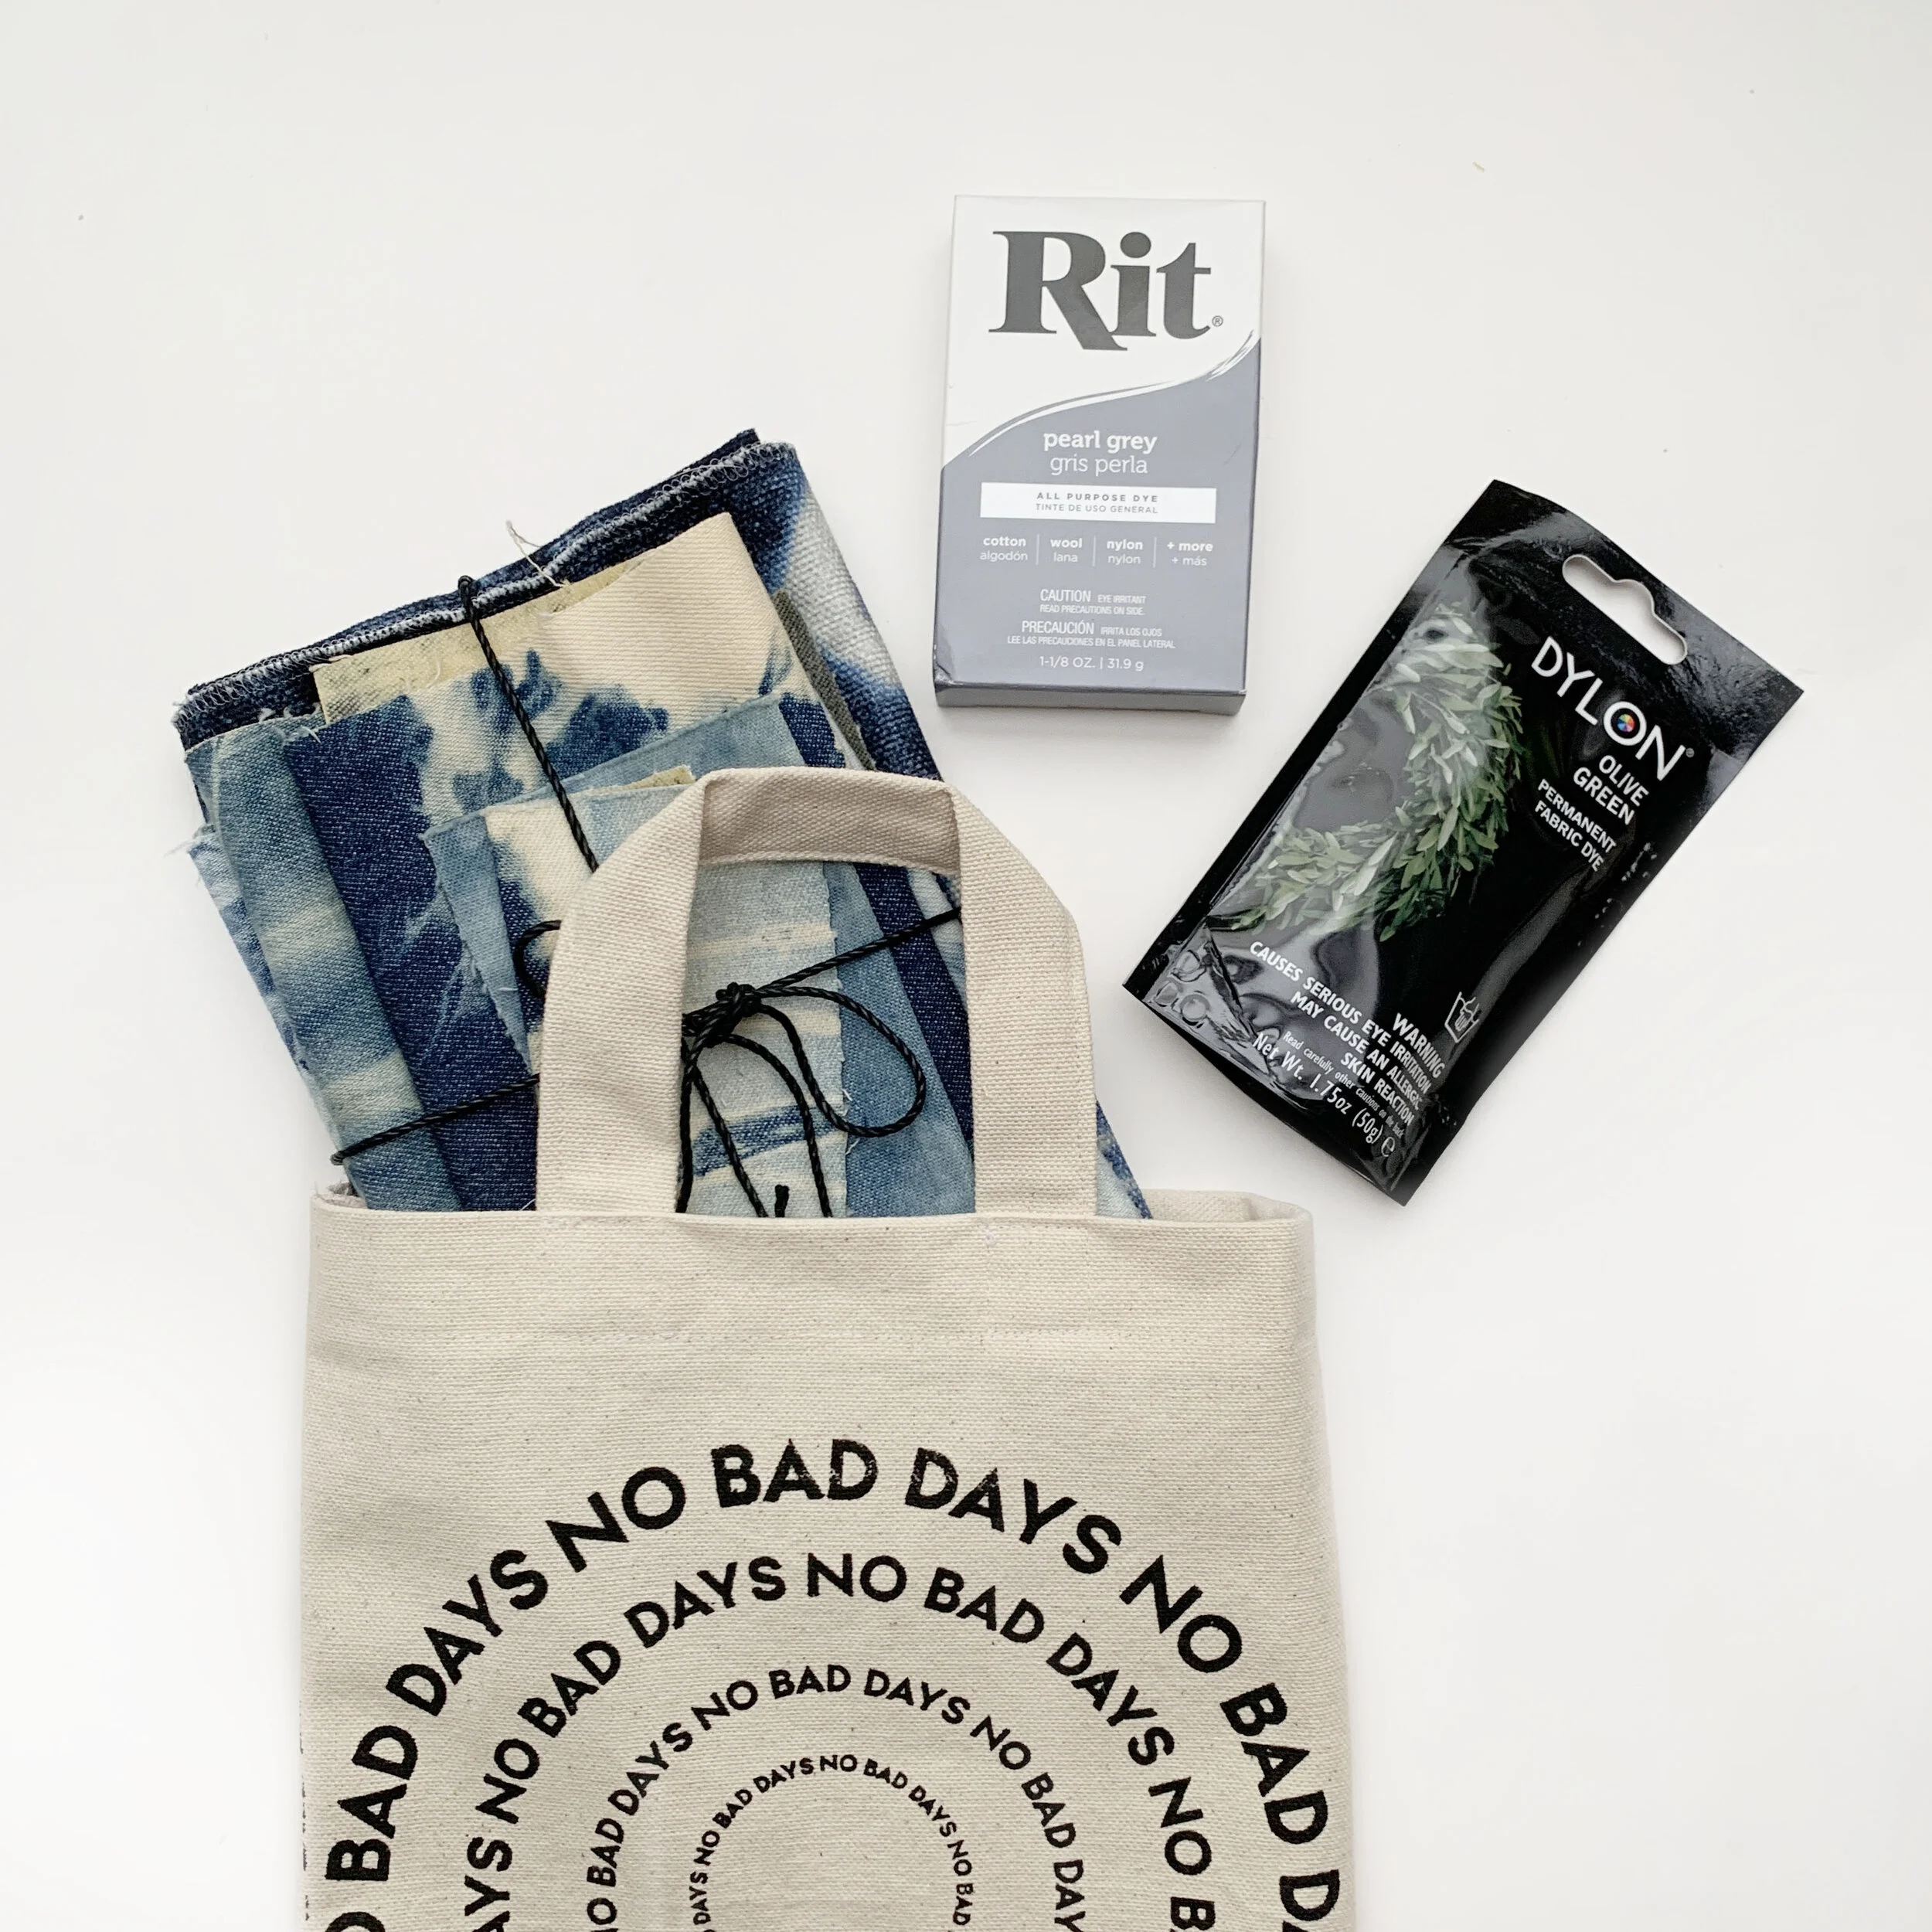
This bag was designed to hold gifts for my brother. He lives in NYC, and is always on the go. I wanted the tote be practical beyond a one time use. My brother is also creative, and has an affinity for dyeing. I wanted to give him a bag that he could make his own if he so chose.
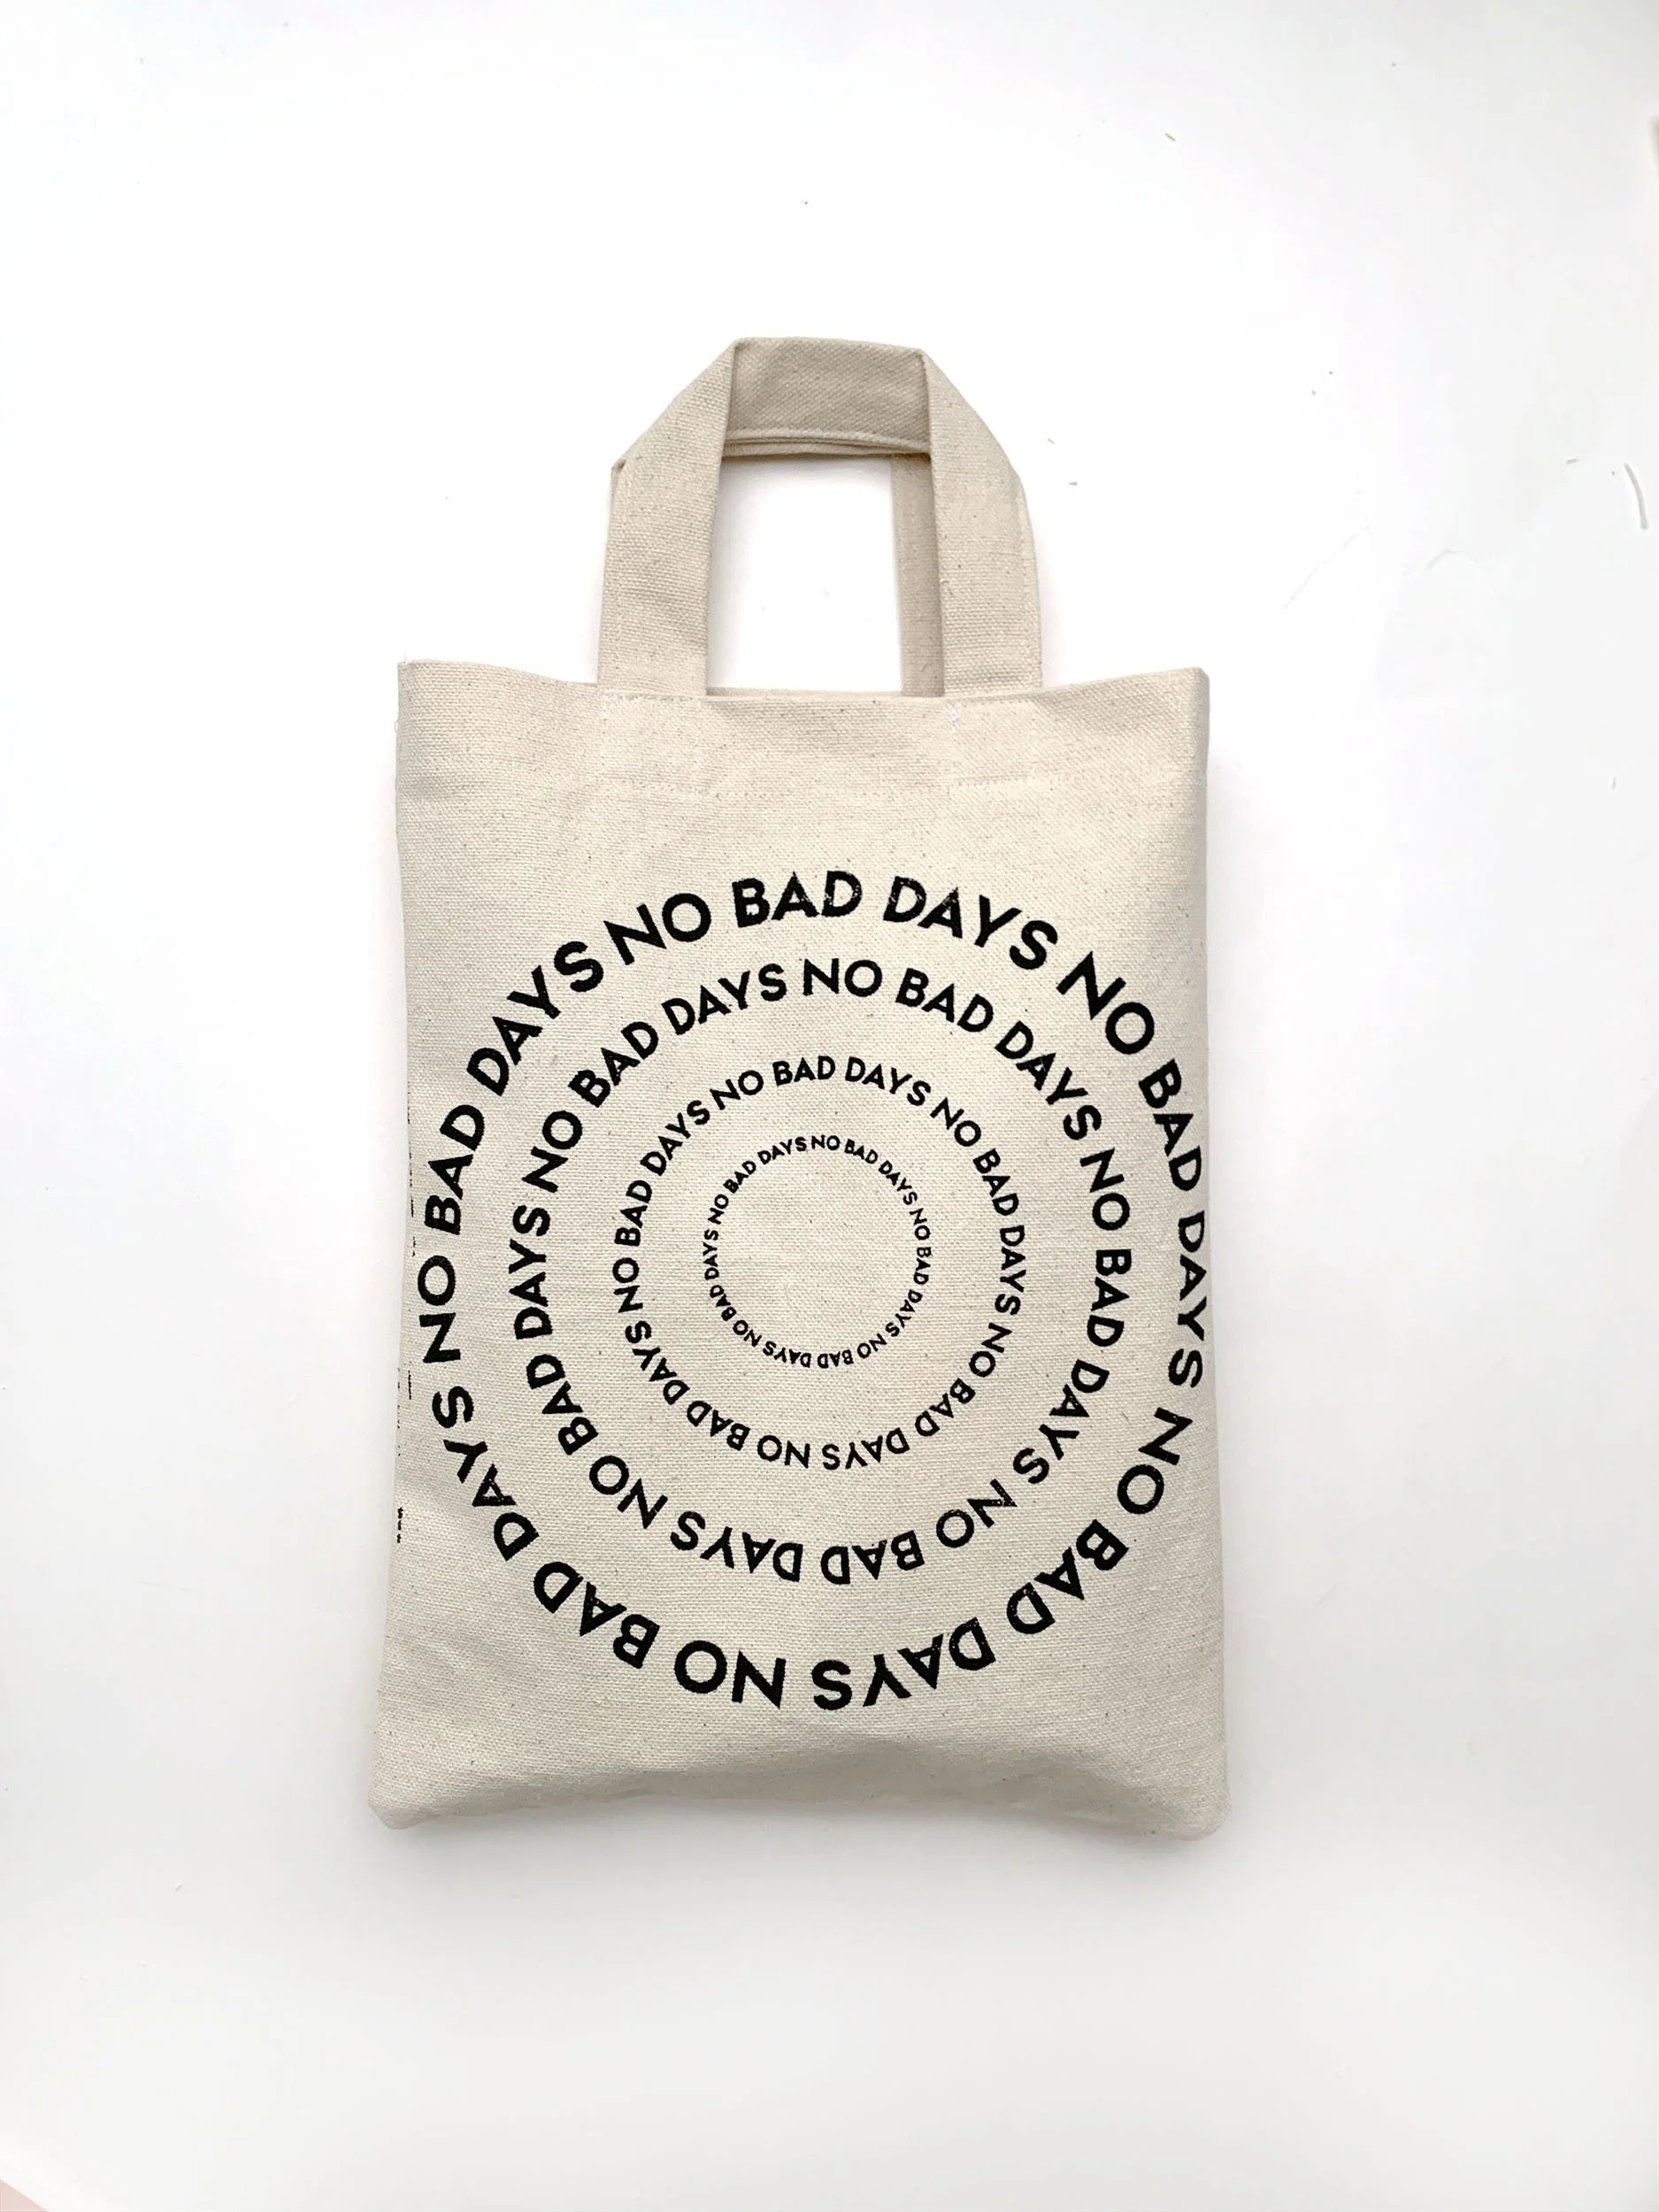
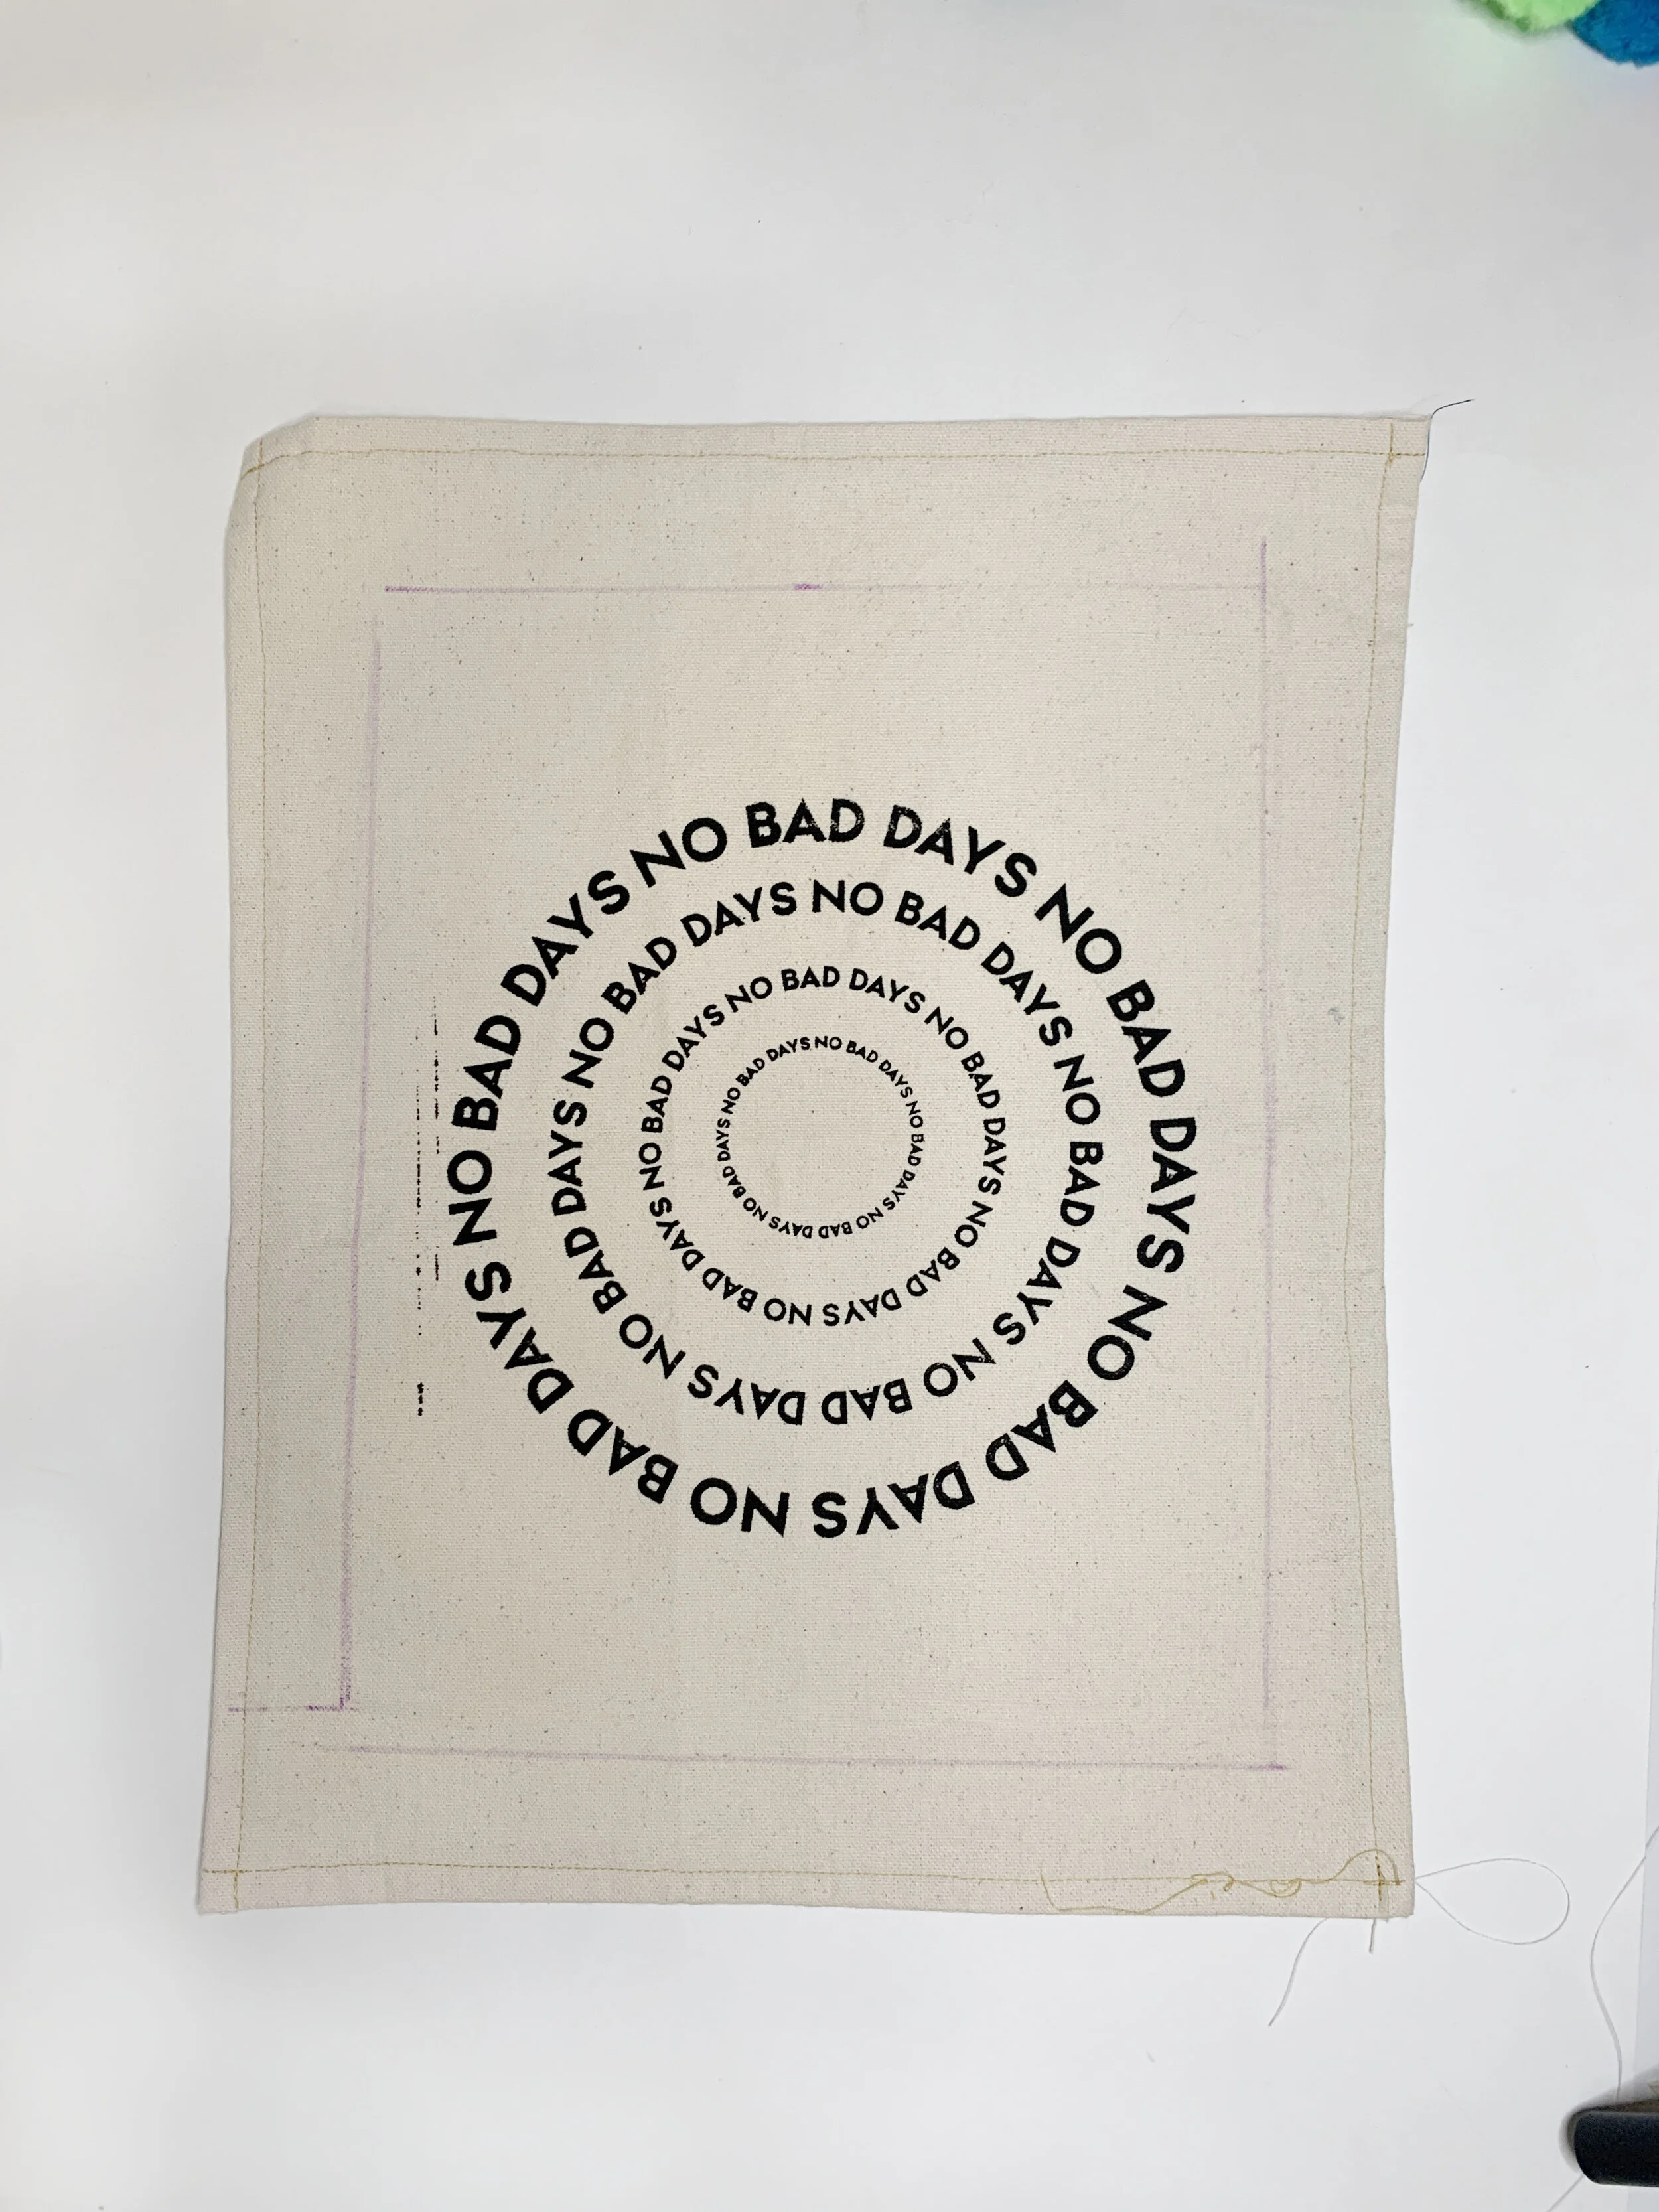
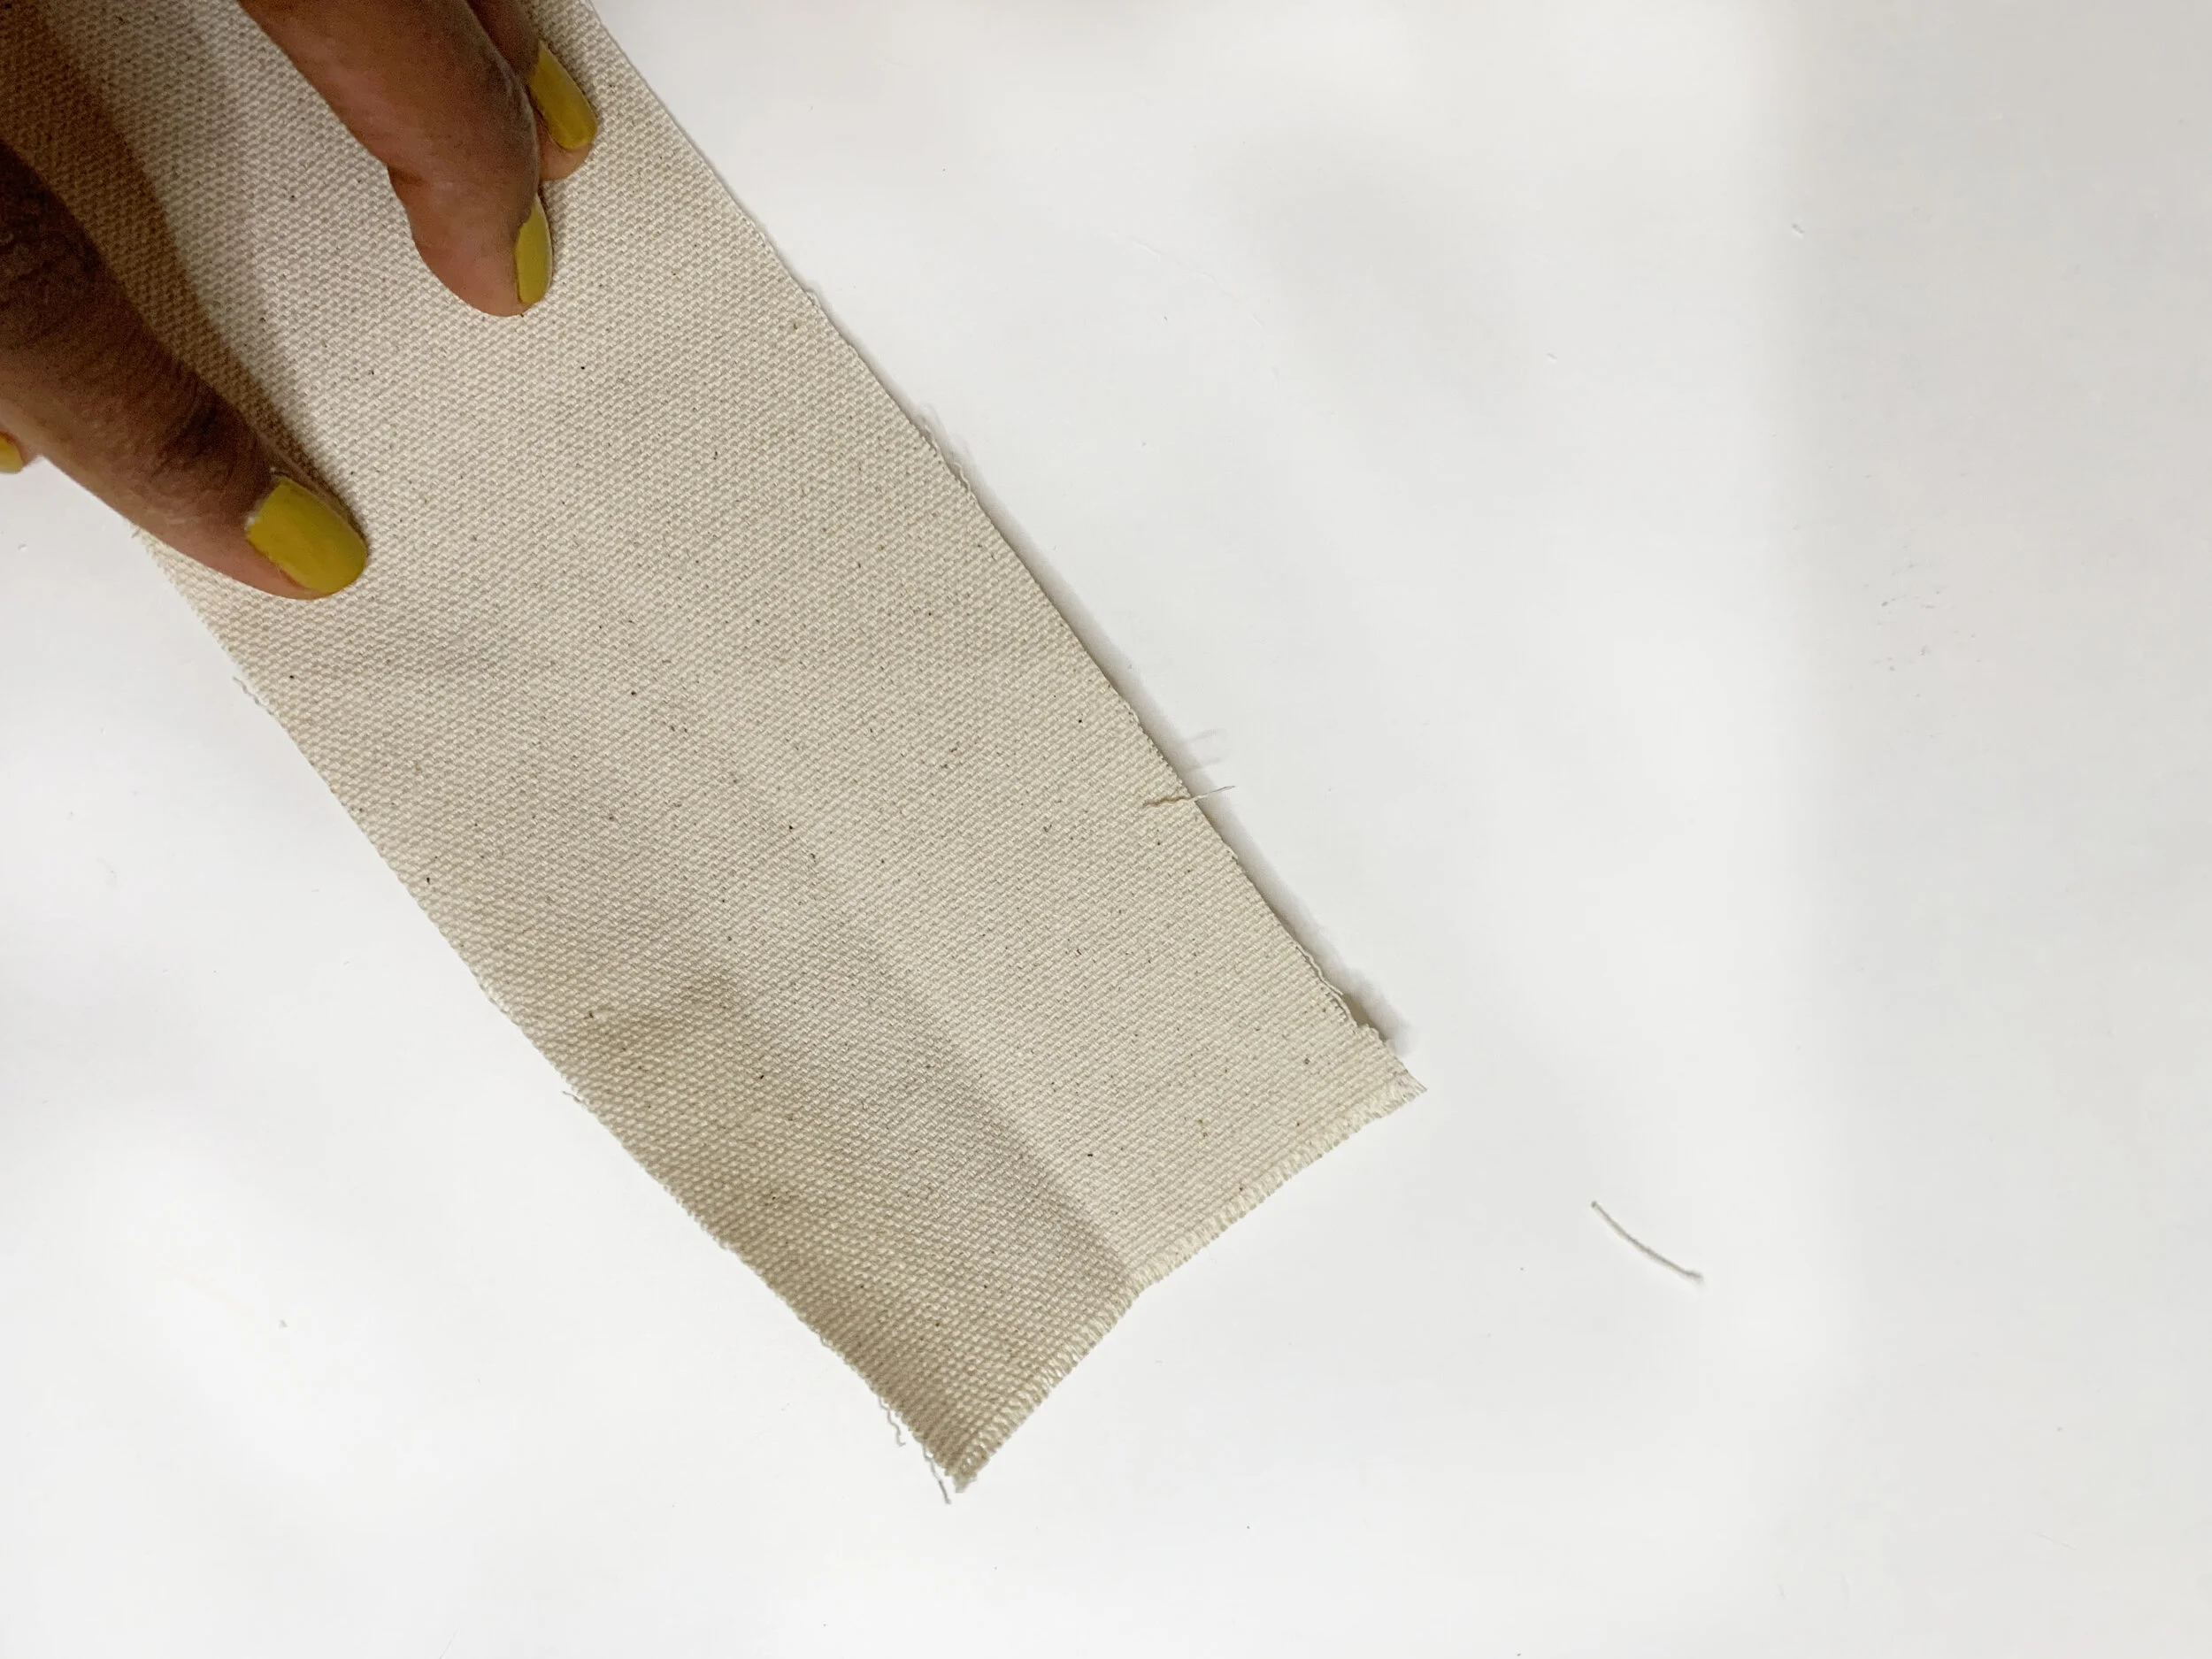
The tote is made out of a test strike off on natural, duck canvas fabric. The graphic (designed by my sister) is screen printed. I love reusing things that aren’t ready for the bin yet. The test panel was the perfect size for this bag. Look around your place for what you have on hand, and design your mini bag. Below is what you’ll need.
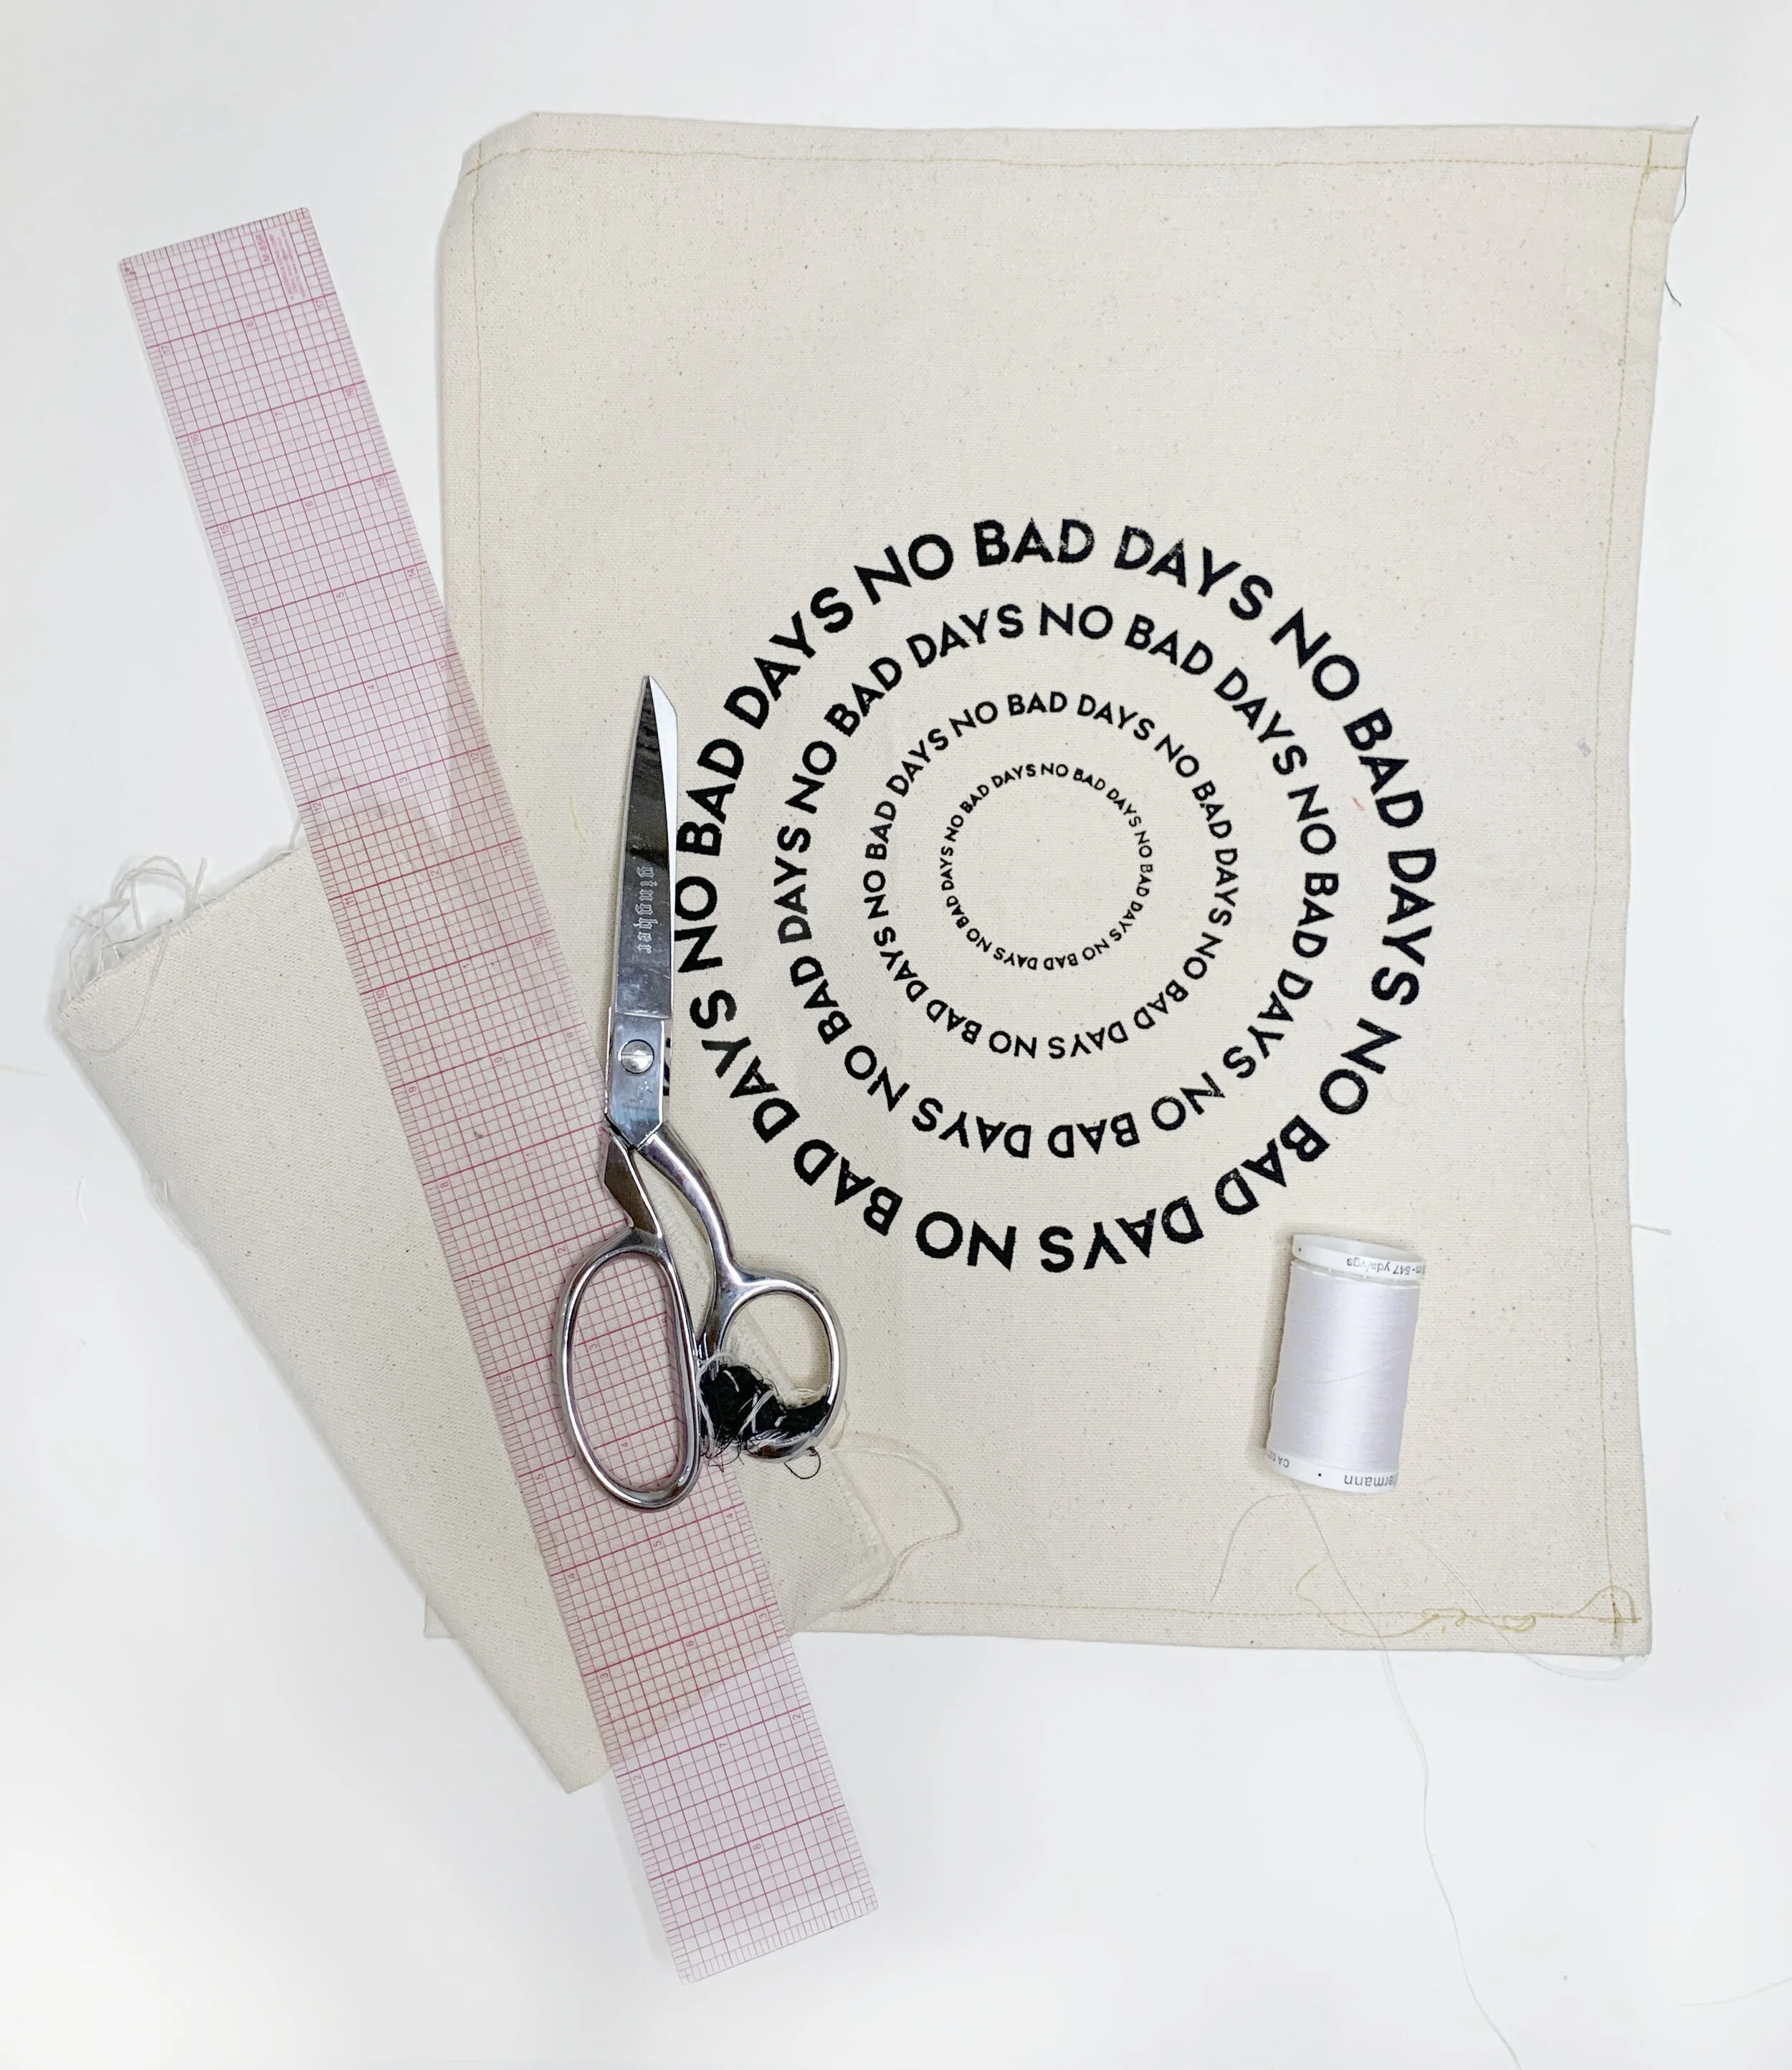
Materials and Supplies:
Sewing Machine
Scissors
¼” - ½” Yd Fabric (I used a test scrap from screen printing)
Coordinating Thread
Pins
Fabric Pen (optional)
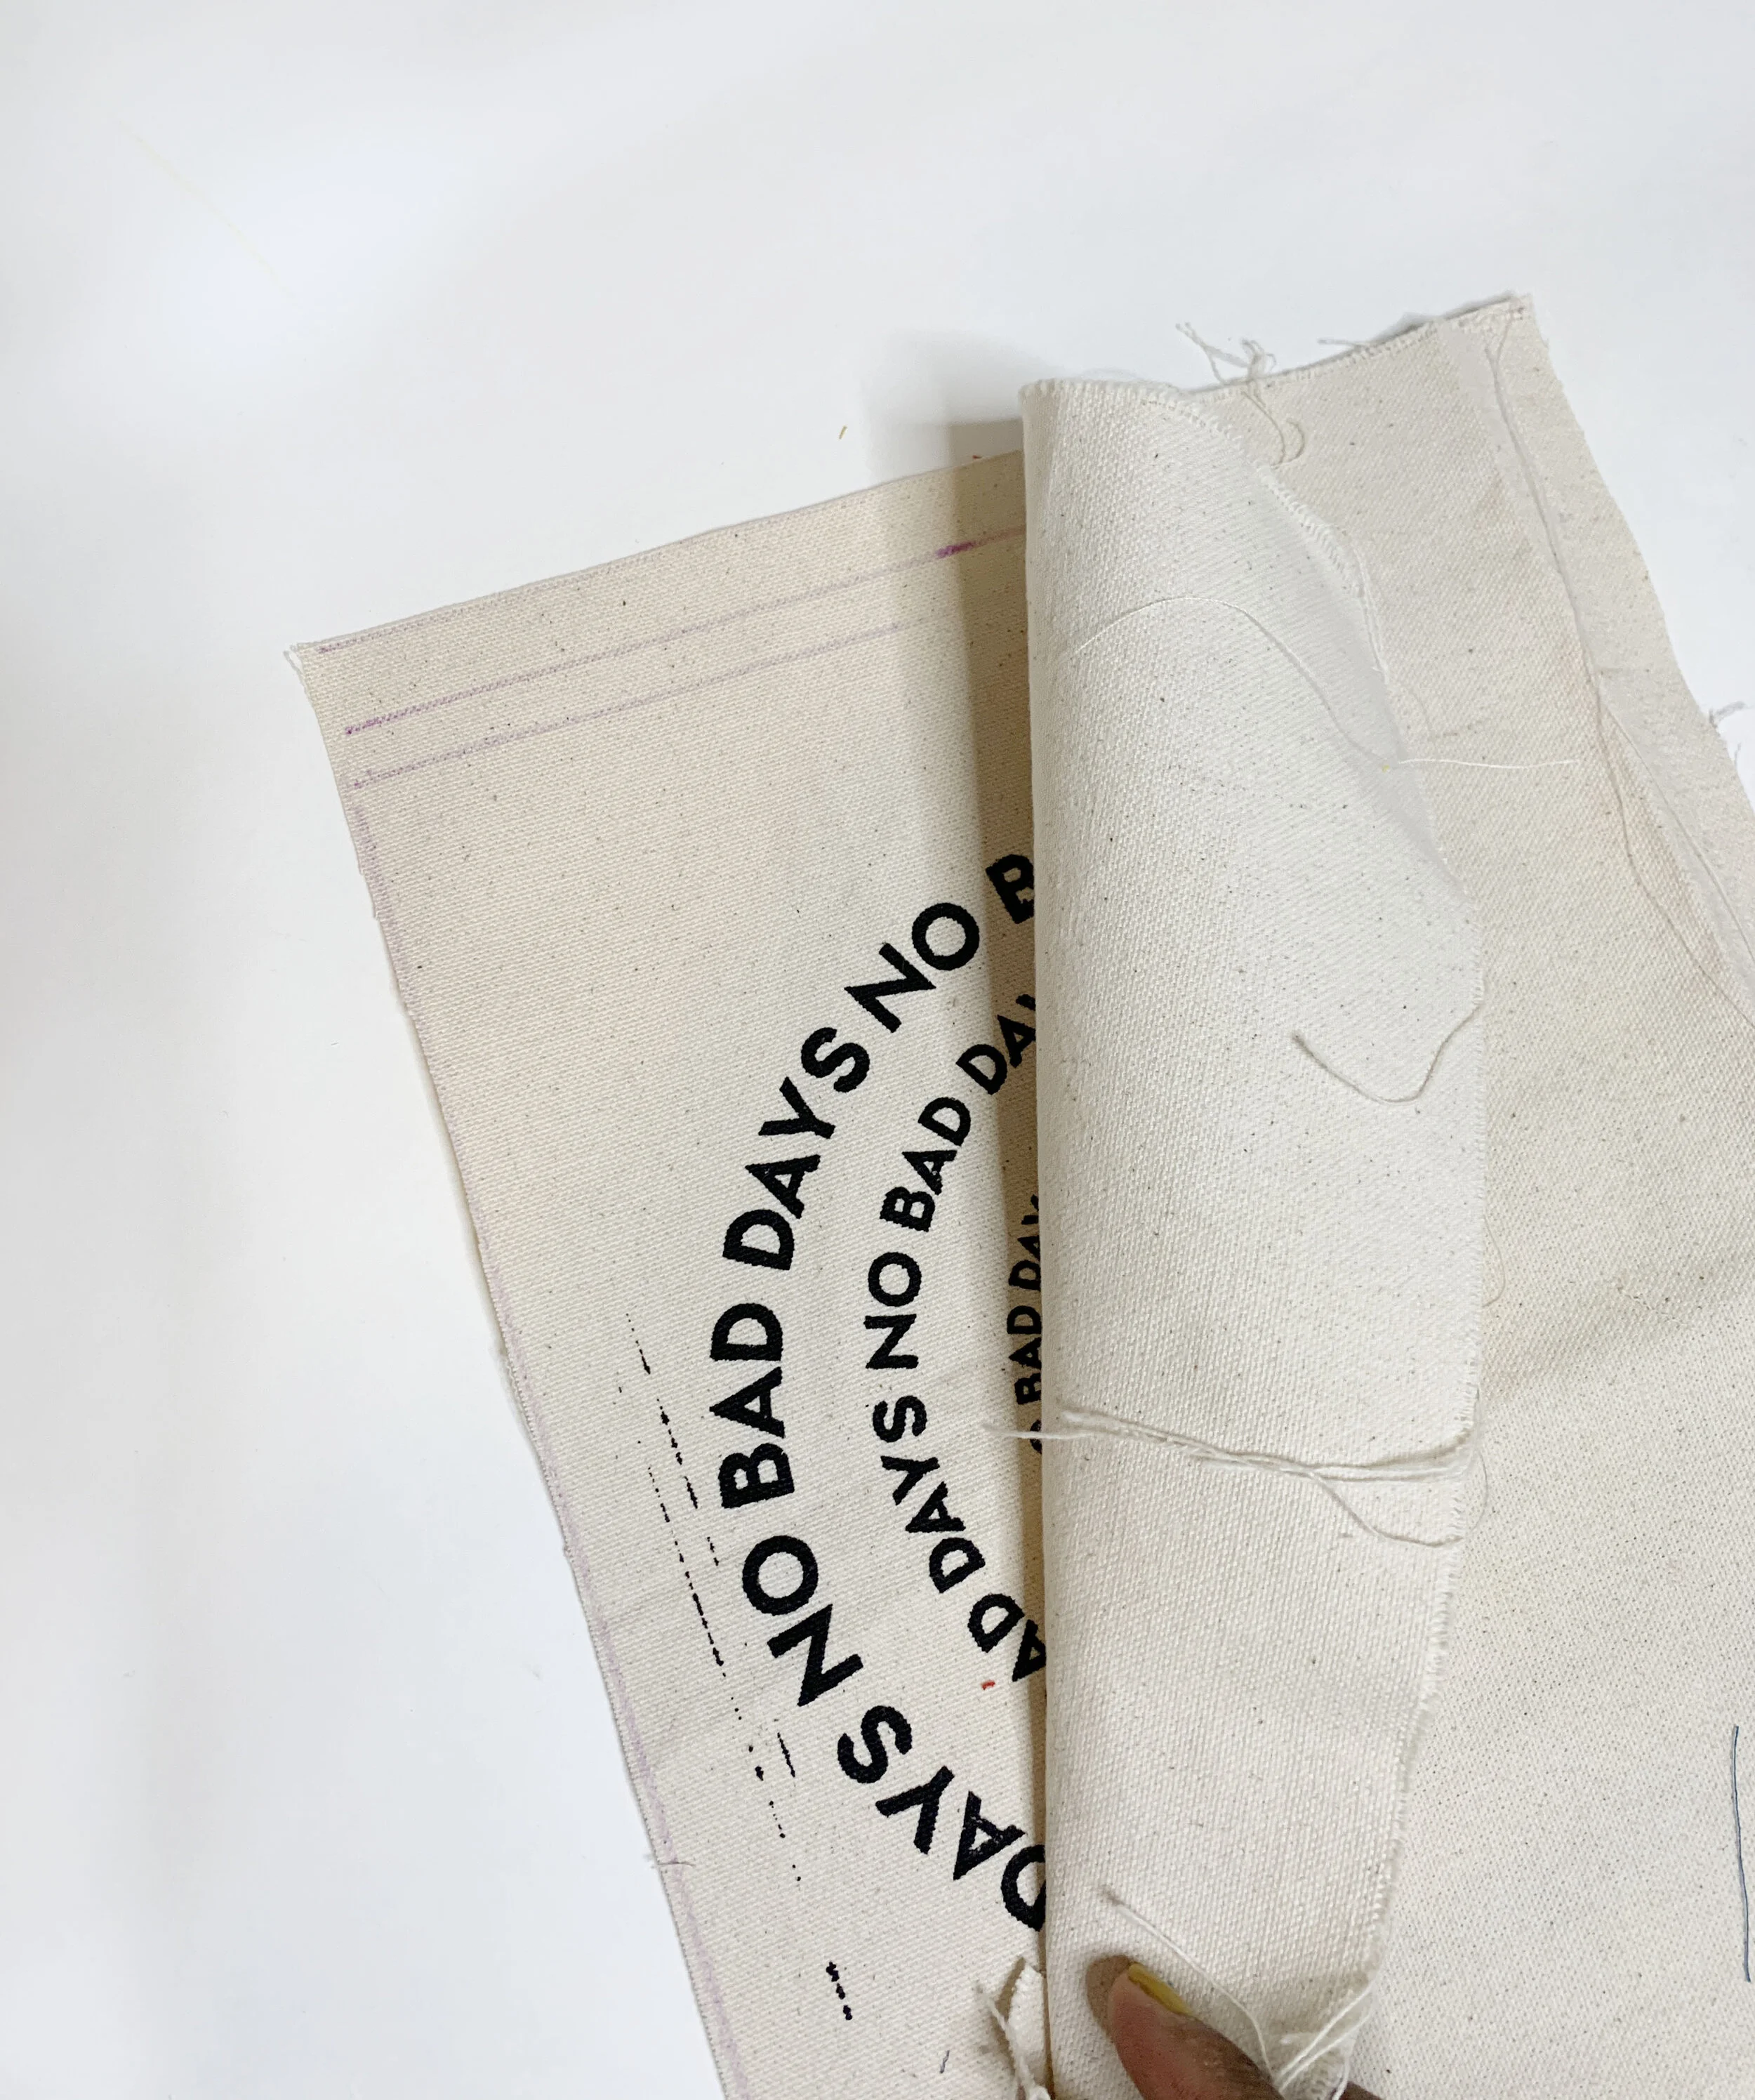
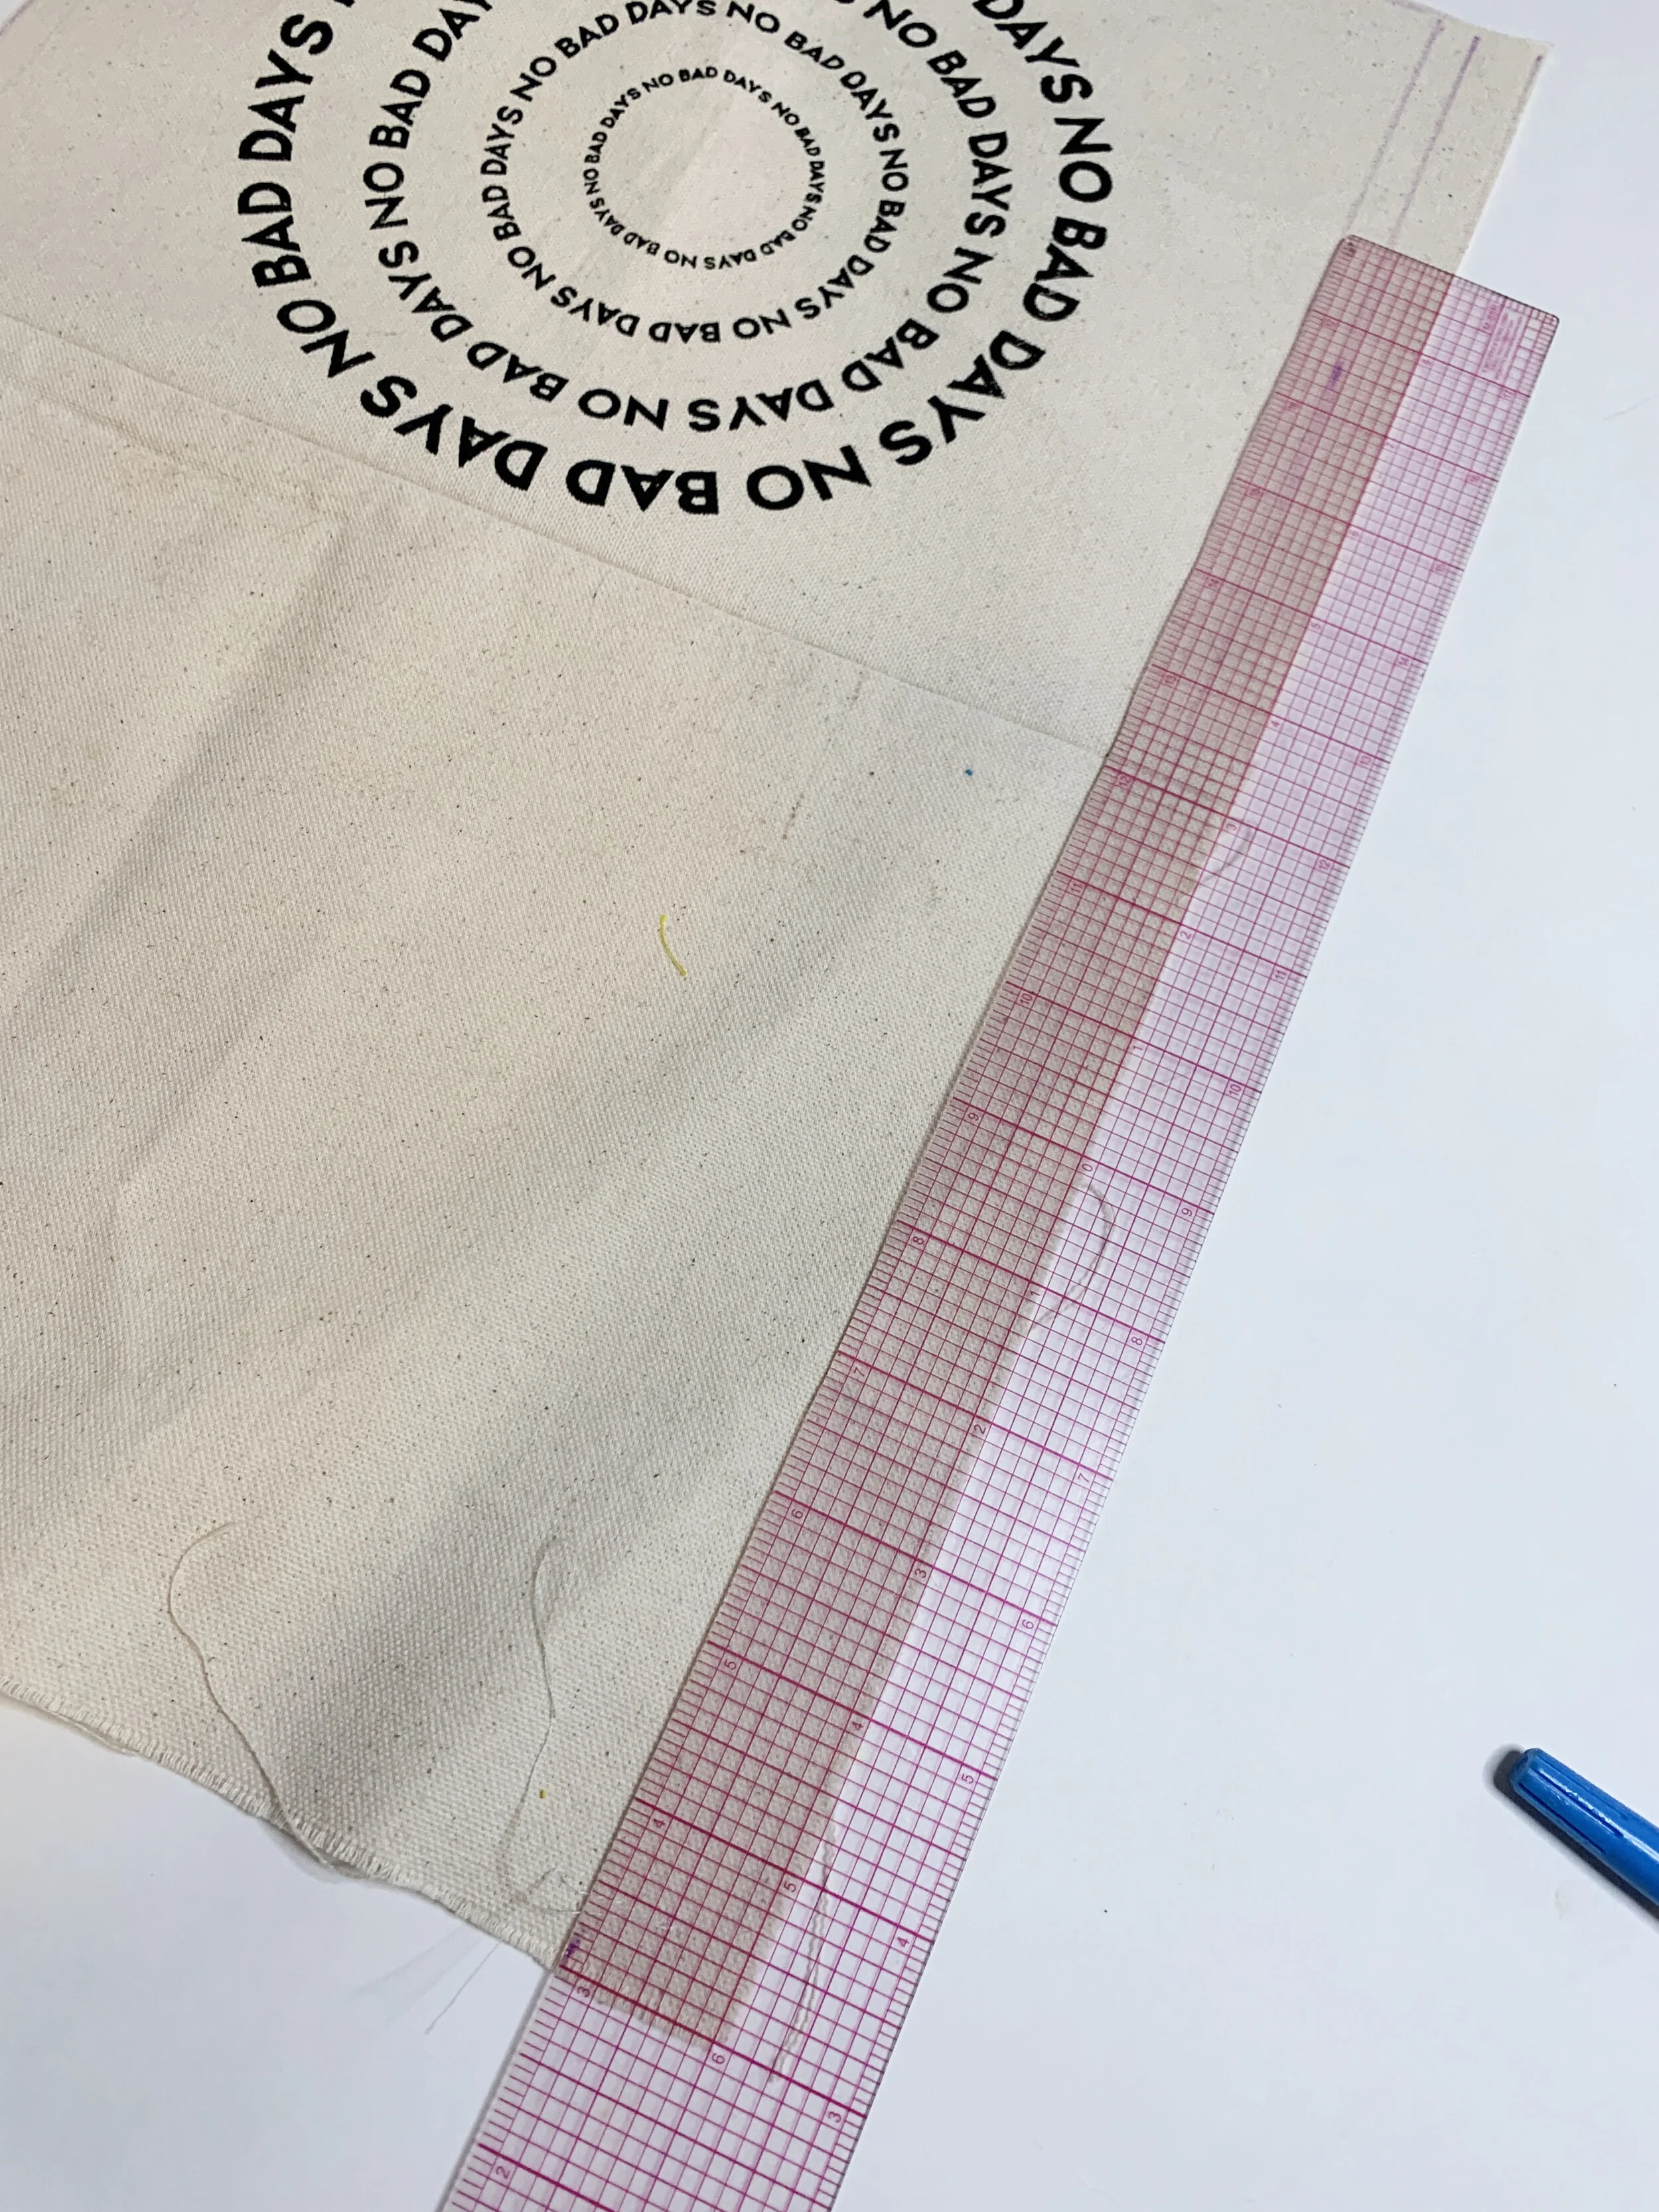
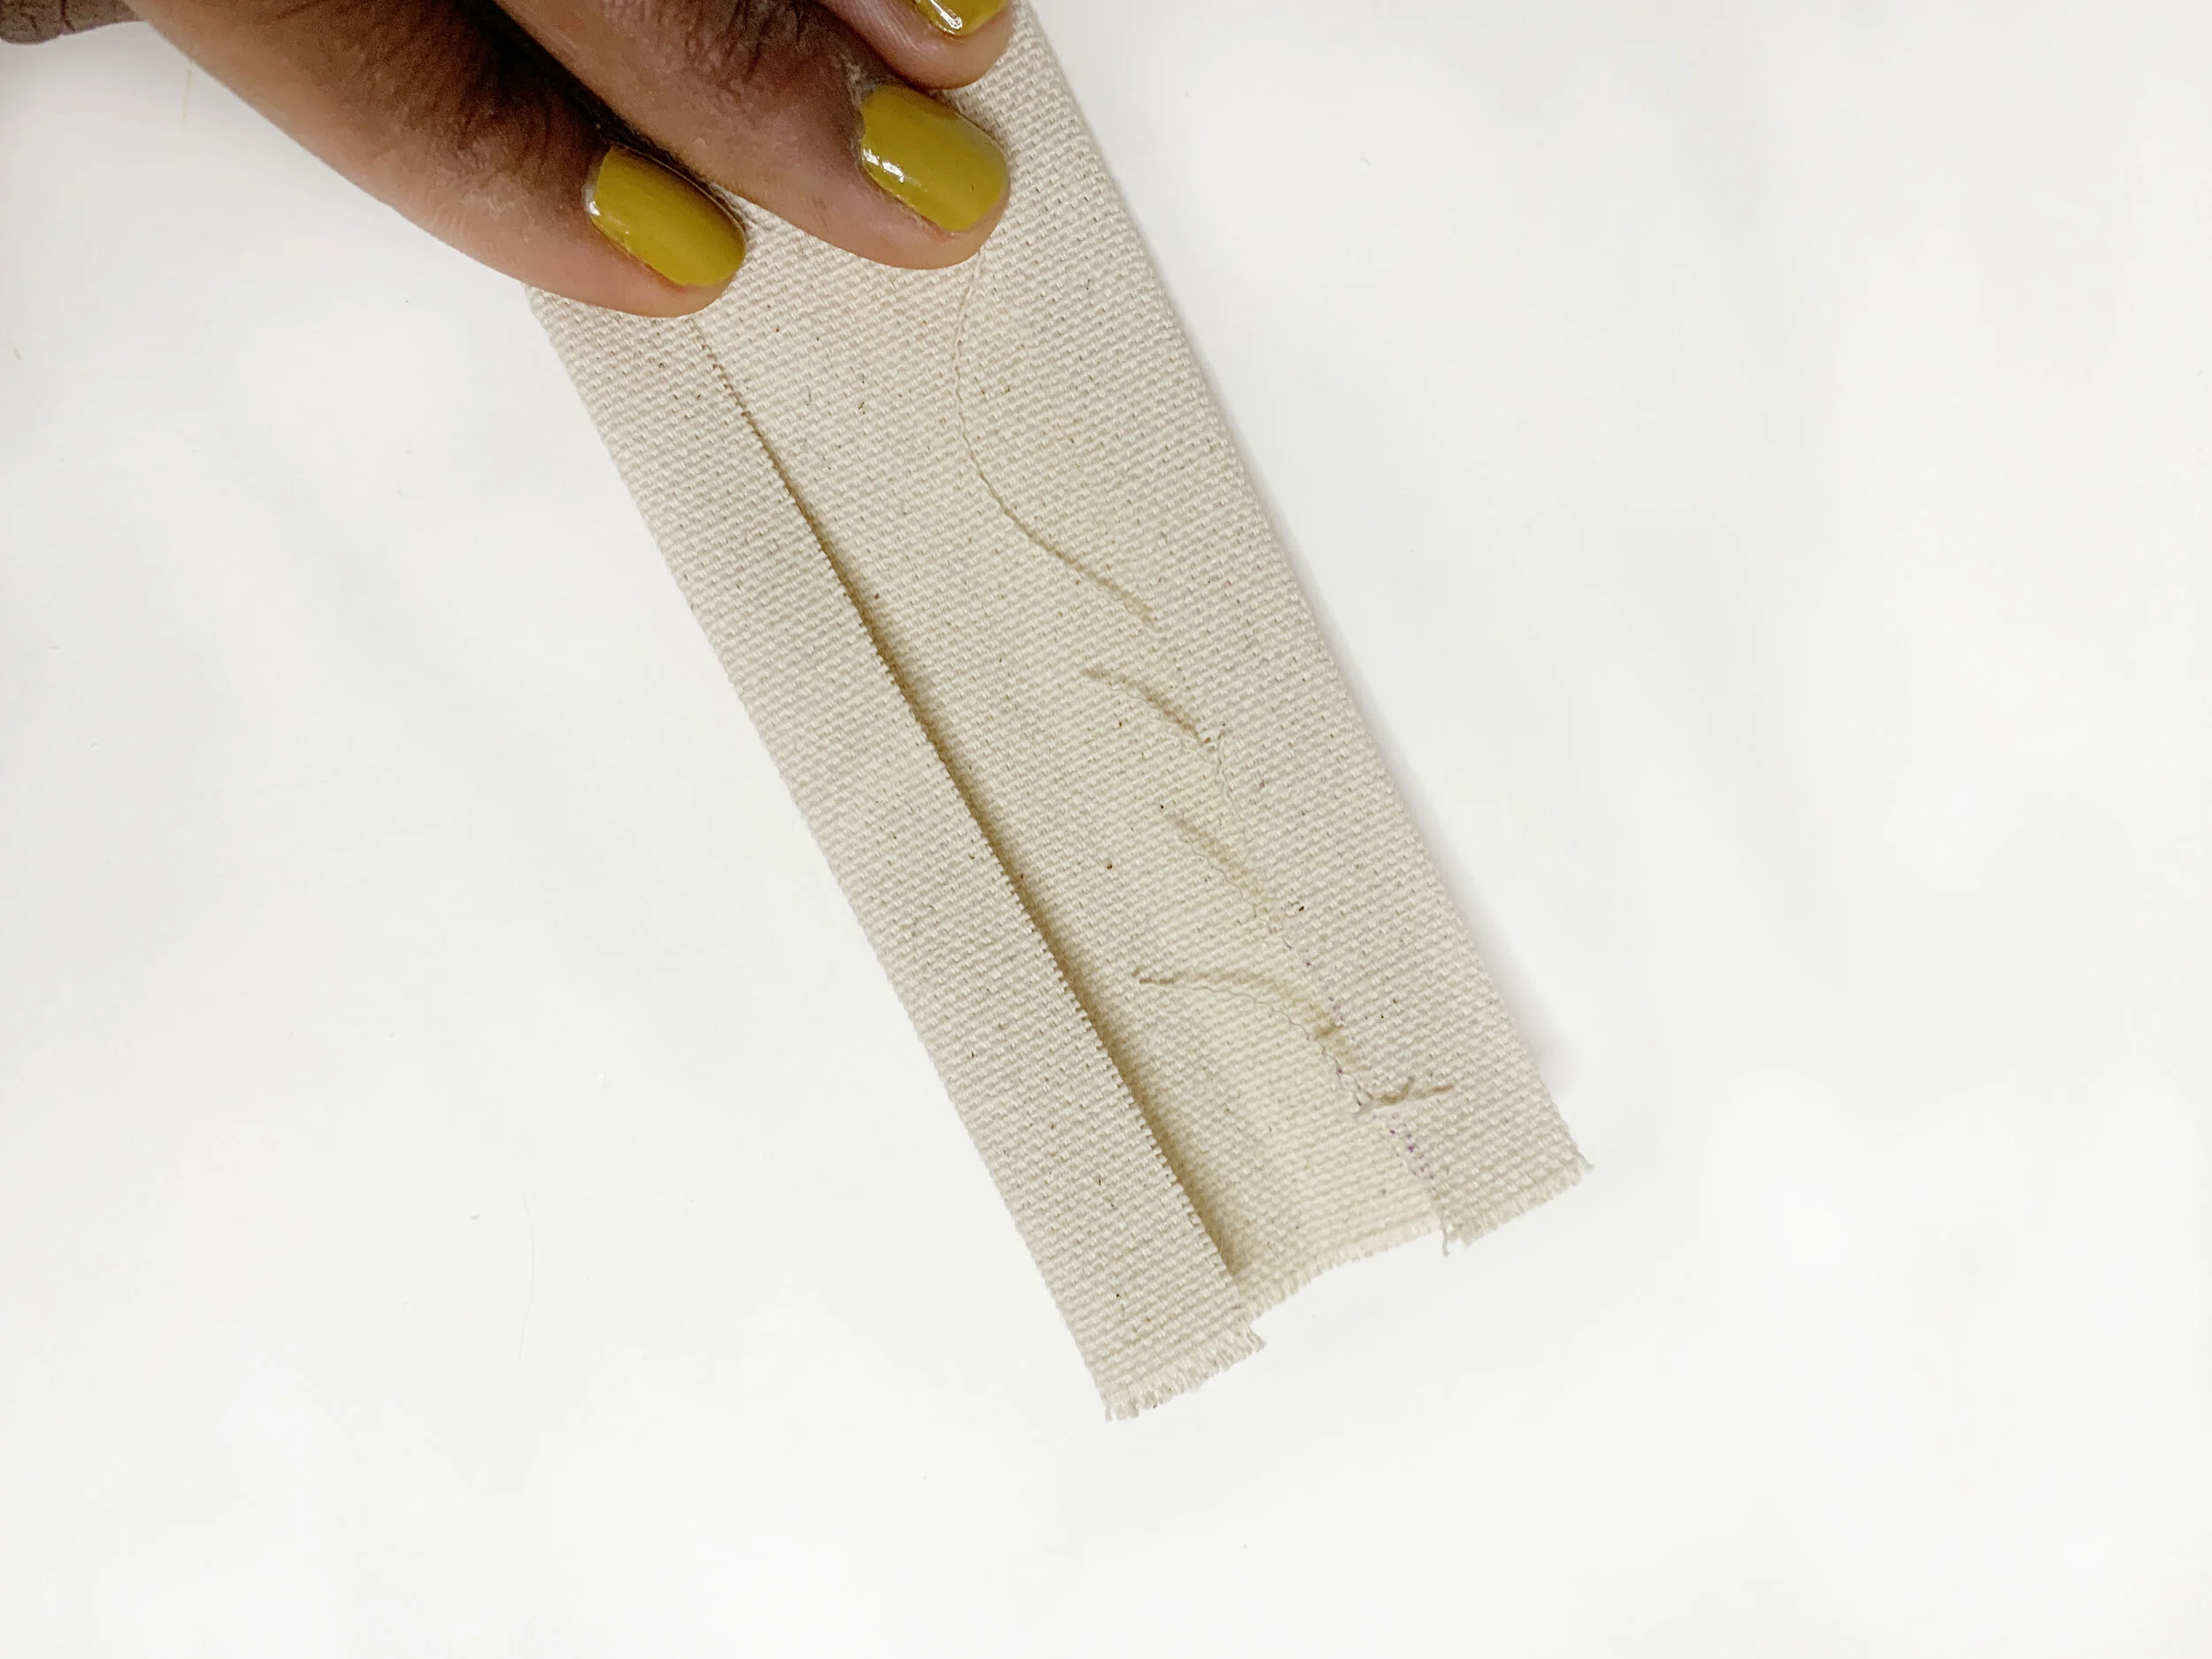
Cut two 8” x 11” rectangles for the front and back pieces of your bag.

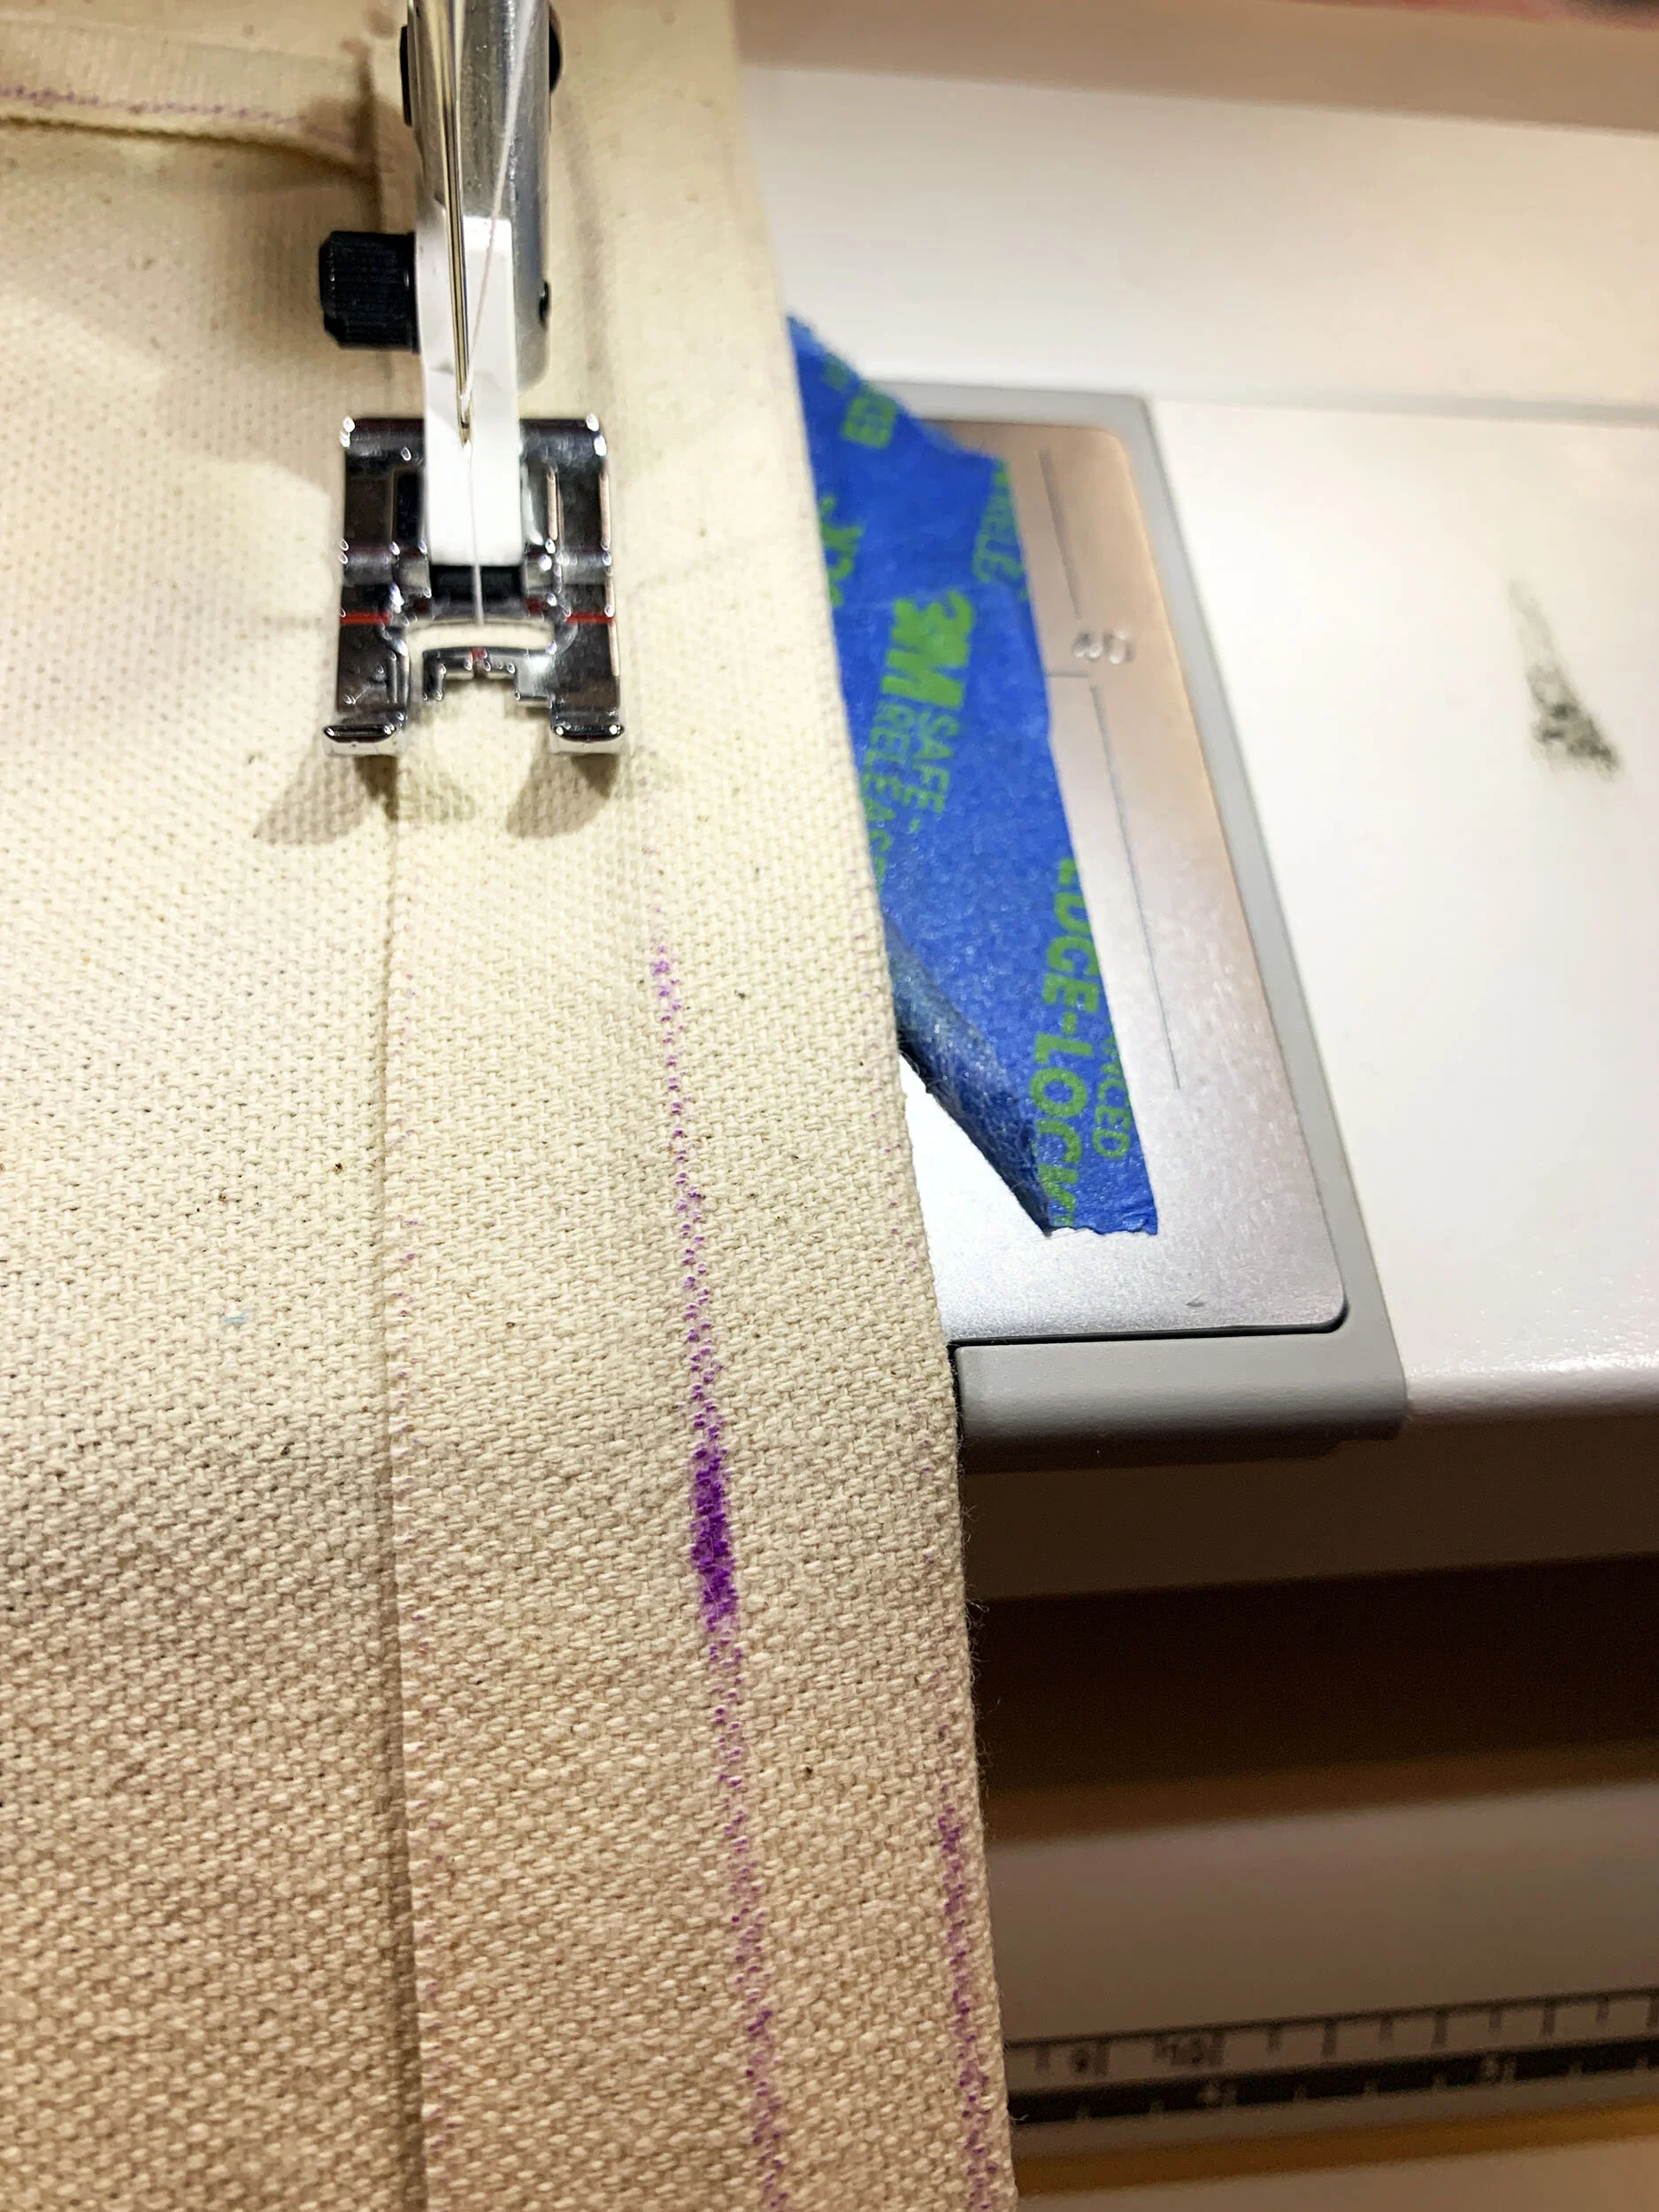
Lay front and back pieces together with right sides touching. Stitch along the right side (long side) ½” from the edge.
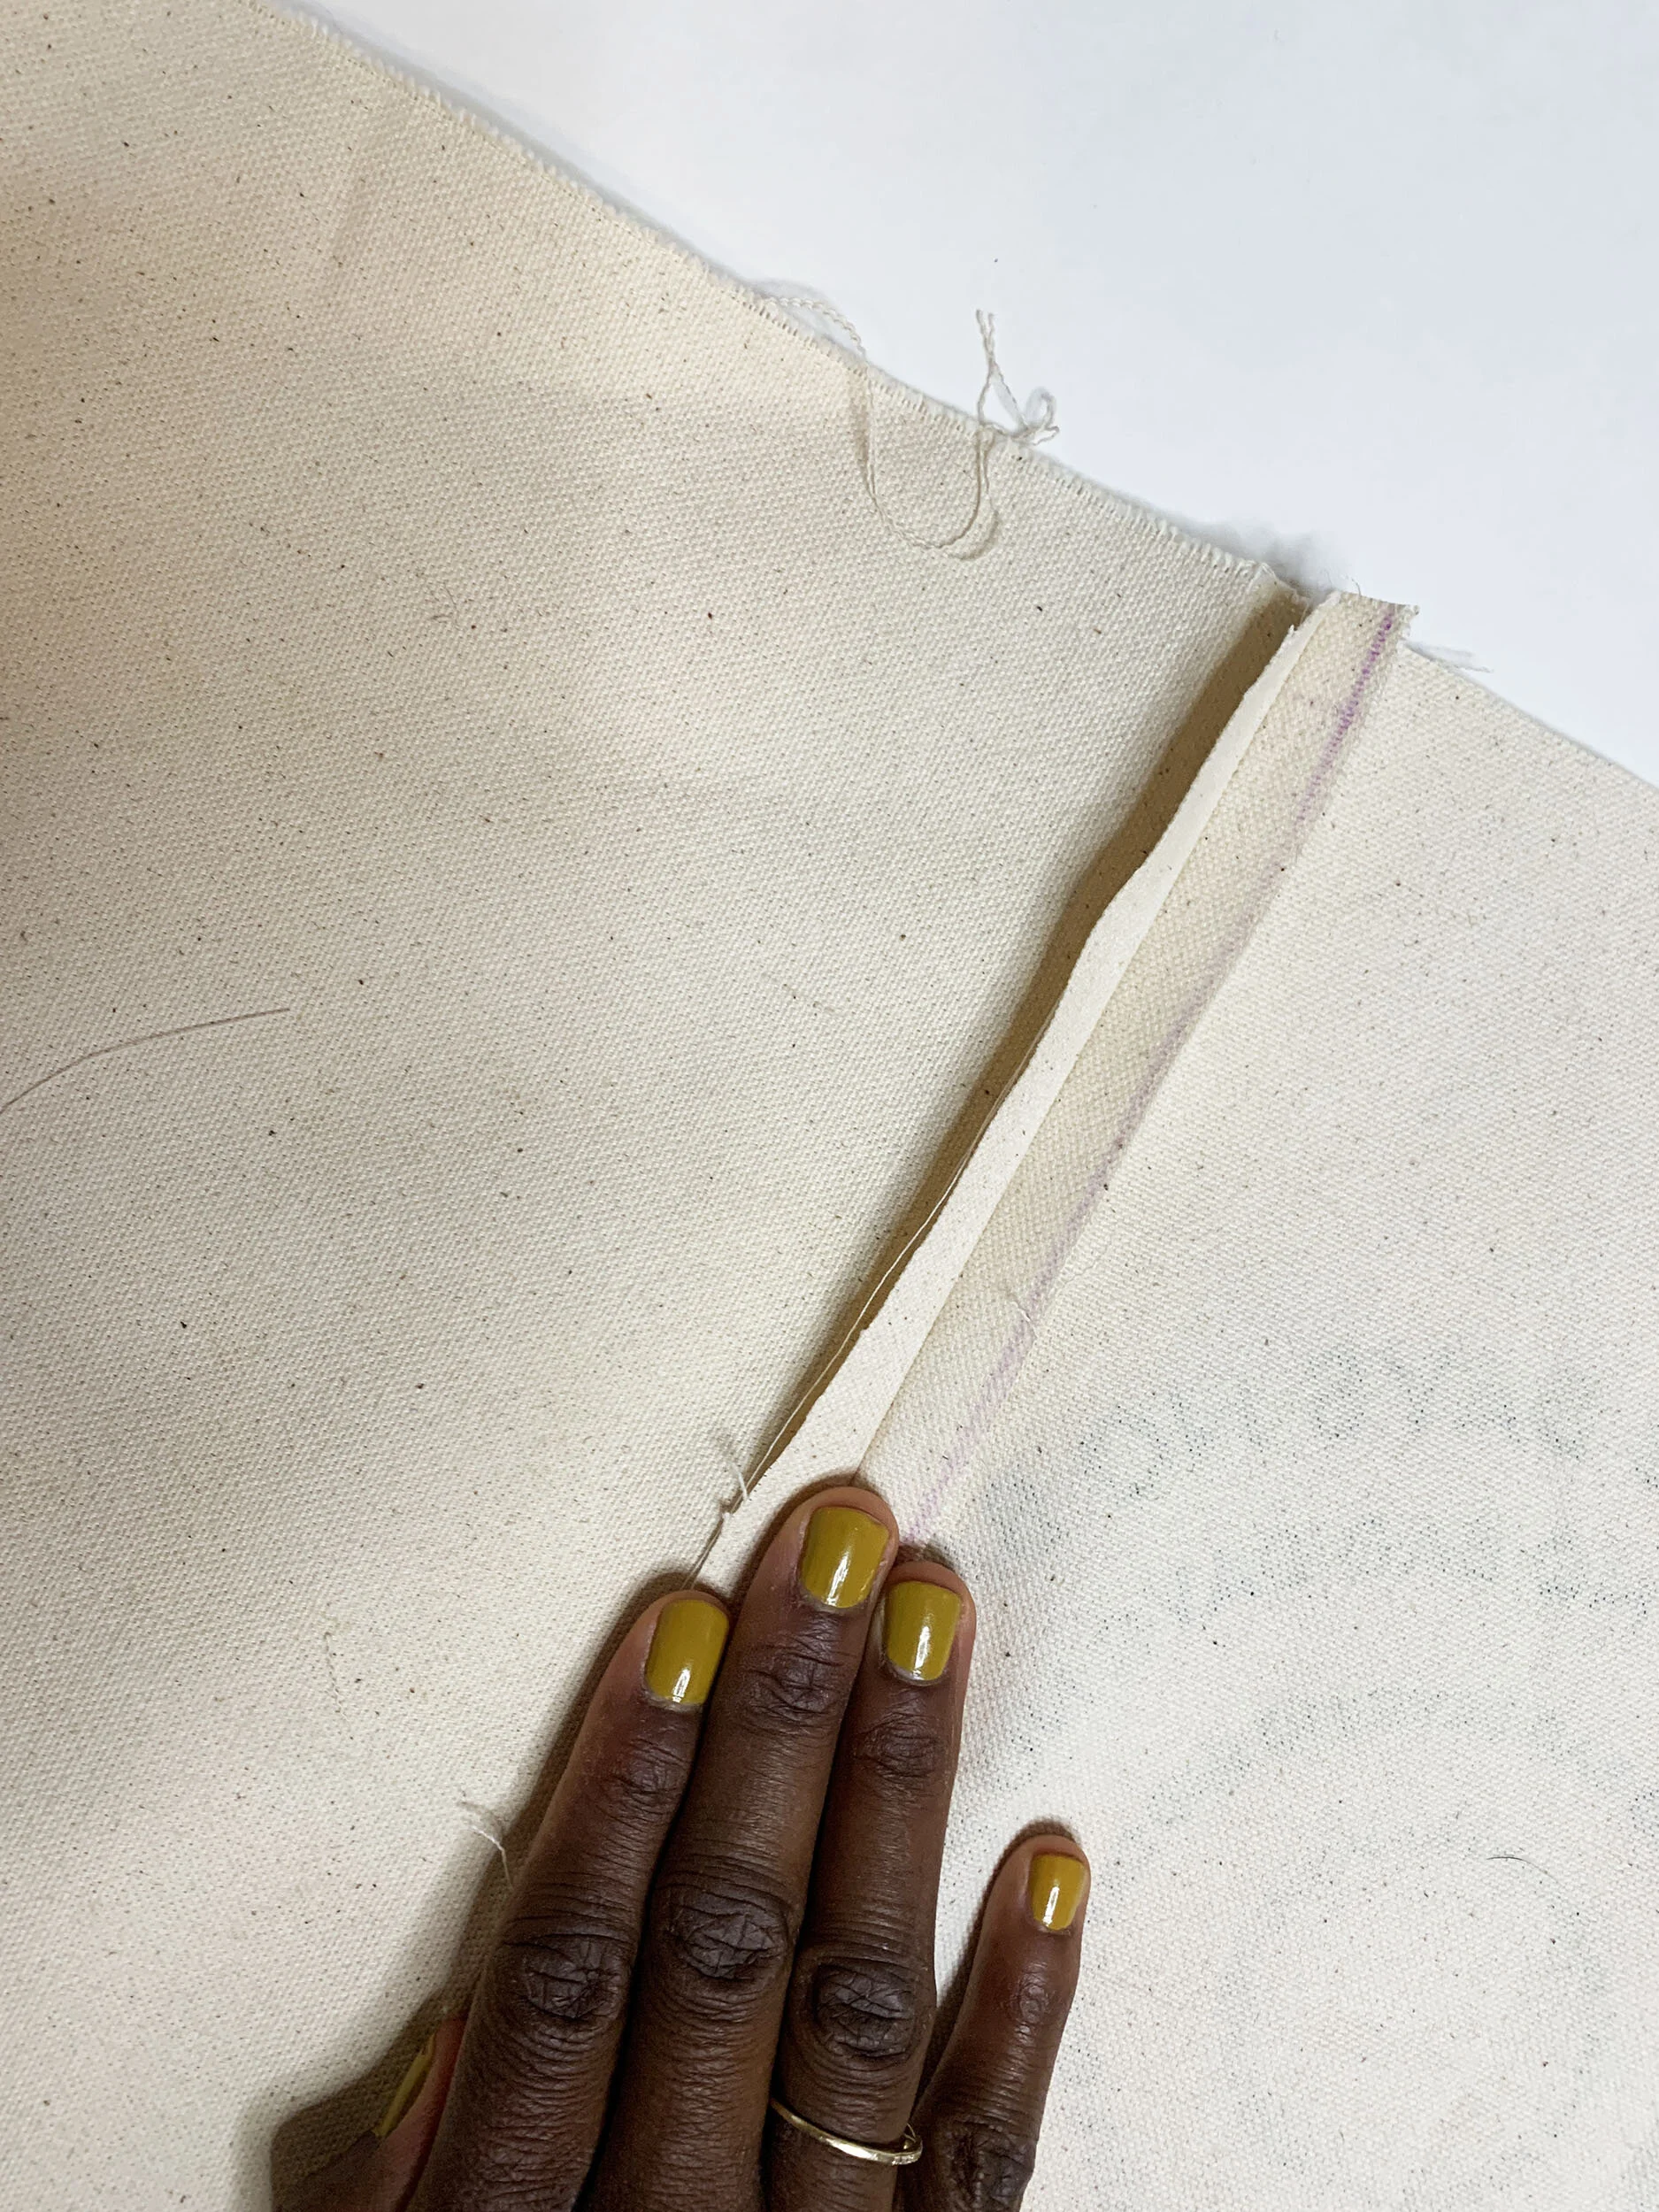
Use an iron to press seam you just sewed open on the wrong side. Then press the seam together (flat like how you sewed it).
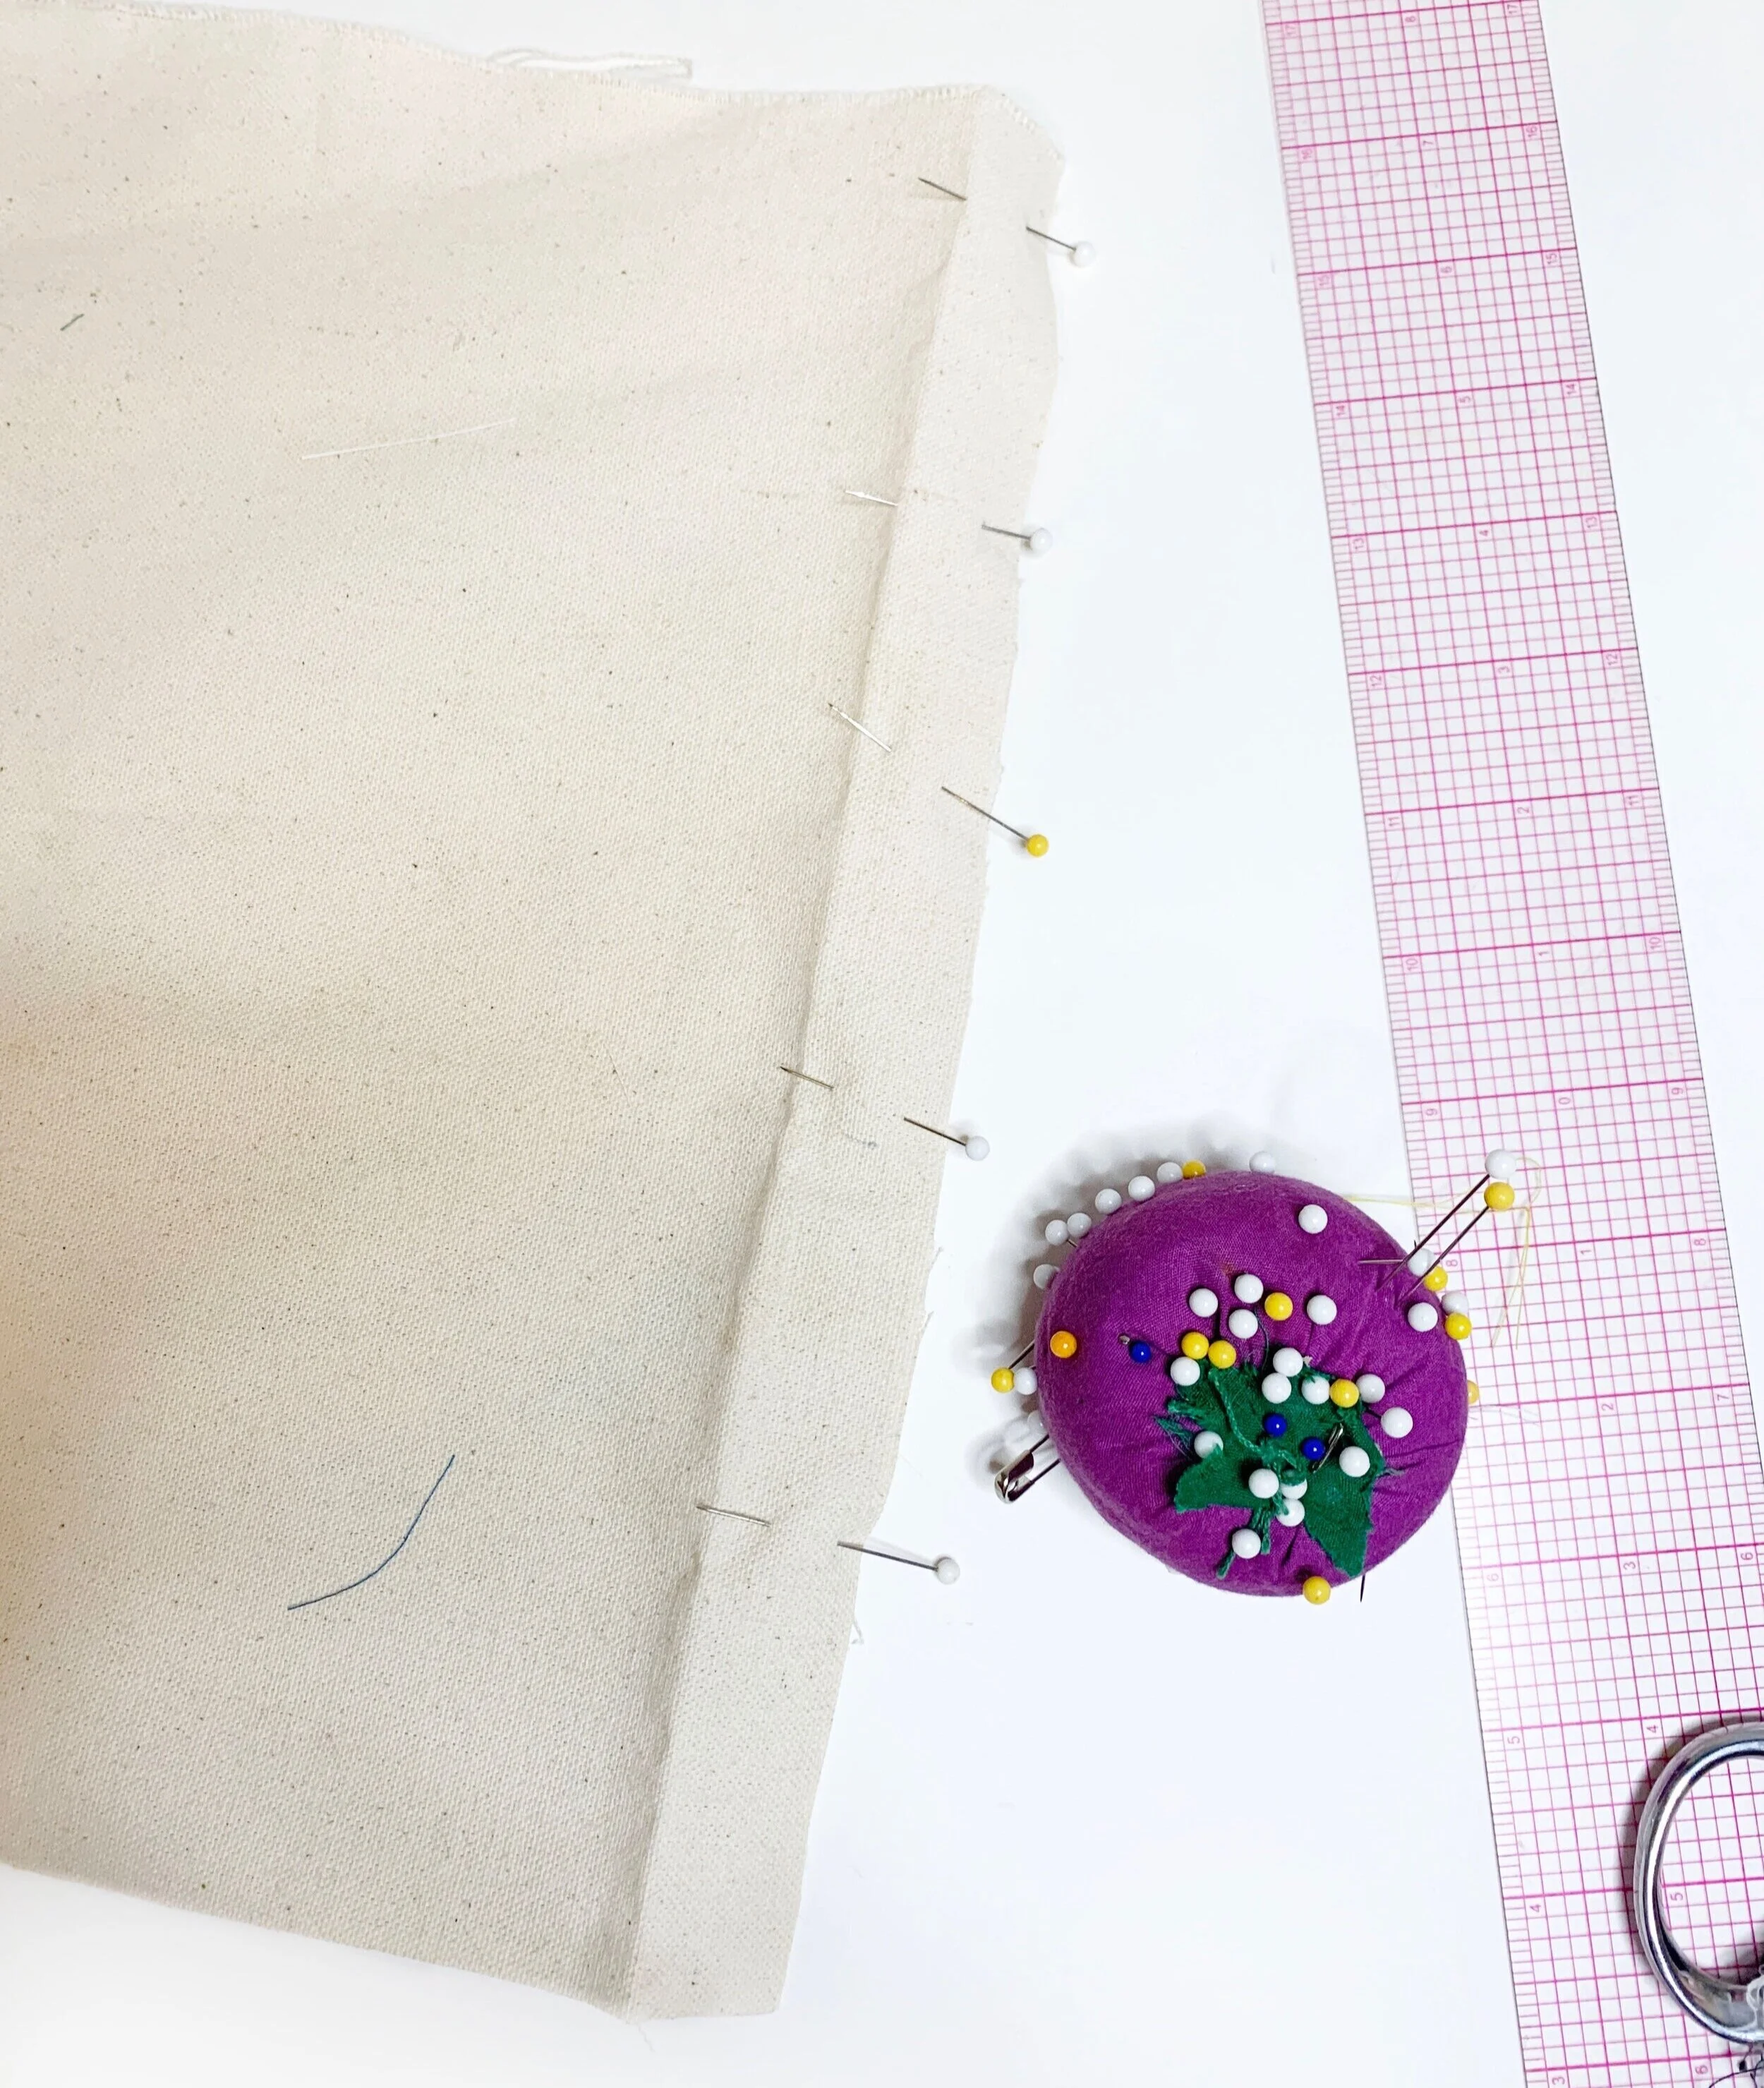
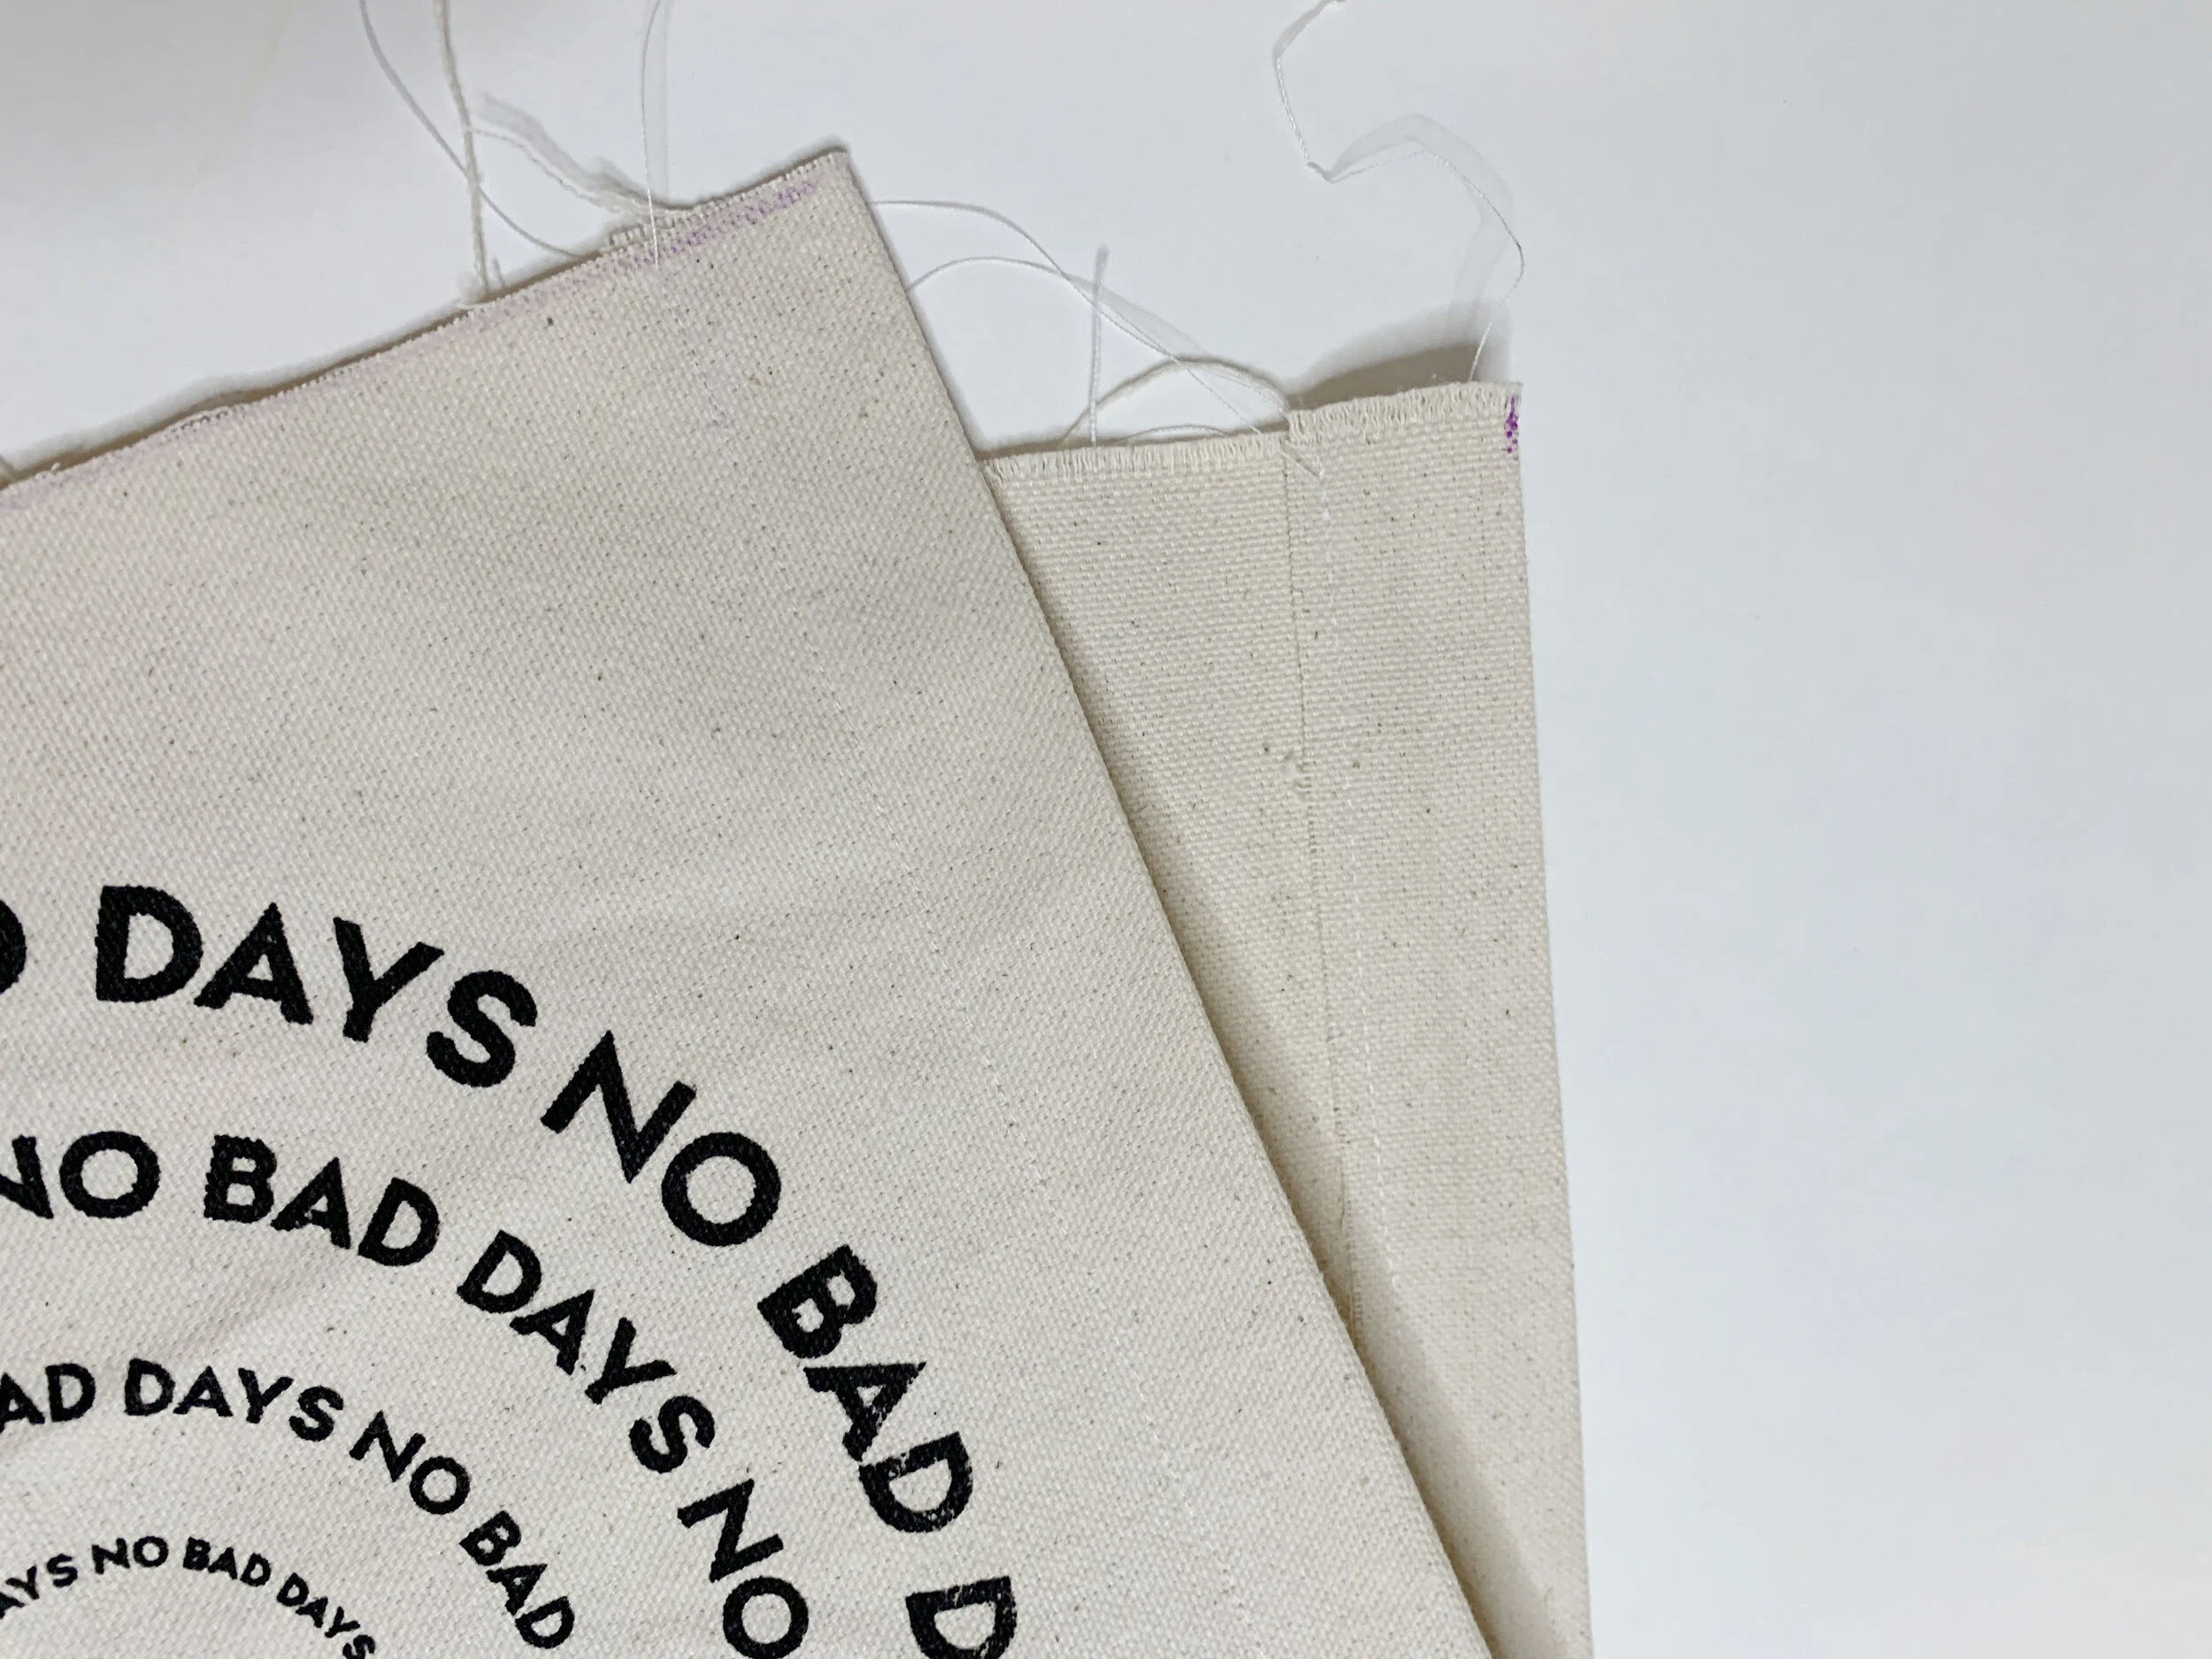
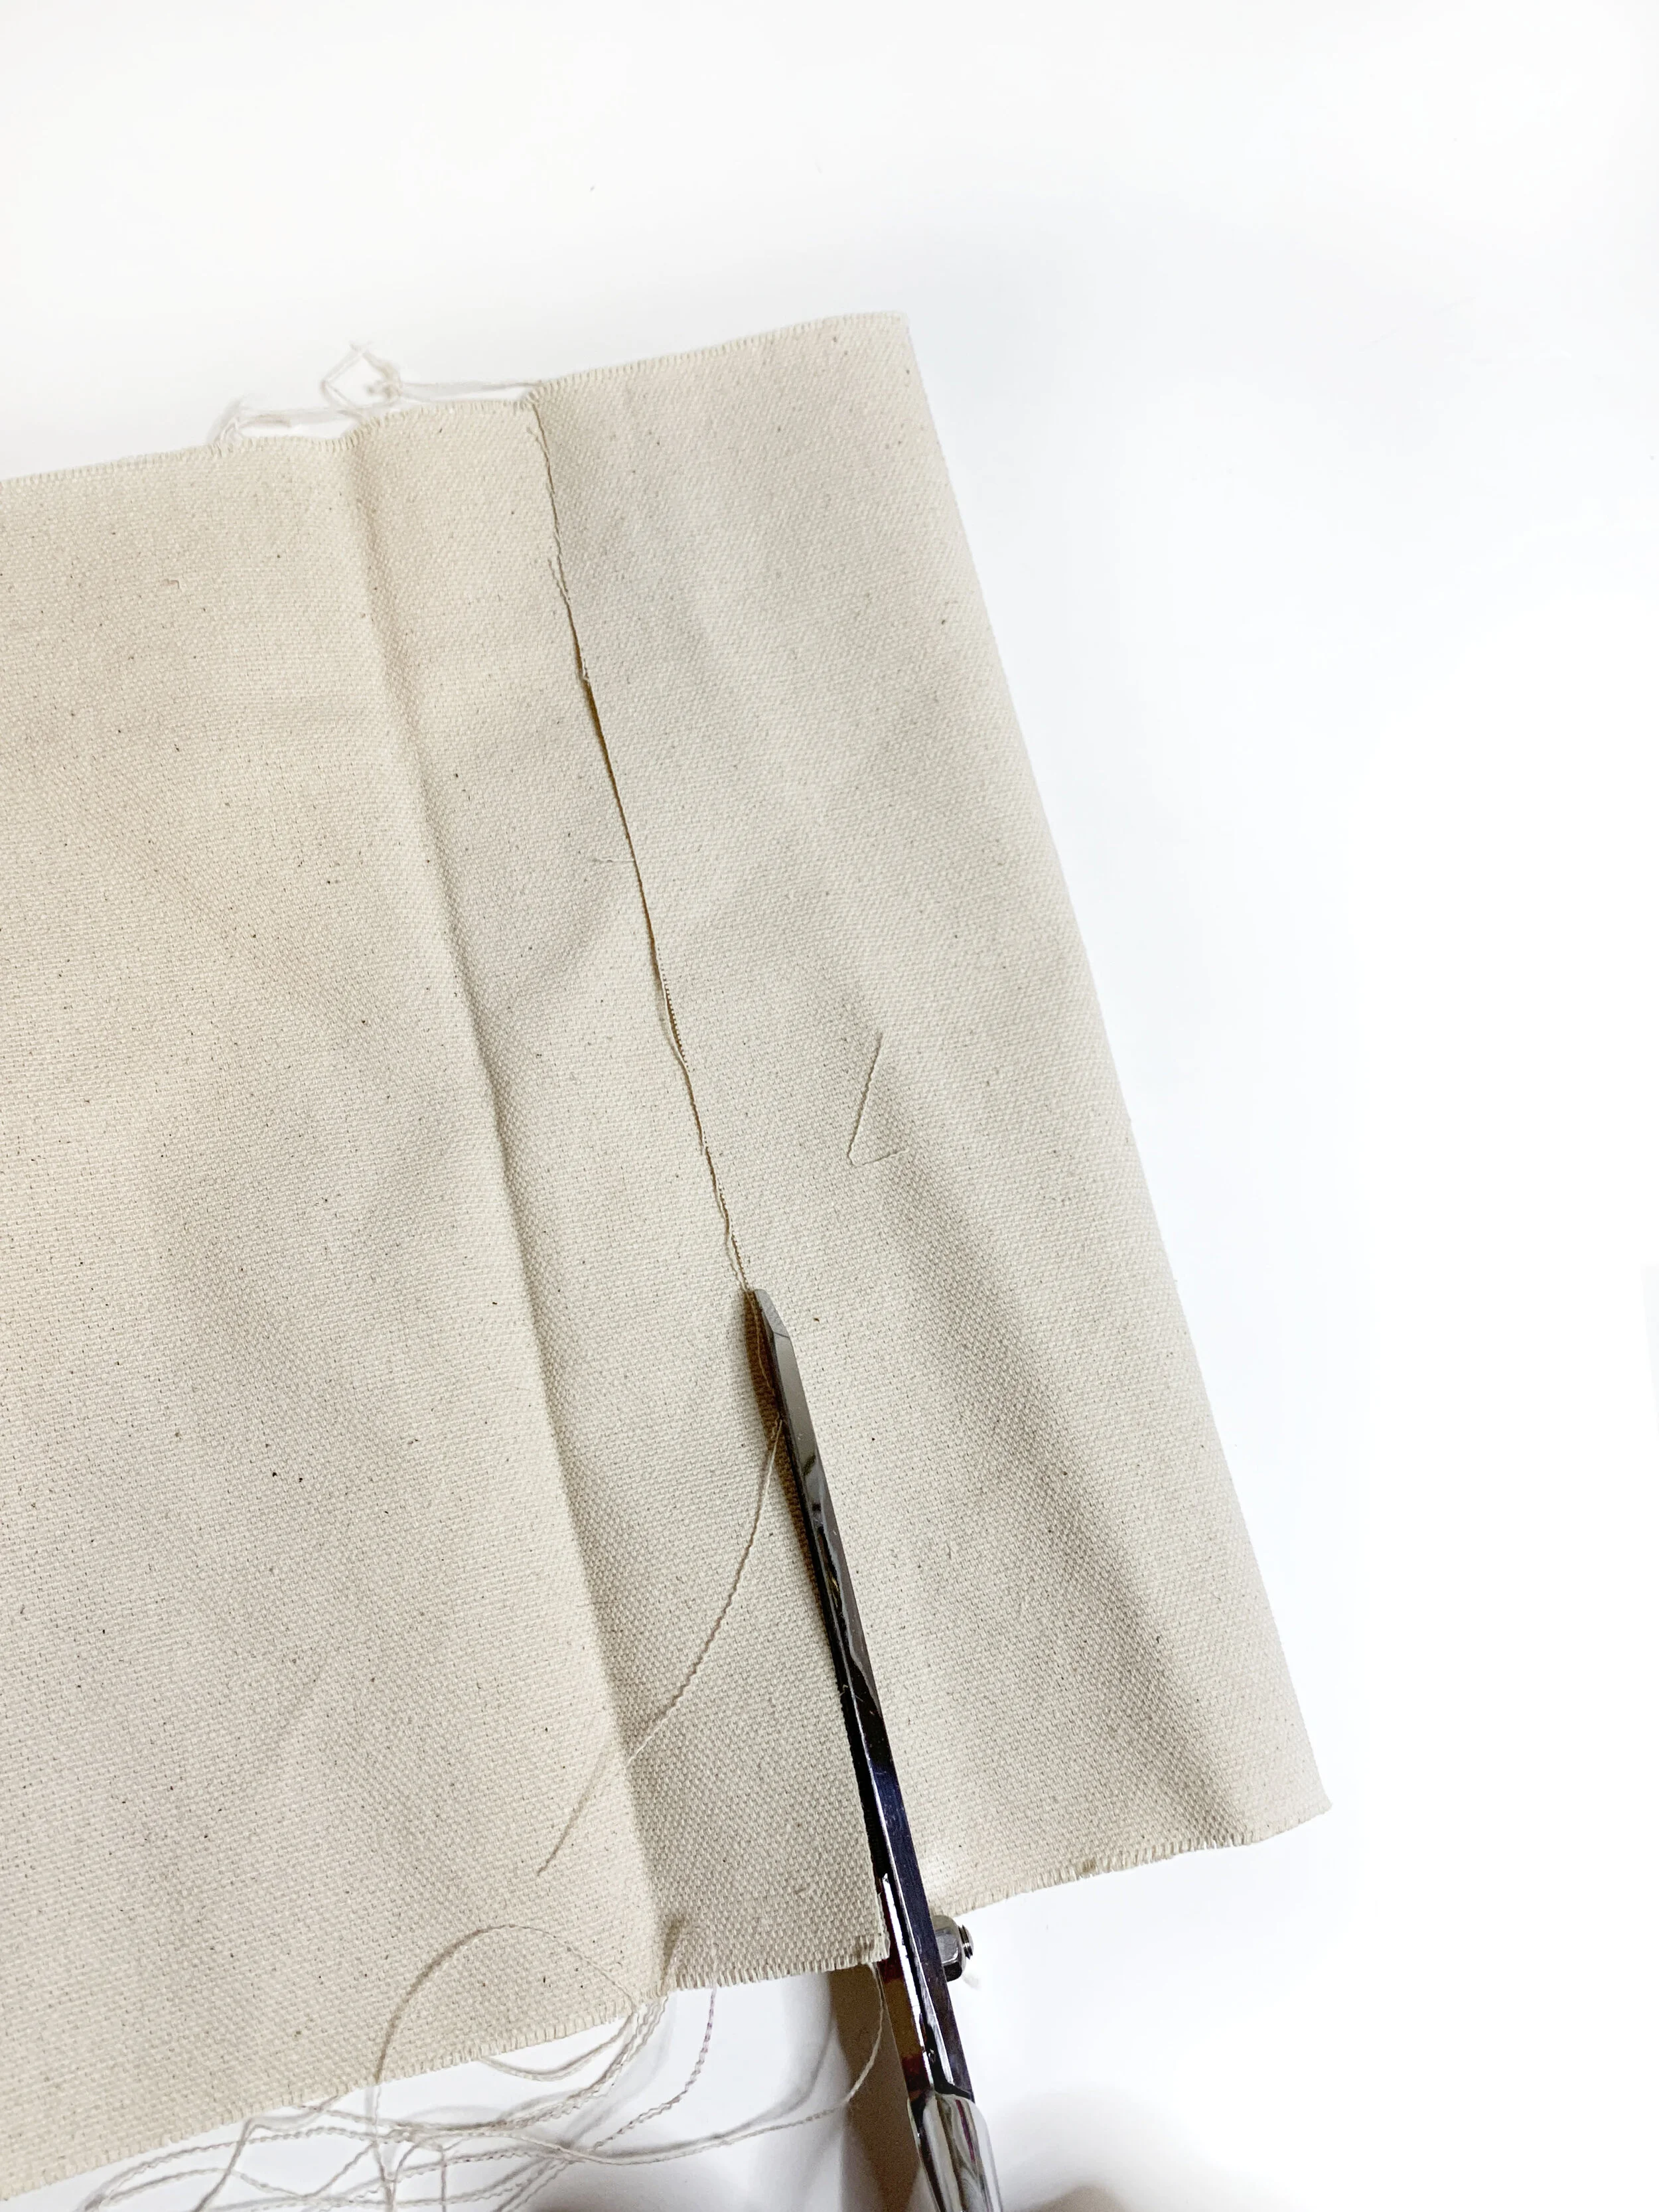
Fold the top edge back 1” , and press flat with an iron.

Stitch down the folded piece along the edge.
Here’s what it should it should look like from the inside and outside once you stitch it down.
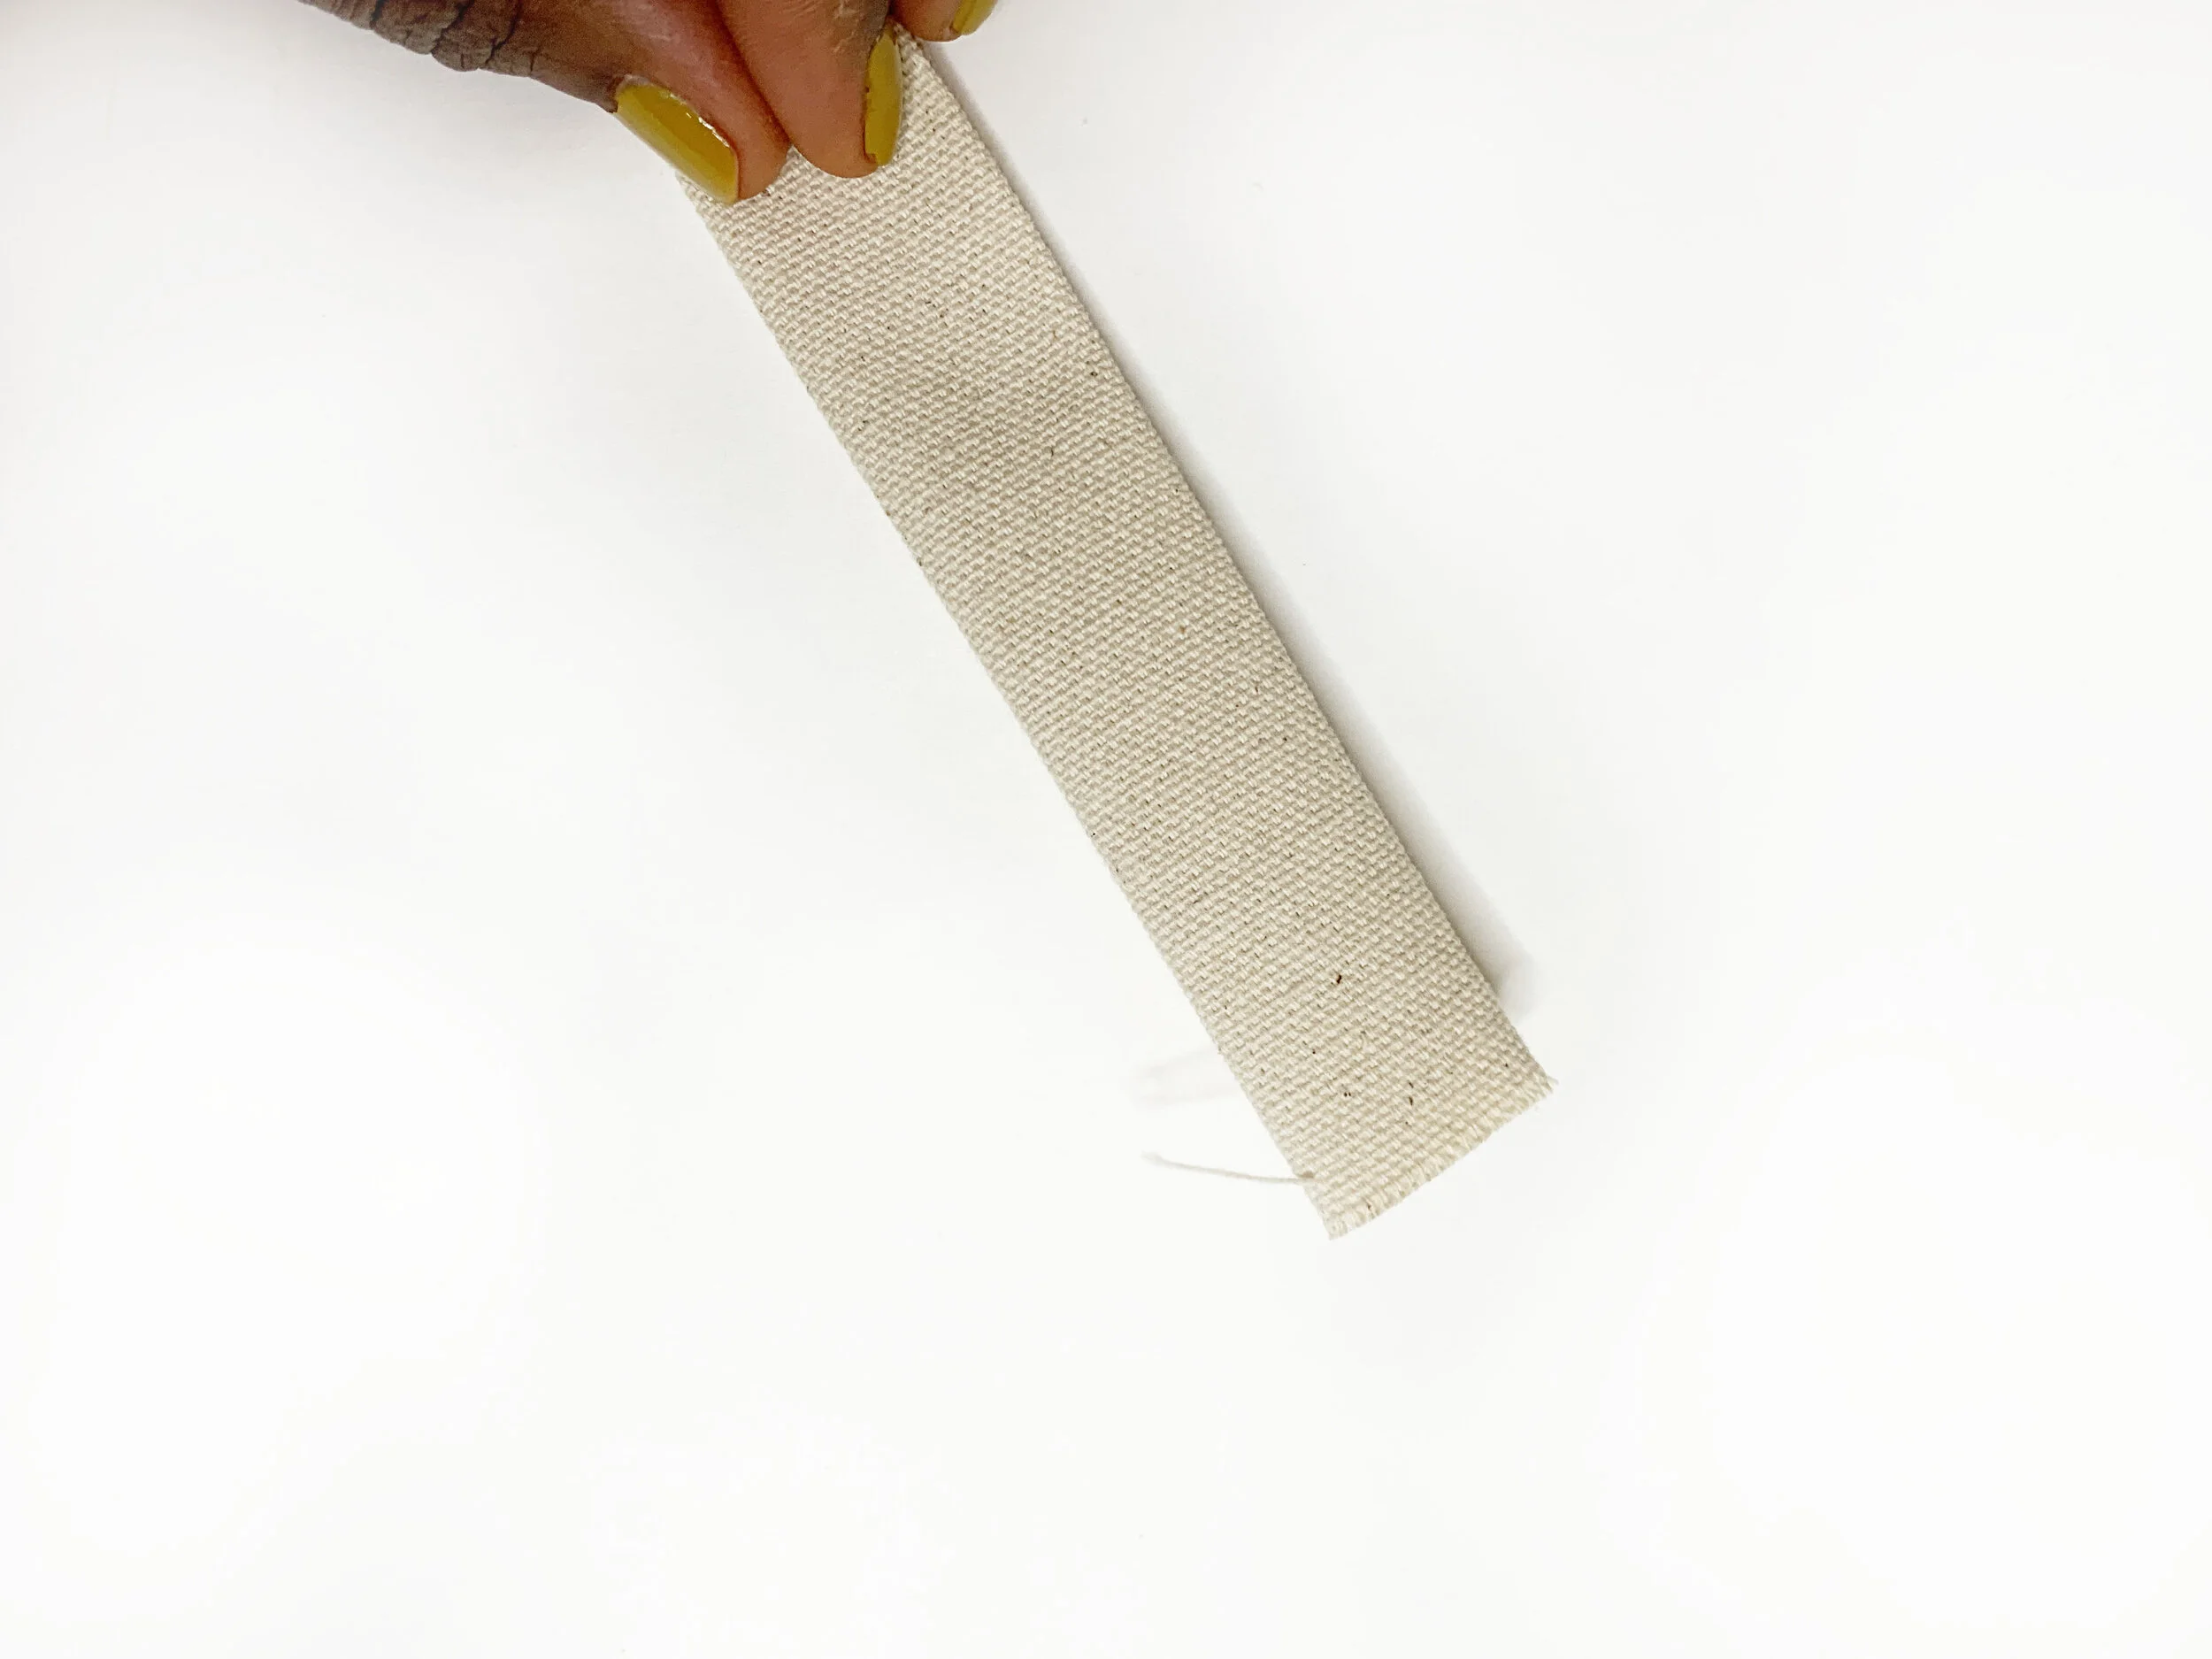
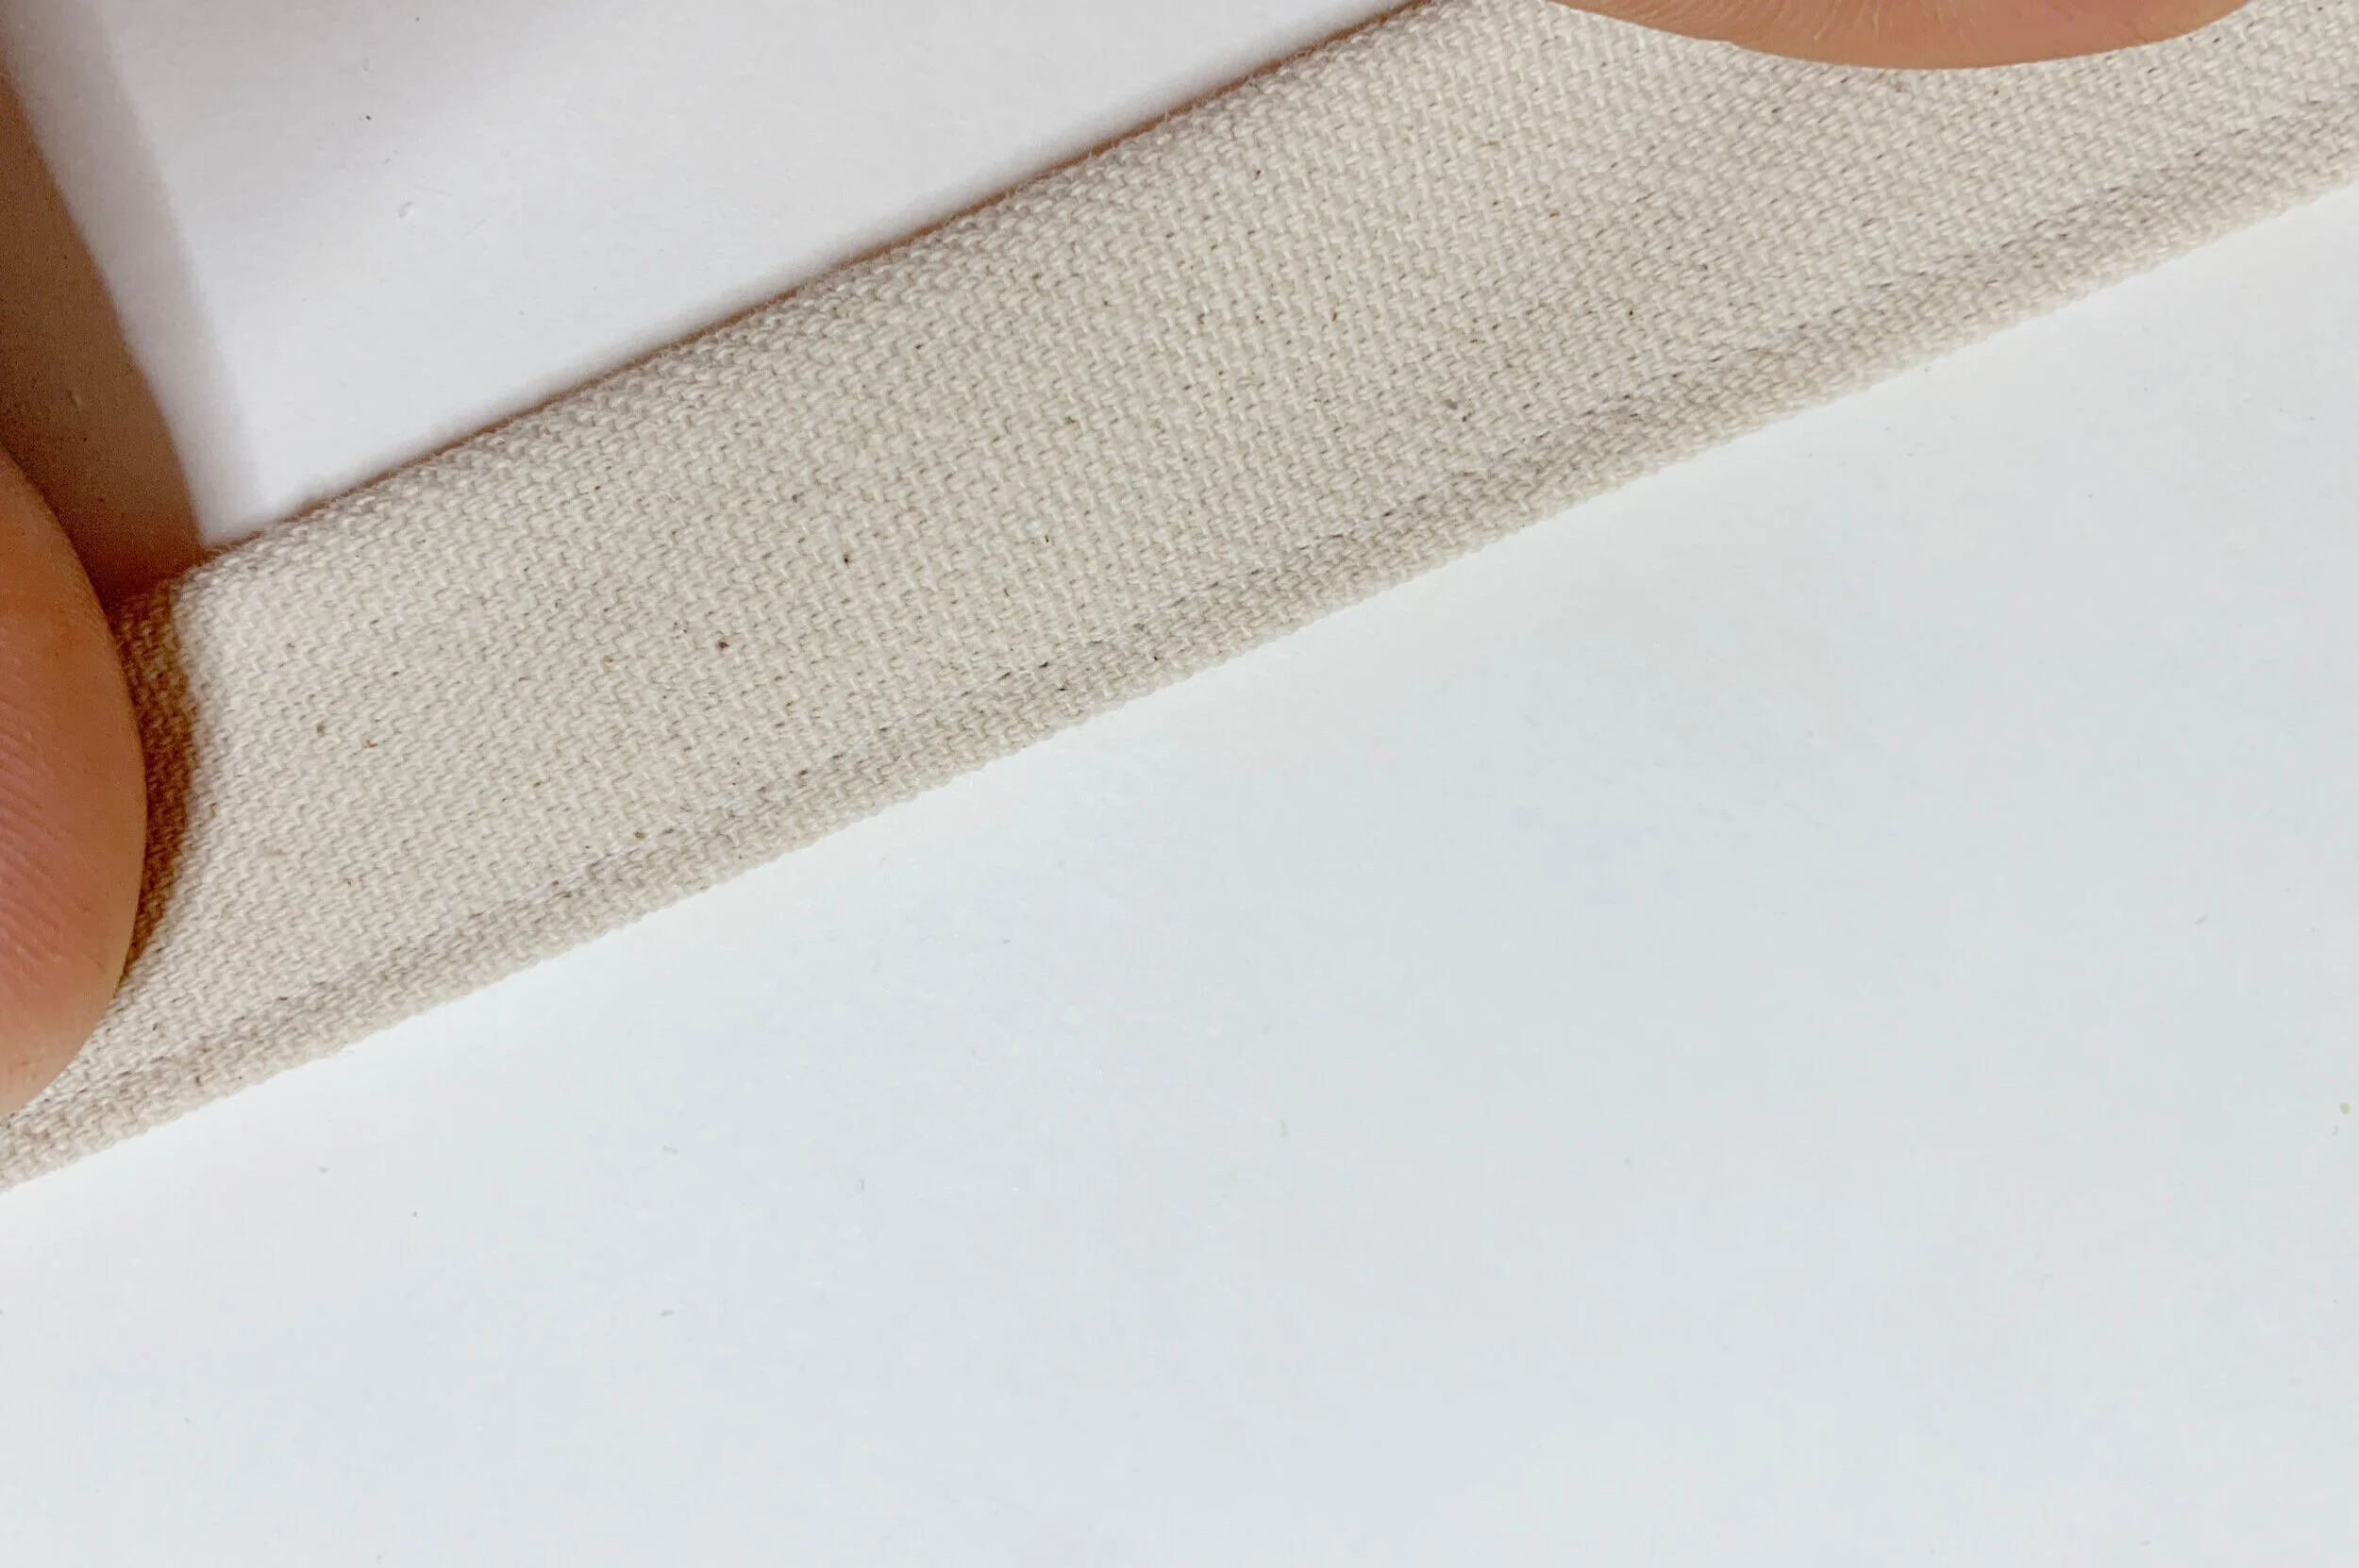
Cut two pieces — 3” x 12” for bag straps.
Fold in ½” on each side. Then fold in half so folded edges are touching. Use an iron to press flat. Stitch along the edge to secure strap pieces.
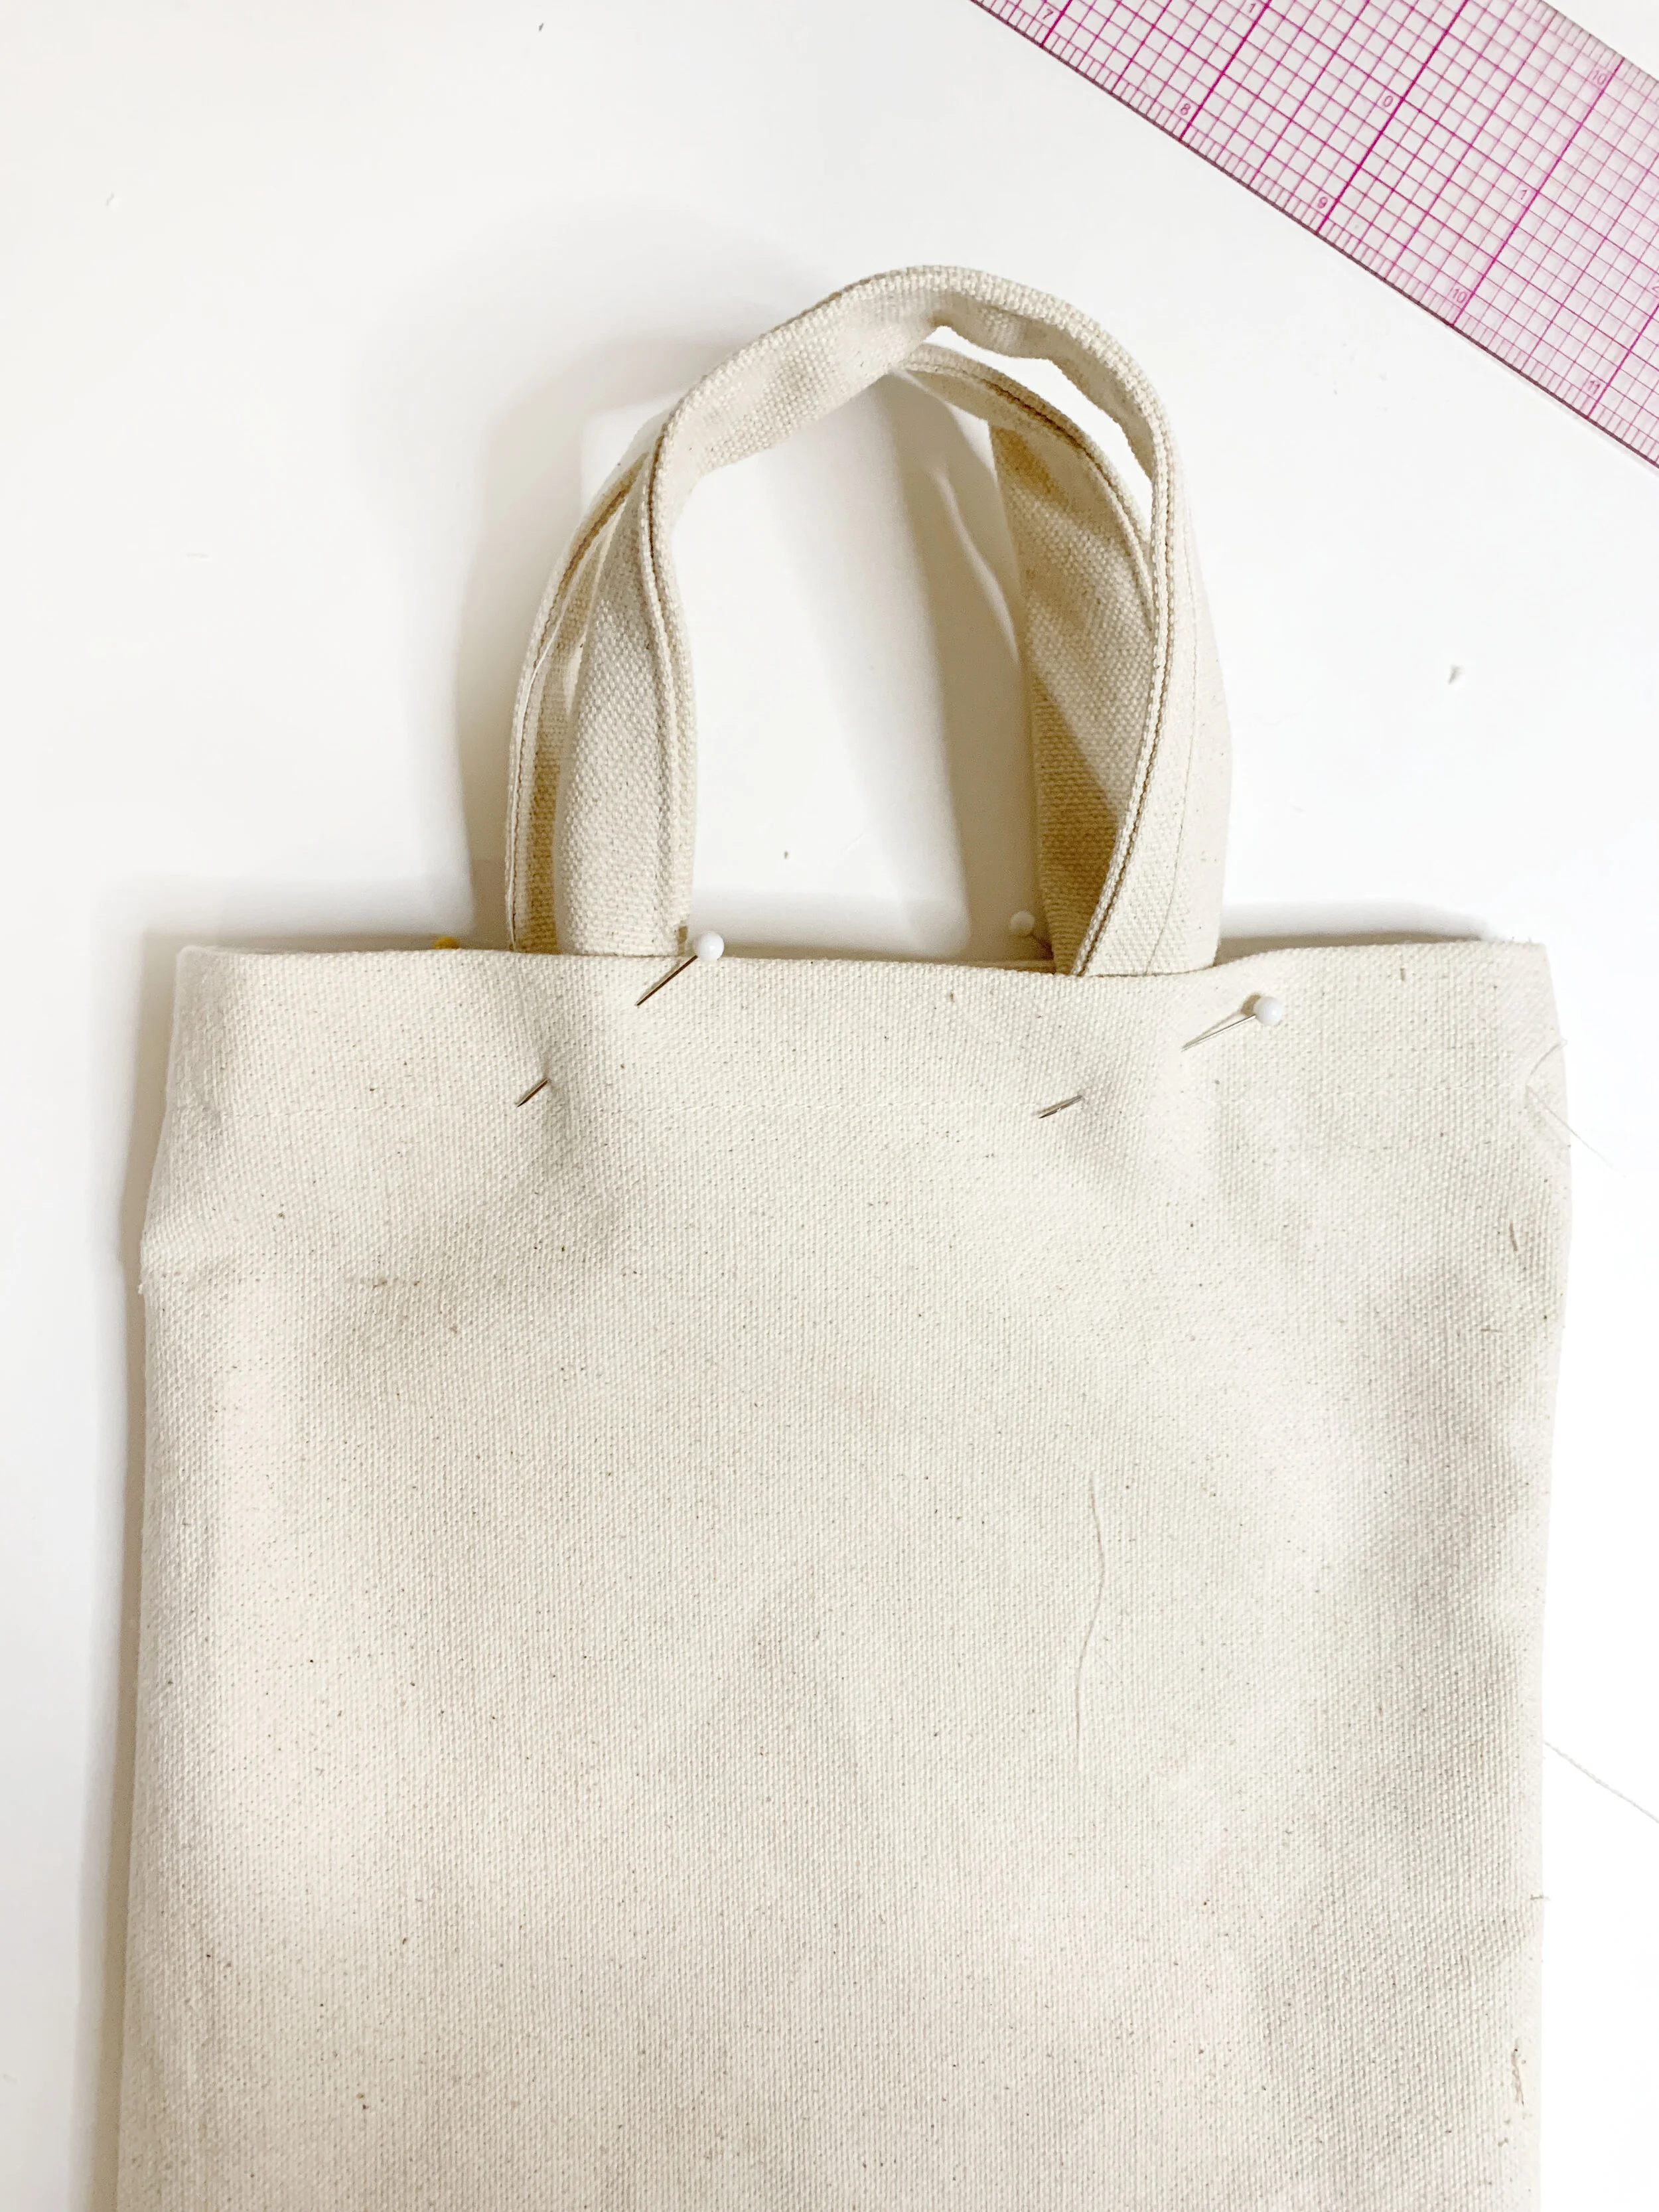
Take your straps, and pin them to the front and back pieces of your bag about 2” from edge. They should be centered along the top edge which you can either eyeball or measure.
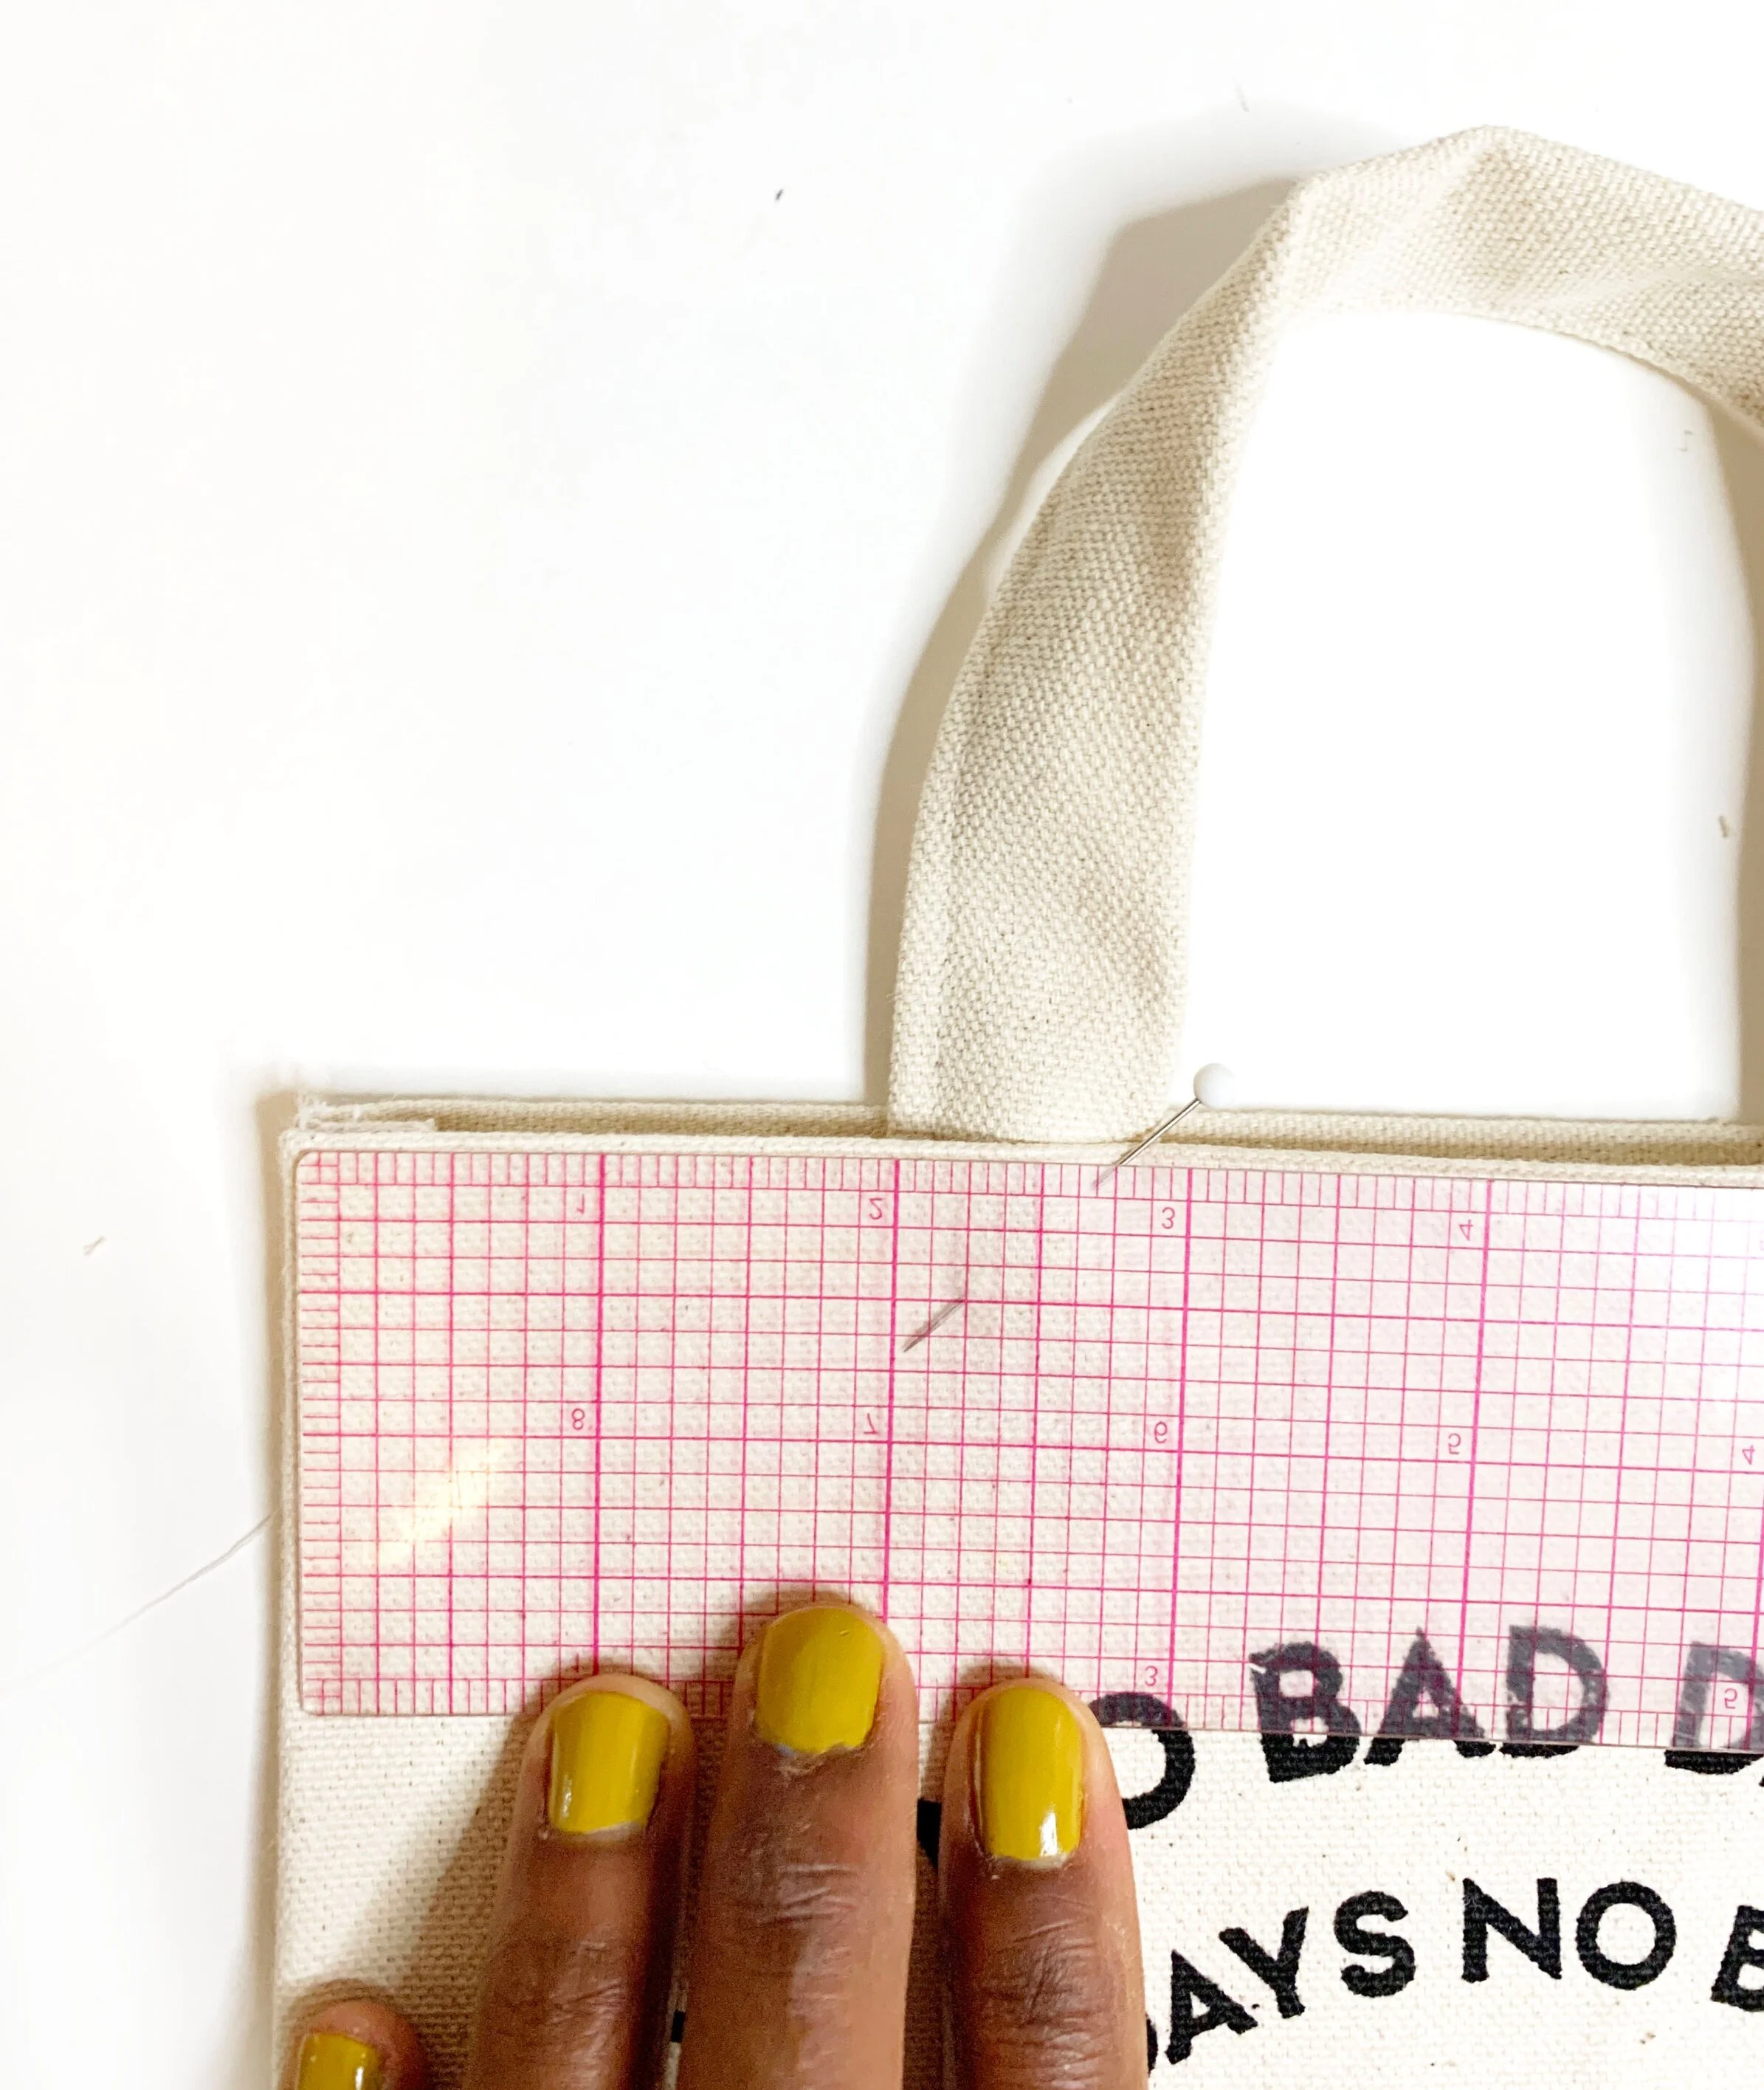
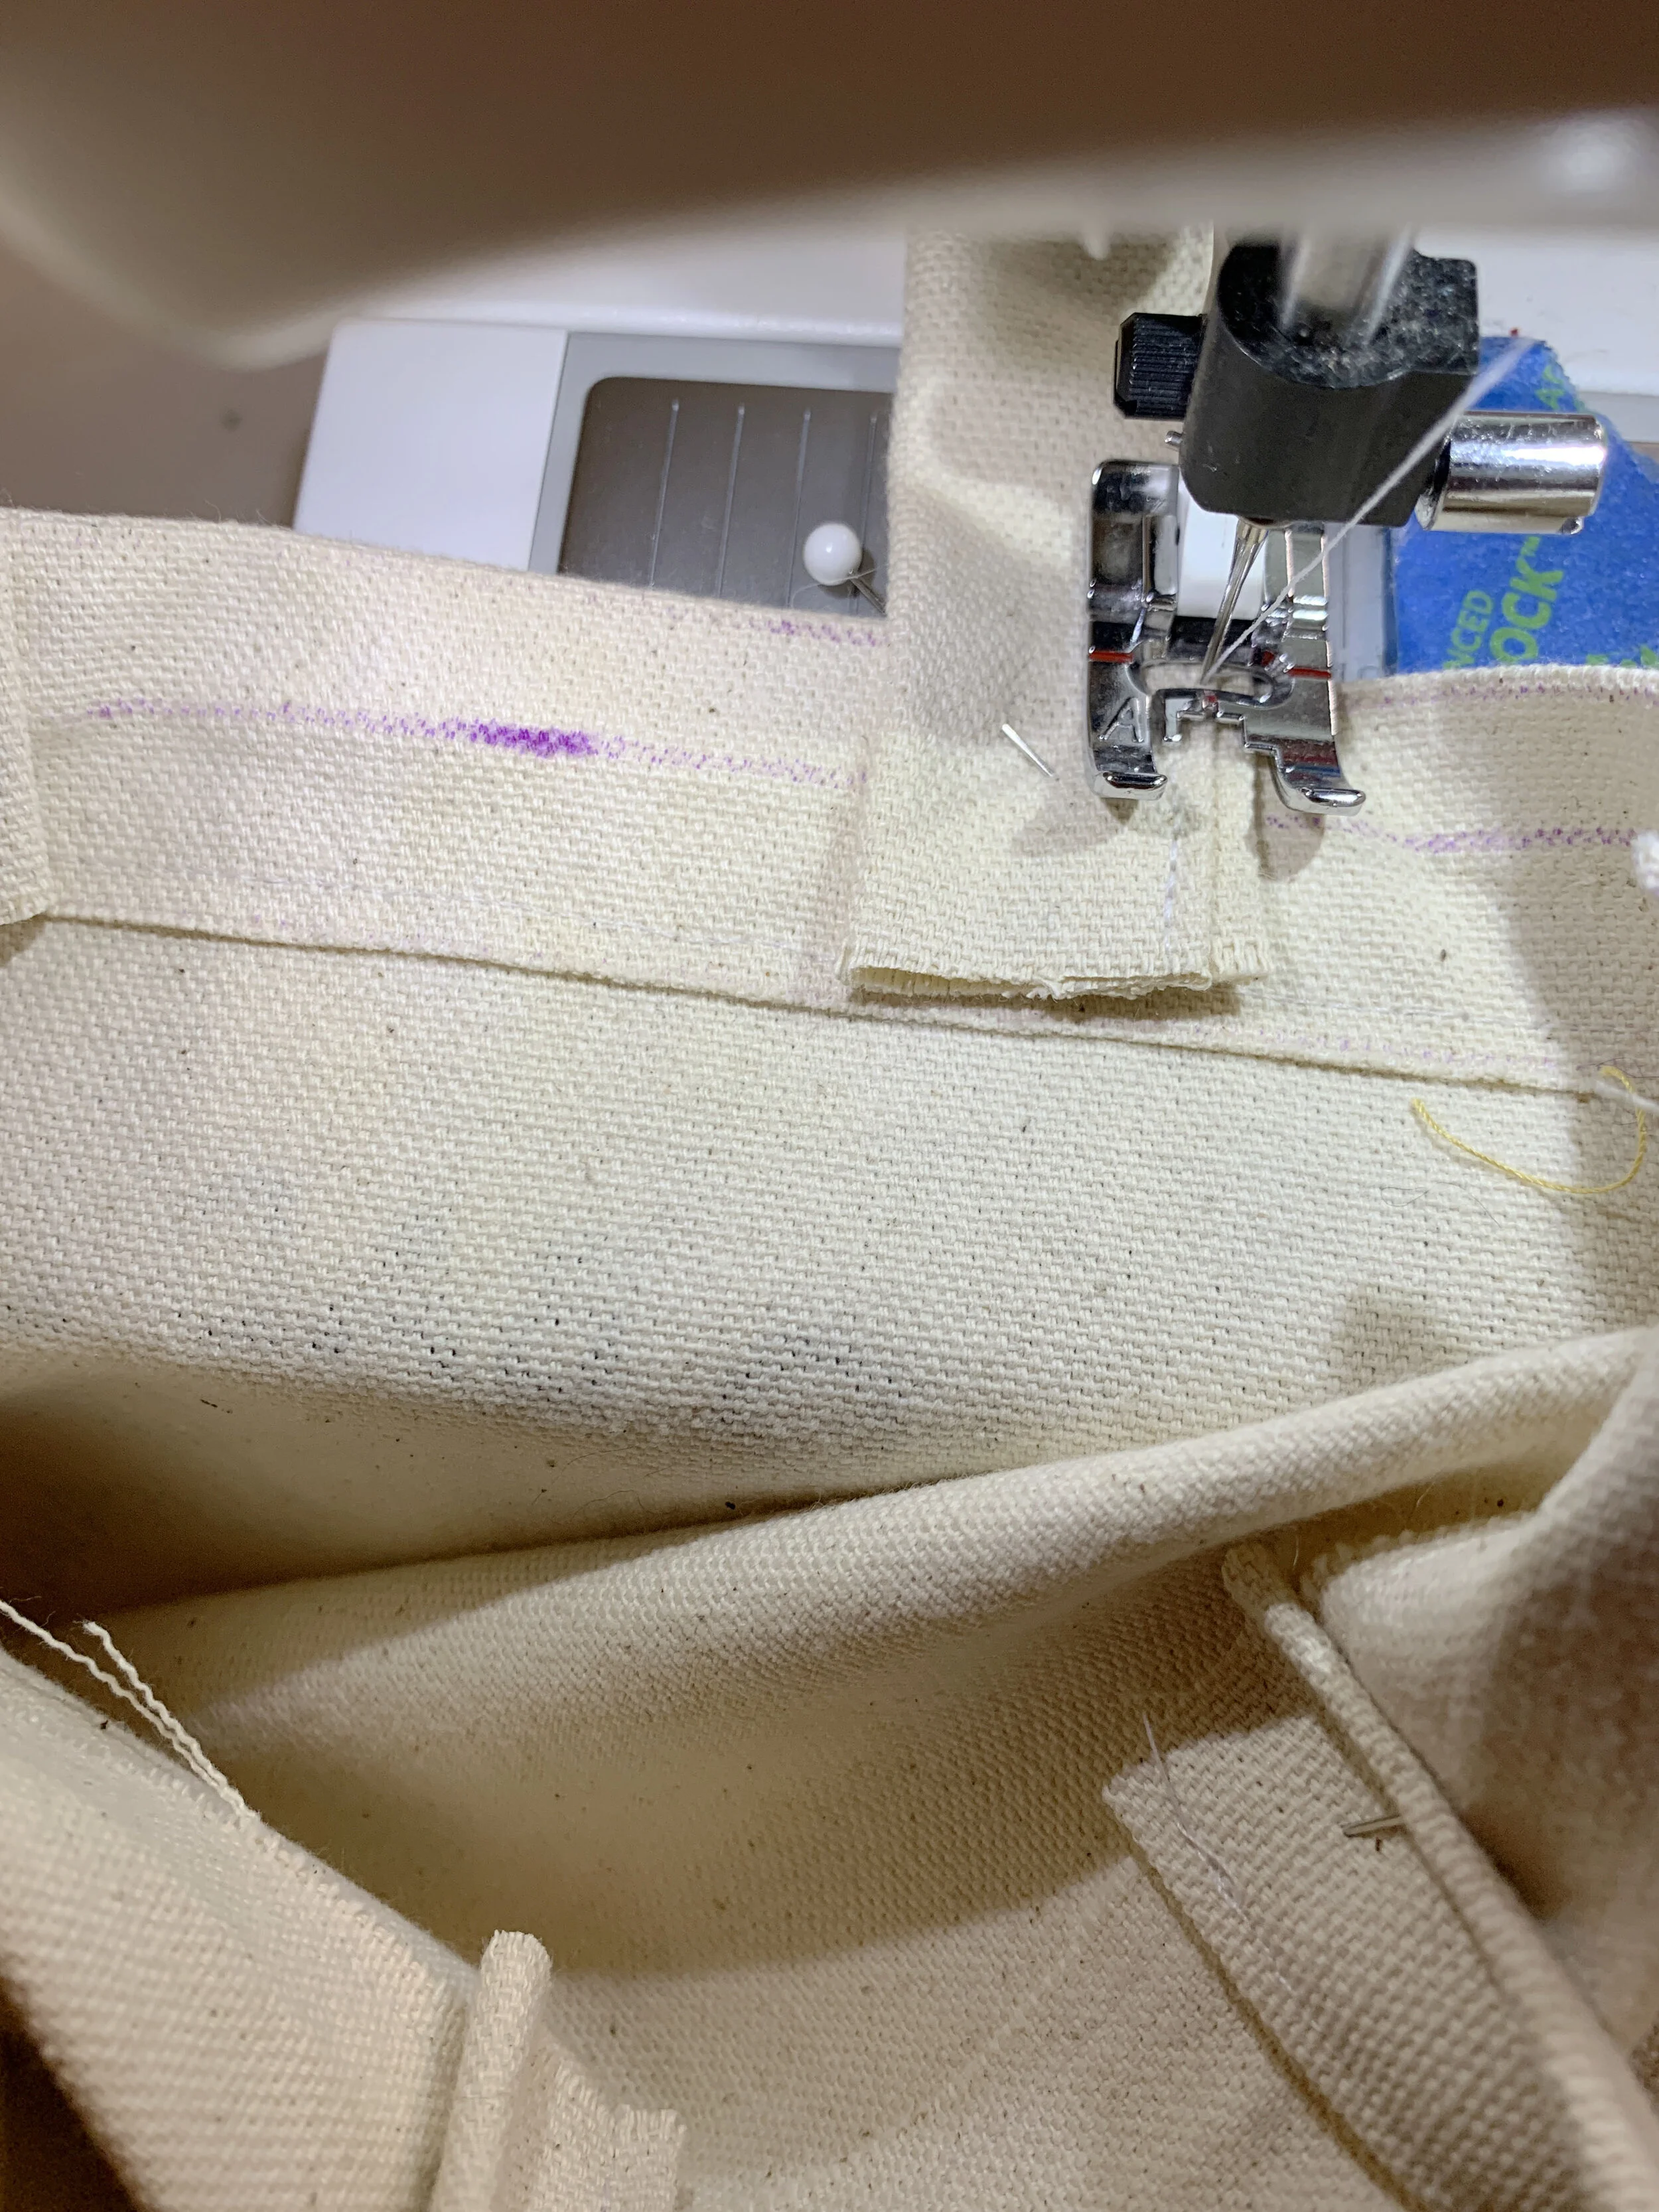
Use a water soluble pen to draw squares onto the outside (or inside) of the bag where the strap is pinned. This will be your guide for sewing on the strap. I usually eyeball this, but drawing the square is very helpful if you haven’t done this type of bag before. Follow lines to attach the strap to the bag. Remove pins as you sew because stitching over a pin will likely snap your needle.
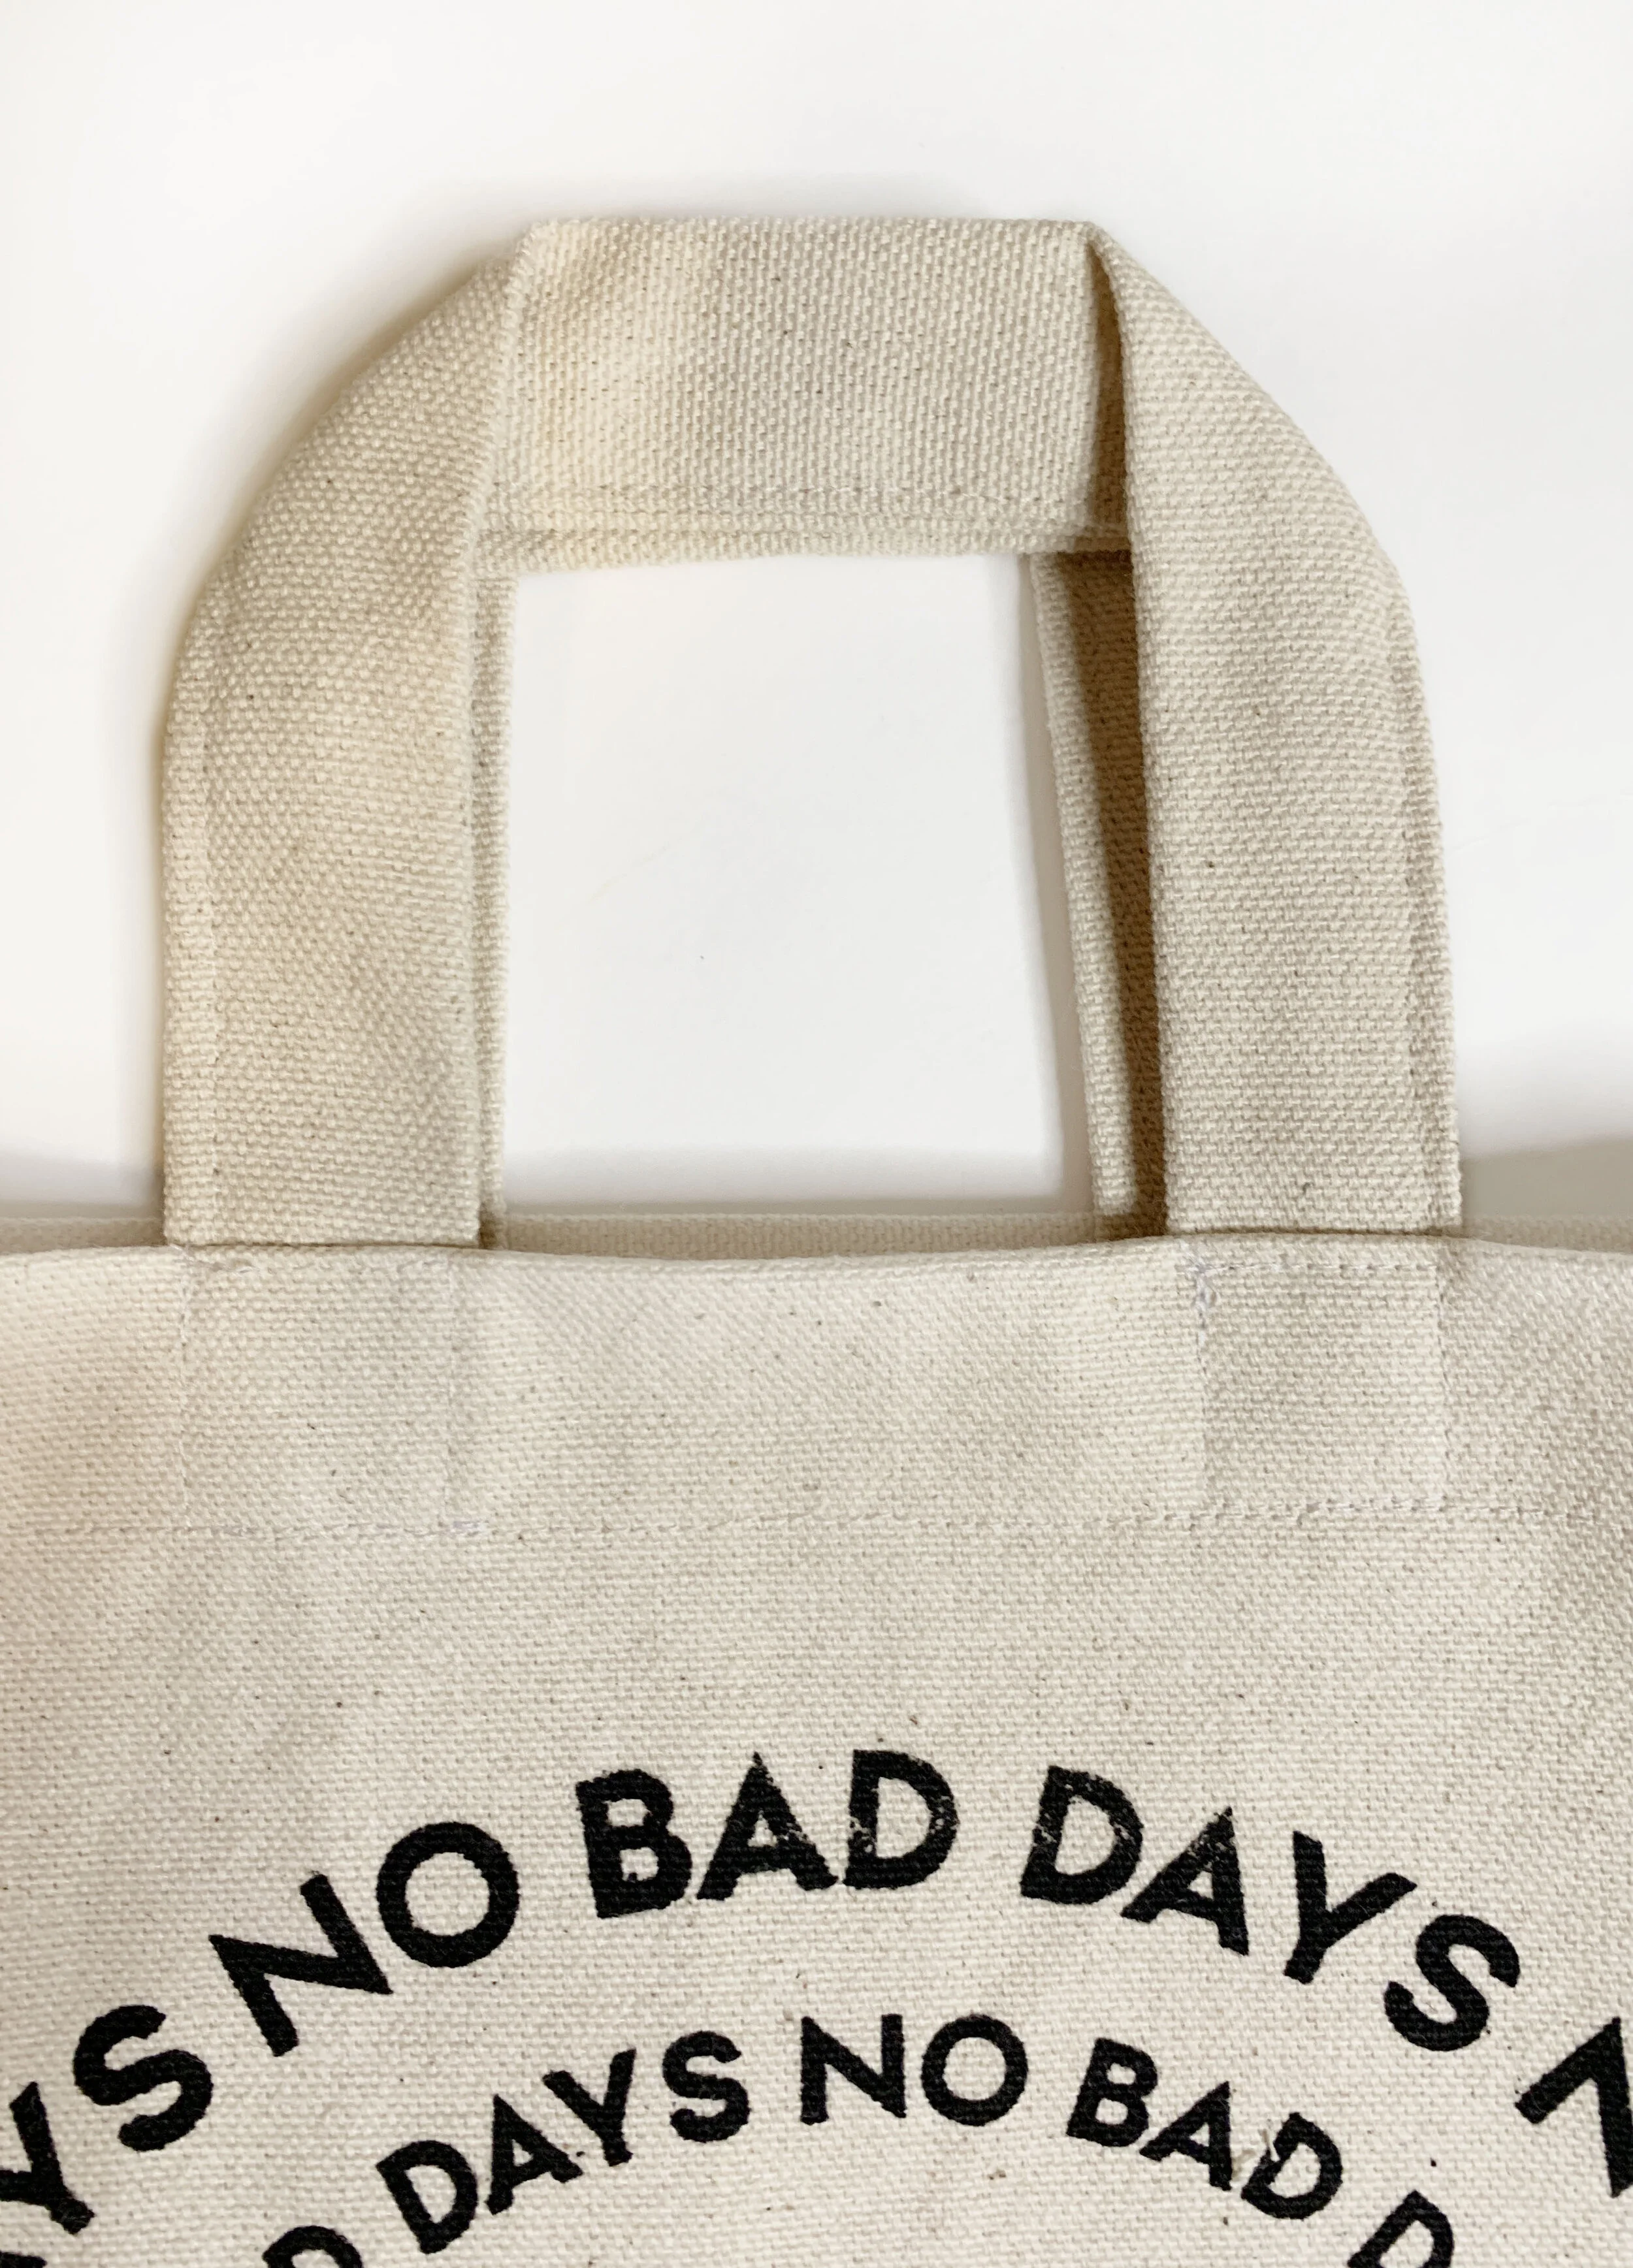
Take a second to admire how great you straps look, and give yourself a self high five.
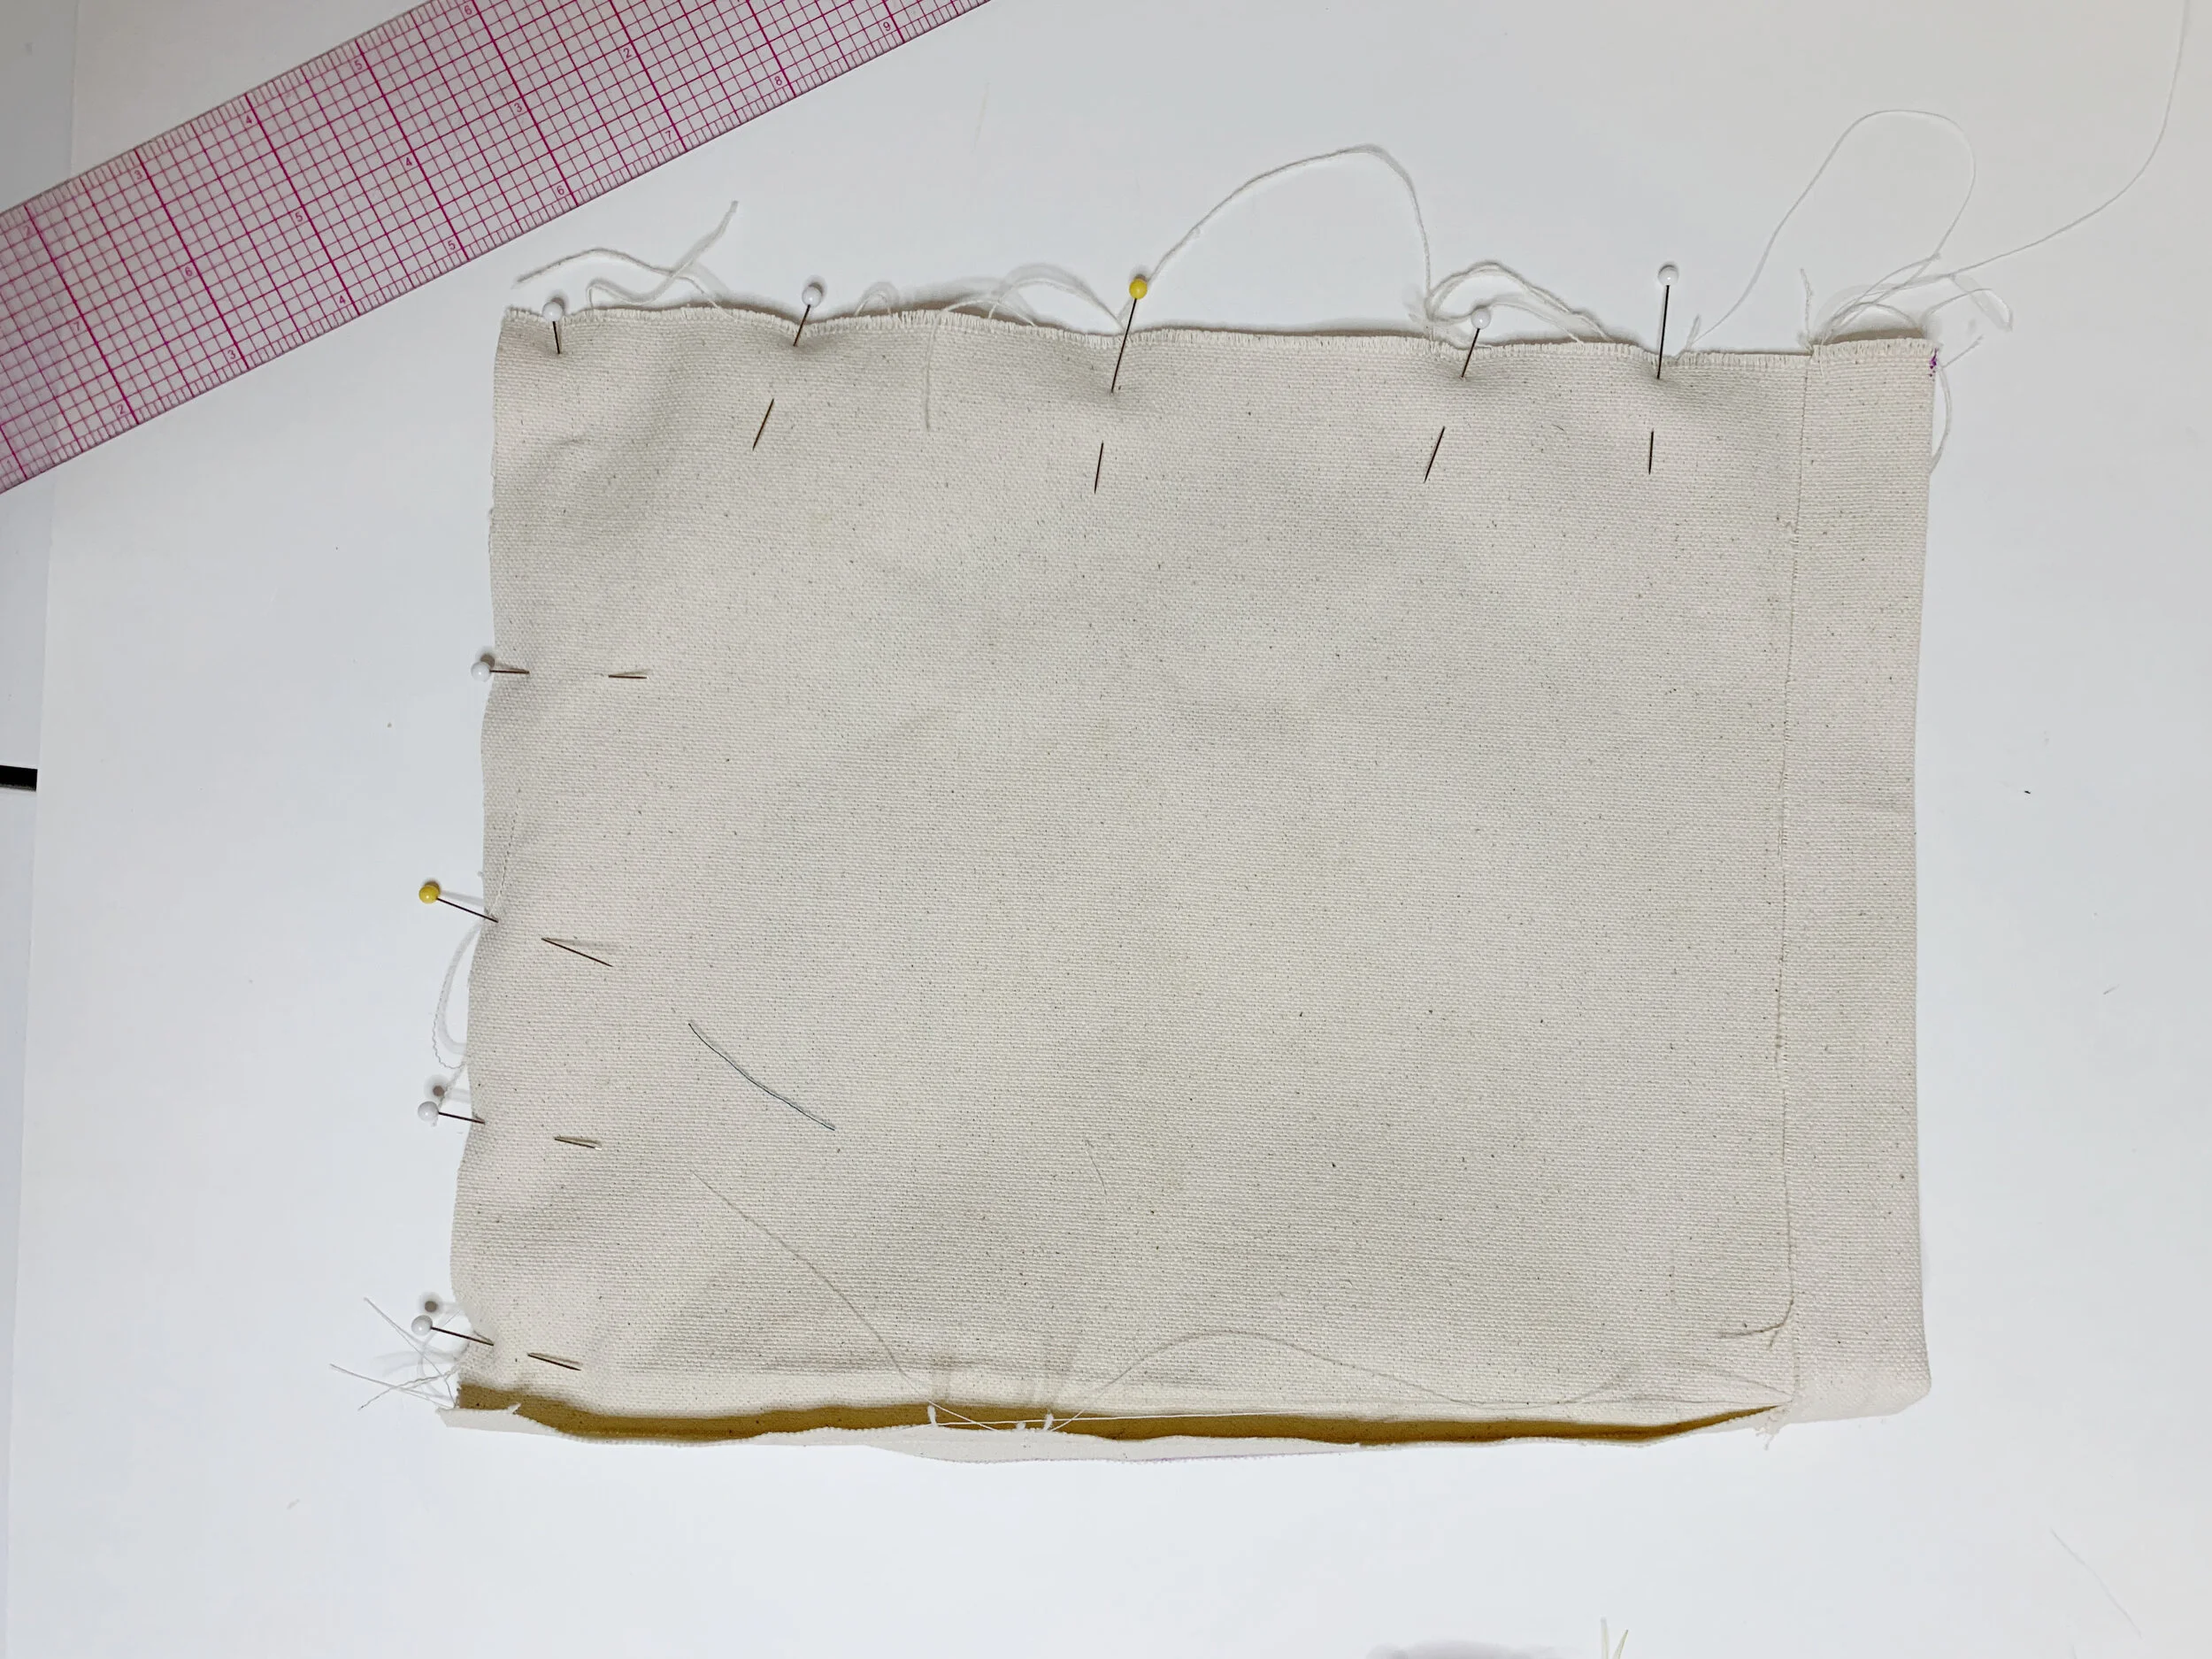
To finish your bag, fold right sides together. Pin around the edges. Stitch 1/2” from edge starting on the long edge.
Press the seams above like you did for the first seam. Turn the bag inside out and you are all done. Viola. Your little tote is ready to be filled or gifted!