Unicorn Headband
Since the start of the pandemic, I’ve been blessed enough to work from home full time (designing furniture and decorative accessories). Once I realized we would be hunkering down, I transported all my work equipment into my craft studio at home. Anyone that knows me has probably heard about one or more of the projects from my ever evolving project queue.
Over the past several weeks, I haven’t felt the desire to start any of them because when I’m done with work, I want to be far away from craft room. But since making things is a huge stress reliever for me, I decided to find a DIY project that was relaxing, easy, and achievable from the couch.
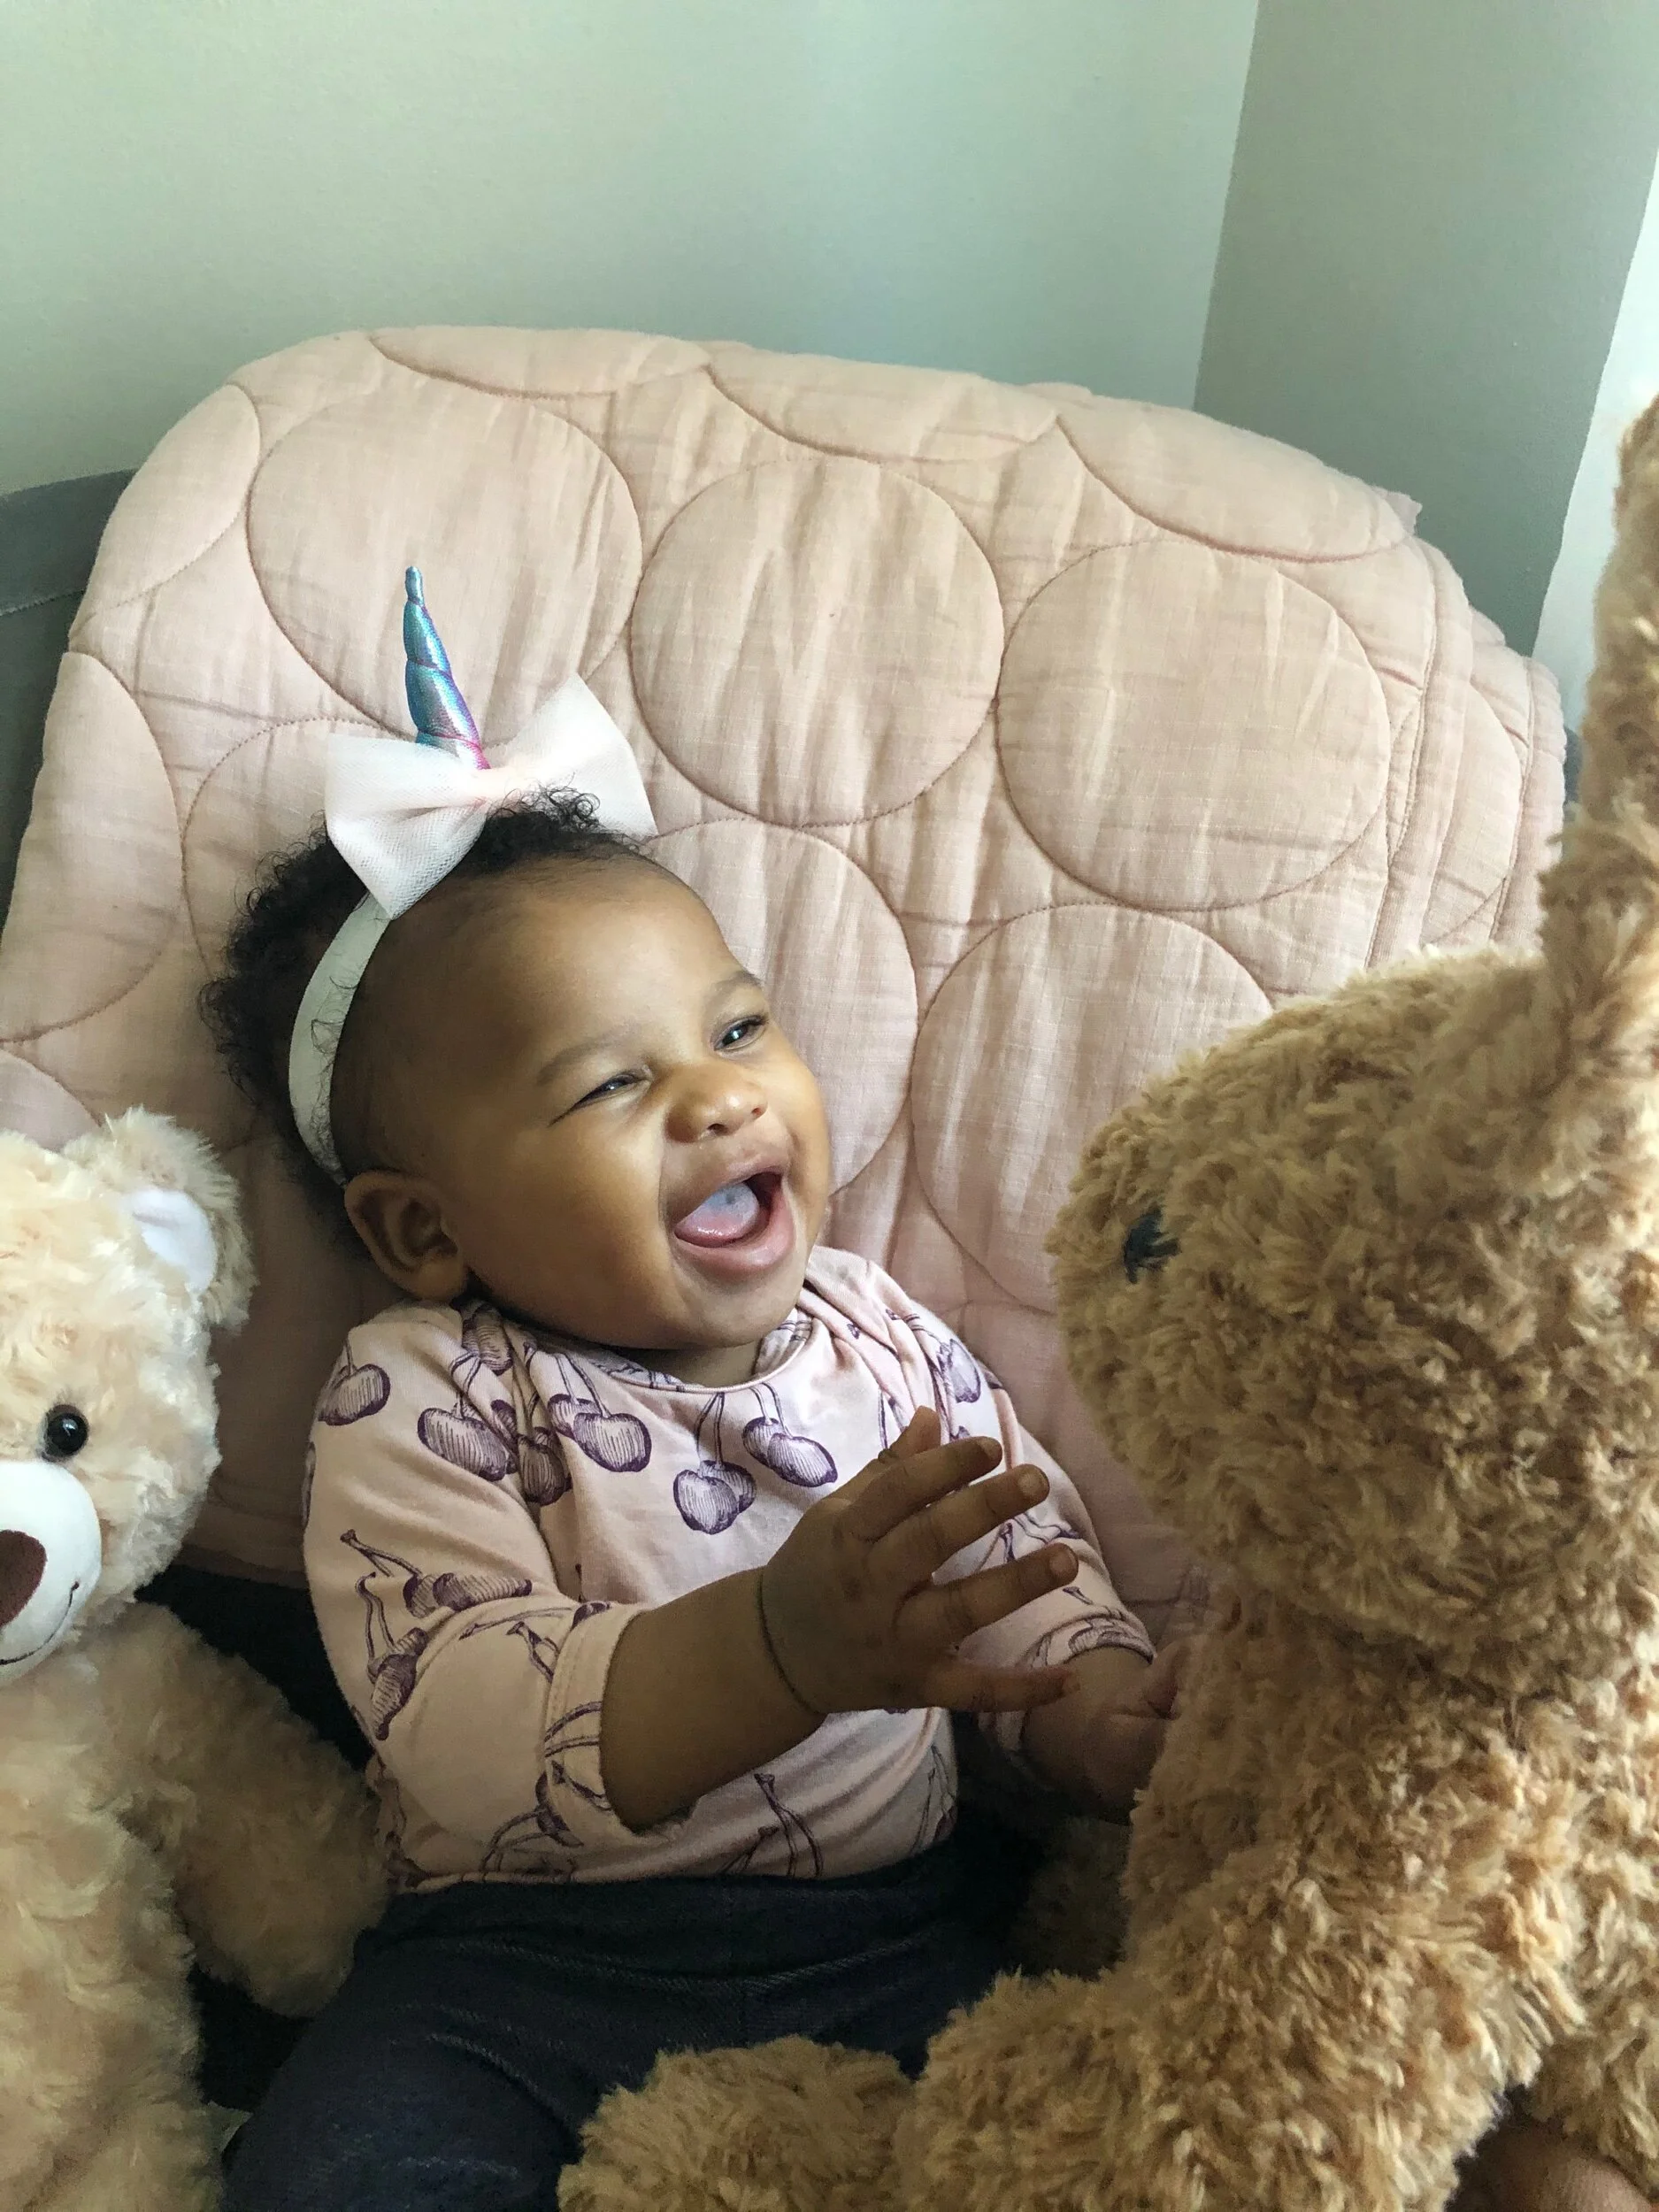
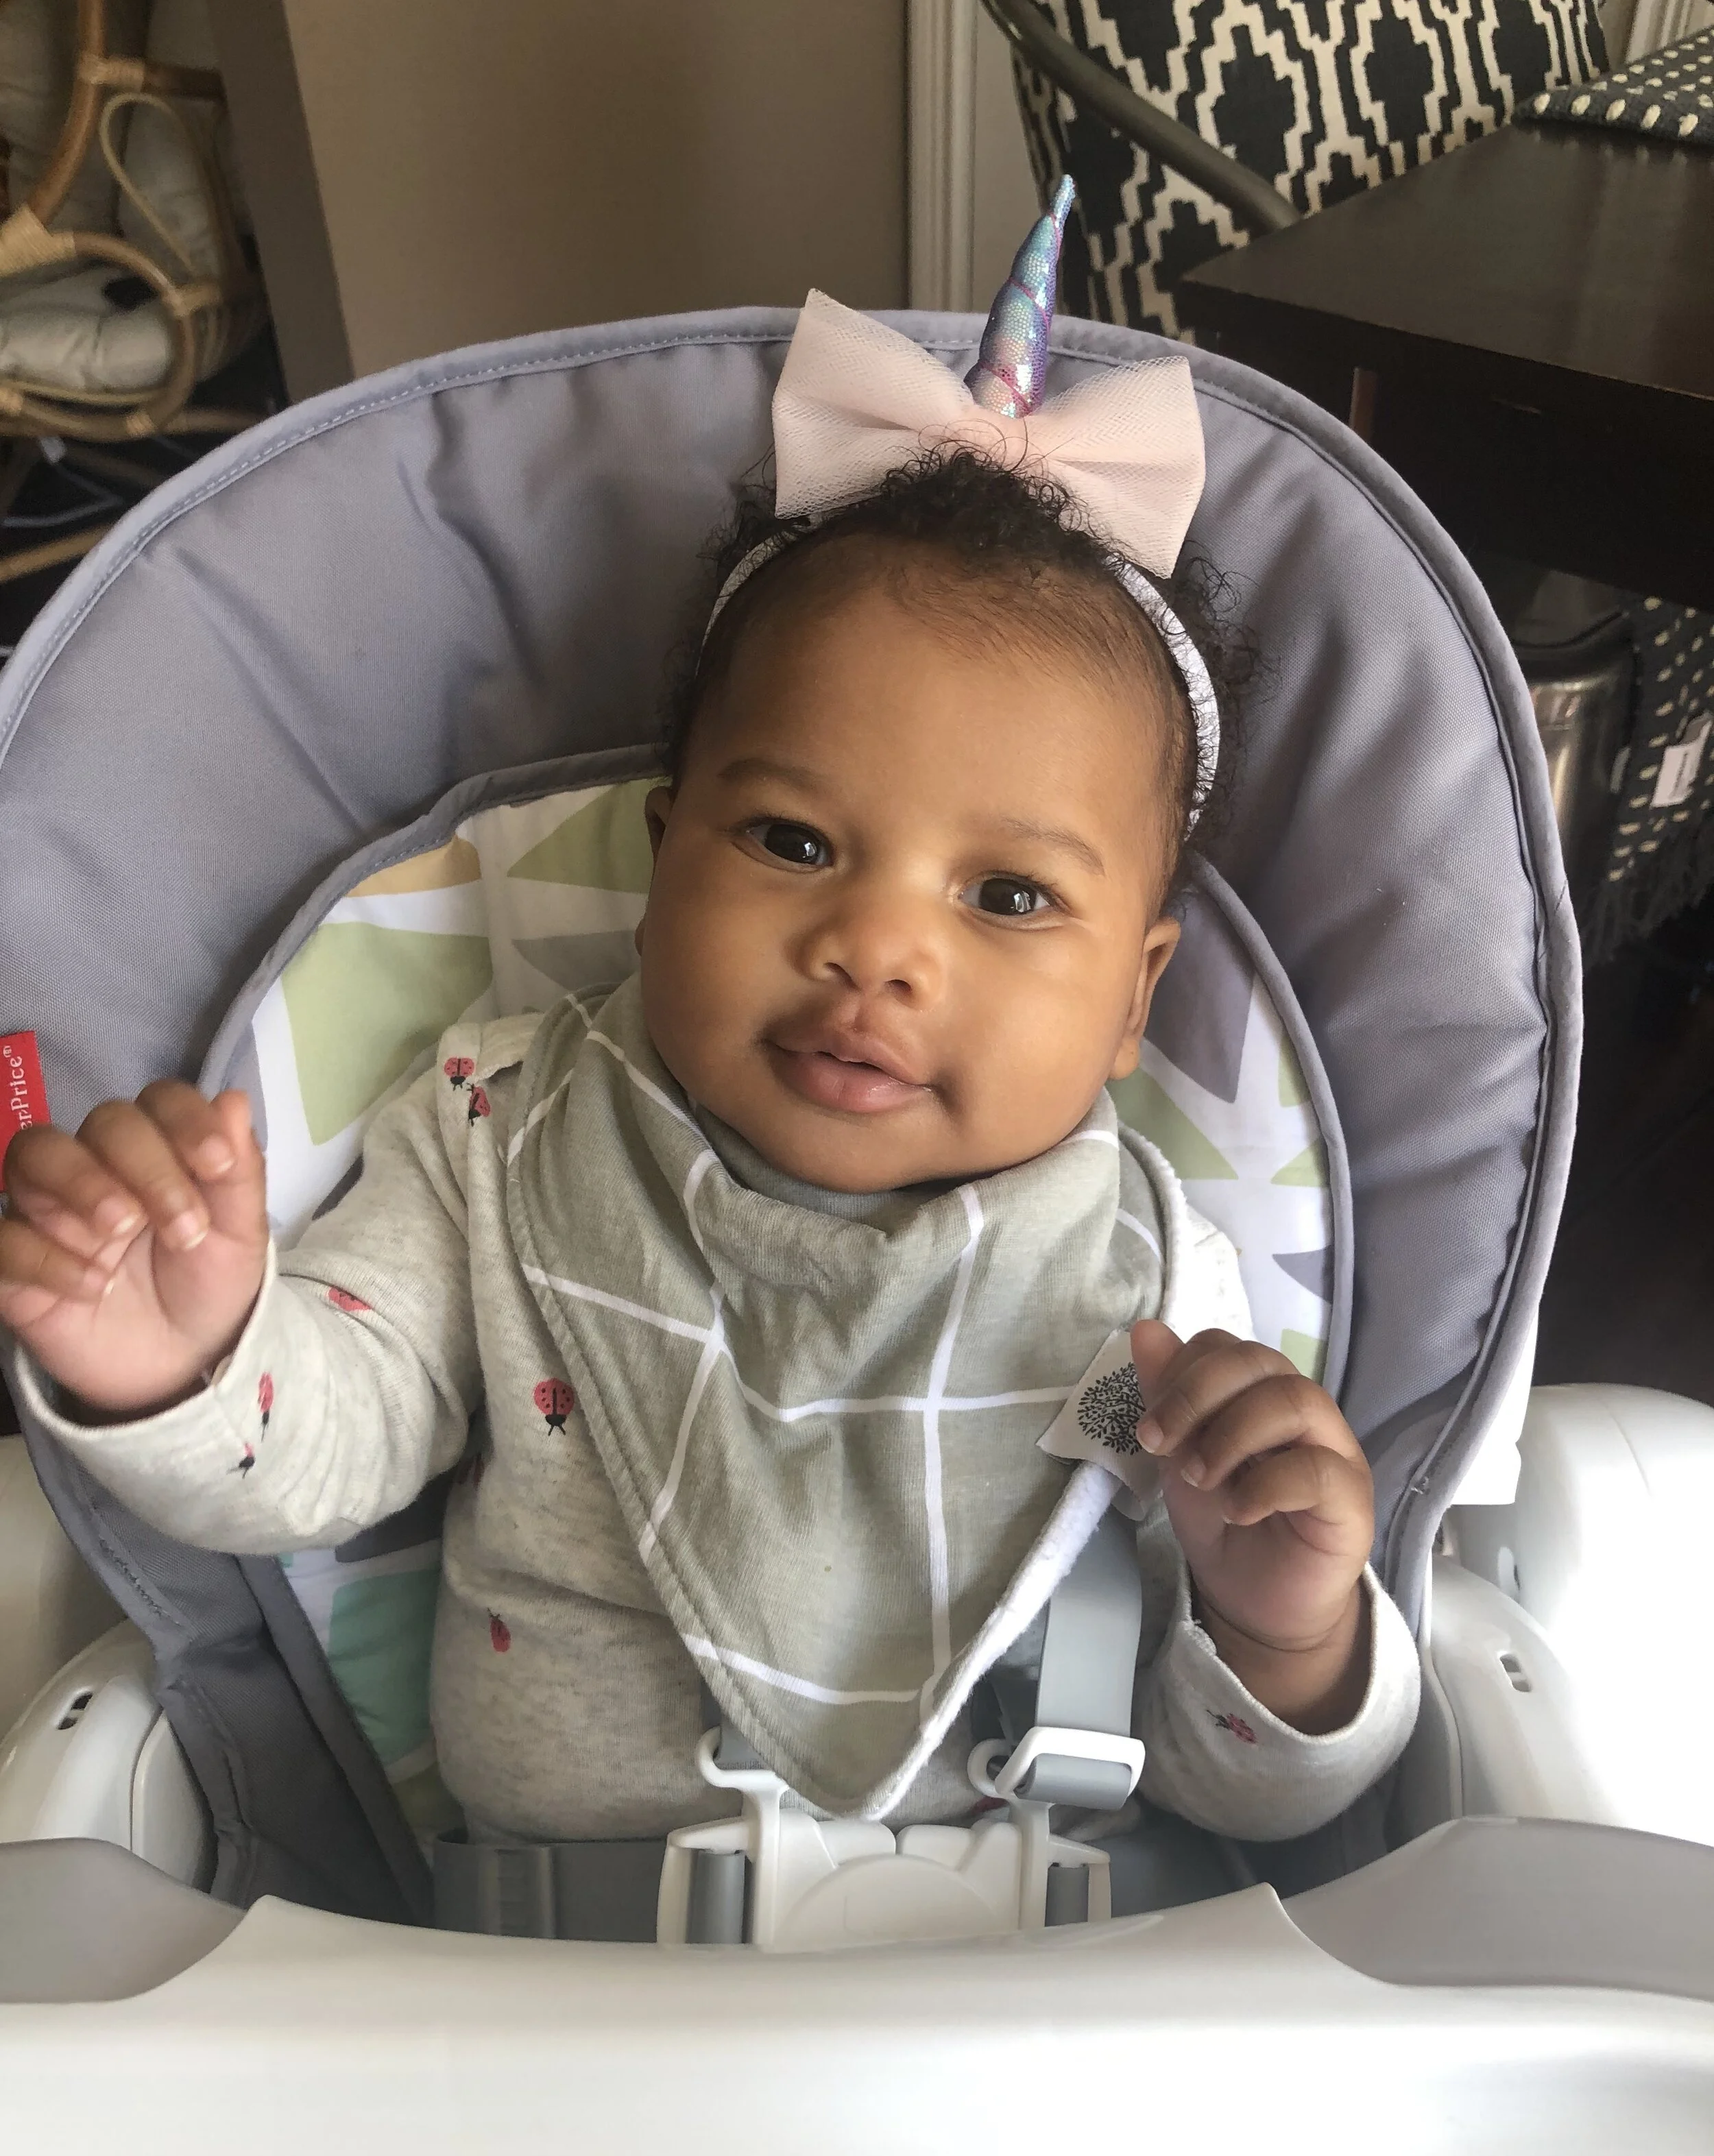
That’s where the unicorn horn comes in. I’ve already made a few unicorn headbands for past Halloween costumes, so I decided to spread the magic and make one for my sweet niece. It was a quick project and gave me a break from screen time. It doesn’t hurt that my niece kept it on. I’m taking take that as a stamp of approval.
I decided to use some shiny, tie dye, dance fabric I had on hand from a previous project. You can go out and buy something, or look around and see what fabric you have. I find that light weight knit fabrics work well. You can also use an old t-shirt or a pair of leggings that are ready for the bin. The most important thing to keep in mind is, who will be wearing the horn. That will determine what size you make the horn, and how long to cut your elastic. Alright, time to get making!
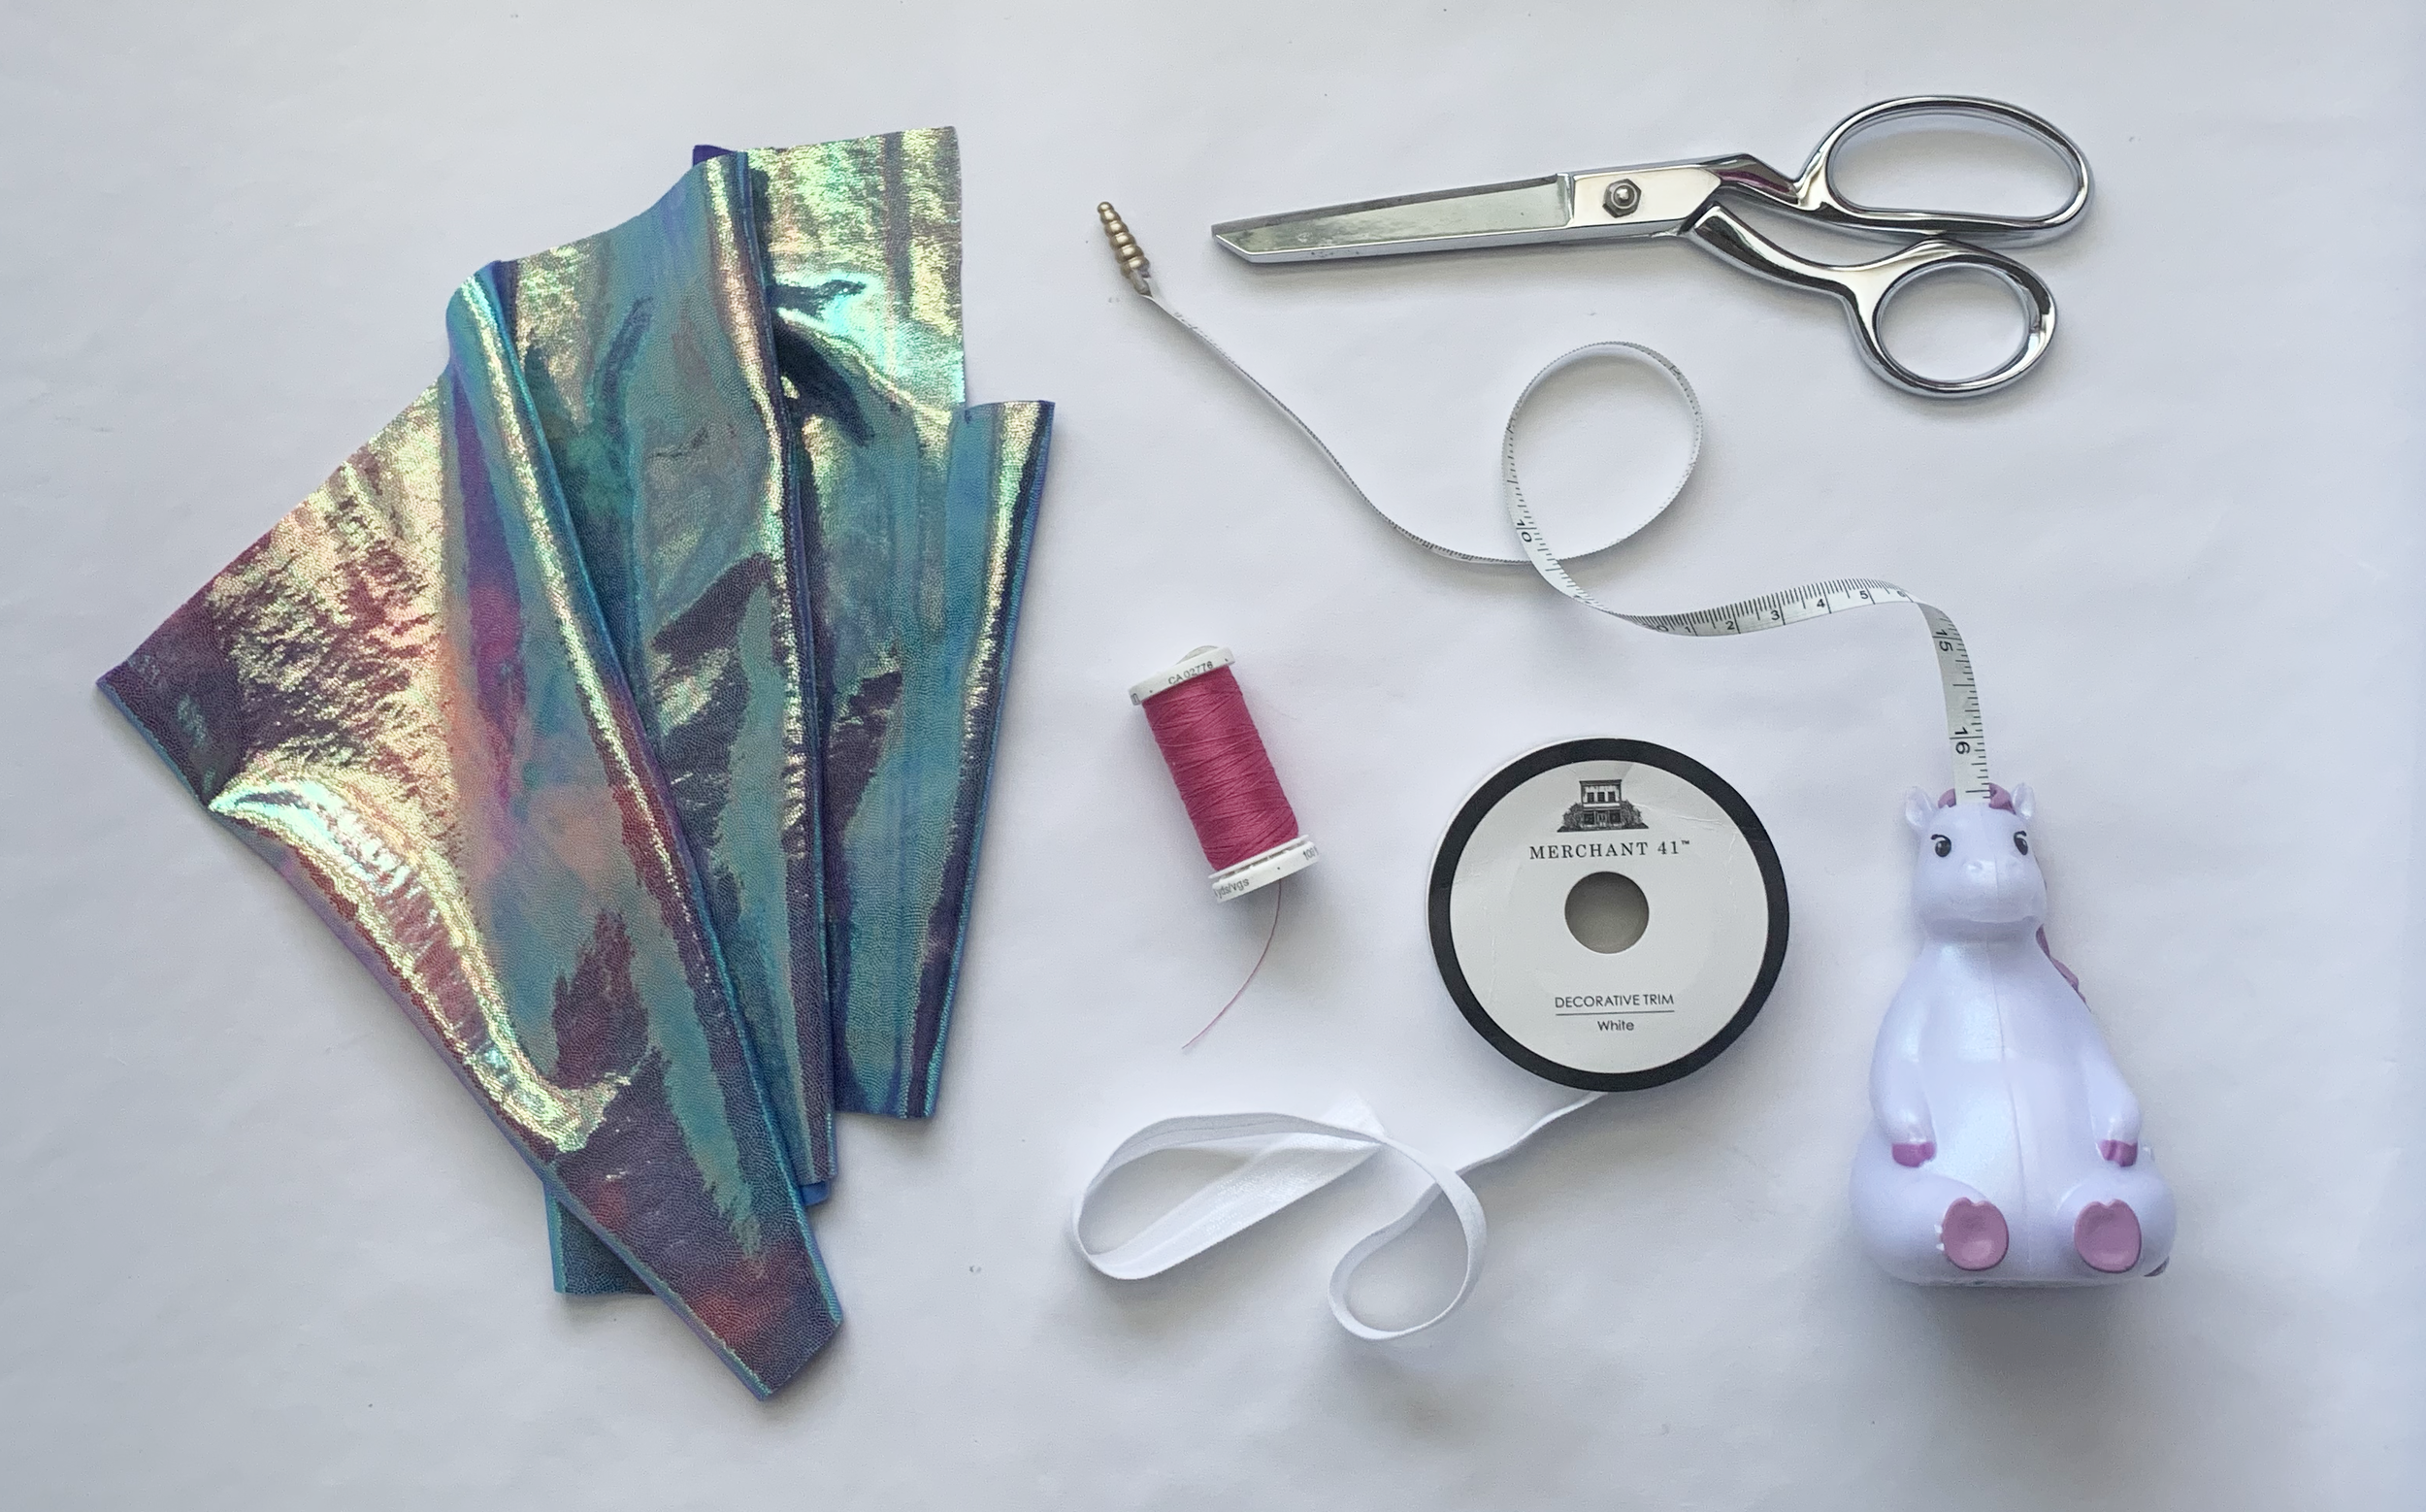
Materials:
Knit Fabric
Tulle
Thread
Polyfil
Elastic (This is for the headband. You can use a pre-made headband if you prefer.)
Measuring tap
Scissors
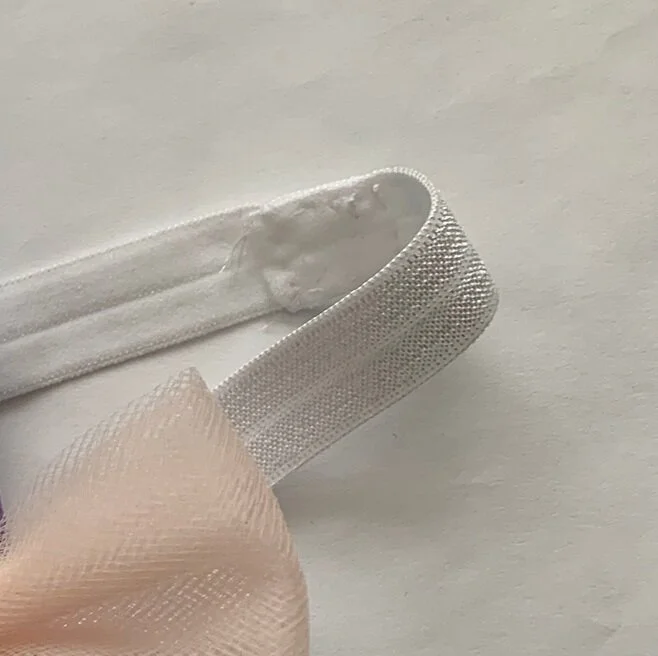
We’re going to make the head band first. The easiest way to measure, is to wrap a flexible measuring tape around the wearer’s head. Take that measurement, and add 1”. Cut a piece of elastic that matches your measurement.
Take the ends of the elastic and overlap them about 1”. Using a hand needle, Sew a rectangle so that both ends are attached the headband. This will make it durable. Set headband aside.
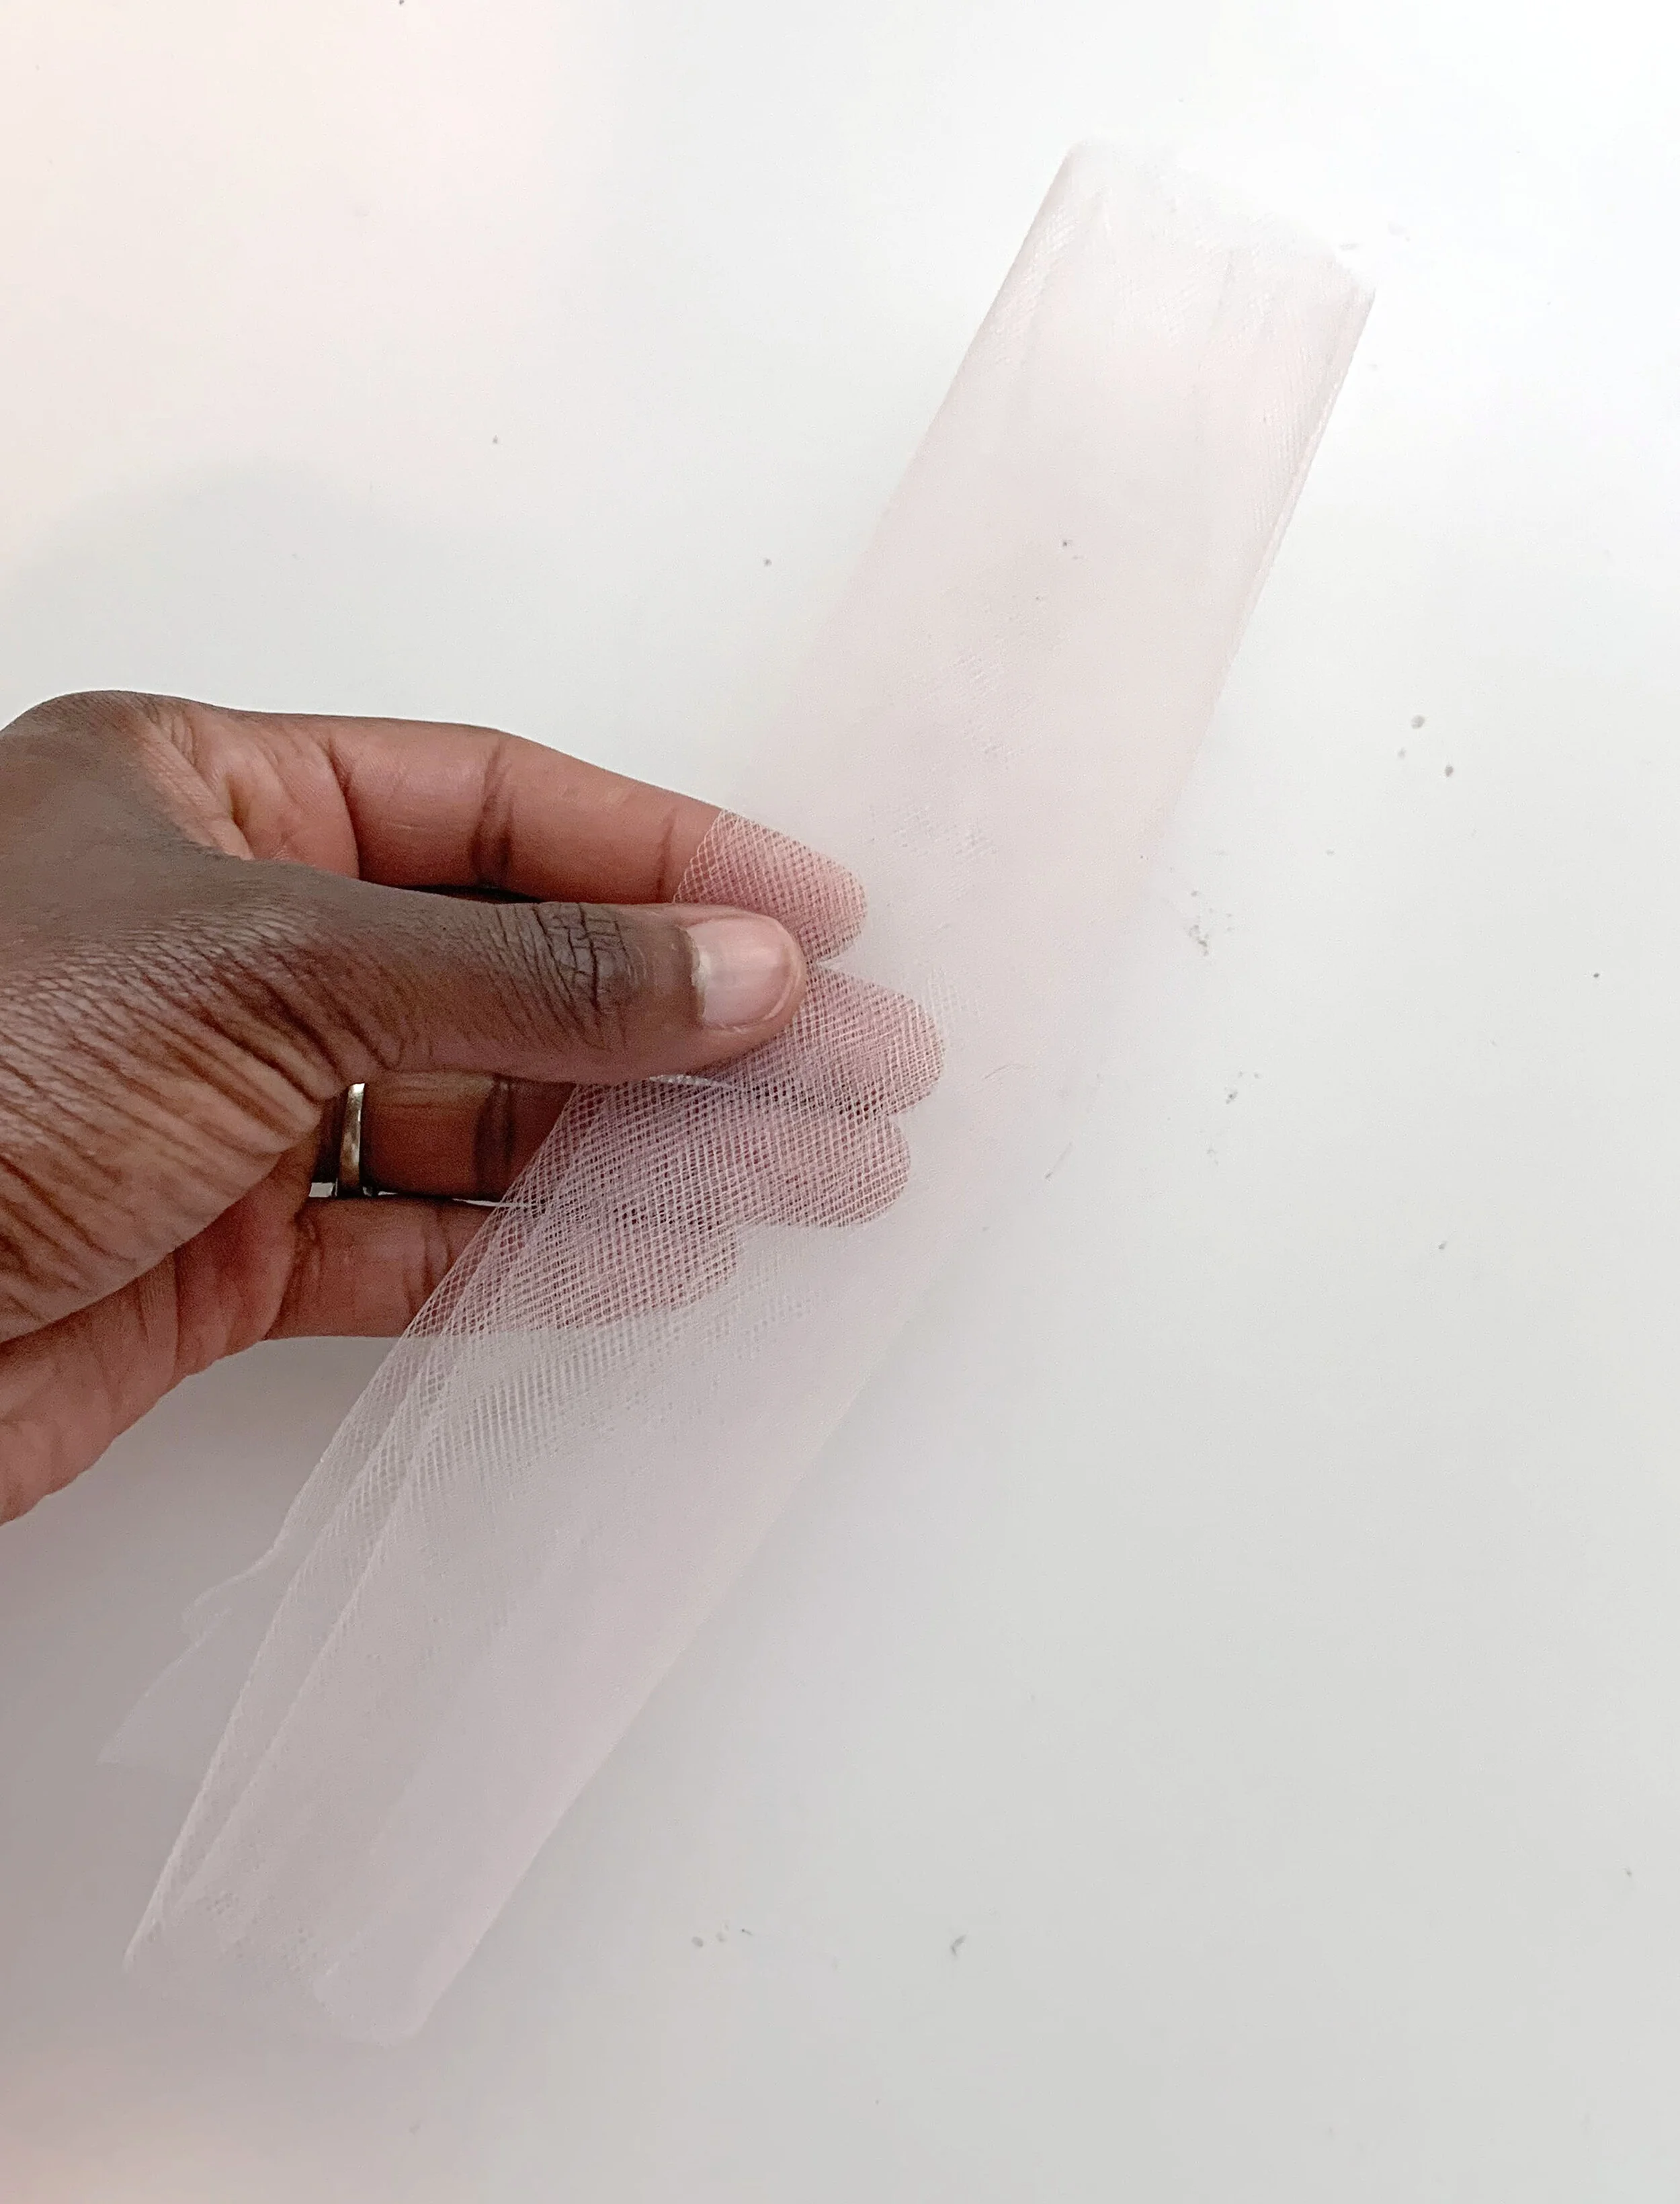
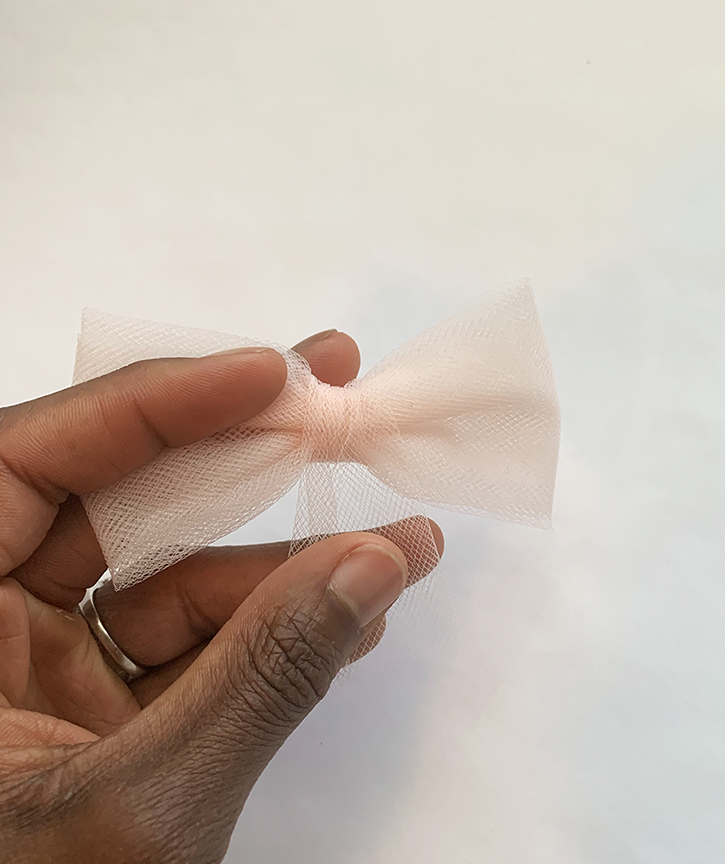
Next we are going to make the bow, which is made of folded layers of tulle. This doesn’t have to be cut perfectly! It’s all about the size and thickness you want your bow. For example, if you want the bow more opaque, then you need more layers of tulle. Or you can use fewer layers for a sheer bow. The bow I made is about 4” wide and 2” long . Cut a piece of tulle that is double the final bow width, and at least 10”long. The length makes up the layers, so this is where you can increase or reduce the thickness. Fold the tulle along the width in sections of two inches (the final length).
Then fold the two ends toward the middle, and use a dab of hot glue to hold them in place.
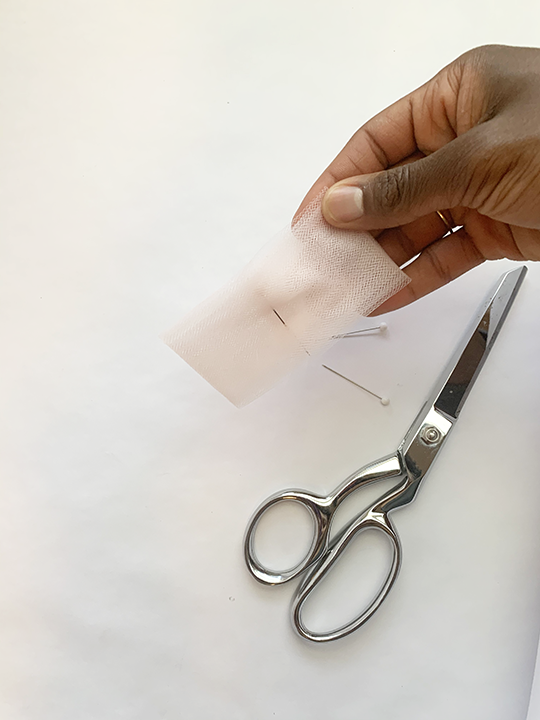
Cut another piece of tulle that is about 1” wide and 3” long. This piece is going to form the “knot” for your bow and hide your seam from the previous step.Fold the tulle in half and glue onto the middle of bow. Pinch the bow in the middle between your thumbs, then wrap the middle with the tulle and glue the end in the middle. Make sure to glue the end onto the “backside” of the bow so it’s not visible from the front.
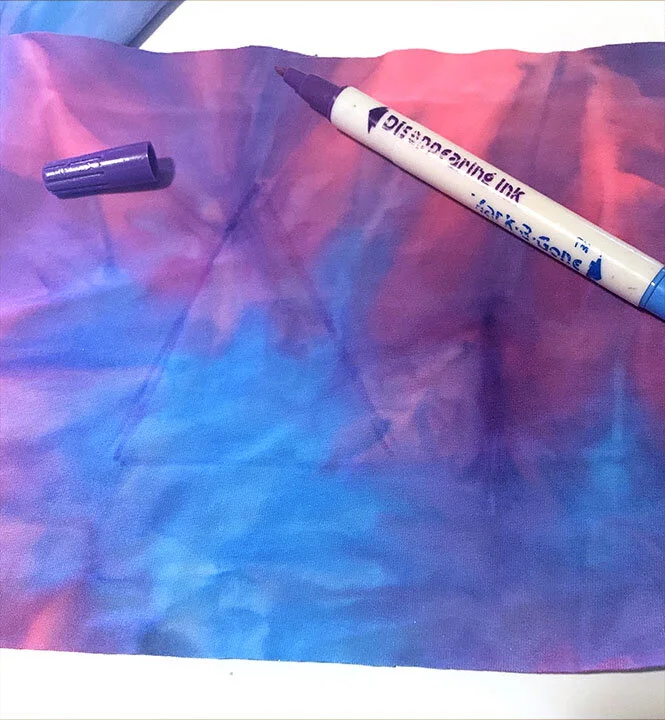
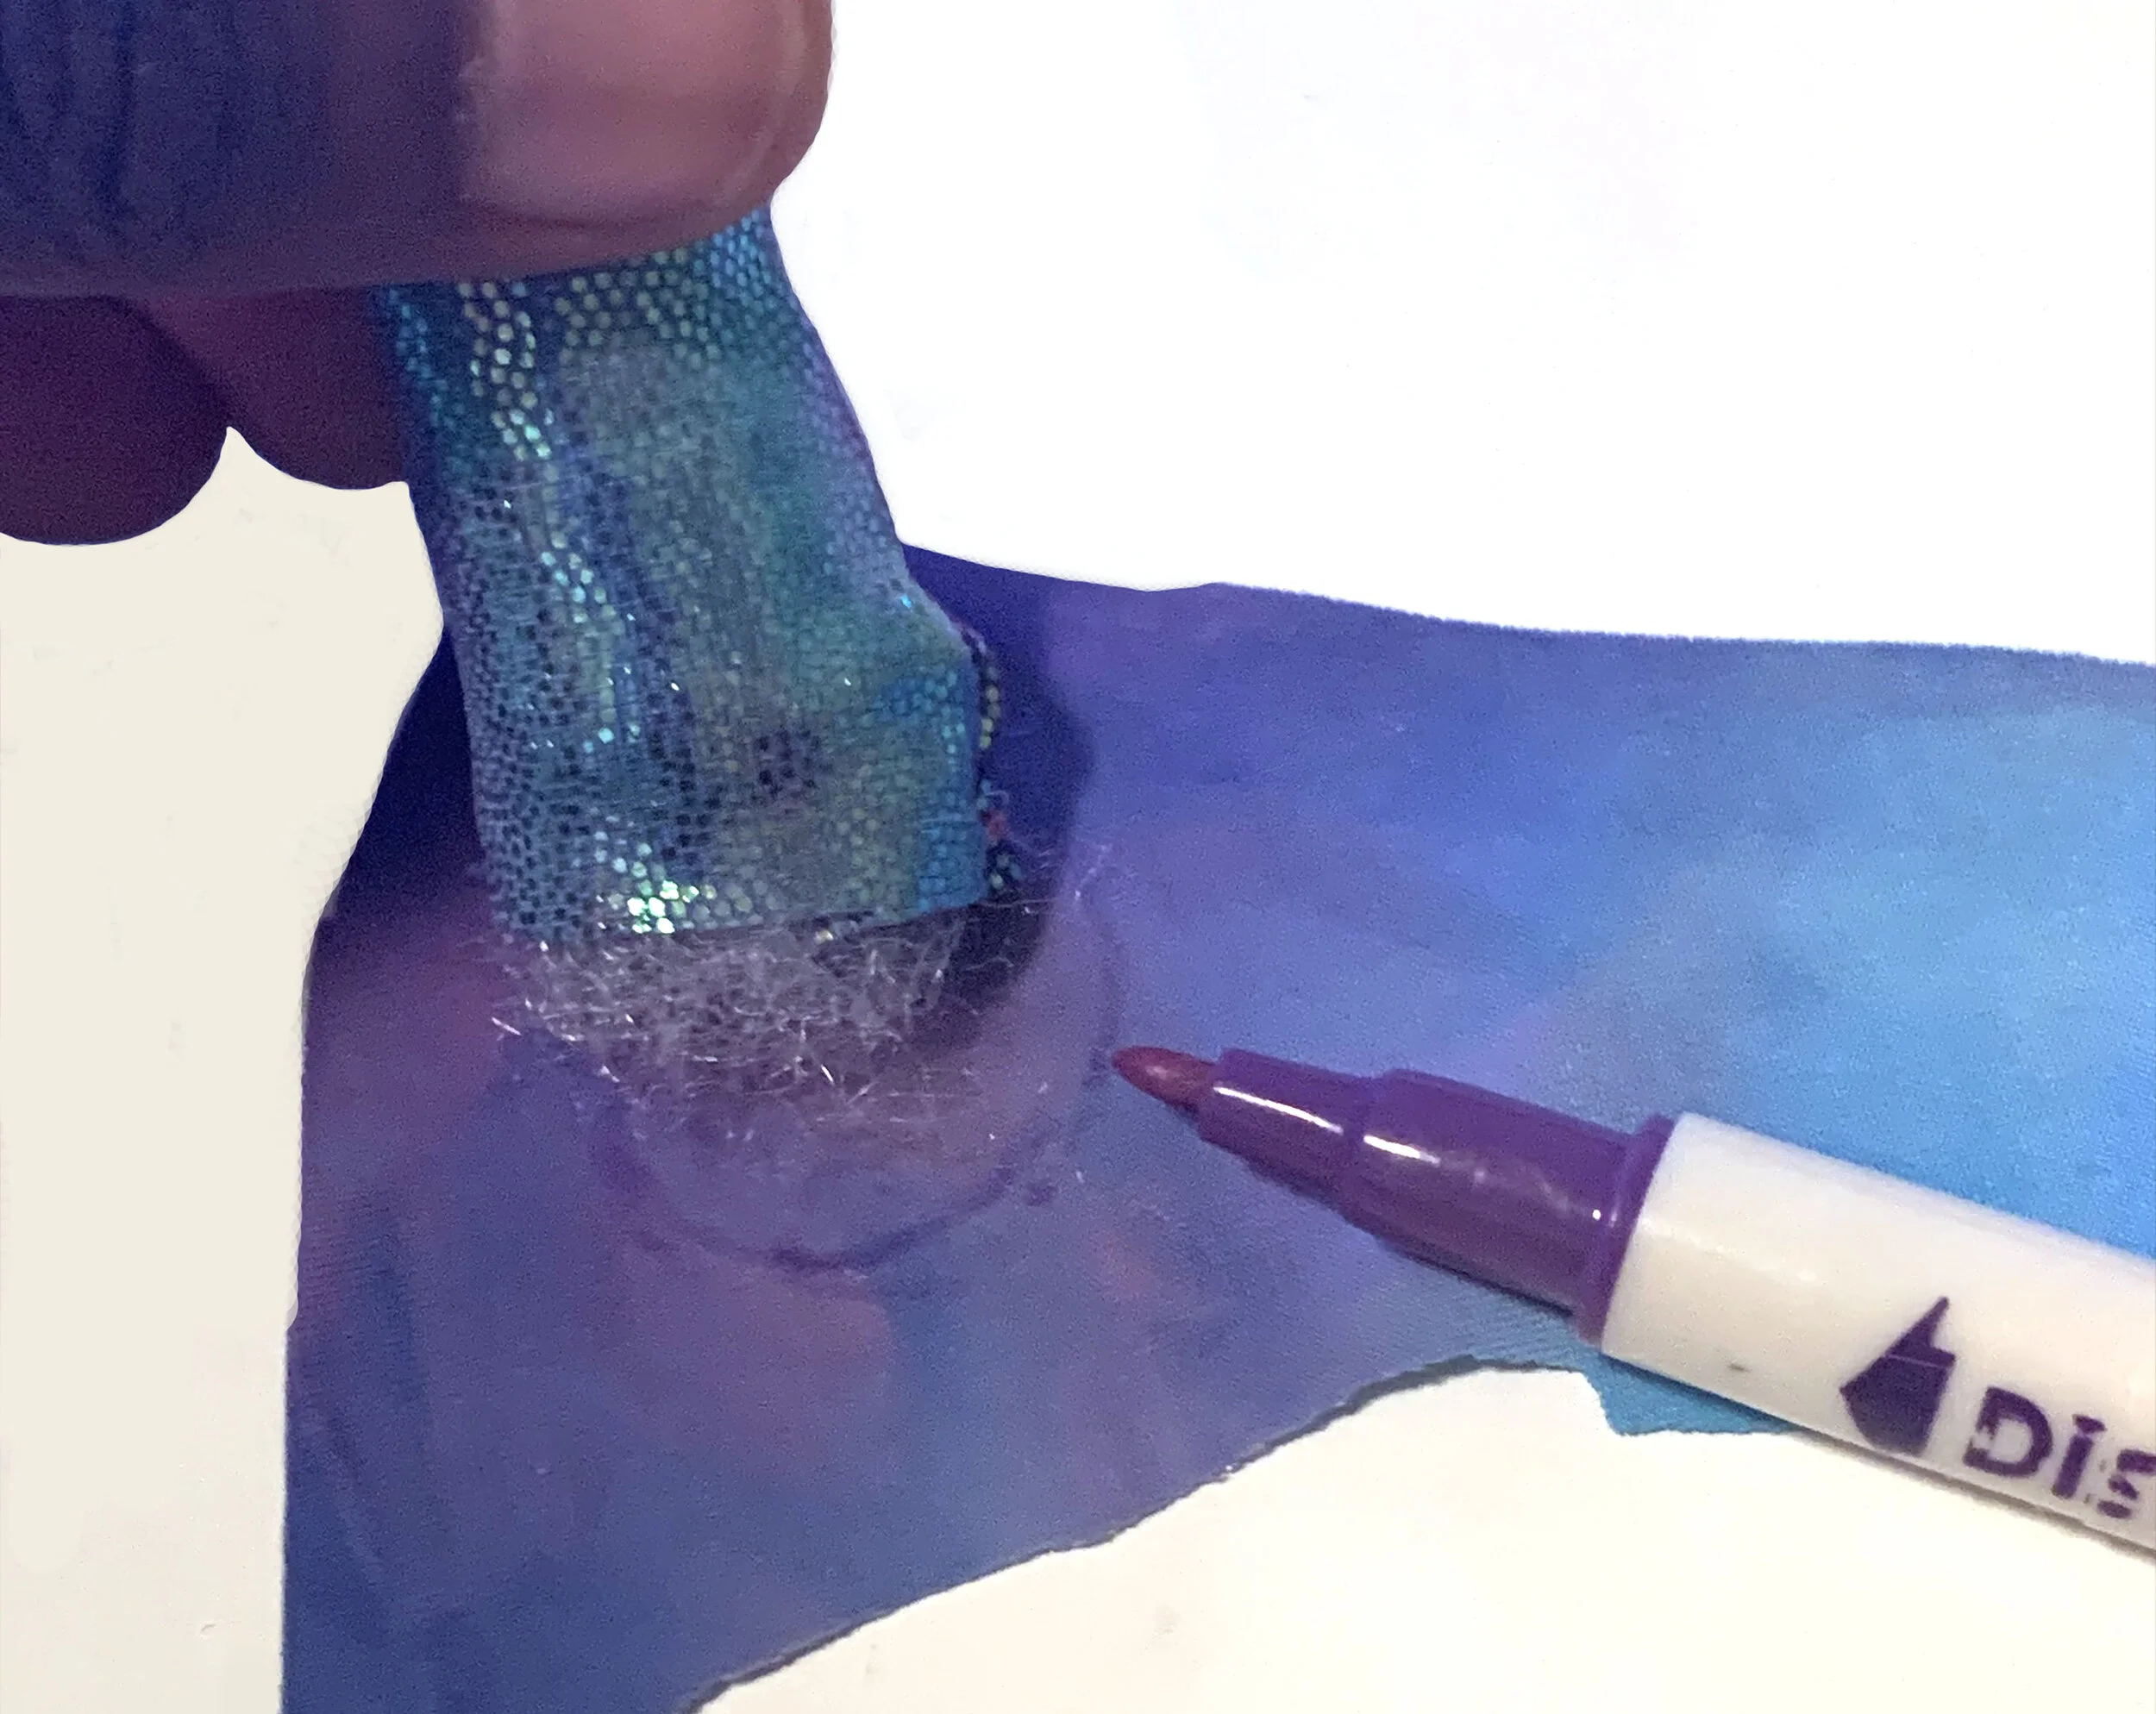
The horn is made from a triangle. Decide the height you want for your horn, and then a triangle on the wrong side of your fabric with a fabric pen. Cut out the triangle. Fold it in half with right sides of fabric together. Hand sew along the long edge. Leave the bottom of the triangle open. Carefully, turn the horn inside out.
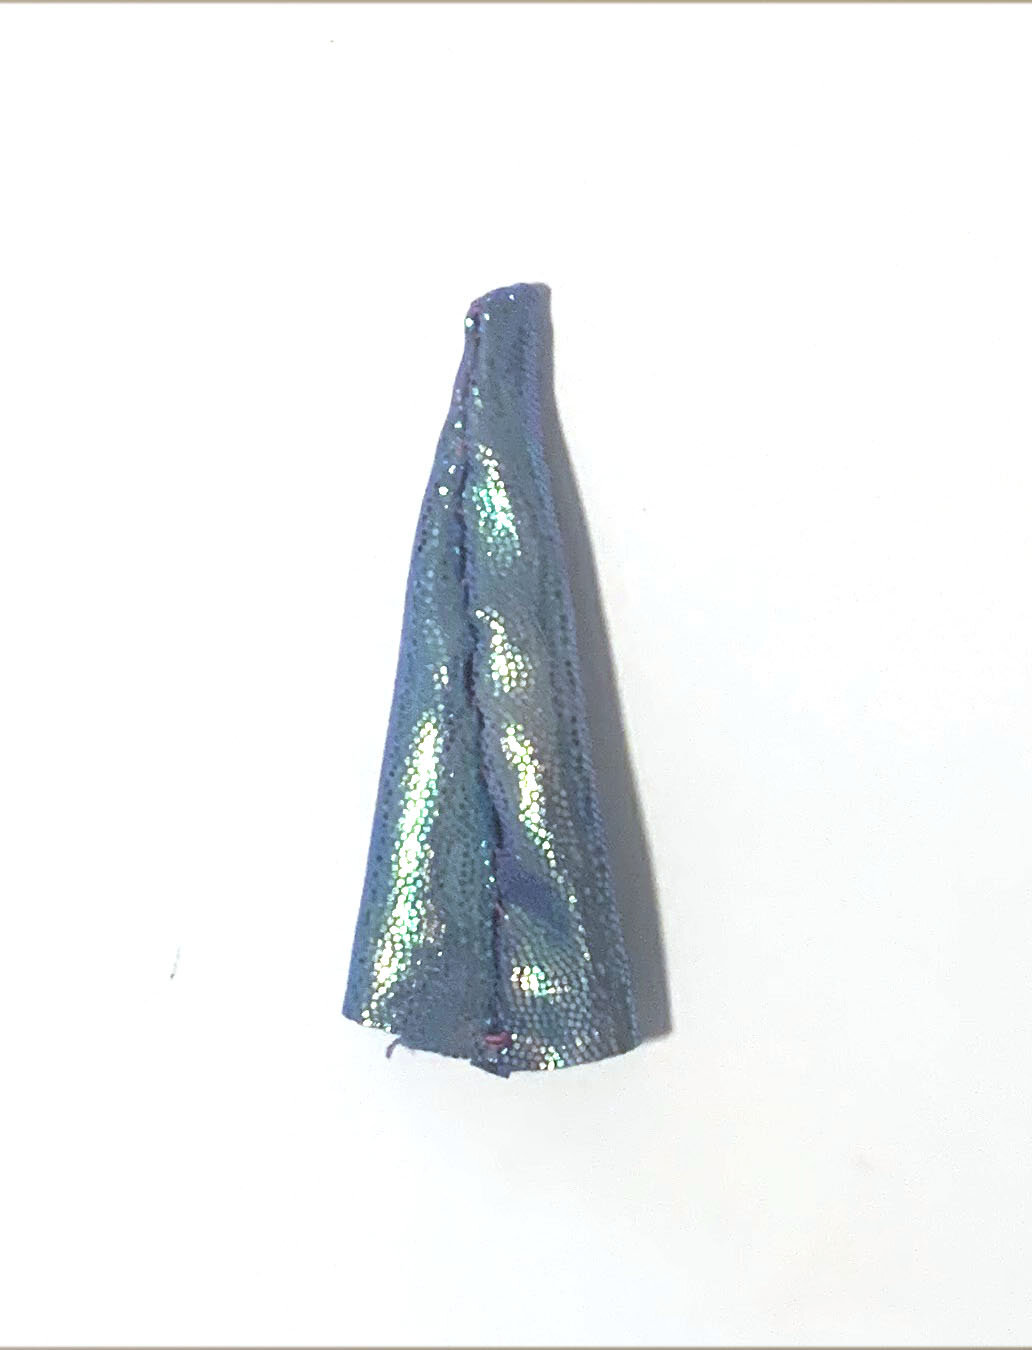
Stuff the horn with polyfil. I prefer mine more stuffed because it looks better with the horn lines. Take your stuffed horn and use the bottom to trace a circle onto the wrong side of your fabric. Cut the circle. Sew or hot glue the circle on to the bottom of the horn.
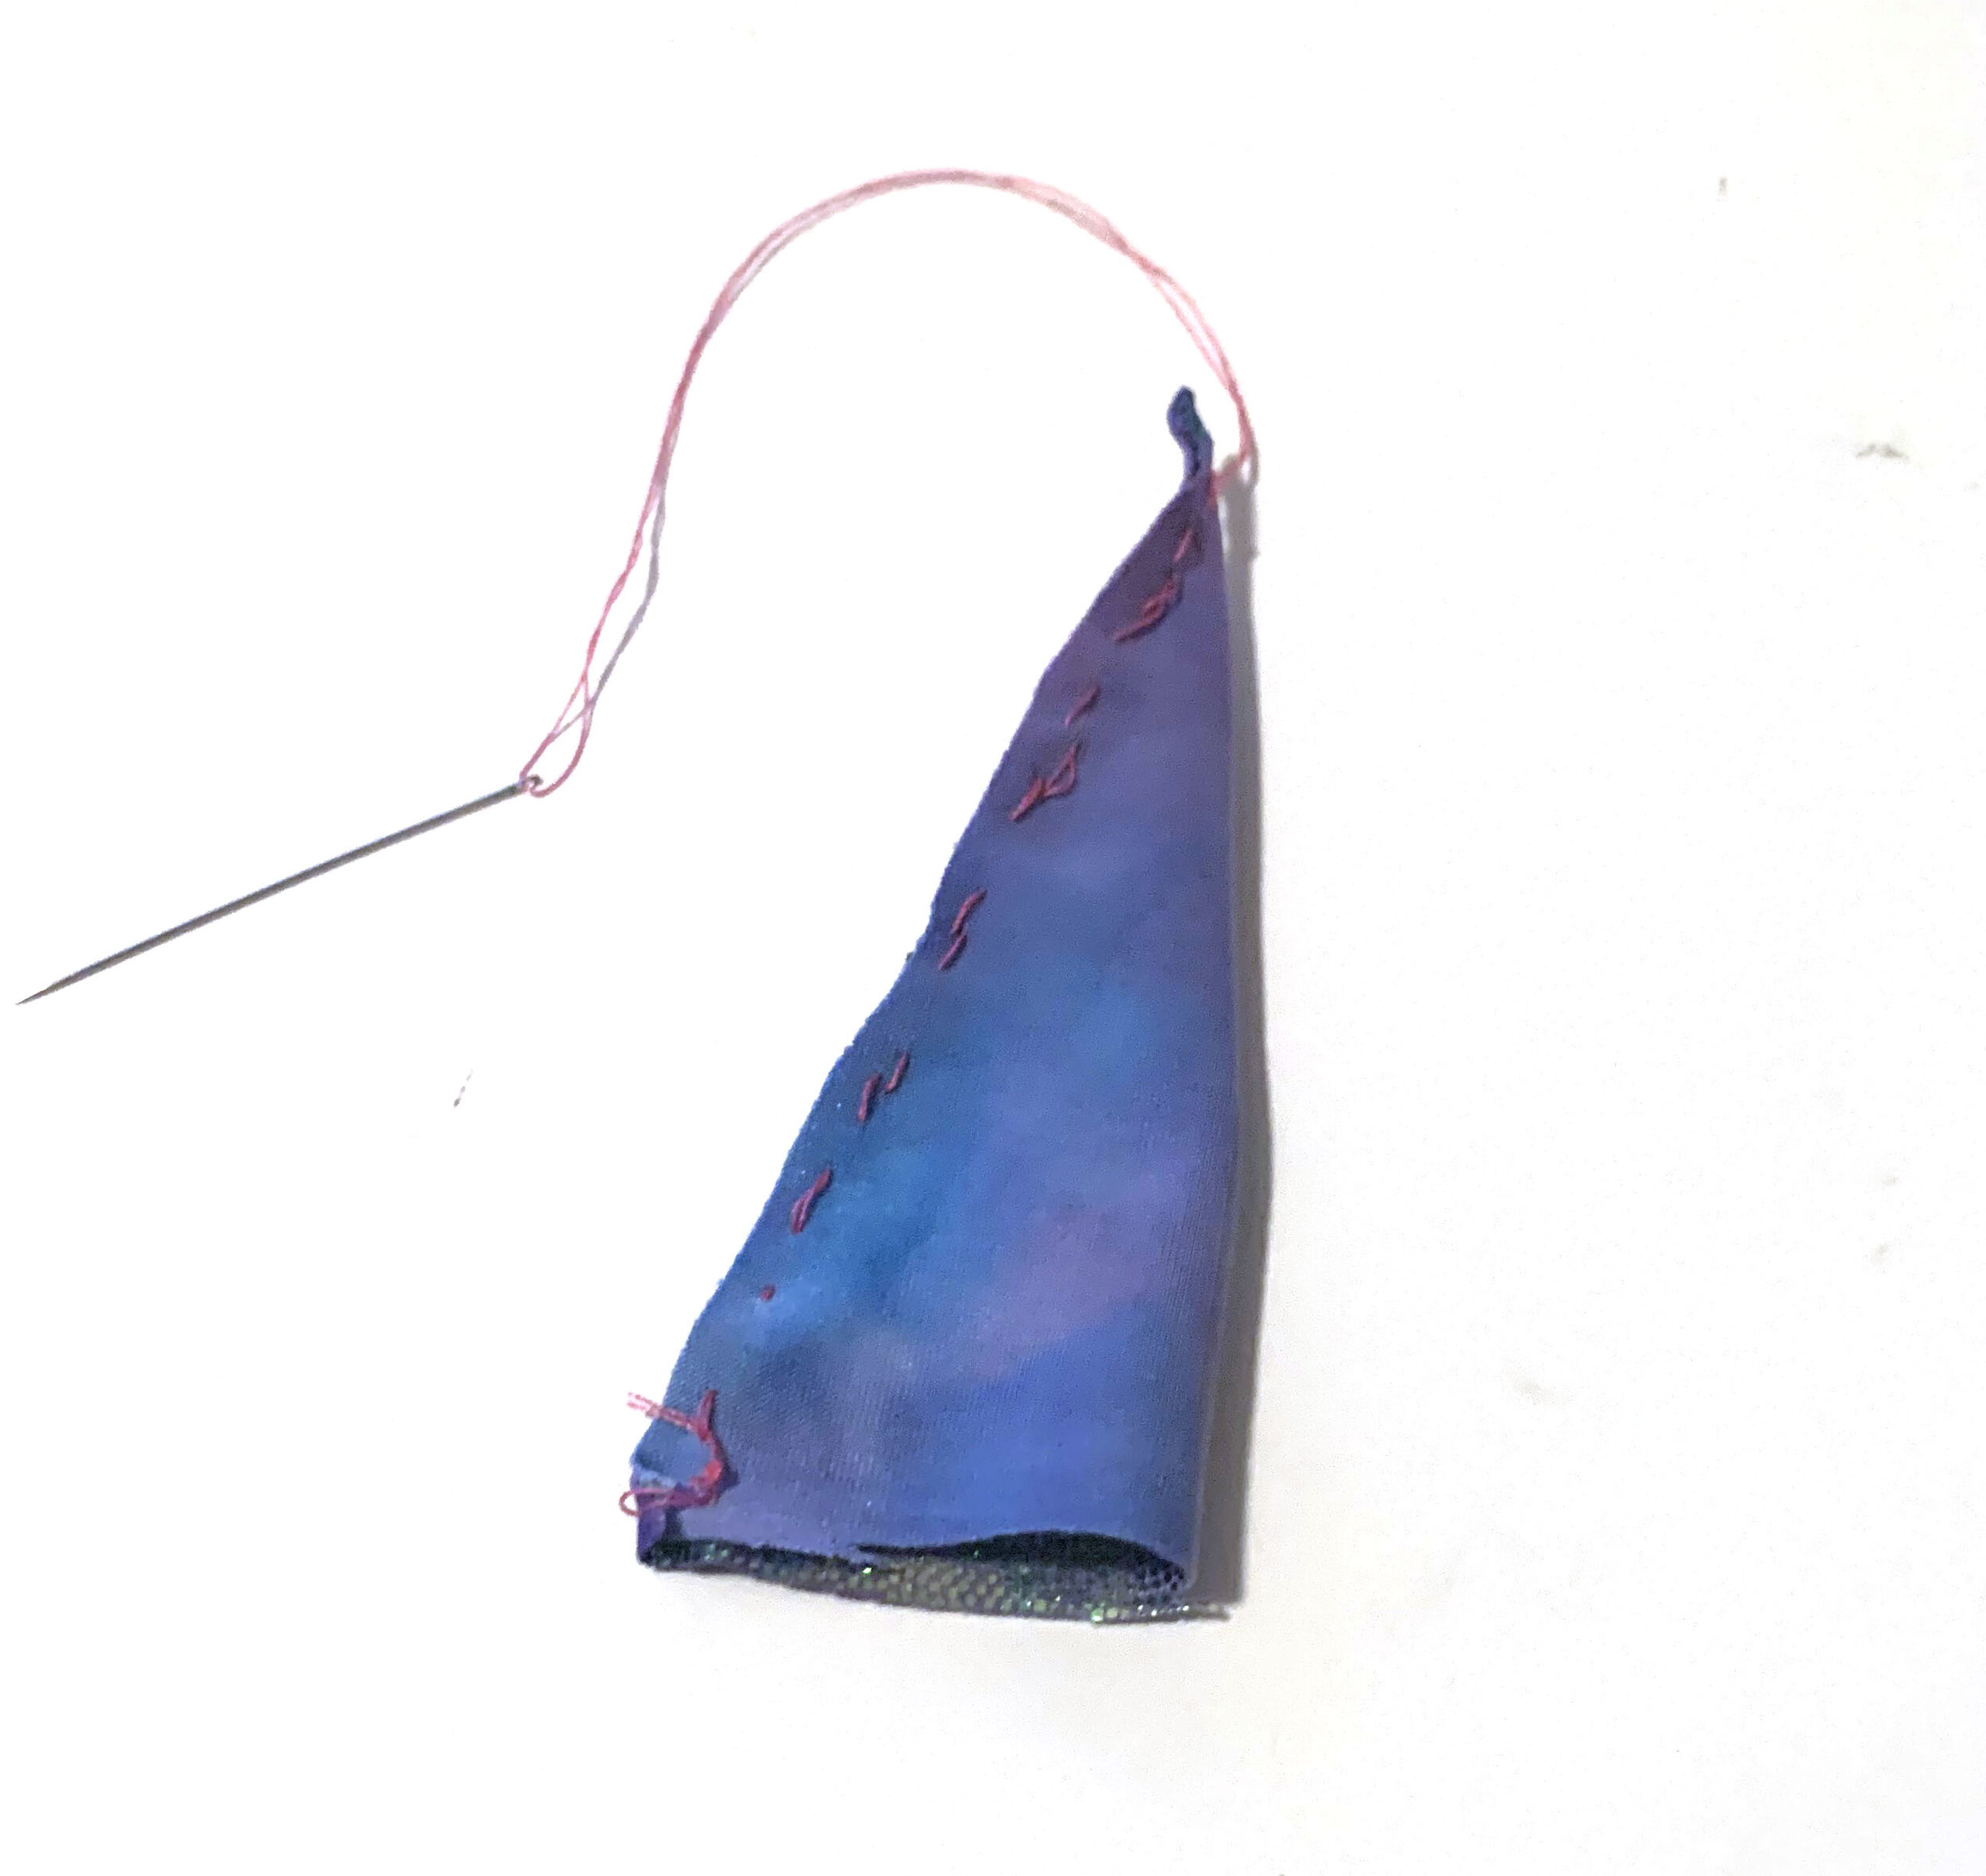
Now we’re going to add the fun spirals to your horn! Thread your hand needle with the thread color you want for the lines. Starting at the bottom of the horn, pull needle through the seam. Then wrap the thread around the horn. I like to run the needle through a tiny bit of fabric on the back side so my thread stays in place. I also found that pulling the thread so there’s some tension will create the soft ridges of the horn really well. Once you get to the top, take your needle and run it through the back seam so the thread is attached. Then tie a secure knot so the stitches secure.
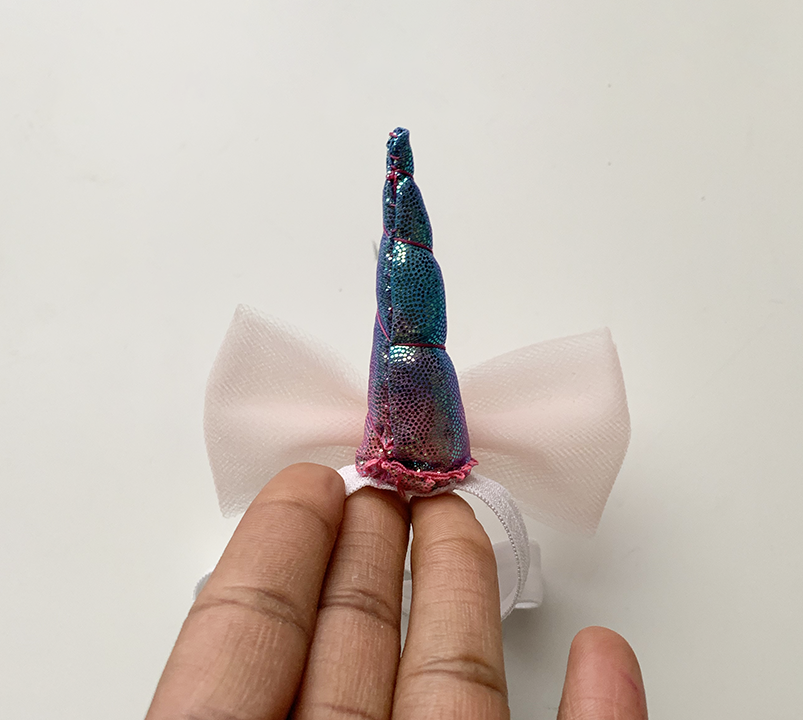
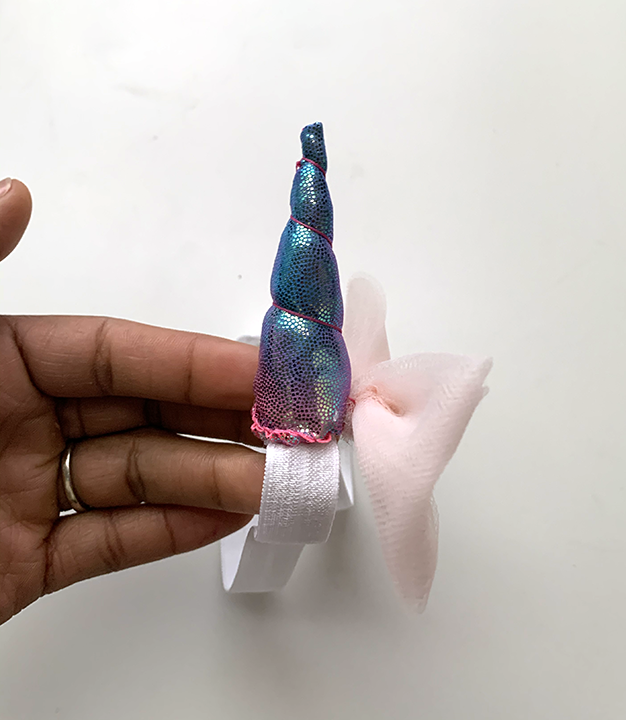
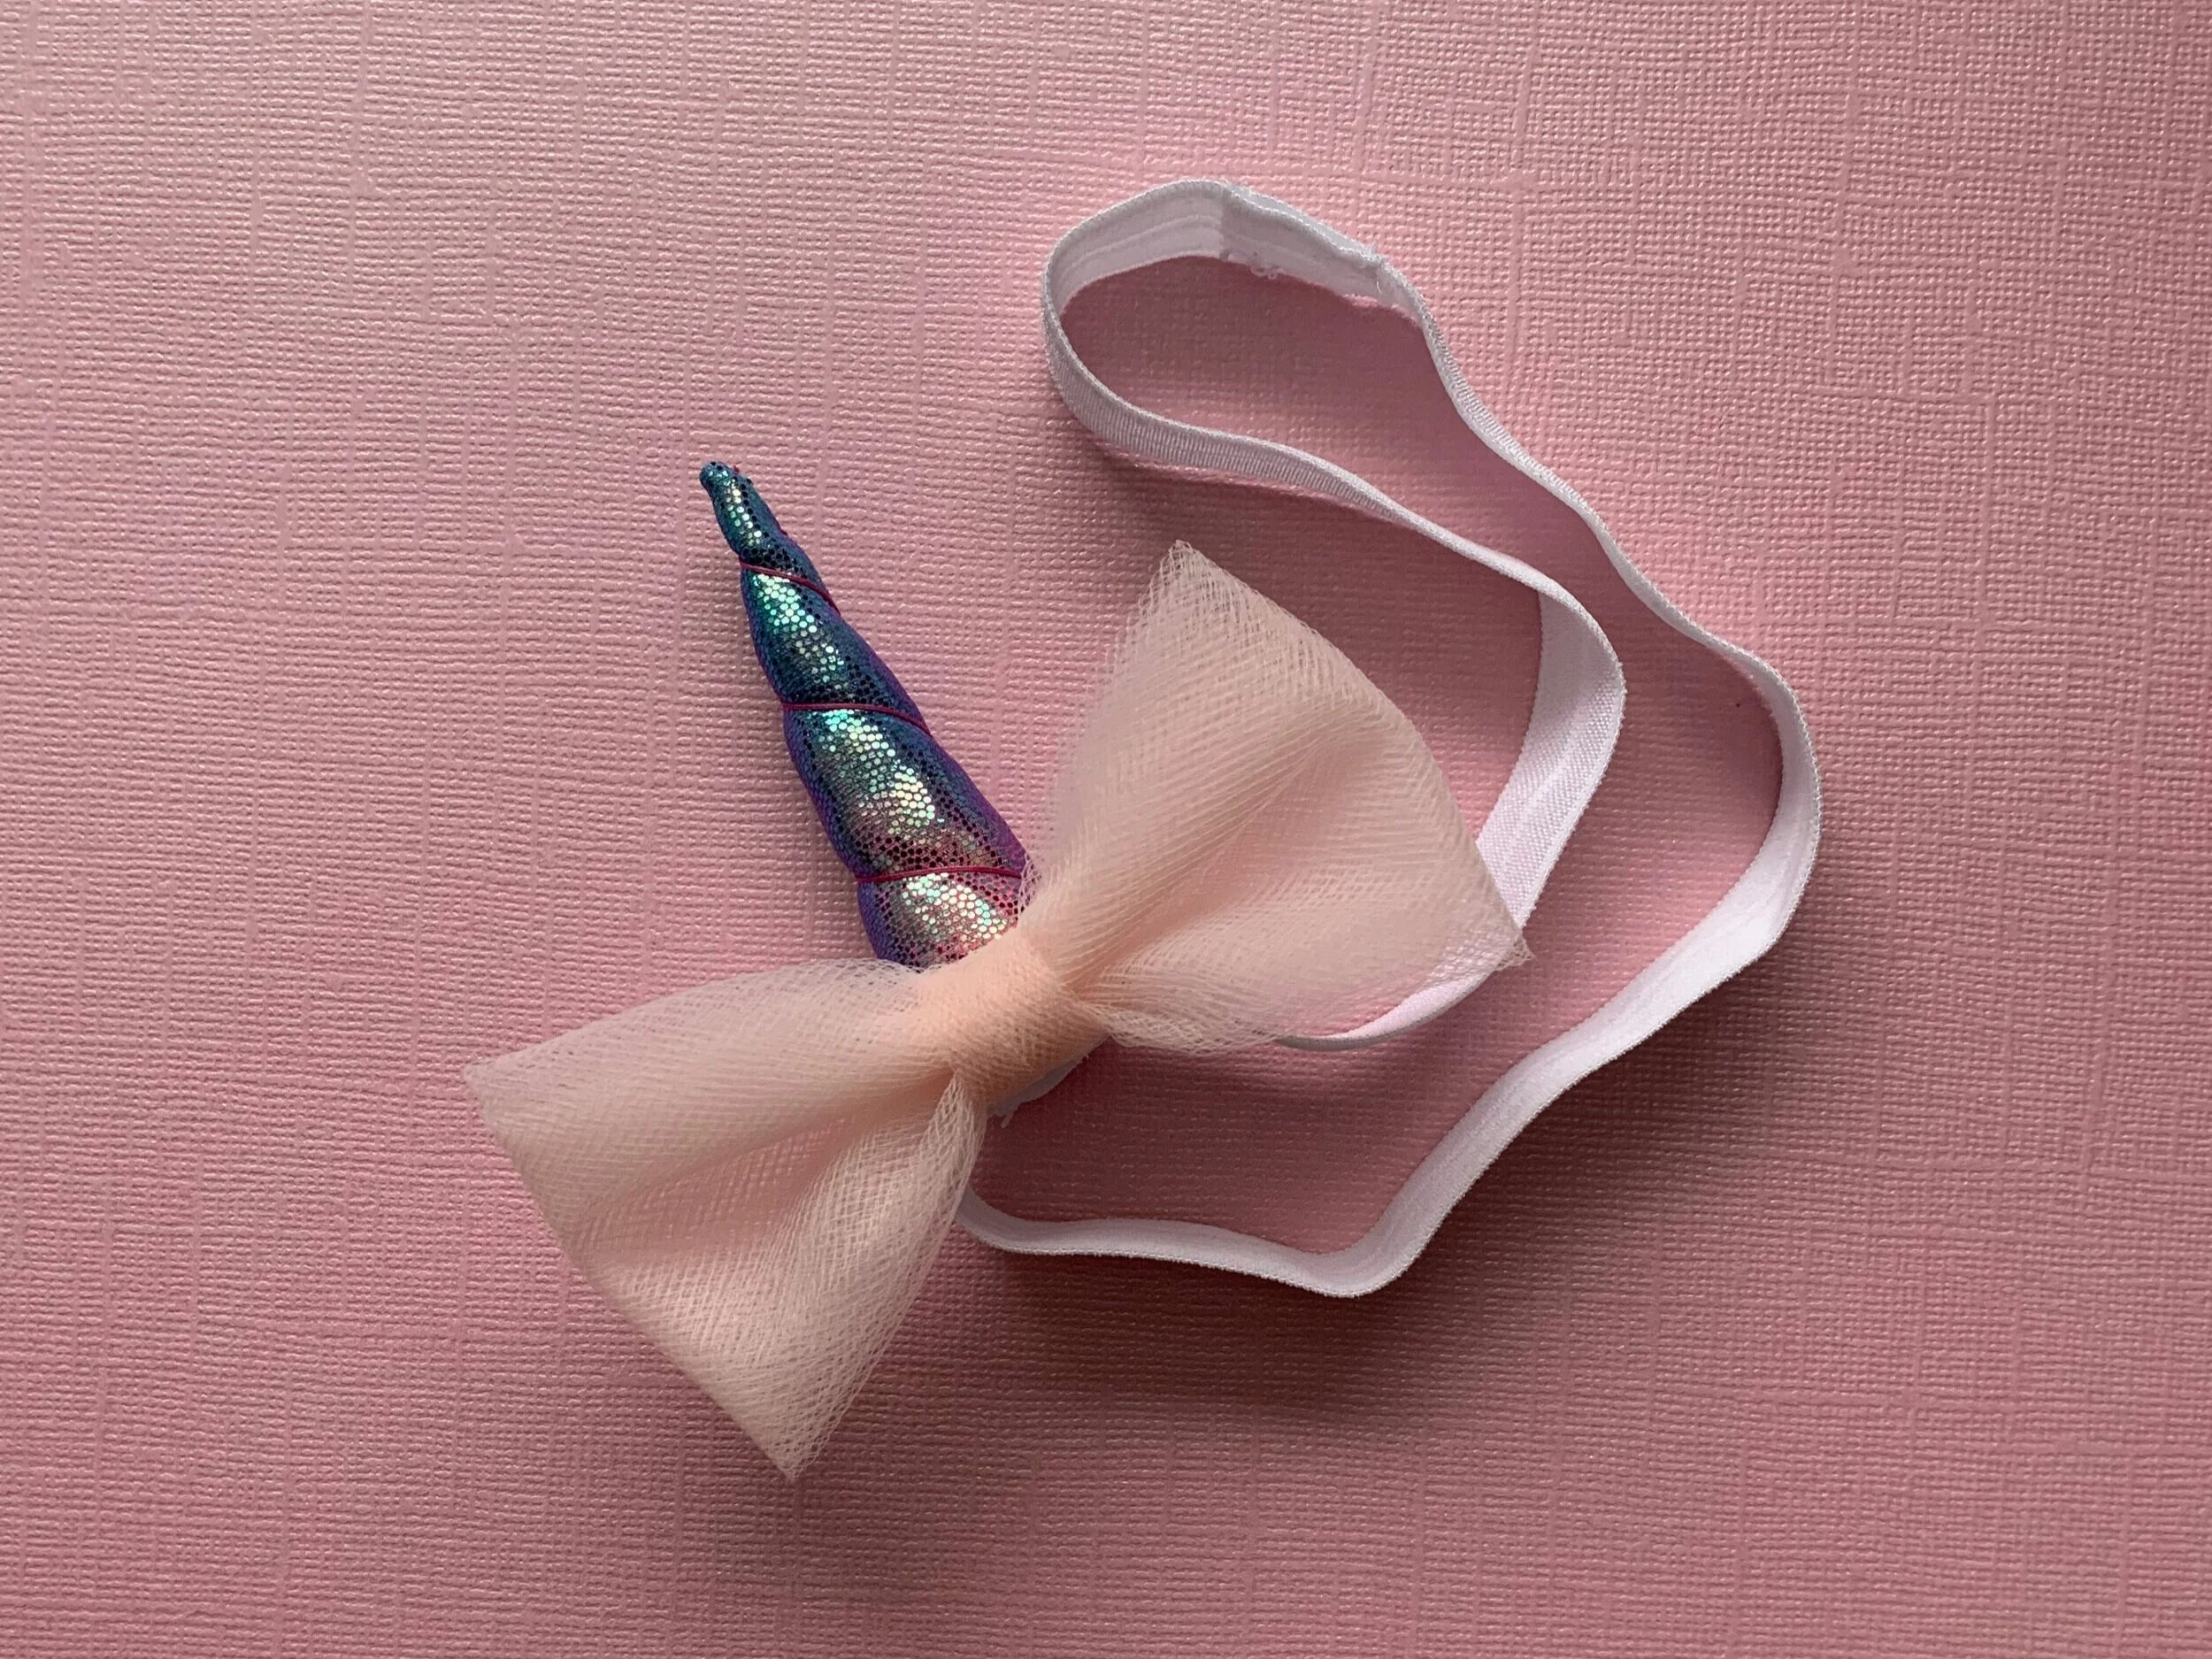
Okay,your magical horn is just around the corner. To assemble your horn, hand sew or hot glue the bow to the front of your horn. The seam should be facing the back.
Then sew or hot glue the horn to your headband. All done!! Magical!